Cooler Master Maker 5 Chassis Review
Peter Donnell / 9 years ago
Exterior
The chassis is only just out of the box and we’re already really impressed with the design! It stands a little taller and a little longer than the stock Master Case, but fool thee not, as at its very heart, this is the same chassis! The base model of the Master Case 5 and the Pro version can be upgraded to the Maker via add-on parts, and this means that you can customise as much as you want, changing only the parts you want to make your own hybrid of the Master Case and the Maker!
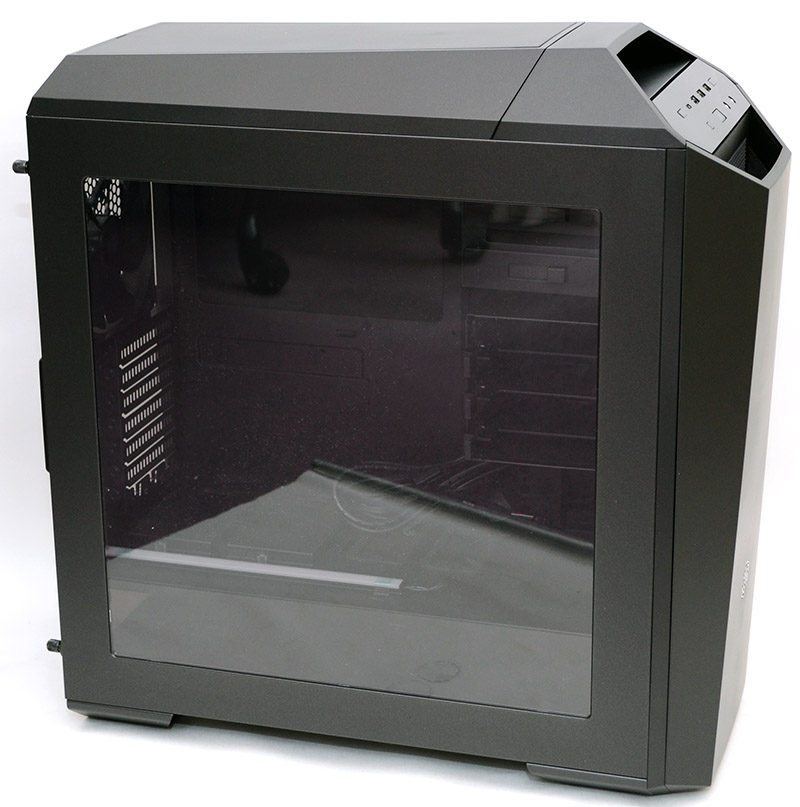
Down the left side, a huge side panel window with a mild tint, giving you a great way to show off your hardware and LED lighting.
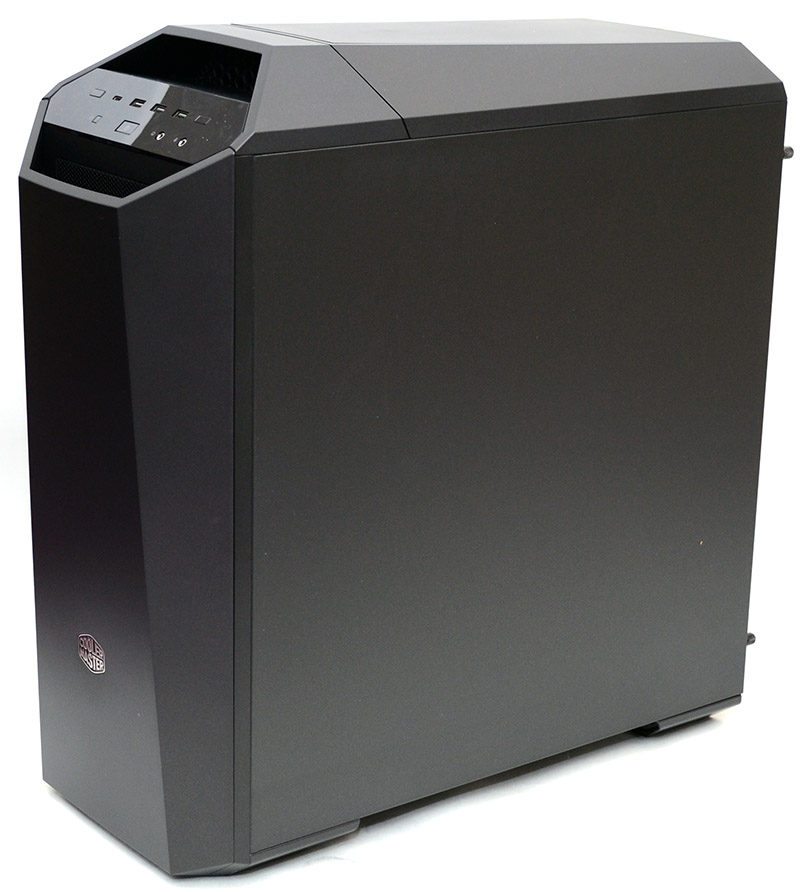
A thick and durable black panel on the right; both side panels are held in place by easily accessed thumb screws at the back of the chassis.
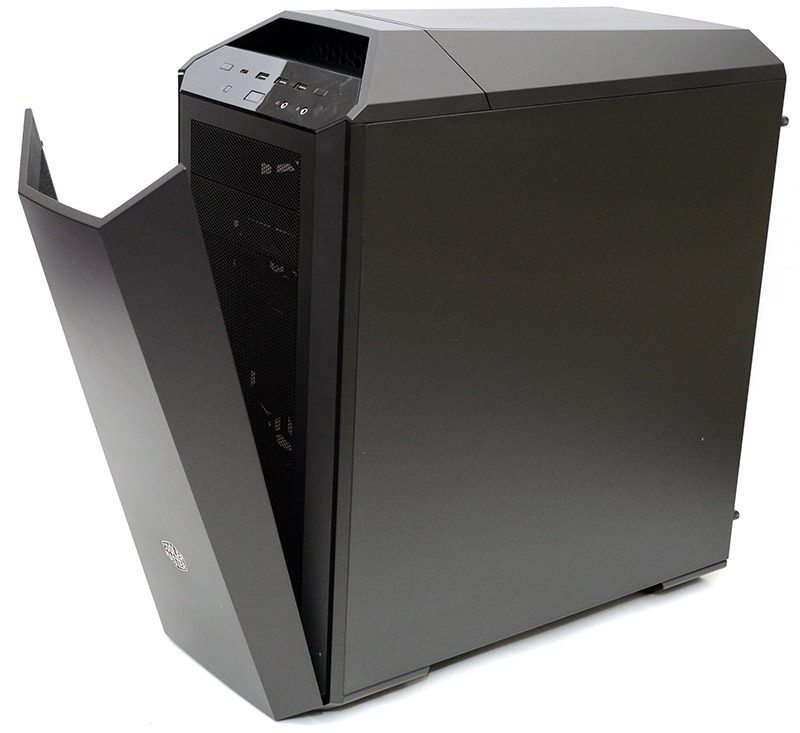
The front panel has been completely changed here, with a pull-down front cover that makes the chassis a little longer, but also giving it a focus on silence vs the open mesh of the previous models; it’s certainly stylish and gives it a very professional appearance.
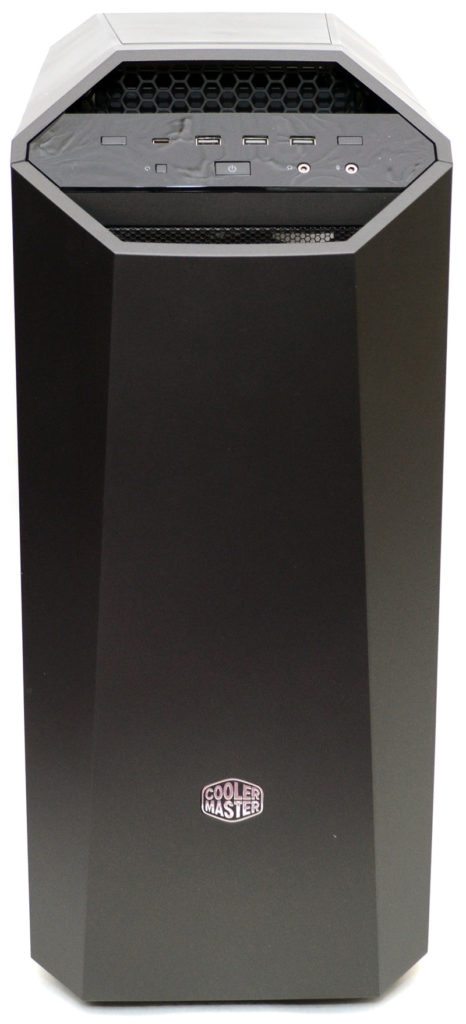
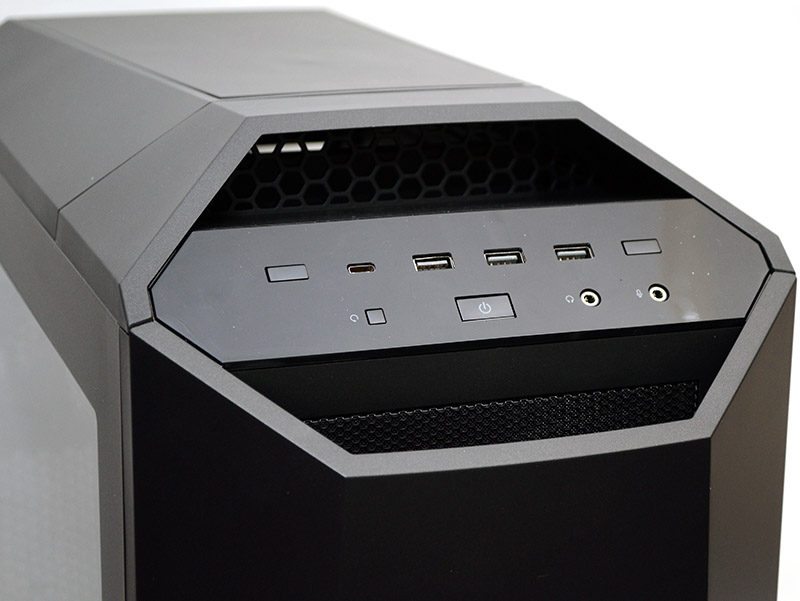
There’s a new I/O panel, as well as a taller and reshaped top section, helping further match the design of the new front panel. There are all the usual USB ports here, but one worth note is the Type-C connector, as well as a button on the left and right, which will be for fan speed and LED lighting control. There’s another trick to the front panel too, but we’ll be showing you that later in the review!
Back to the main section of the front panel, we can see that it pulls forwards on a hinge, allowing you easier access to the dust filters. The top section snaps shut with magnets too, so it’s nice and each to open/close.
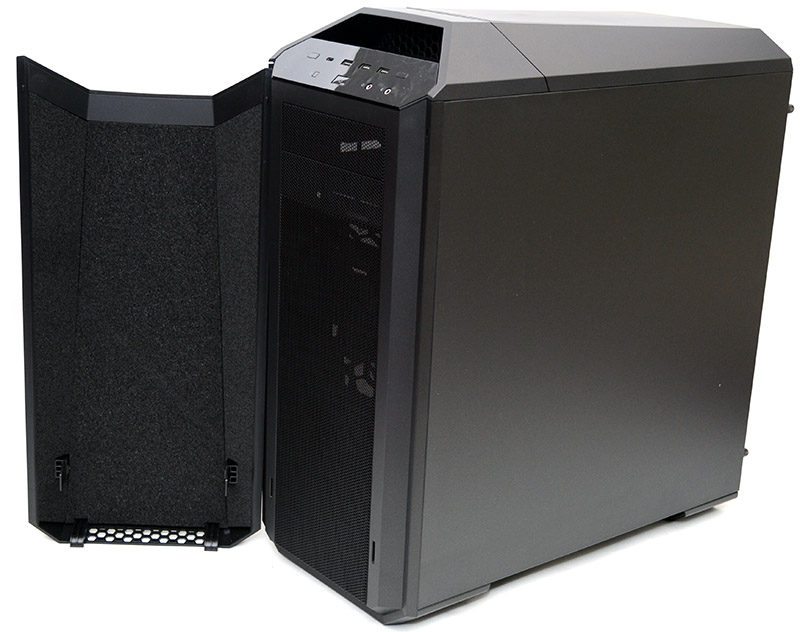
 Simply lift the panel out if you need to, and as you can see, there’s a thick layer of sound dampening material on the back of it, helping soak up sound from the front panel fans.
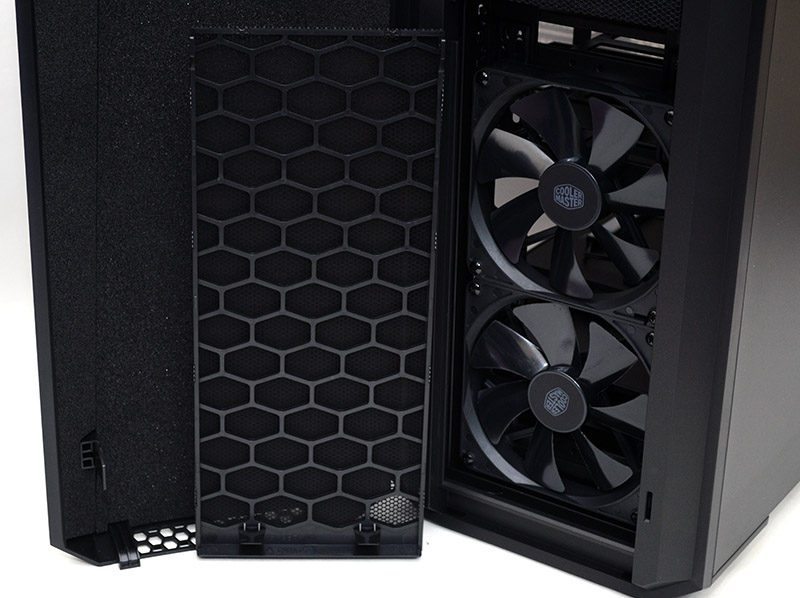
The next layer is a filtered mesh, and behind that, you’ll find a pair of excellent quality 140mm CM fans.
Around the back, you can see this is a fairly wide chassis, which should mean lots of room for water cooling runs, wide expansion cards, cable routing and more.
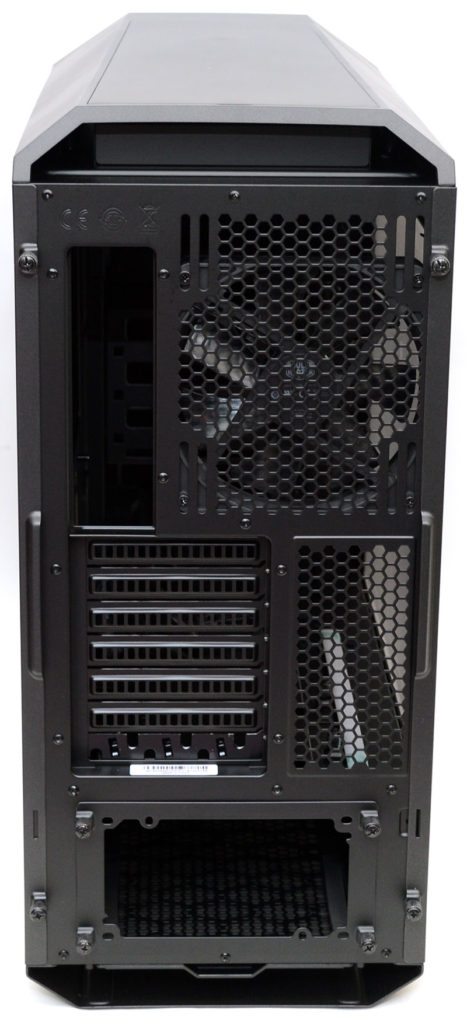
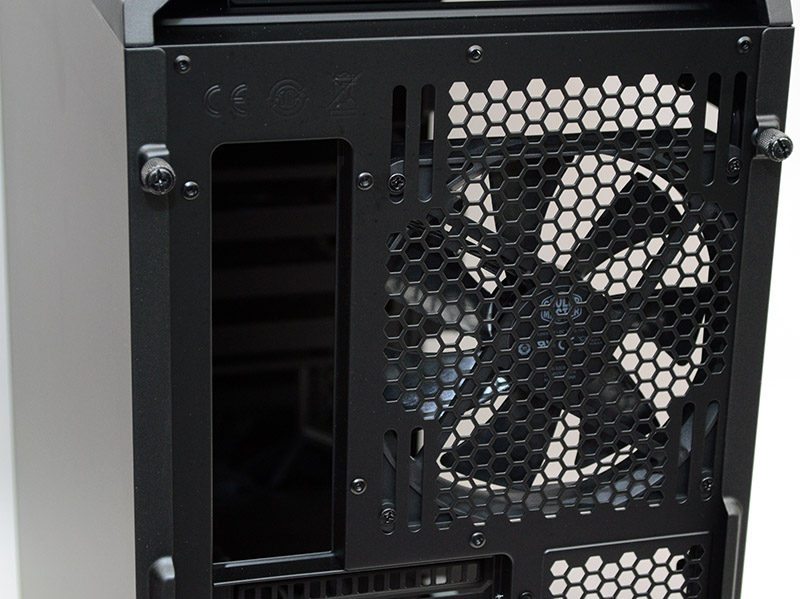
There’s a 120/140mm mount at the top with a pre-installed 140mm fan, but there are also elongated screw holes, allowing a large amount of height adjustment; handy for those installing radiators.
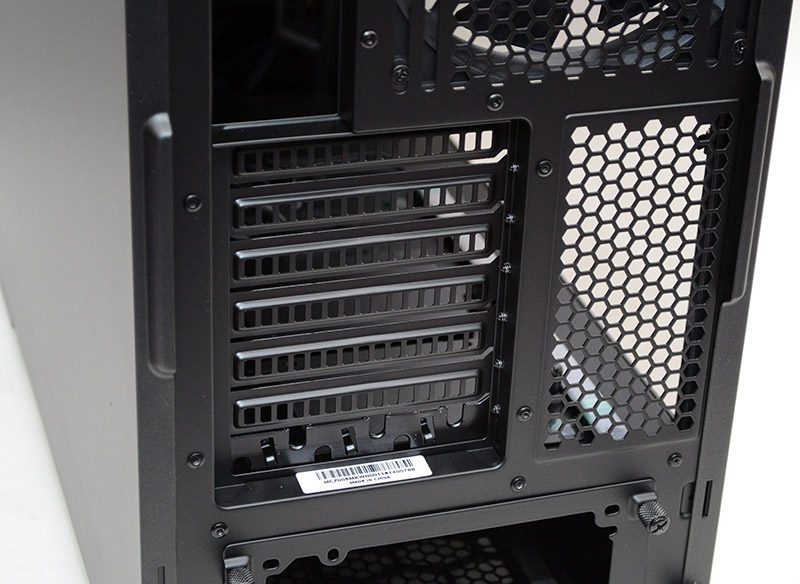
Seven ventilated and reusable expansion slot covers, as well as extra ventilation to the side of them.
The PSU needs to be mounted from the rear of the chassis, and you’ll find an installer bracket with four thumb screws, making it pretty easy to opened up and installed without too much fuss.
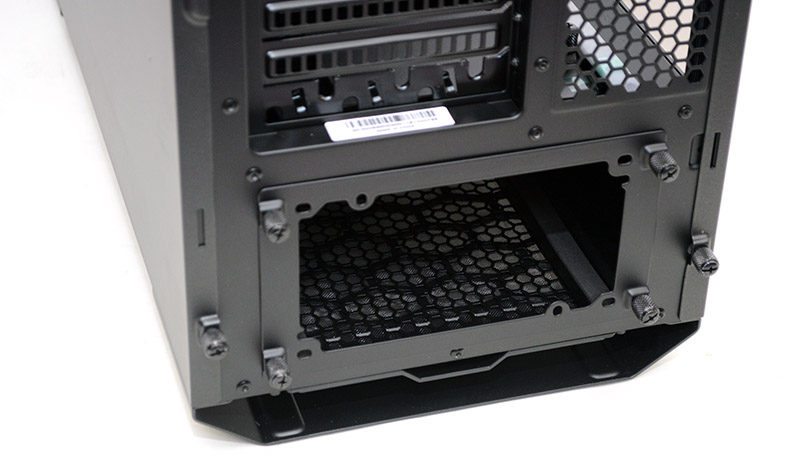
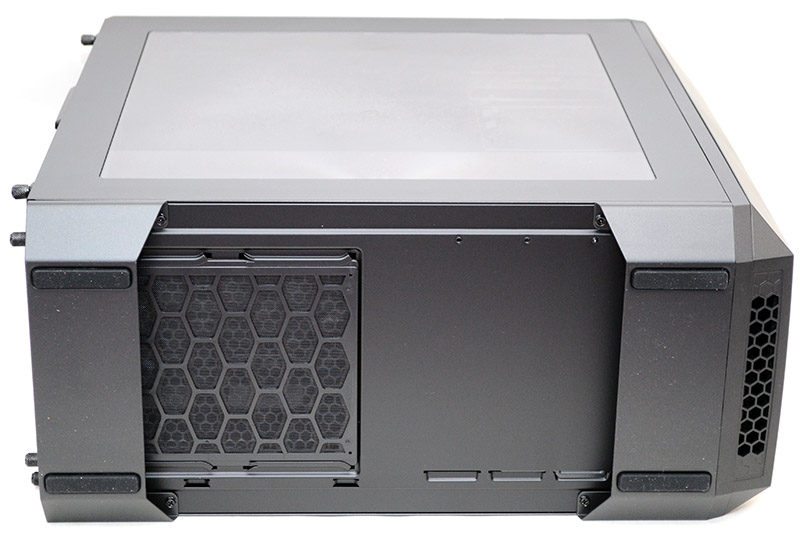
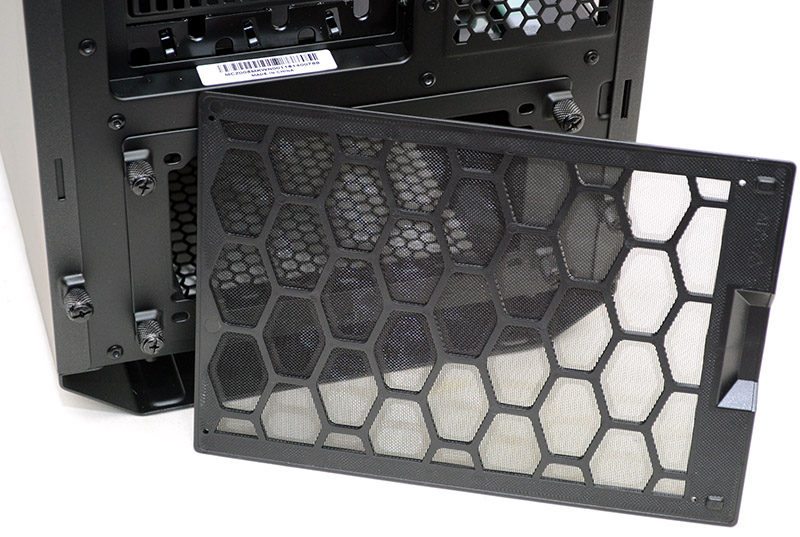
Just below the PSU, a slide-out and washable dust filter for quick and easy maintenance.
The top panel isn’t lacking in tricks and surprises either, in fact, it may be one of the best top panel designs we’ve seen! Here you can see it fully closed up, looking nice and sleek and maximizing the noise suppression of the chassis.
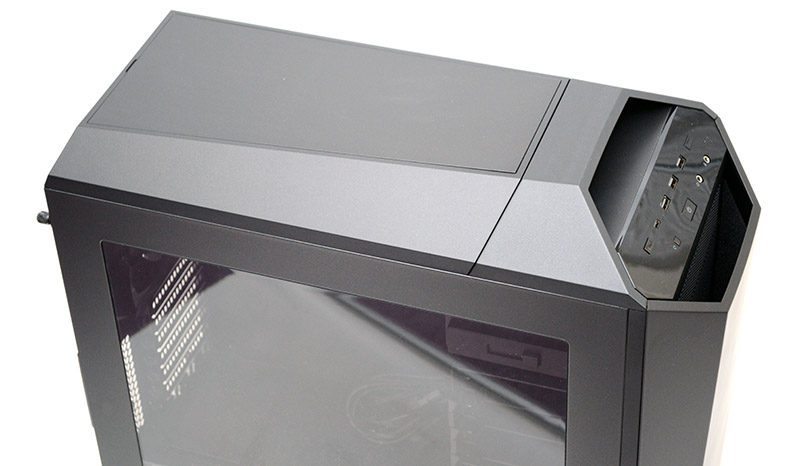
The magnetic top cover lifts off with ease.
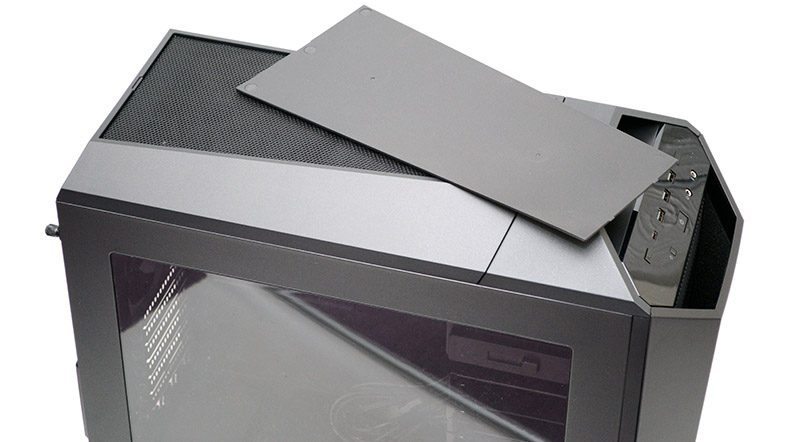
This gives you a huge ventilated and nicely filtered top section for extra airflow.
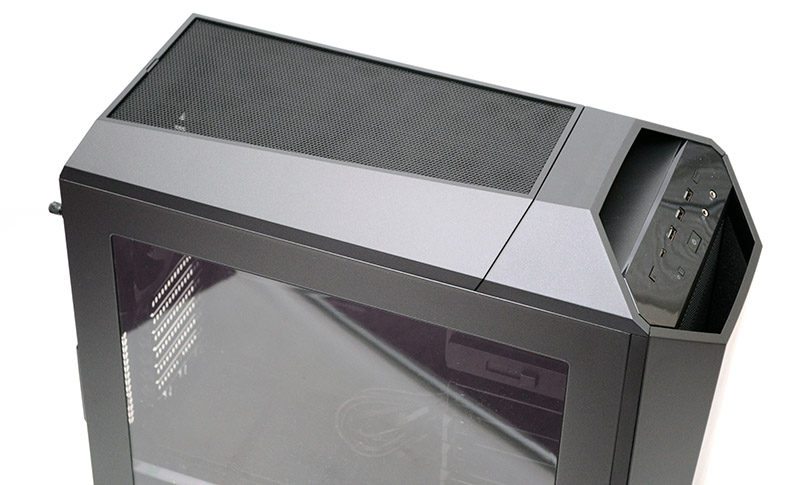
Slide that panel back to unlock it.
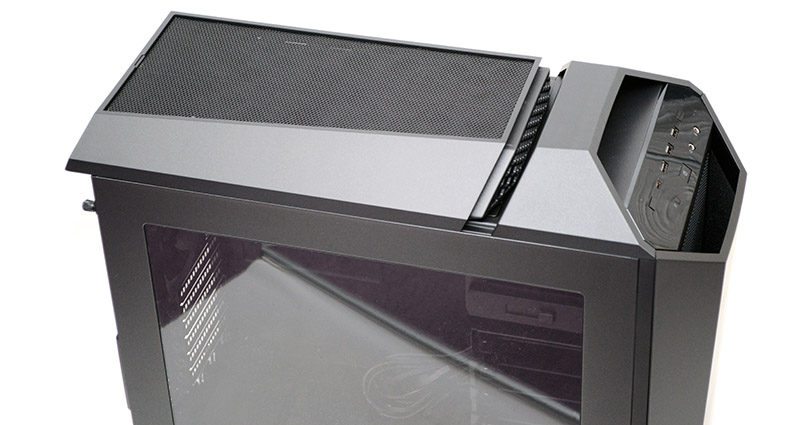
Then you can lift it off and easily clean the debris filter on it.
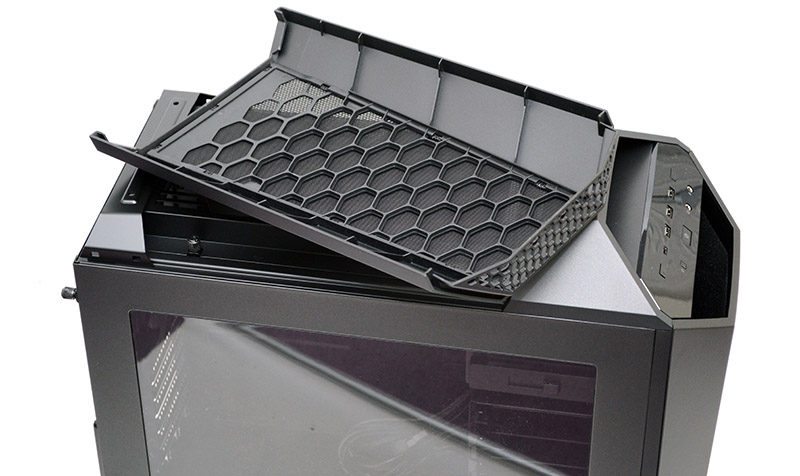
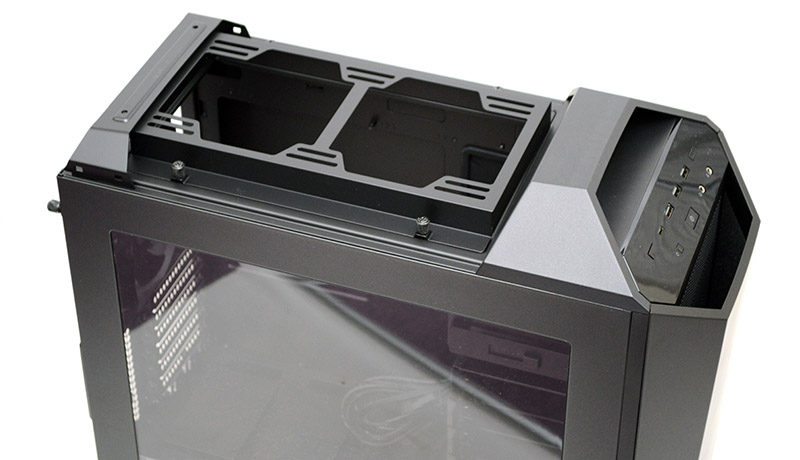
With that removed you can easily access the top panel fan and radiator mount, which comes with 120/140mm spacings and is raised above the interior of the chassis to increase radiator/fan support. Even better, this whole bracket can be undone with a pair of thumb screws, lifted out of the chassis and that makes it even easier to install your cooling hardware.
On the base of the chassis, two full-width metal feet, each fitted with durable rubber grips and giving excellent ground clearance to the PSU dust filter.
