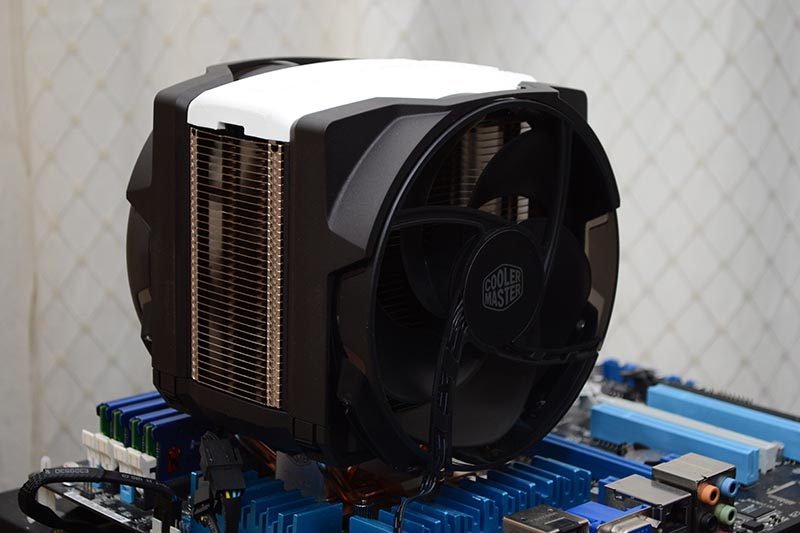
Cooler Master MasterAir Maker 8 CPU Cooler Review
Peter Donnell / 8 years ago
Installation
This cooler keeps Cooler Master’s “Make it Yours” mentality going strong. You can remove the lovely top cover if you like, and see the lovely silver (plastic) top cover with LED lighting, or…
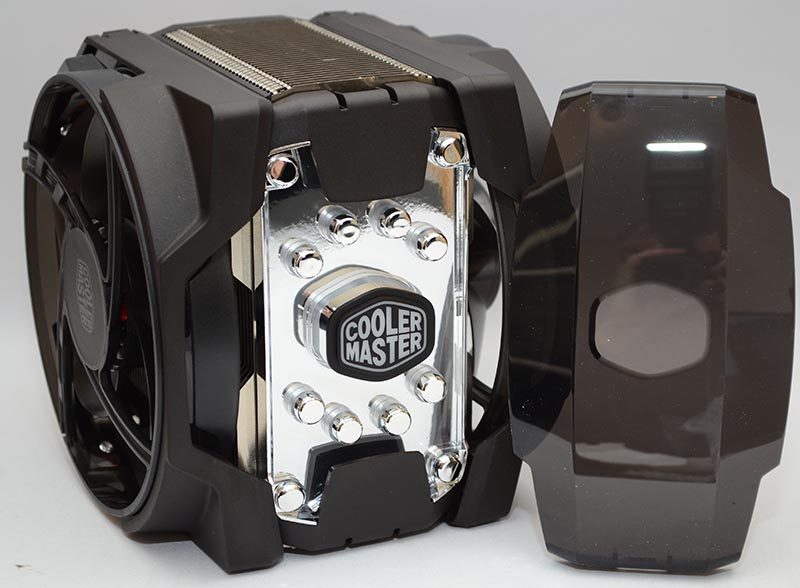
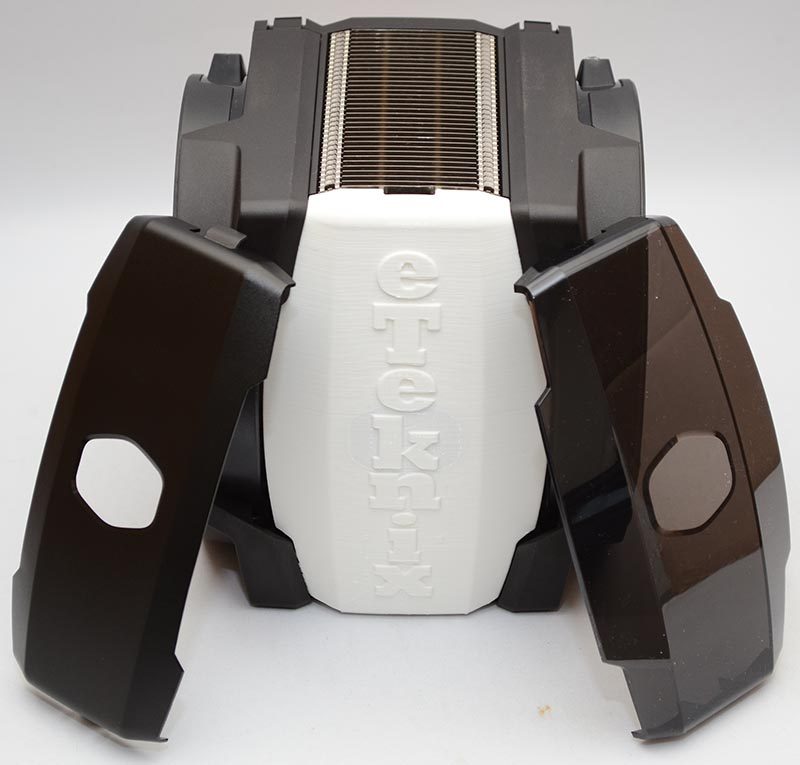
You can fit the black aluminium finish panel for a clean look, although a cut-out in the top will still show off the LED lit CM logo. Unfortunately for all the rest of you in the world, you have to be super special to have the cover we have. A custom printed eTeknix logo made on a 3D printer, how freaking sweet is that! Don’t worry, you can download 3D models from CM and design your own, you could even put an eTeknix logo on your own, or maybe your own name/picture, whatever you wanted.
The back plate comes with pegs and sliders pre-fitted, so just pop it on the back of the motherboard and you’re good to go.
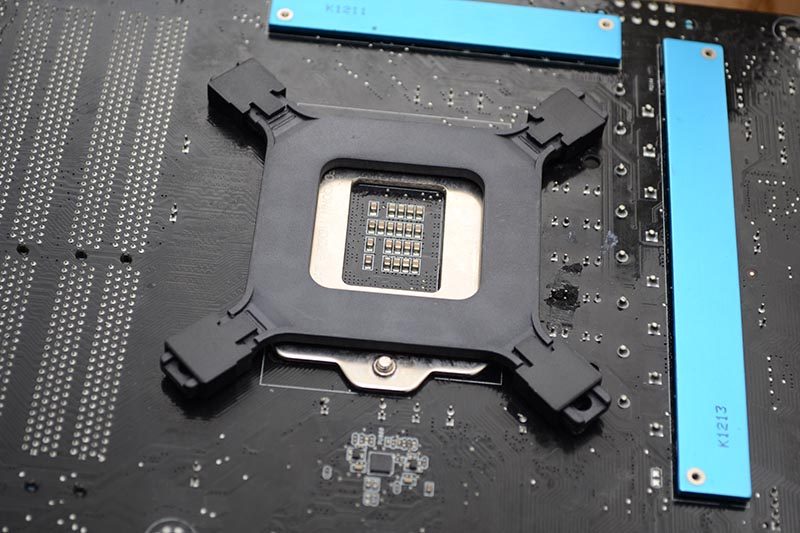
Four retention screws on the other side keep the back plate in place.
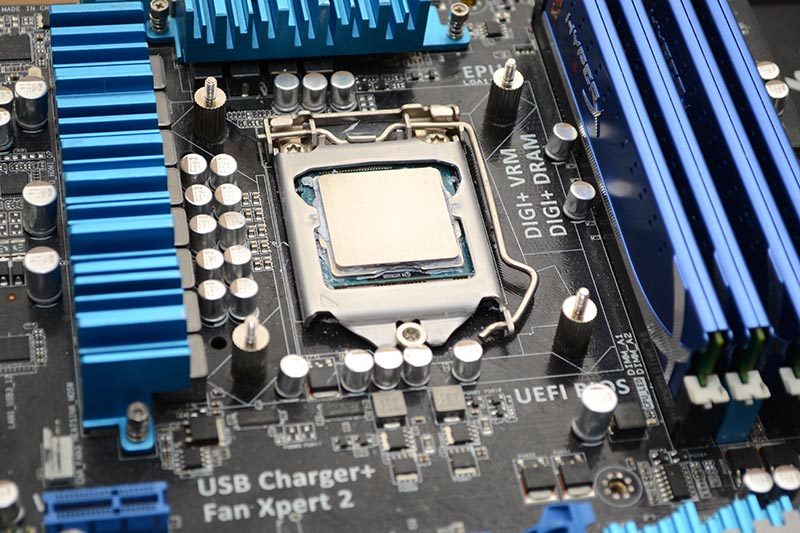
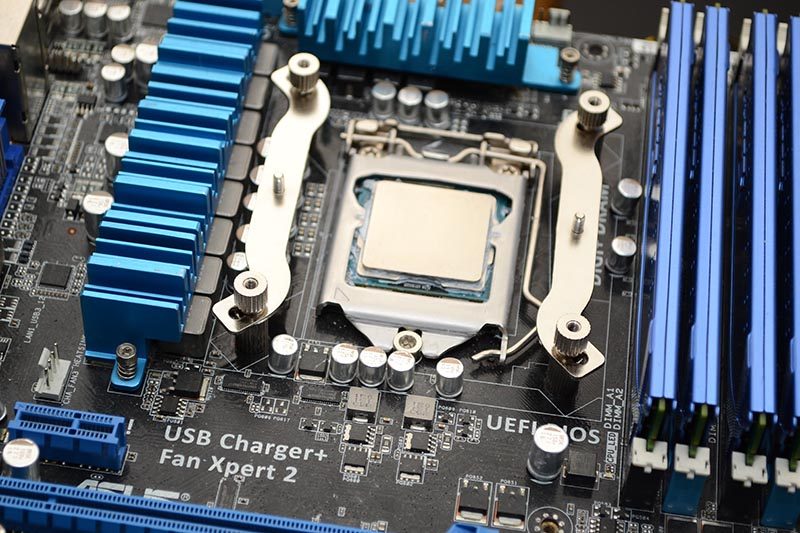
Add the mounting brackets and top thumb screws, in fact, we haven’t had to reach for a single tool to do any of this so far.
Until now that is, we need to screw down the CPU cooler using two screws, and that means taking the fans off for a moment.
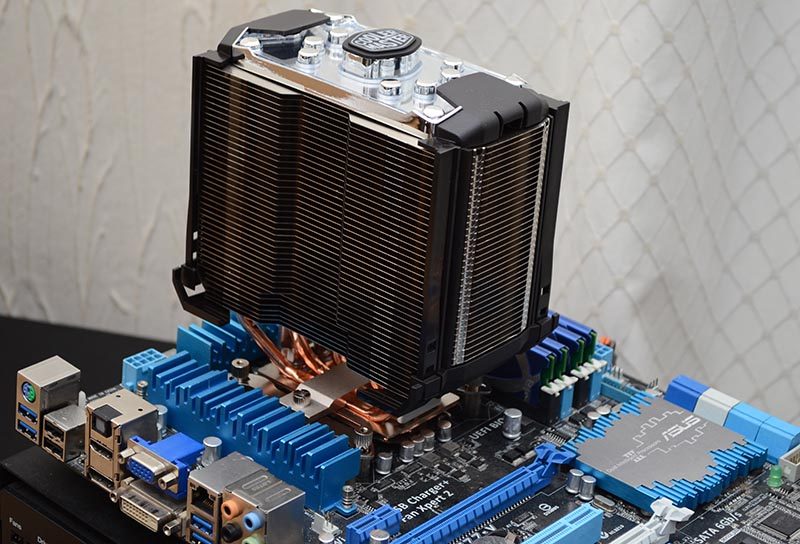
Locked very securely in place.
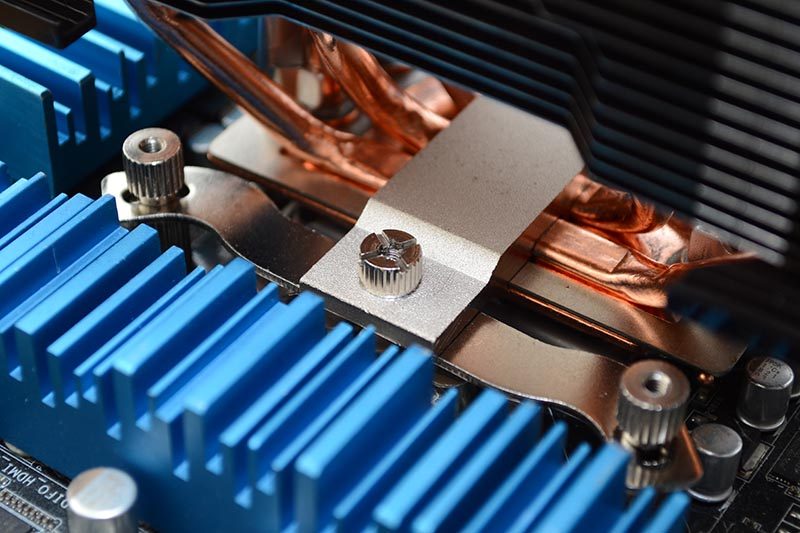
Taking the fans off was incredibly easy. They’re actually on sliding rails, so simply remove the top cover and lift the fans up and off the cooler. Slide them back down until you hear a click when re-installing them, and you’re good to go!
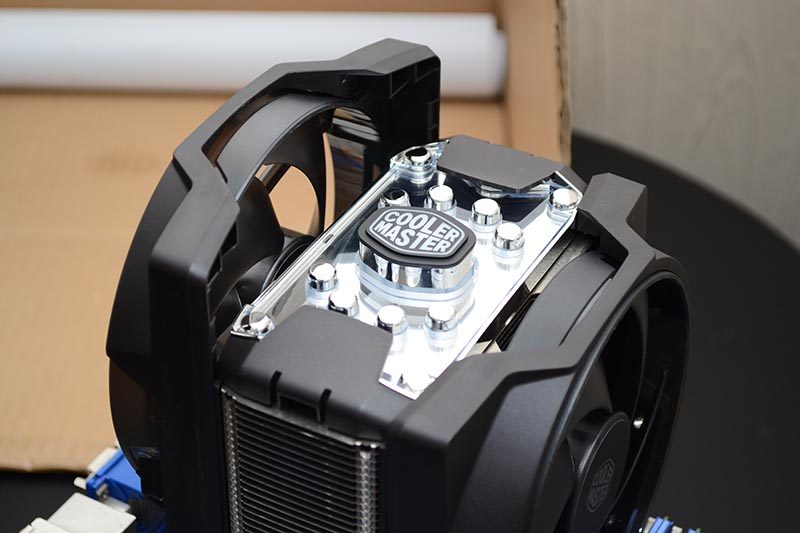
Everything is in place now, and the whole thing took about five minutes, very quick and painless.
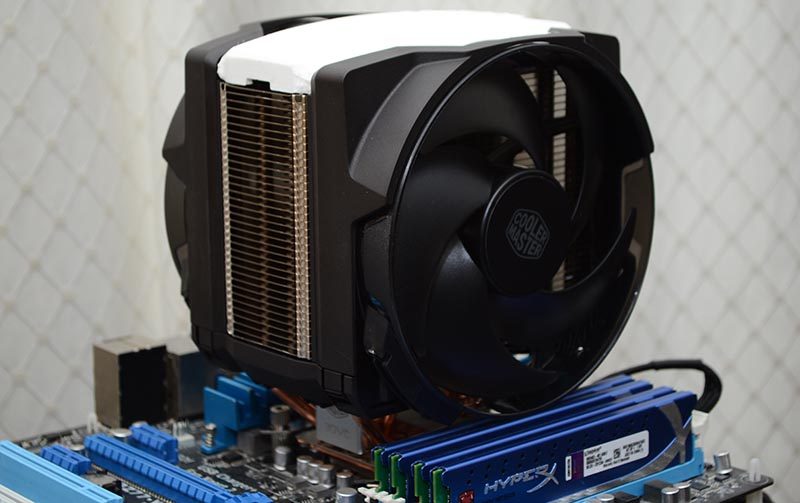
Looking good with that custom top cover, although the two stock ones look pretty great too.
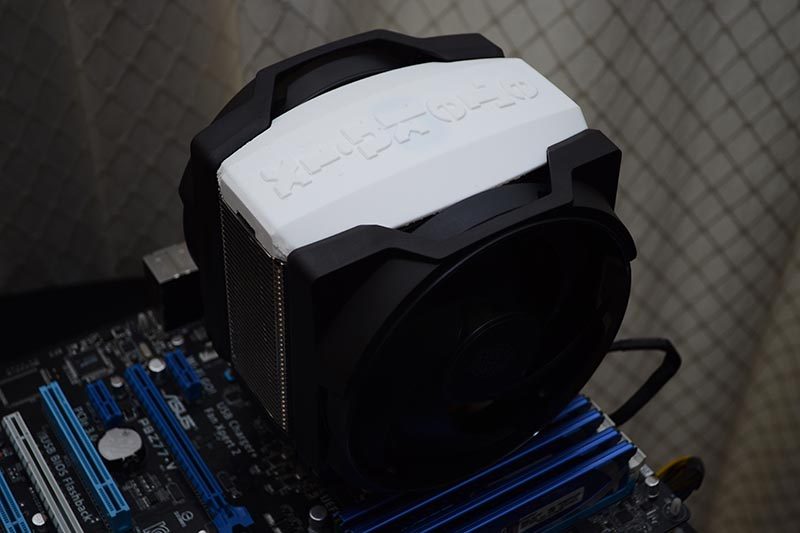
This is a big cooler, so keep in mind that RAM clearance on the slot closest to the CPU cooler is limited, and low-profile modules should be used.
