Cooler Master Mastercase Maker 5t Chassis Review
Peter Donnell / 8 years ago
A Closer Look – Exterior
The Maker is out of its box and well… wow! This chassis has some serious presence to it, its big, it’s bold and it is quite simply drop dead gorgeous! Down the left side, you’ll find a huge sheet of tinted tempered glass, giving us a nice look at the interior that we expect to look even better once the built-in lighting is powered on. Don’t worry about fingerprints too much on the glass, Cooler Master included a free microfiber cloth in the box to keep it looking smart.
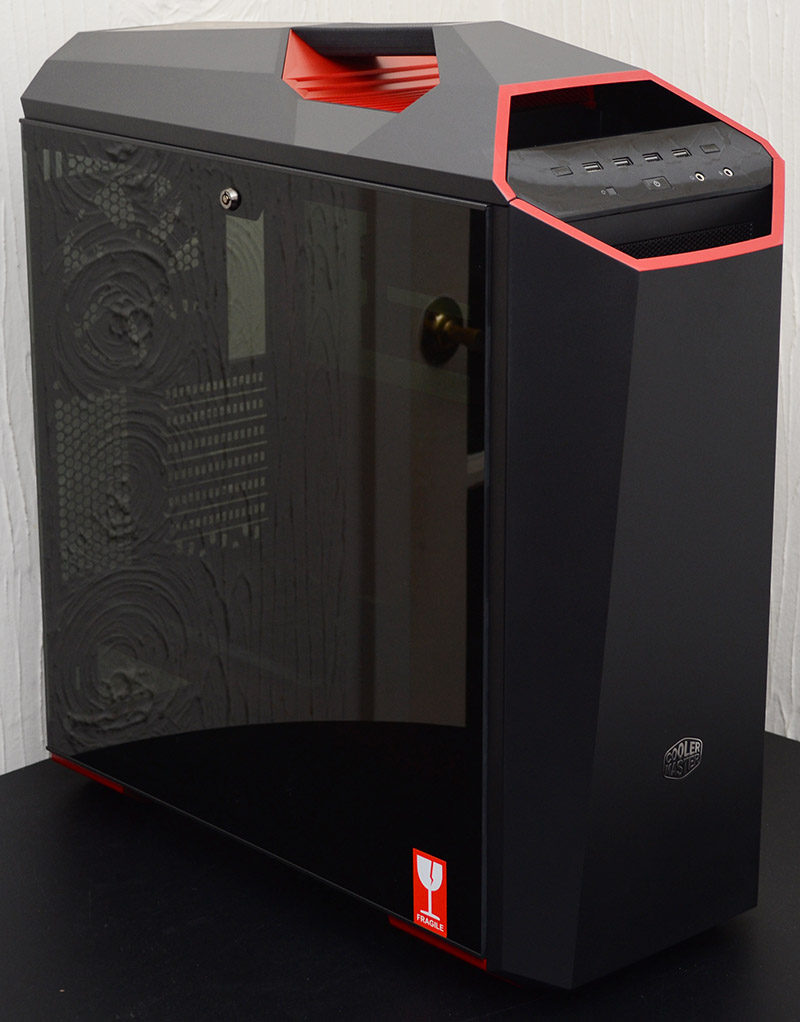
The side panels use a durable locking system and there’s a pair of keys in the box to keep it firmly in place.
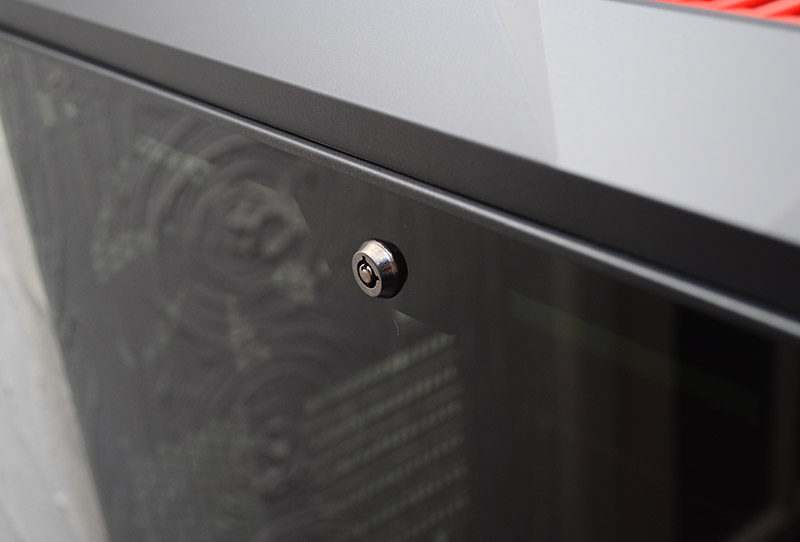
The right side panel looks just as good too, another huge tempered glass panel, and another locking system to keep it secure. This does mean you’ll have to put the effort in for cable routing even behind the motherboard, as it will be on show. However, the heavy tint of the glass should make most black cables vanish easily enough.
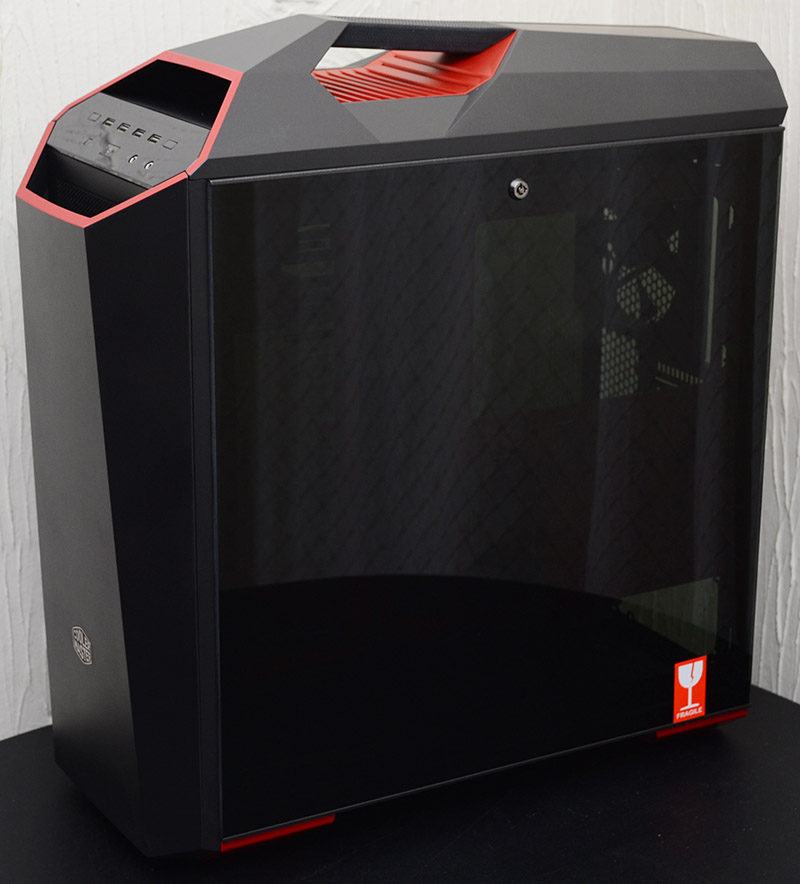
The front panel looks great with its angular design, but the deep race car red trim at the top gives it a little more of that x-factor too. The thick panel will help block a lot of unwanted noise from the front fans too, while some openings at the top and bottom will allow for lots of airflow to keep your system nice and cool.
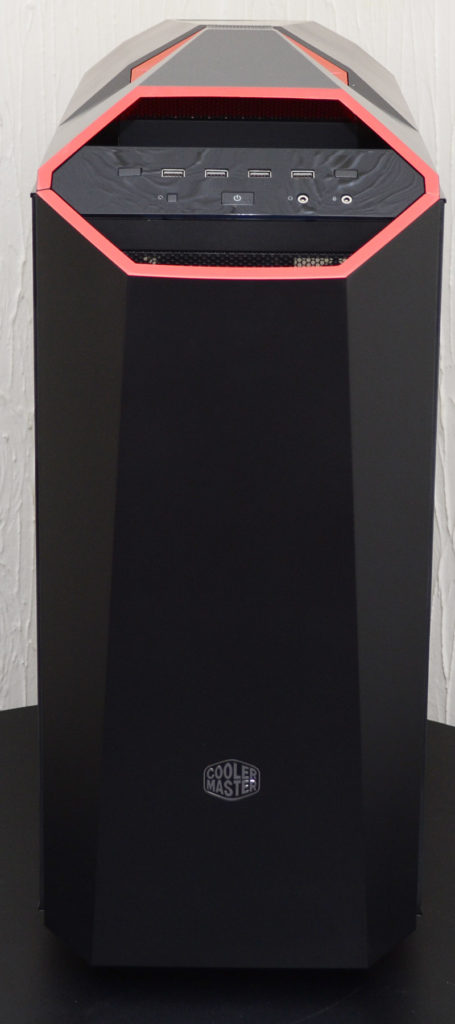
The front panel is mounted on some arms at the bottom and held shut by magnets at the top, so you can pull it forward like this. This means you’ll have enough room to access the ODD bays, while still maintaining a clean-looking front panel.
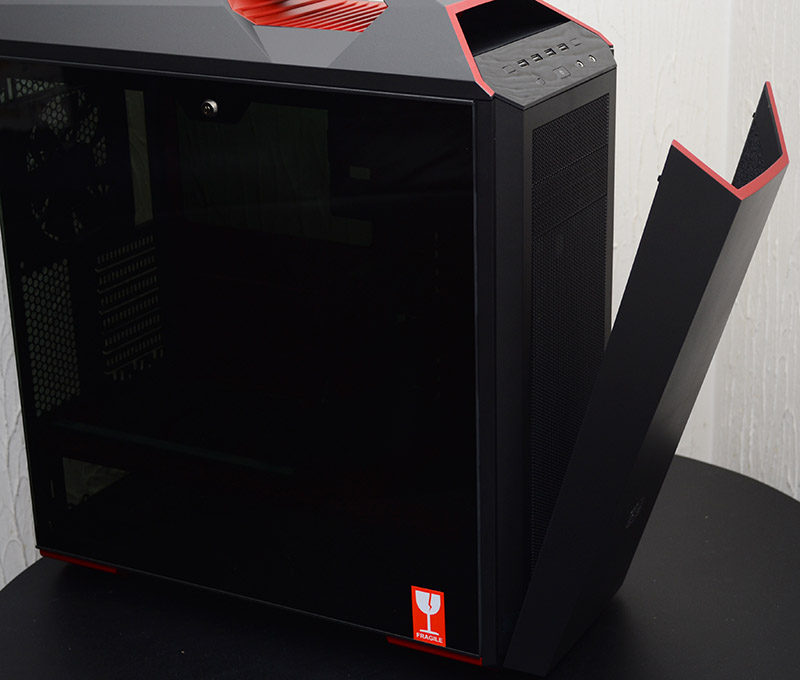
Open the cover and you can lift it up off the chassis, allowing you to get direct access to the front panel. Here you’ll find two 5.25″ drive bays, as well as a durable and removable dust filter.
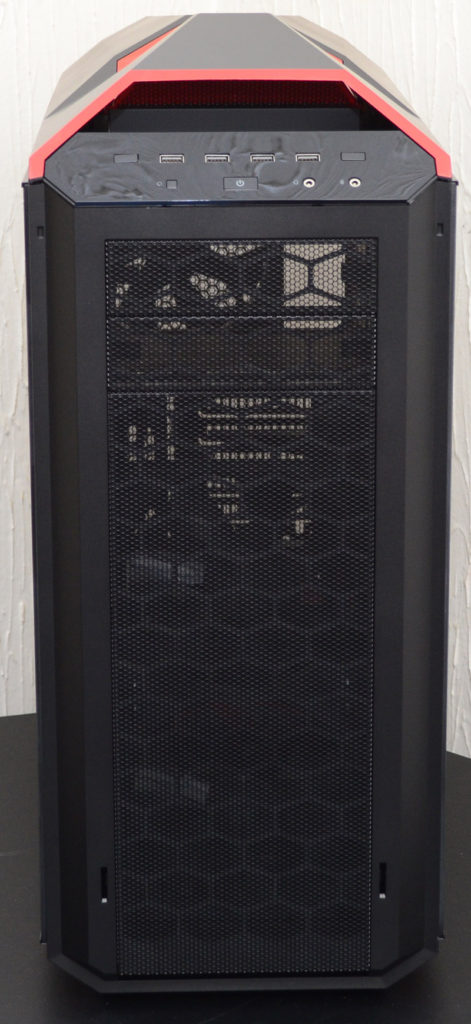
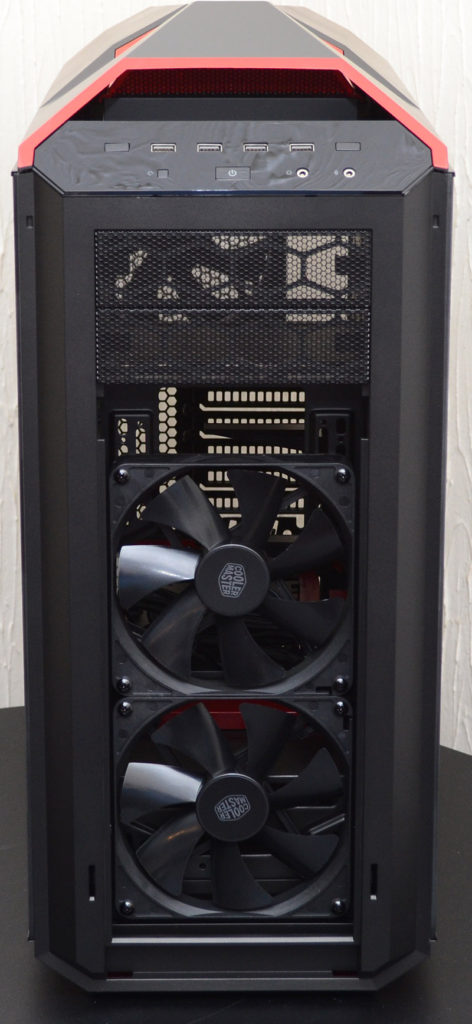
The filter pulls away easily enough, and behind that you’ll find two high-quality Cooler Master 140mm fans, giving you a great amount of airflow at low RPM.
Around the back, you’ll find a 120/140mm fan mount towards the top, with a 140mm fan pre-installed. The mounts use elongated screw holes too, so you can height adjust the fan or your radiator to ensure compatibility with other components.
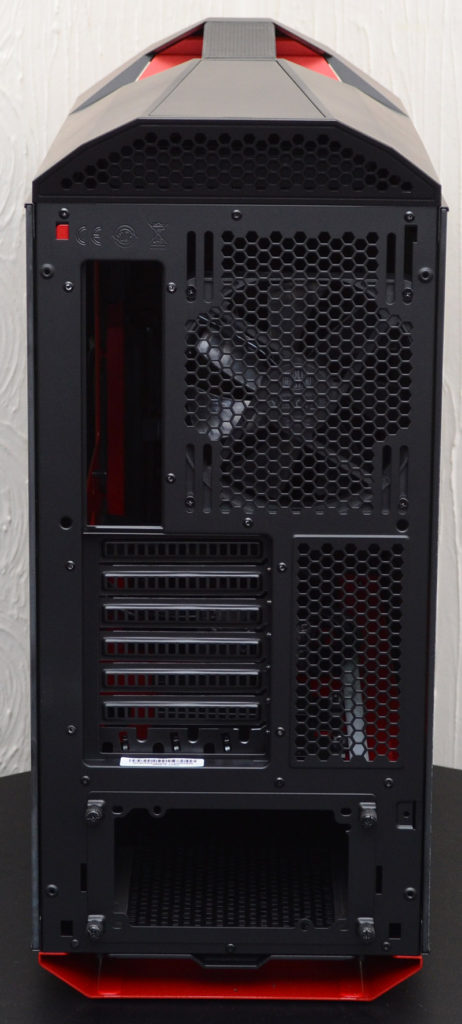
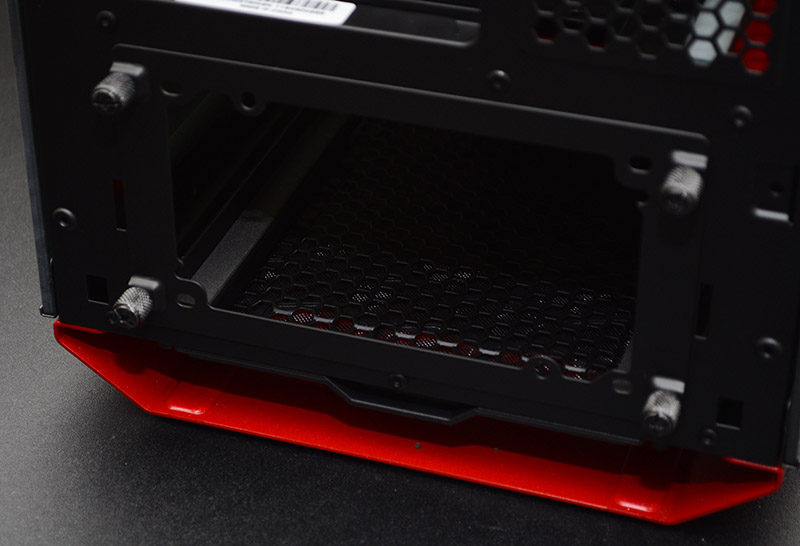
The PSU mount uses a removable bracket with durable thumbscrews. Remove the plate, mount it to your PSU, then slot both back into the chassis for a nice easy installation.
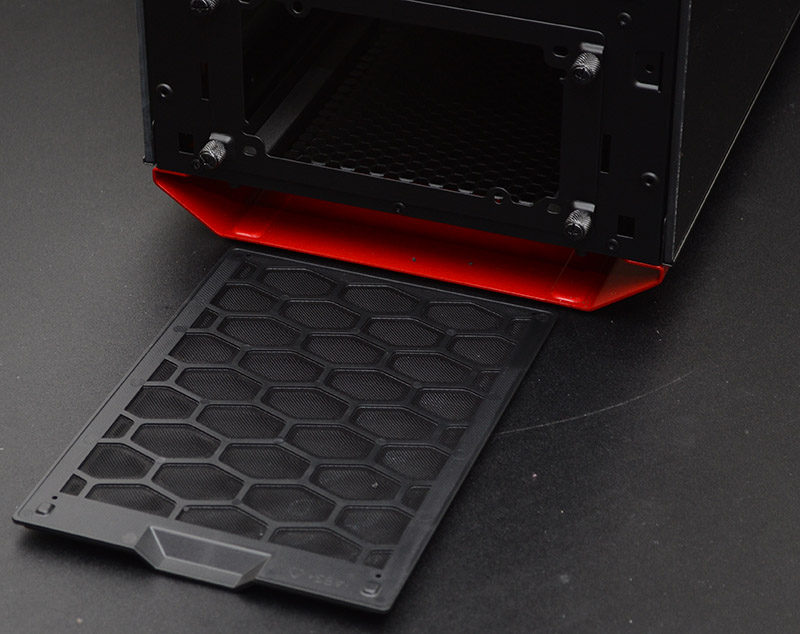
Below the PSU, a slide out washable dust filter, ensuring clean independent airflow to your power supply.
As much as I love everything we’ve seen so far, it’s the top panel that I love the most. Not only does it look great with its angular design and rich red coloured highlights, but it also features a monster sized carry handle.
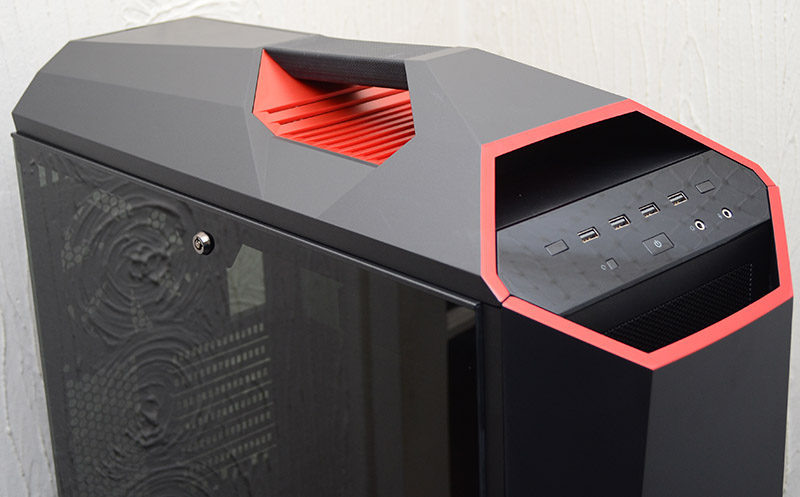
The handle is thick and incredibly strong, with a durable rubber grip coating. I love seeing this here, as it reminds me of the classic Cooler Master Storm Stryker, which was a fantastic chassis many years ago. While this chassis isn’t light, the handle helps a lot and it’s perfect for those who want to hulk their system to LAN parties.
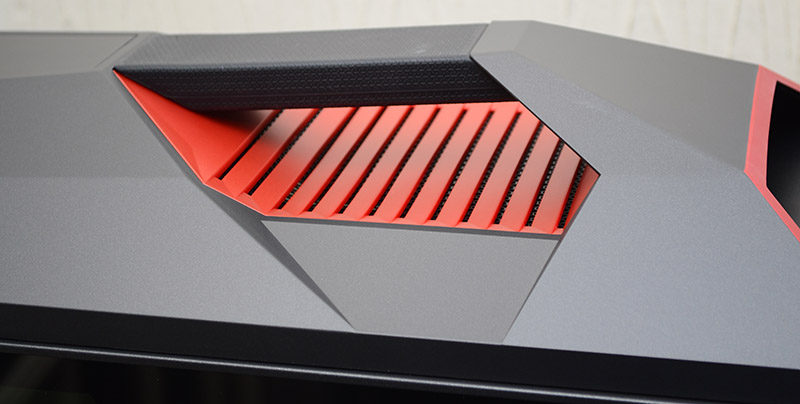
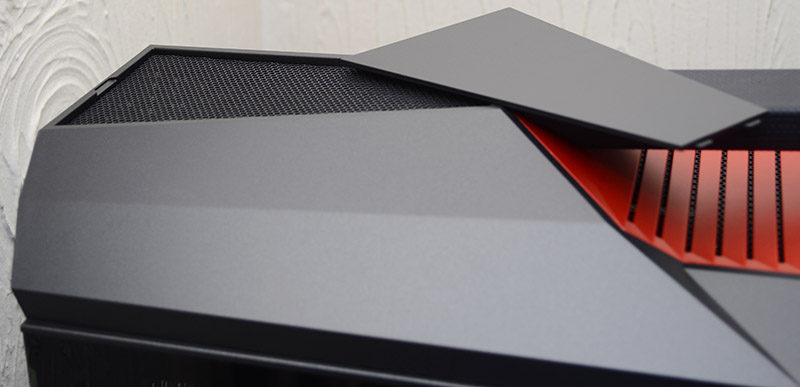
Towards the back, there’s a small and rather stealthy looking cover. This can be lifted out to provide more passive airflow through the top, or for any top mounted fans/radiators. If you look at the image above, you’ll also notice plenty of ventilation for the top mounted cooling on the red section for the handle too. Cooler Master has done a great job of making all the ventilation less obvious and looking rather stylish.
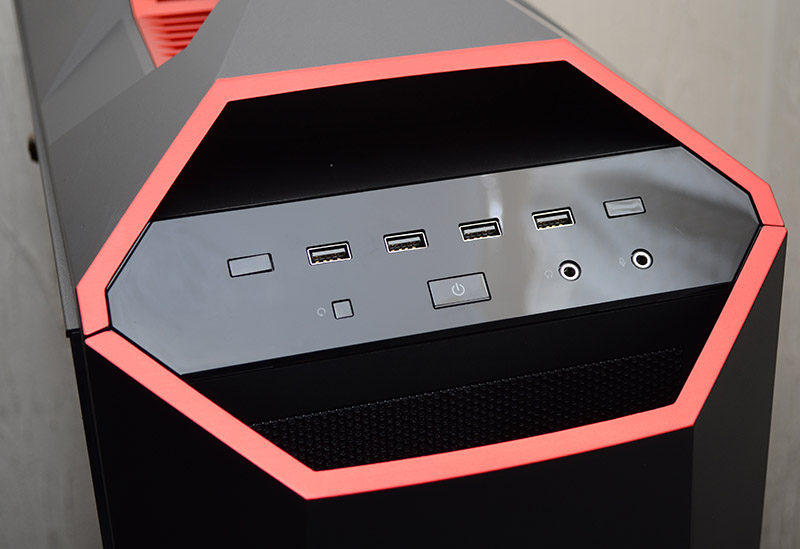
The front panel is well equipped, with all the usual controls, and while it’s not clear what is what, wait till we power the system on later, where we’ll take a closer look at the front I/O.
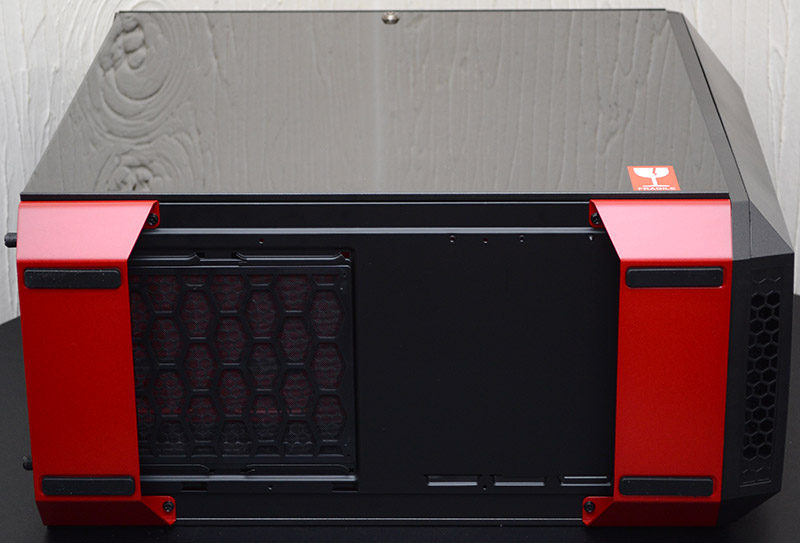
On the base, two very durable folded metal legs with thick rubber grips, so we’ve certainly got no concerns about stability here!
