Cooler Master MasterCase Pro 6 Chassis Review
Peter Donnell / 8 years ago
A Closer Look – Interior
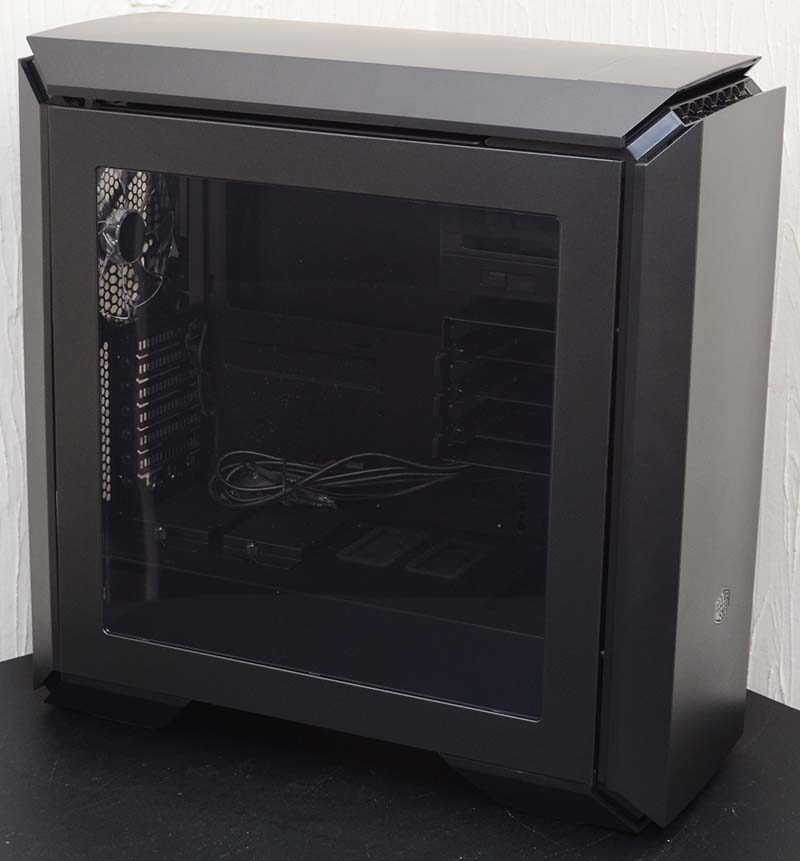
The MasterCase Pro 6 makes a strong first impression. The chassis feels pretty heavy, because it is, and that’s because it has that same durable interior frame as the MasterCase Pro 5 series, which we already know was brilliant. The big changes are immediately apparent, with that new top and front panel, while the side window design remains unchanged, it’s still a massive window that’s going to give you a great view of the system interior.
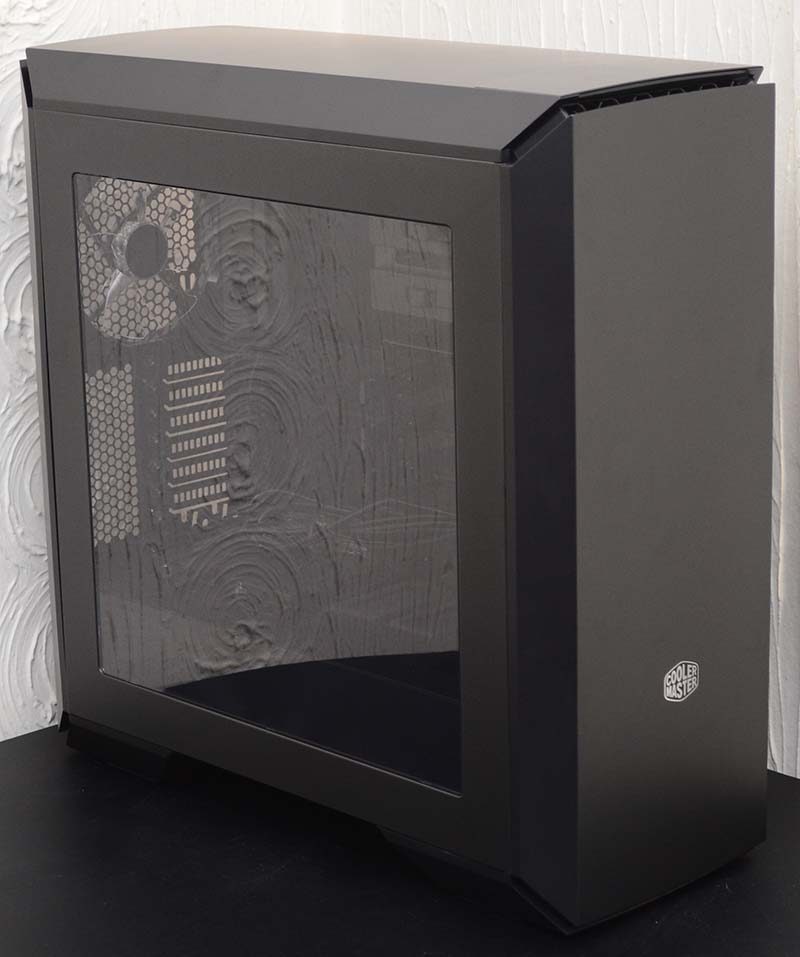
Down the right side, a solid blank panel, and each panel is held in place by thumb screws at the back for easy access.
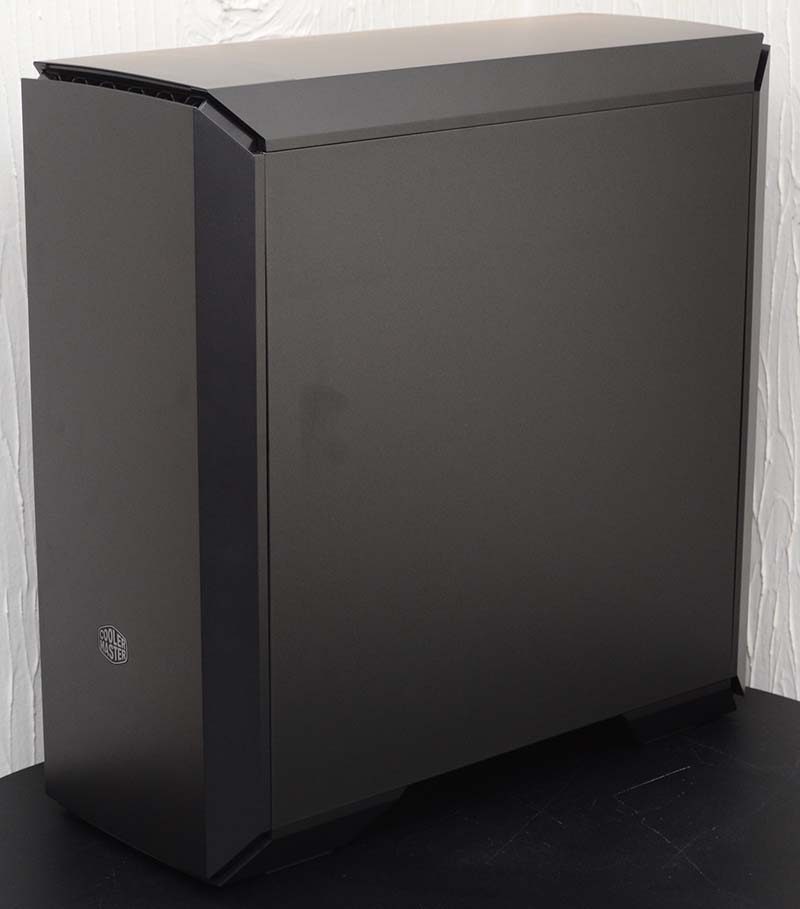
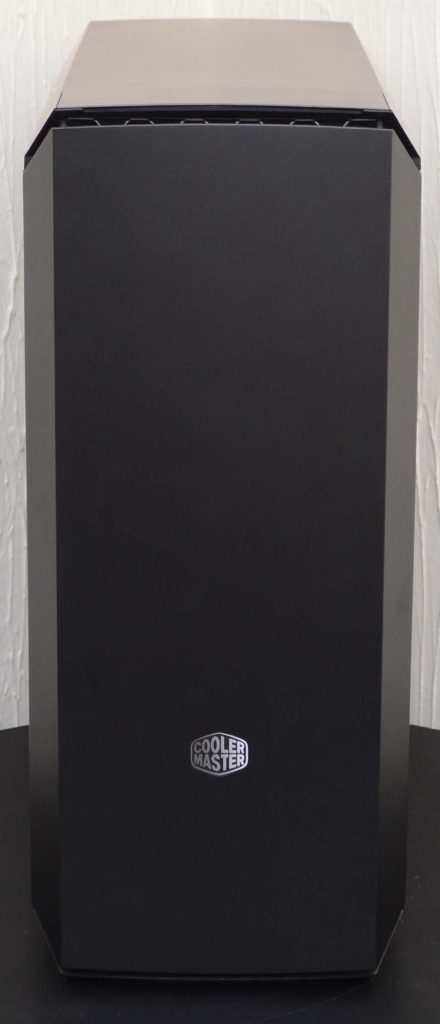
This super clean-looking front panel looks stunning, and little details save a purposely bland panel from looking boring. The edges have an angular design, allowing them to give a nice contrast as light hits the chassis, and the top edge has a slight curve to it, which I think is subtle but stylish.
Around the back, you’ll notice there’s a trim around the edges that matches up with the side and top panels, which hides the side panel screws and a part of the view of the rear I/O when viewing the chassis from the side, helping further push that sleek aesthetic as far as possible.
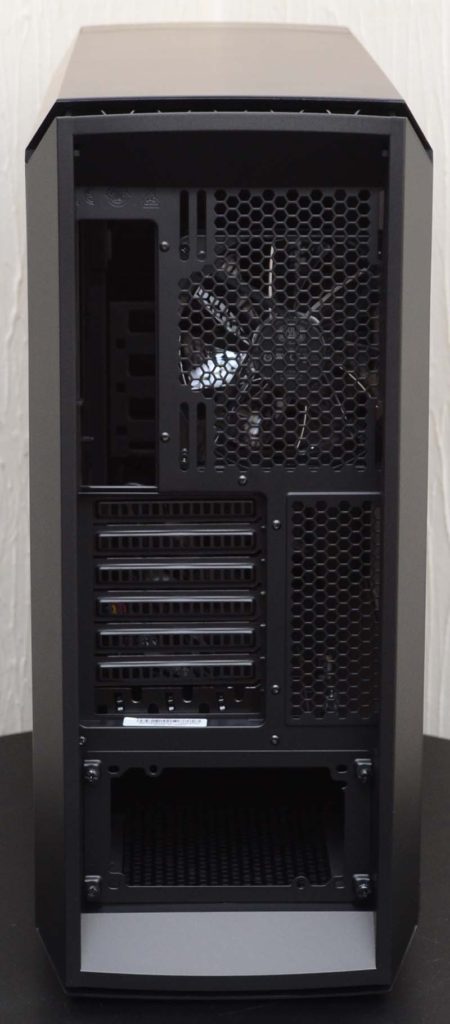
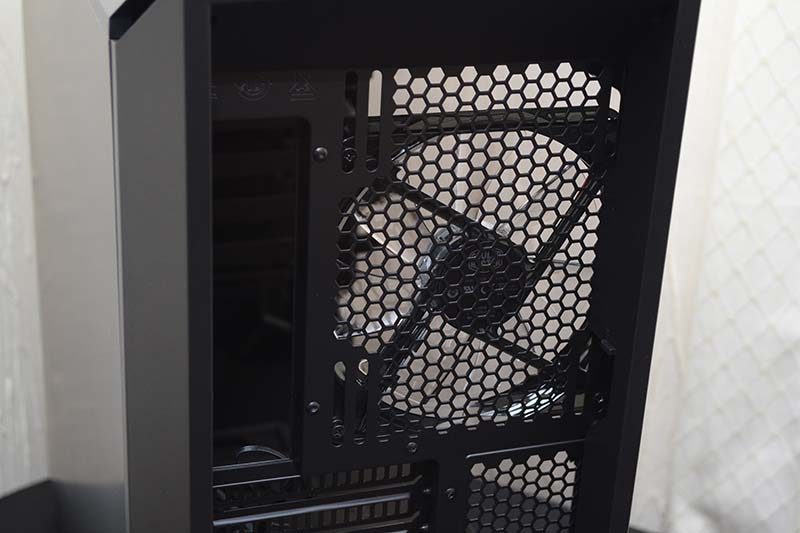
Up at the top, there’s a pre-installed 140mm fan, although you can fit a 120mm fan here if you wished, and those elongated screw holes should make it super easy to find the optimal fit for a radiator, especially an AIO.
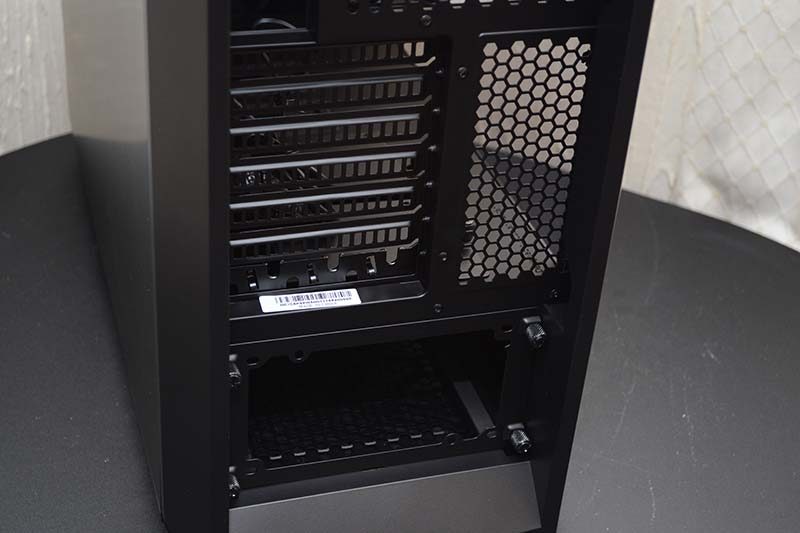
Further down, we’ve got 7 ventilated metal expansion slot covers, and some more ventilation at the side too; it never hurts to have more heat exhausts in a chassis! Finally, the PSU mounting bracket at the bottom, simply undo the thumb screws to mount your PSU here; nice and easy.
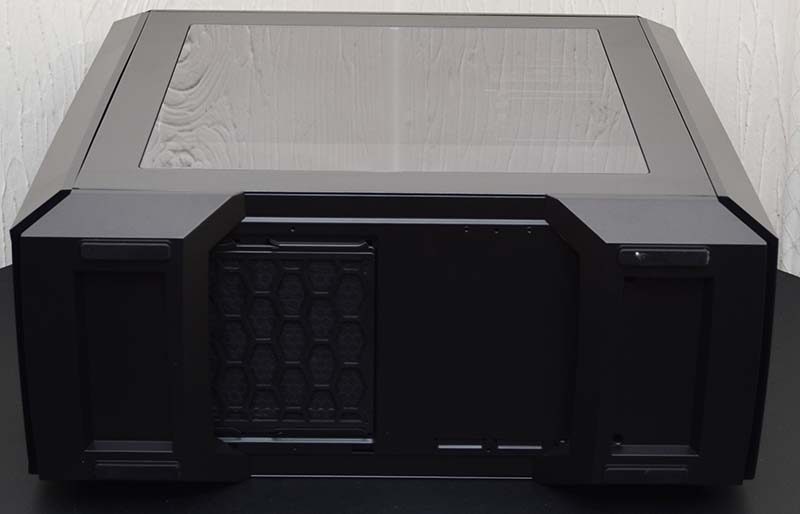
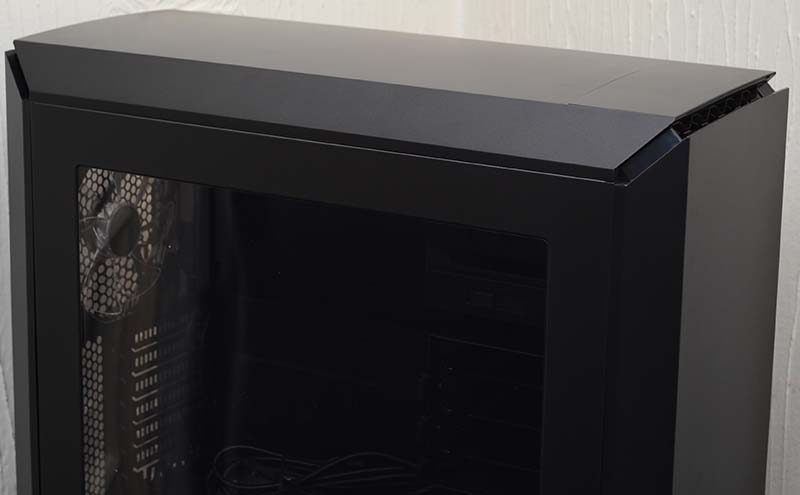
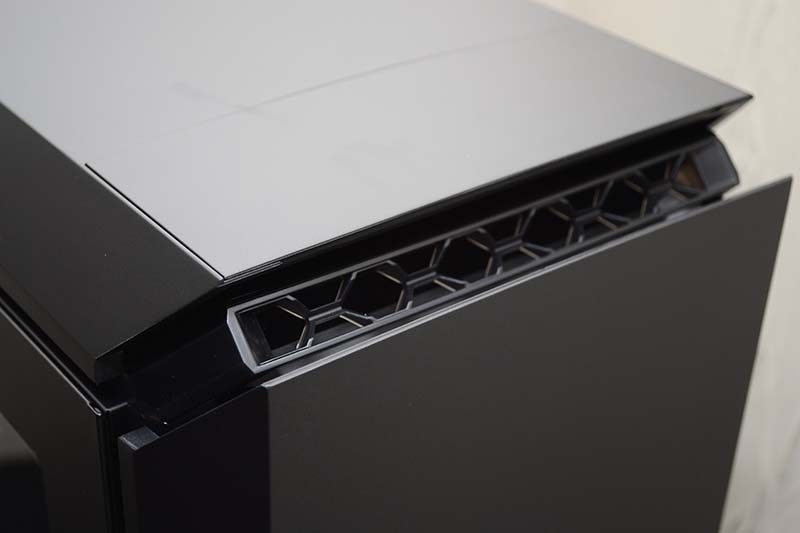
The top panel uses a similar theme to the front panel, with the angular sides and slightly curved front and back edges. There’s a gap between the top and front panels for ventilation, another gap at the rear of the top panel, and one more at the bottom of the front panel, giving us lots of indirect airflow. However, there’s another party trick here.
If you need more airflow, a lot more airflow, but still don’t want to compromise on the sound dampening that indirect airflow provides, simply give the front and/or the top panel a slight tug. They’ll pop up about 10cm and allow airflow in from all edges, which may come in handy on those hot summer days. What’s really cool is that while it is letting in a lot more air, it barely changes the aesthetics of the chassis, very clever.
Plus the exposed air intake on the corners look pretty cool anyway, it’s fun to sneak in some funky design between the sleeker panels.
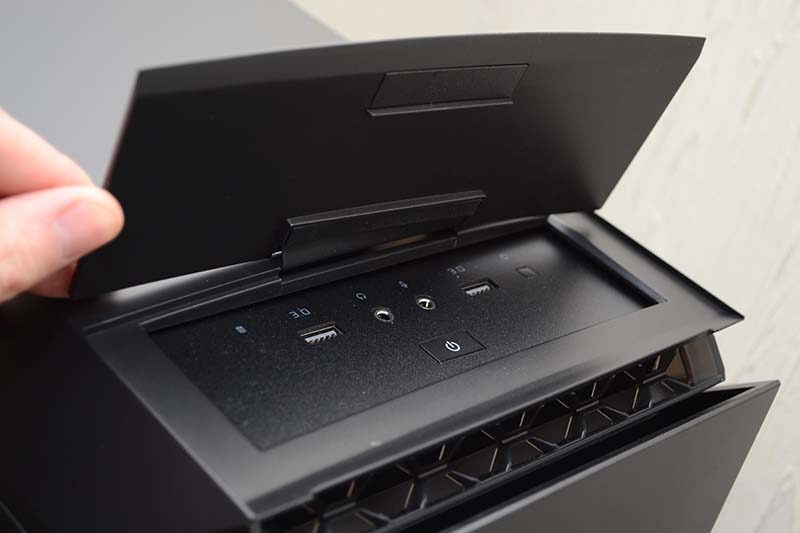
Even the front I/O is hiding under that stealthy flap, which is mounted on a durable rubber hinge. Behind it you’ll find a pair of USB 3.0 ports, HD audio jacks, power and reset; nothing crazy, but it’s everything you’re likely to need.
The panels pop up easily enough to give you airflow as they’re mounted on a spring system, but the actual panel mounts to those spring with heavy-duty magnets, so give them a bit of a pull and you can pop the panel right off, allowing you to get in there and clean your filters and fans with ease.
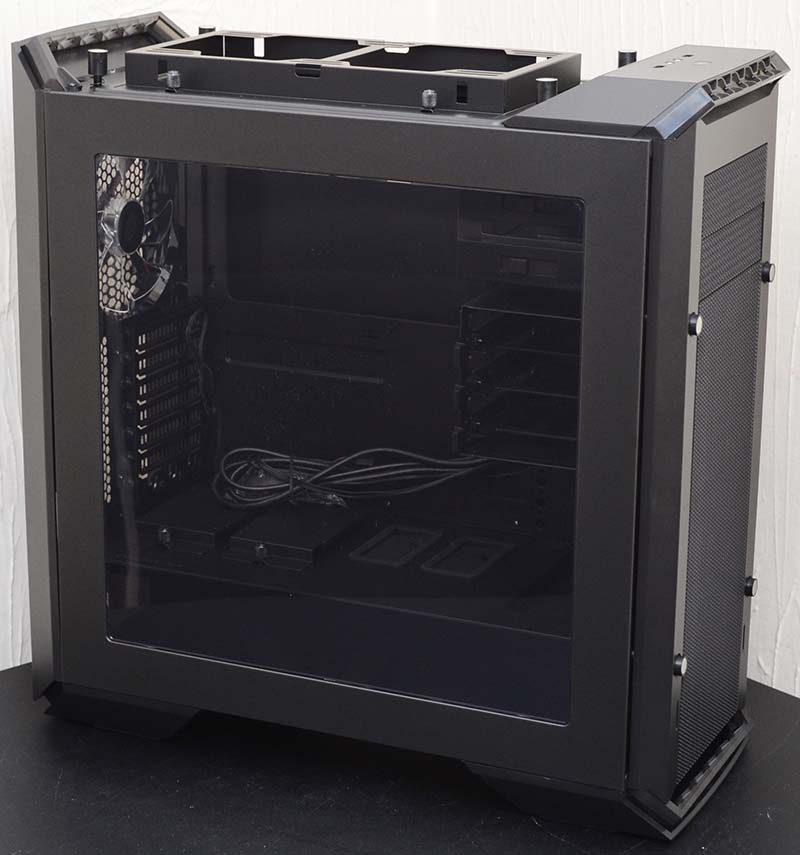
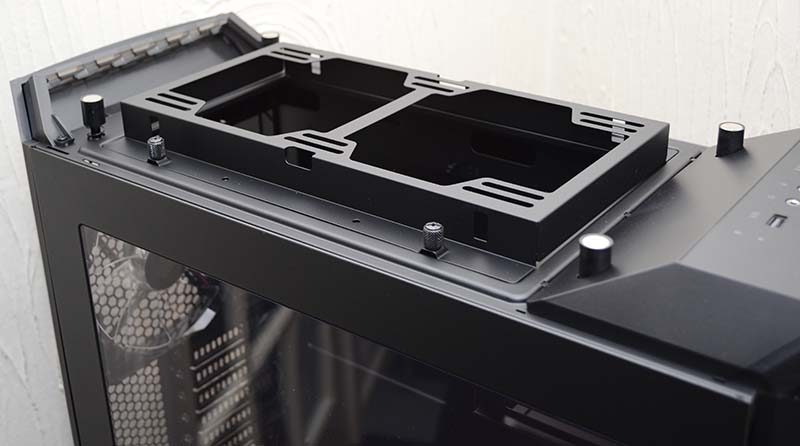
Under the top panel, you’ll find room for dual 120/140mm fans or equivalent radiators, and they’re going to be super easy to install too, as the whole mounting bracket lifts out just be removing four thumbscrews.
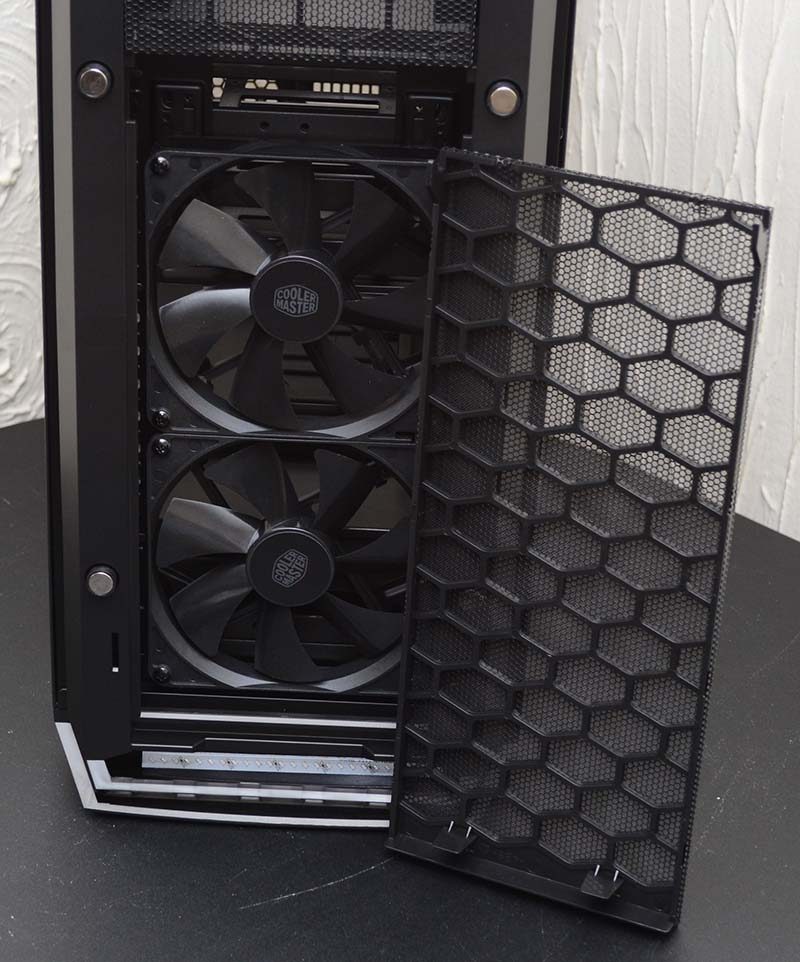
The front panel pulls away from its magnetic mounts too, allowing you to remove the front dust filter. Behind the filter, you’ll also find two pre-installed 140mm fans, bringing the total included fans to 3 x 140mm.
Stability isn’t going to be an issue for the MasterCase Pro 6,
