Coolermaster Centurion 6 Chassis Review
Peter Donnell / 12 years ago
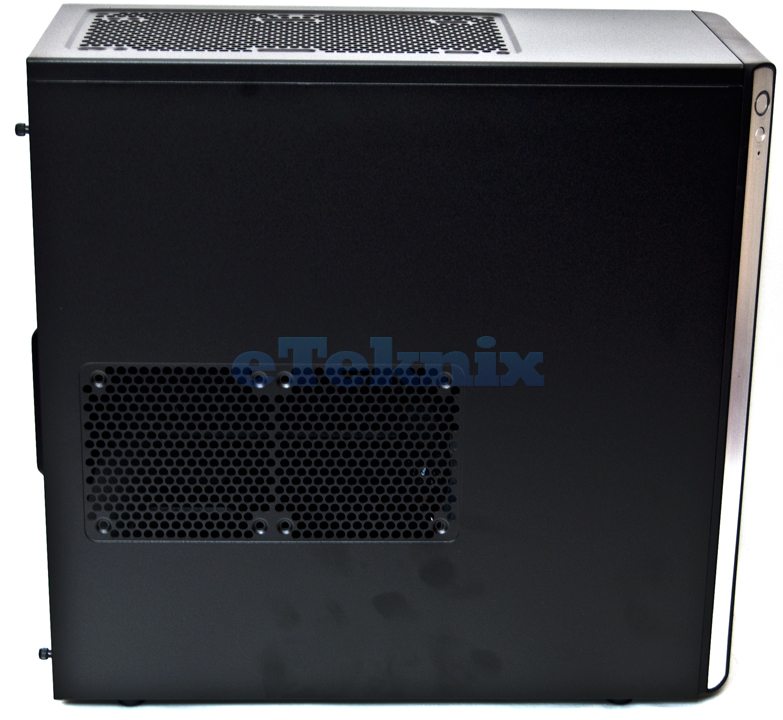
The chassis’ left side panel is mounted using two quick release thumb screws and comes equipped with two 120mm fan mounts in a side by side configuration, very handy for driving extra airflow to your graphics cards.
The top of the chassis features a ventilated area that can support 2 x 120mm / 2 x 140mm fans, or a water cooling radiator of up to 240mm.
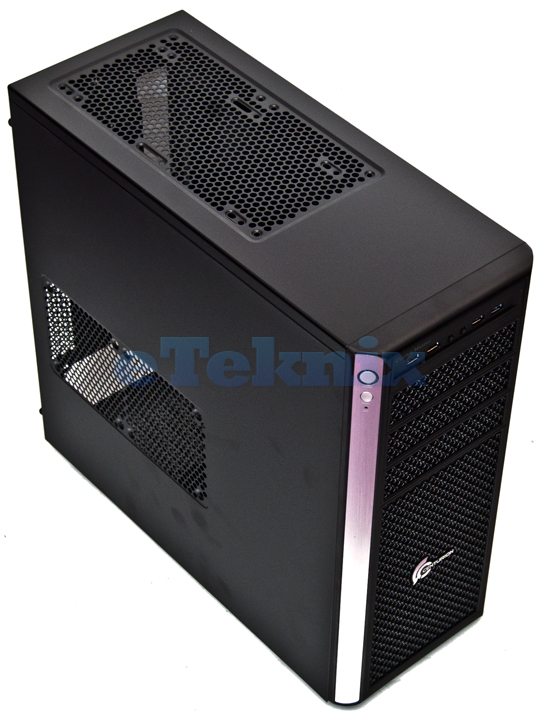
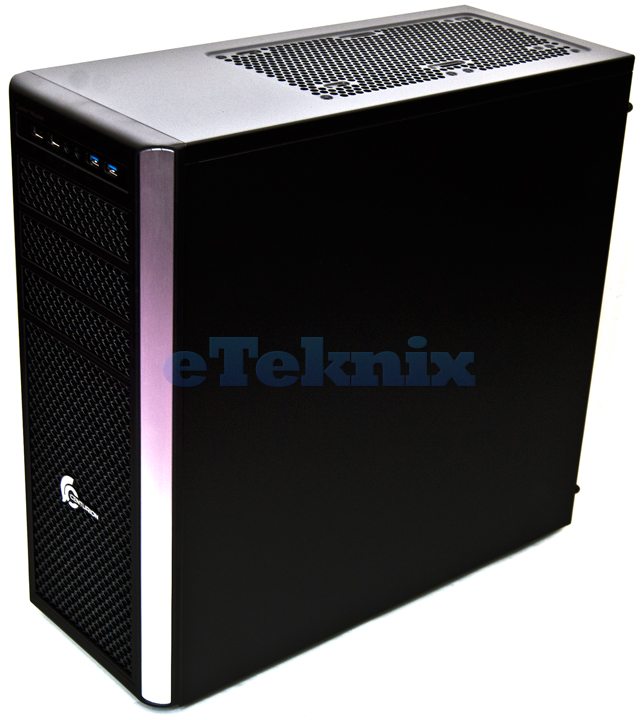
The front of the chassis houses the two most important style features of the chassis, a pair of aluminium strips down each side add a touch of class to the case that gives the front a professional appearance. The main mesh of the front panel is made of metal too, a welcome change to the plastic that is most commonly used on this type of a chassis. Toward the bottom you can just about see the 140mm (blue LED) pre-installed fan that acts as the main air intake, although you could remove this and install 2 x 120mm front fans if you wish.
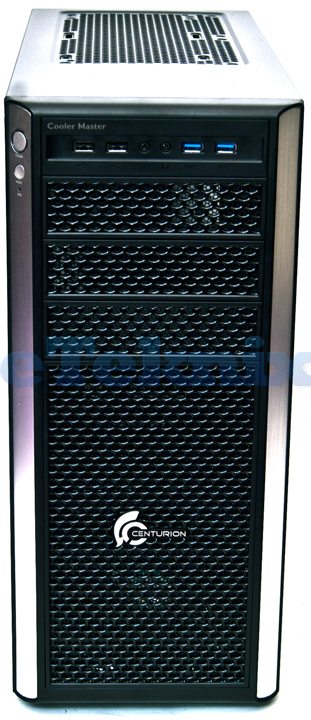
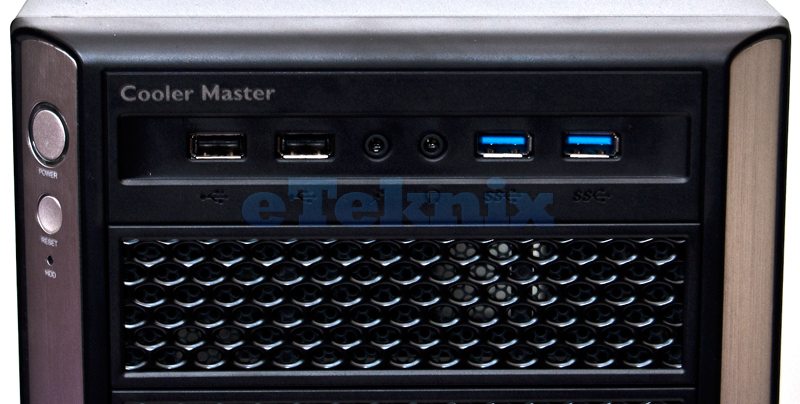
The front panel is well equipped too with 2 x USB 2.0, 2 x USB 3.0, headphone and microphone ports. The power button, reset button and HDD LED are nicely placed on the left aluminium strip.
The right side of the chassis features a plain panel which is held in place with two quick release thumb screws.
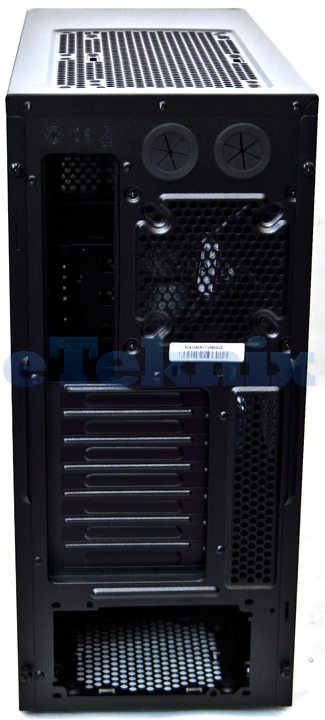
The back of the chassis is well equipped, with two large water cooling / cable routing cut-outs at the top, both fitted with good quality rubber grommets, a pre-installed 120mm exhaust fan (also supports 80/90mm), 7 expansion bays, some extra ventilation and a bottom mounted PSU.
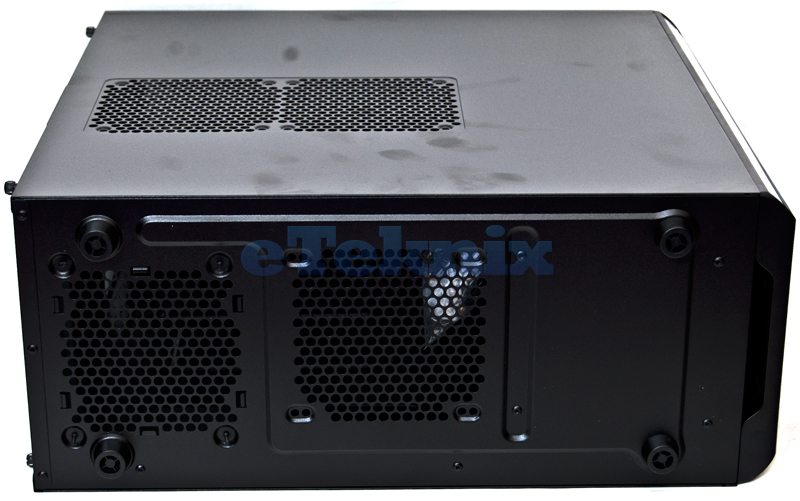
The bottom of the chassis features four sturdy rubber feet that should provide enough ground clearance for the two air inlets, the one on the right provides clean air for the PSU and the central one for a 120/140mm fan (optional).
