Coolermaster Centurion 6 Chassis Review
Peter Donnell / 12 years ago
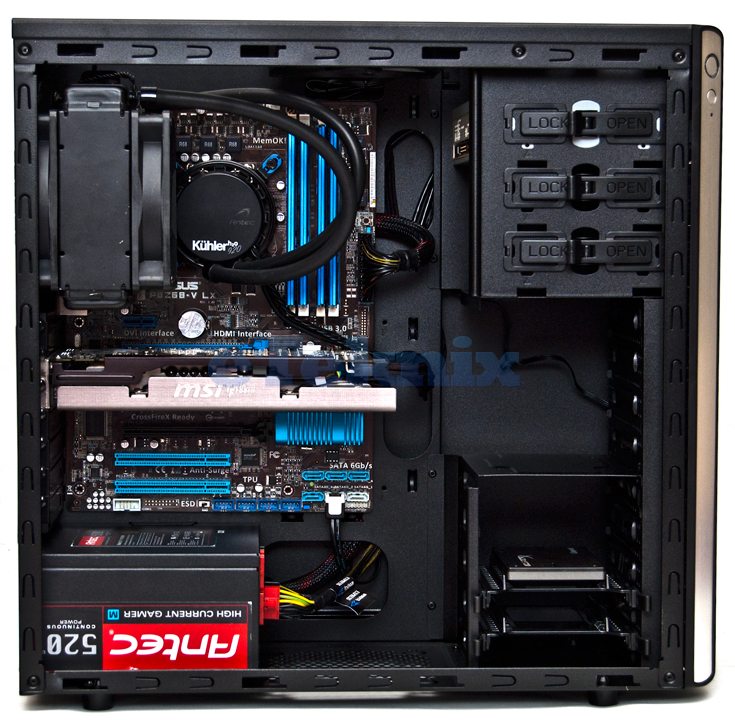
The overall build time for the Centurion 6 was only 20 minutes, this is really quick given that I removed the rear fan in favour of our Antec water cooler, removed the central hard drive bay and kept cable management within reason. This is partly thanks to the familiar design of the chassis, there is nothing “new” here and installation couldn’t have been easier.

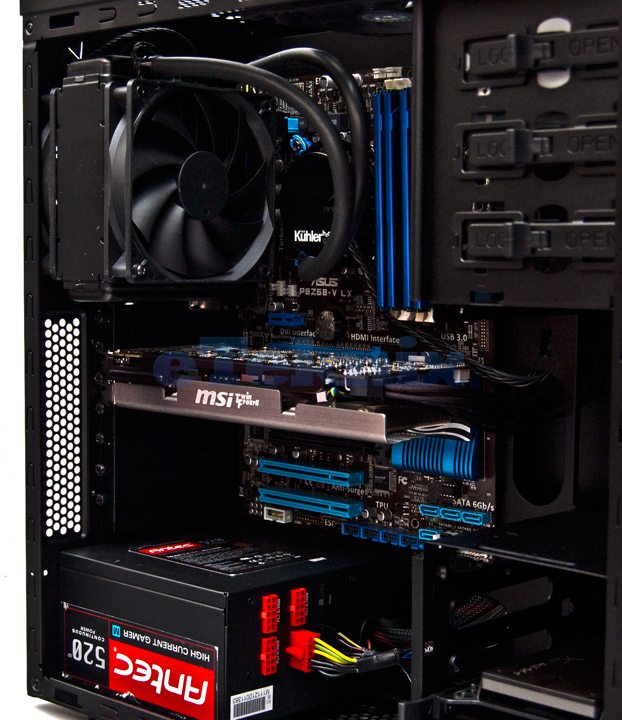
Having a fan / radiator mount in the top requires a good amount of headroom and as you can see there is more than enough room for a slim line radiator and its fans above both our Antec 920 and motherboard. Further down there is plenty of room for an SLI system here although things may start getting a little packed with 3 way SLI dependant on your motherboards configuration.

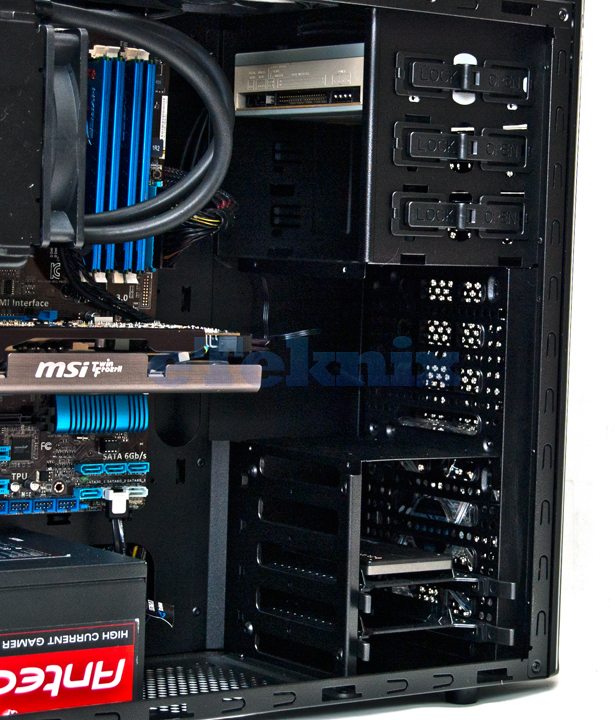
The cable management cut-outs may look a little cheap without rubber grommets, but lack none of the practicality and as you can see there is nothing obstructing airflow from the front of the chassis to our GPU.

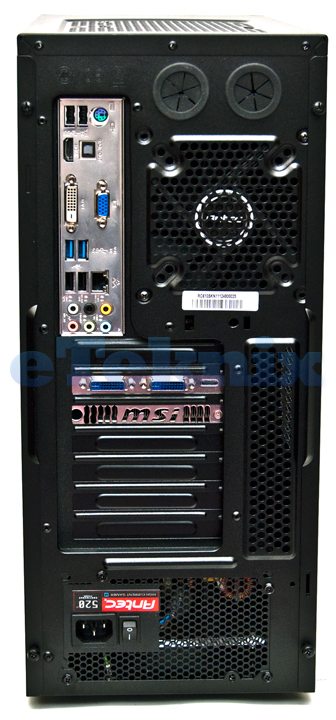
Around the back we can see everything is neat and tidy and there is plenty of clearance between our fan, GPU and PSU.

With all the panels back in place the Centurion 6 looks bold, clean and only the side of our GTX 560 Ti is visible through the side panel vents.


