CoolerMaster Lab Test Bench V1.0 Review
Andy Ruffell / 14 years ago
Completed System
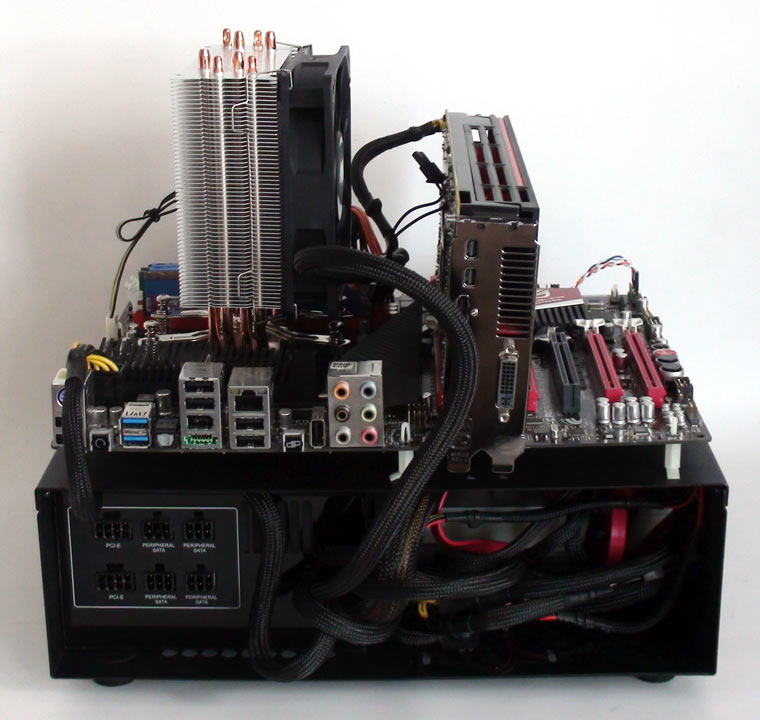
[COLOR=#000000]Once you’ve got all of your components in place, you can continue to install them onto the test bench. You have the ability to route certain cables and connectors underneath the motherboard due to the clearance given by the plastic motherboard standoffs. The front panel power and reset button headers can also be passed through and connected onto your front panel header on your board.[/COLOR]
[COLOR=#000000]Depending on your power supply, you should have sufficient room to hide away any unnecessary cables giving a clean look to your system setup but as this is a test bench you may find that it’s a waste of time, especially if you look at changing components on a frequent basis. You will also see (from the picture) that the graphics card has no support and therefore does slant to one side. This is not ideal but it doesn’t have any adverse effects on performance.[/COLOR]


