Corsair Graphite 230T Windowed Case Review
Peter Donnell / 11 years ago
Final Thoughts
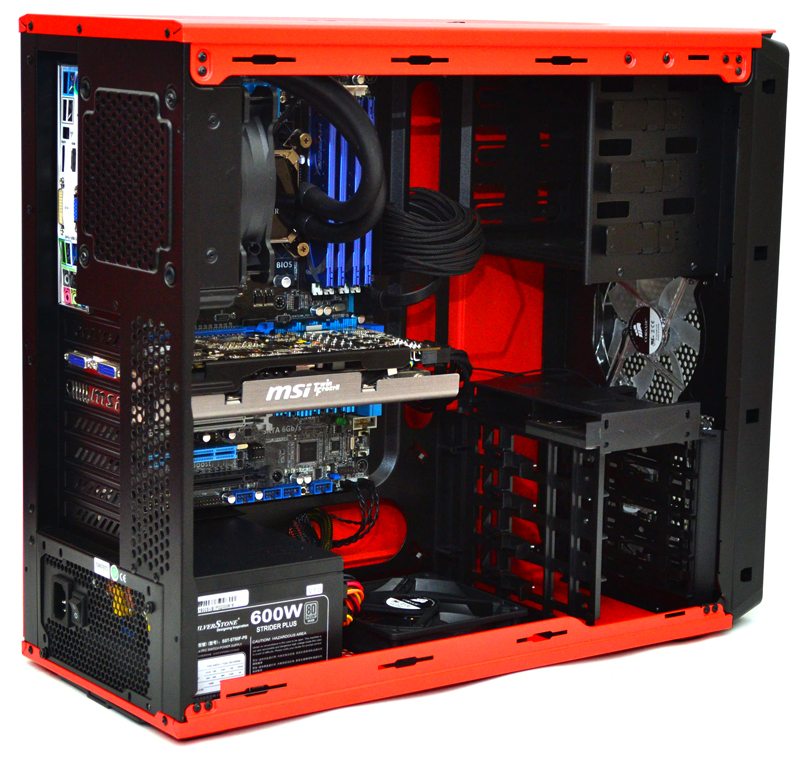
Total build time was just under 20 minutes, nice quick and easy with no major conflicts throughout the build. Of course I did mention that radiators would not fit in the top of the chassis, so I opted for our Corsair H80i in the back, as the H100i would not have fit, which is a shame really given that they’re both Corsair products. The H80i looks a little tight, but it didn’t feel it and you could no doubt get a push-pull fan configuration here without too much trouble.
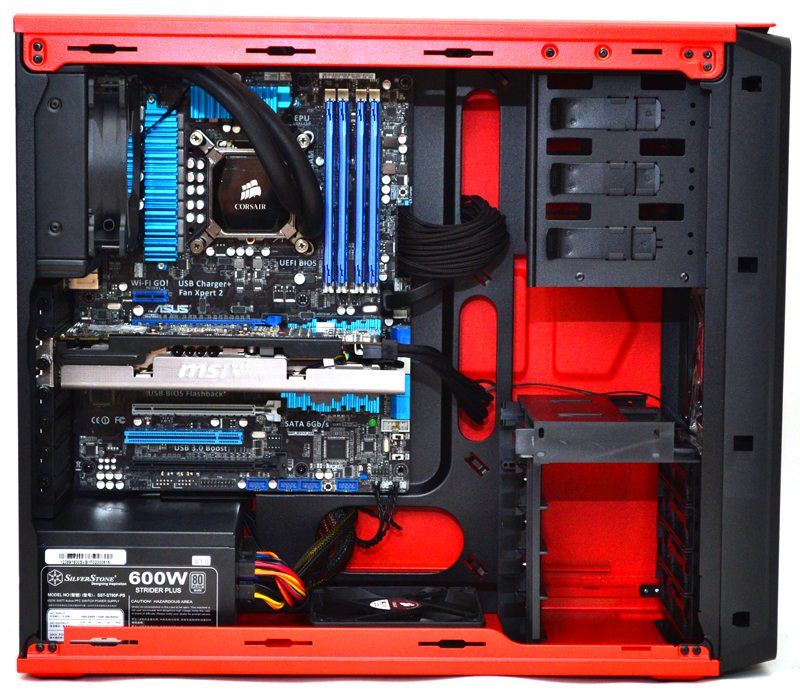
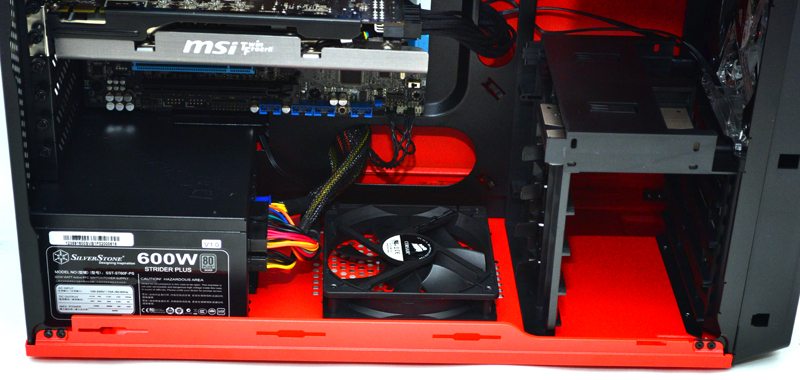
Since I removed the rear 120mm fan I figured it would be a great opportunity to install it in the base of the chassis for demonstration purposes, great for giving our GPU an extra boost of cool air.
The cable routing options may have looks basic, but our build does look neat and tidy regardless and there was more than enough room behind the motherboard for excess cables. There is easily enough room here for a multi GPU setup and the extra fan mounting points will prove beneficial to those designing an air-cooled build.
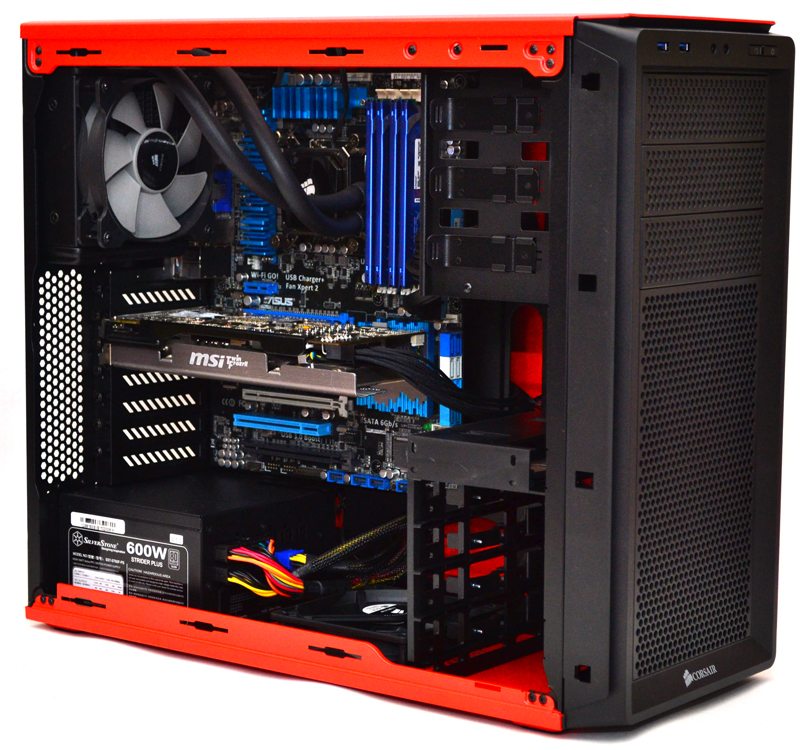
The front storage bays are super easy to use as you can just slot 2.5″ and 3.5″ drives into the bay without use of tools or screws of any kind. It’s also very compact as 8 hard drives can be installed without needing eight full size bays, so the extra space is handy for those wanting to install an extra long expansion card.
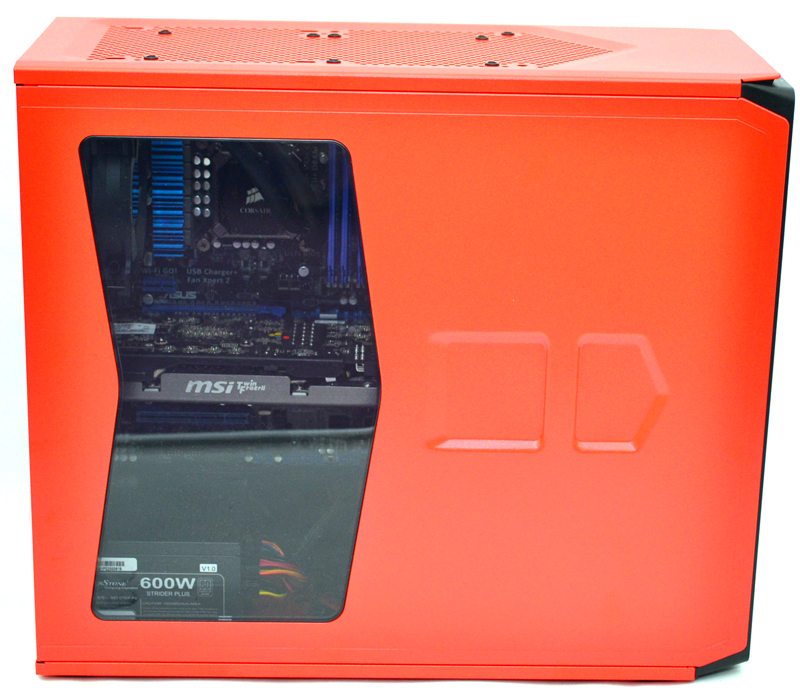
With all the panels back in place the chassis still looks stunning, we get a nice view of the components through the side panel window and you can see the top edge of the components through the top ventilation.
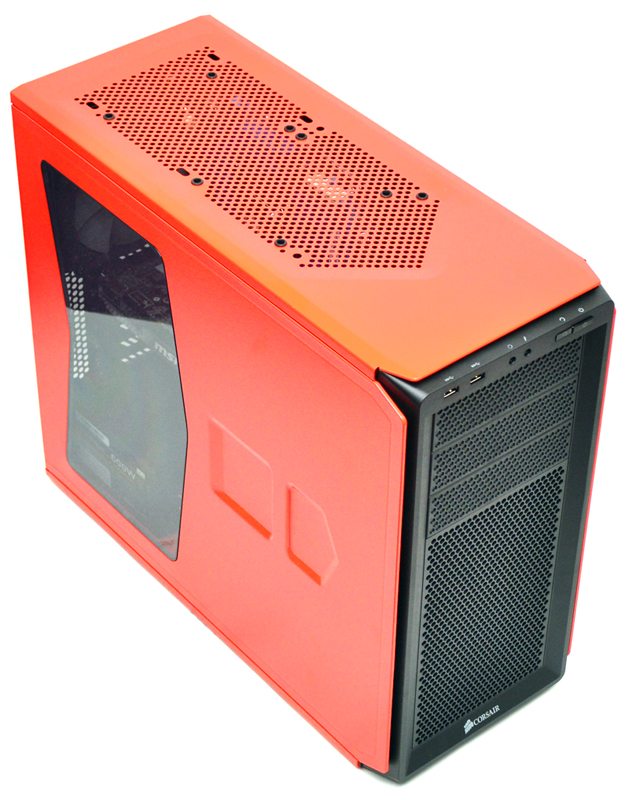
The clear side panel will look great for those who have any extra internal lighting to install, just remember that the chassis comes with two orange LED fans in the front, so it might be worth colour matching for the best overall effect.
