Corsair 570X Tempered Glass RGB Mid-Tower Chassis Review
Peter Donnell / 8 years ago
A Closer Look – Interior
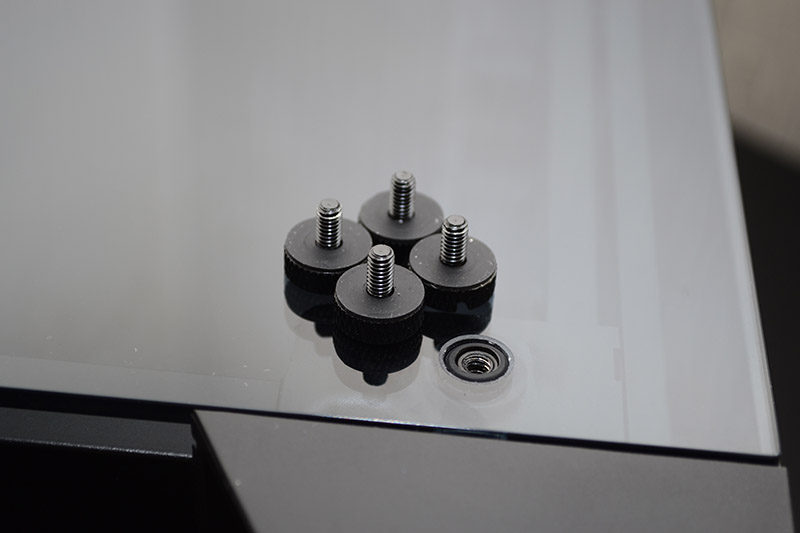
Time to dive inside, let’s remove those side panel thumbscrews and lift off the glass panel!
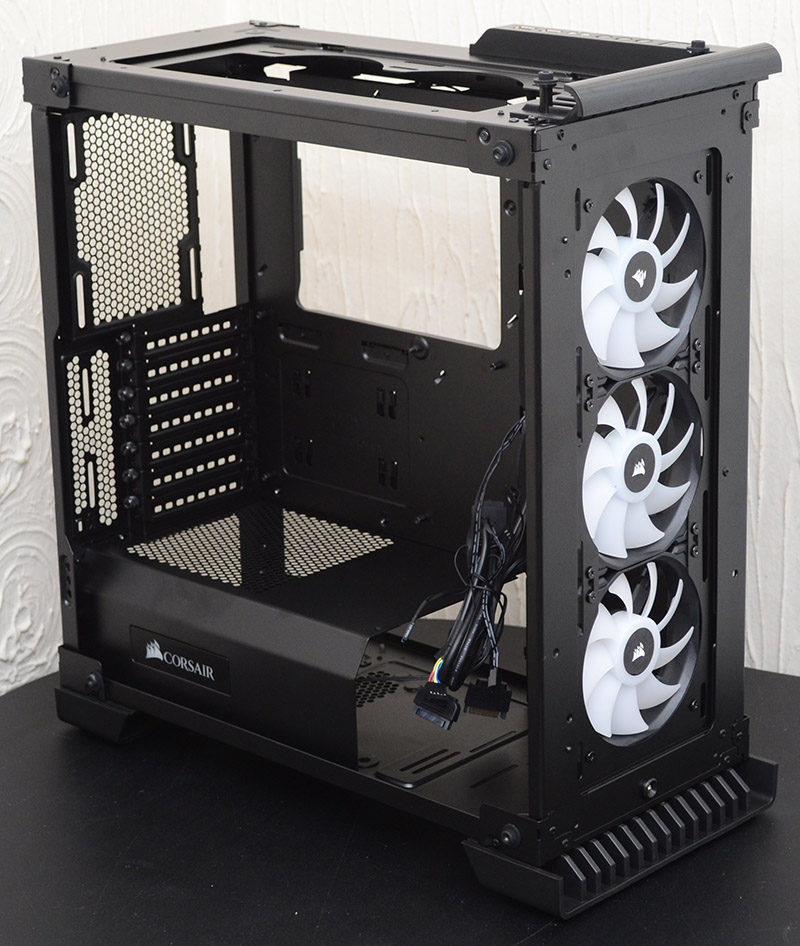
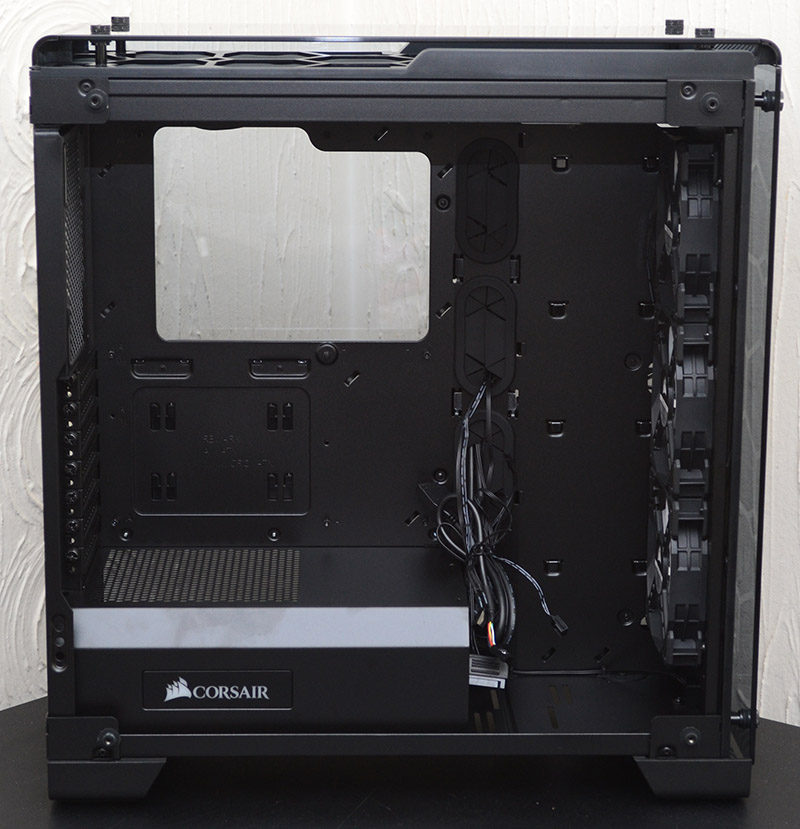
There’s a huge amount of room on the interior of the 570X. With a large CPU mounting cut-out behind the motherboard, cable routing grommets, and more, installing your hardware shouldn’t be a hassle.
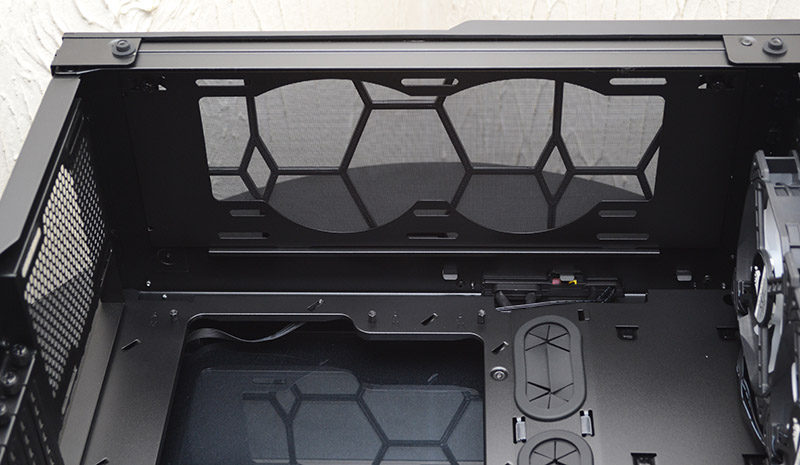
There’s lots of clearance in the top section for additional cooling hardware, with 120/140mm fittings and appropriate routing holes near the top to handle and fan cables you need there too.
The standoffs are pre-installed, so you can get straight in and install your motherboard with minimal fuss.
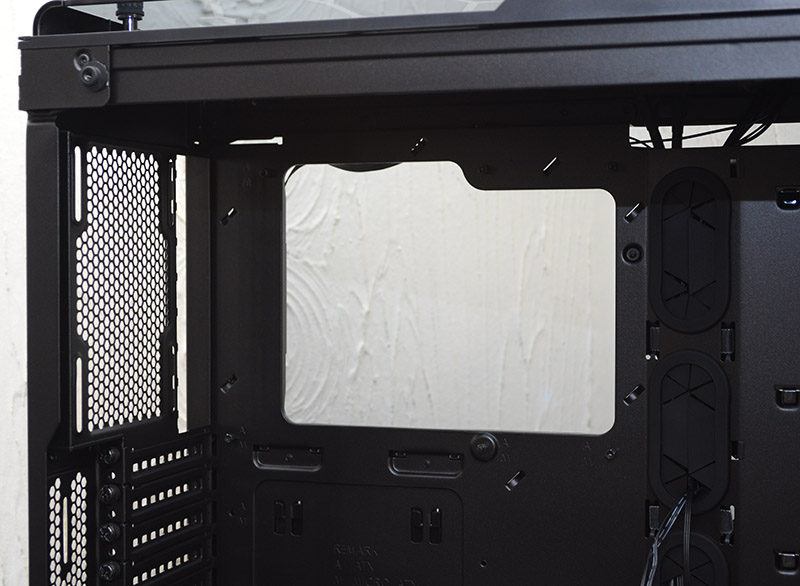
The expansion slots are all fitted with thumbscrews for easy access.
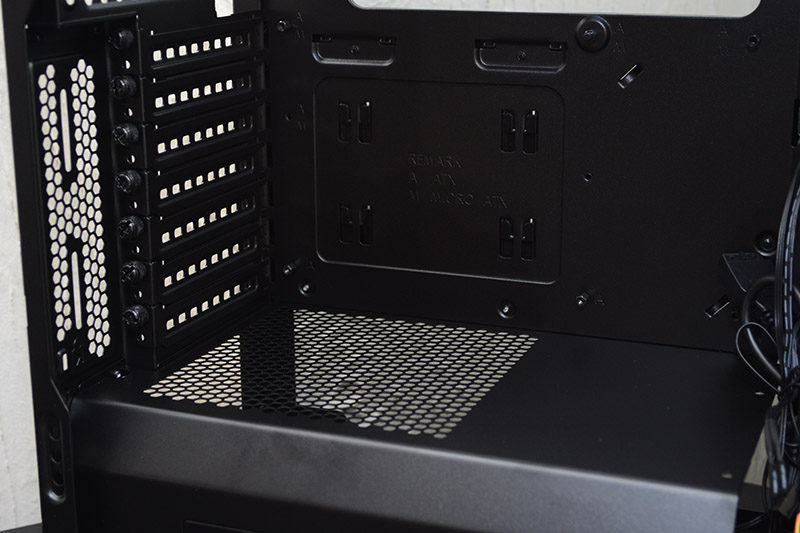
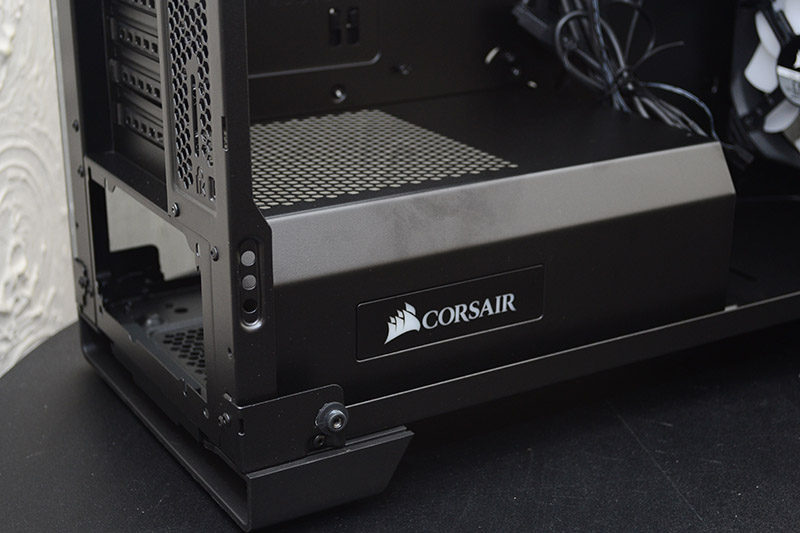
The PSU shroud is a nice touch, as it’ll help hide a lot of excess cable and that’s very important in a chassis that is so open. Interestingly, there’s a mesh on the shroud so you can see the PSU, and I’m guessing this is going to be great for those with LED equipped PSUs, as you can mount it fan upwards if you so desire.
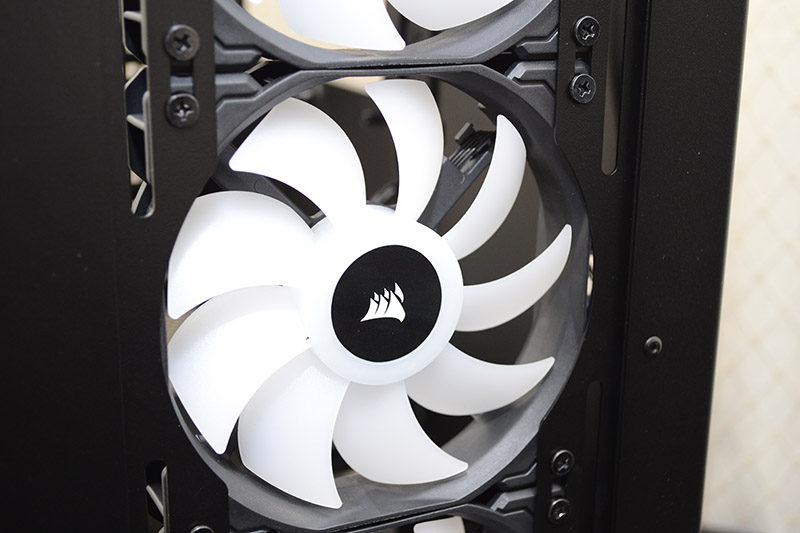
One of the biggest features of this chassis is that bank of stunning SP120 RGB LED high static pressure PC case fans in the front. These will provide a lot of airflow as well as all the illumination we could hope for, and they’re hooked up to the LED controller on the front I/O too!
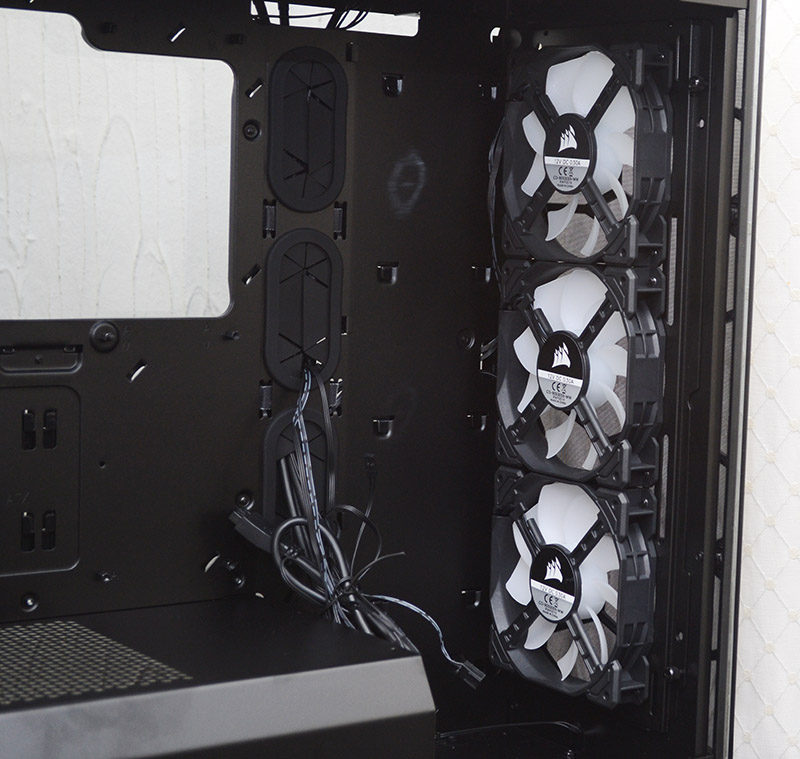
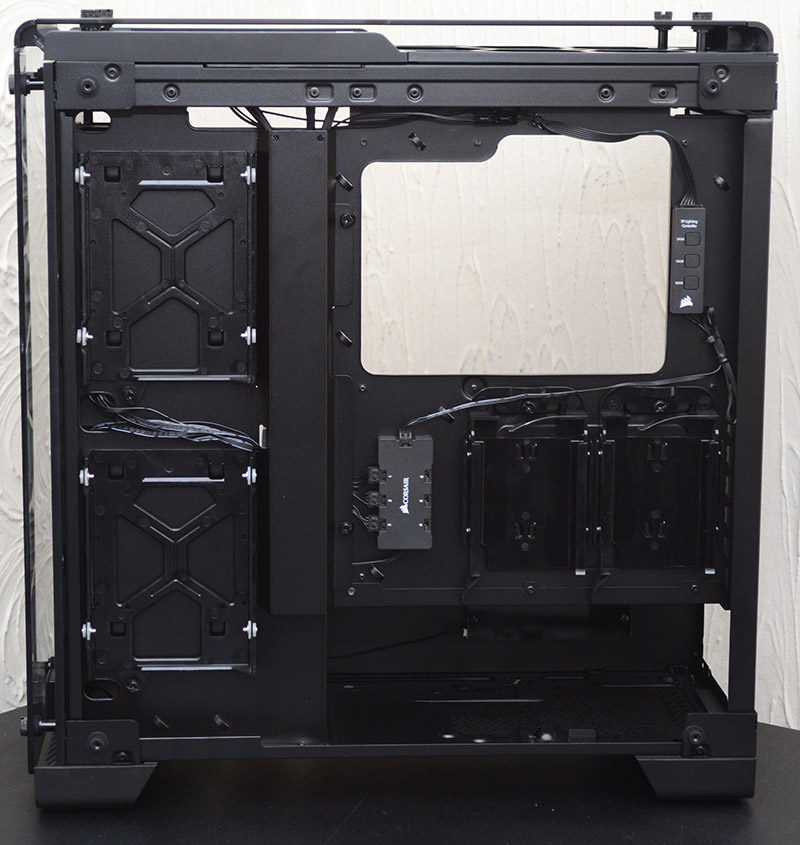
On the other side, you’ll find a bit of room for cable routing, with a lot of cables already hidden behind that metal sleeve which runs down the middle. It’s held in place with thumb screws, and should help ensure your build looks neat and tidy through all that LED-backlit glass.
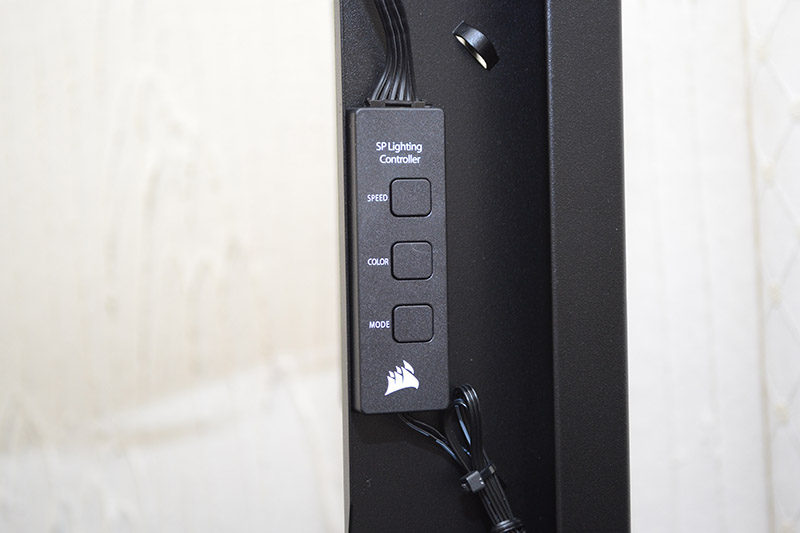
There’s another lighting controller tucked into the back of the chassis.
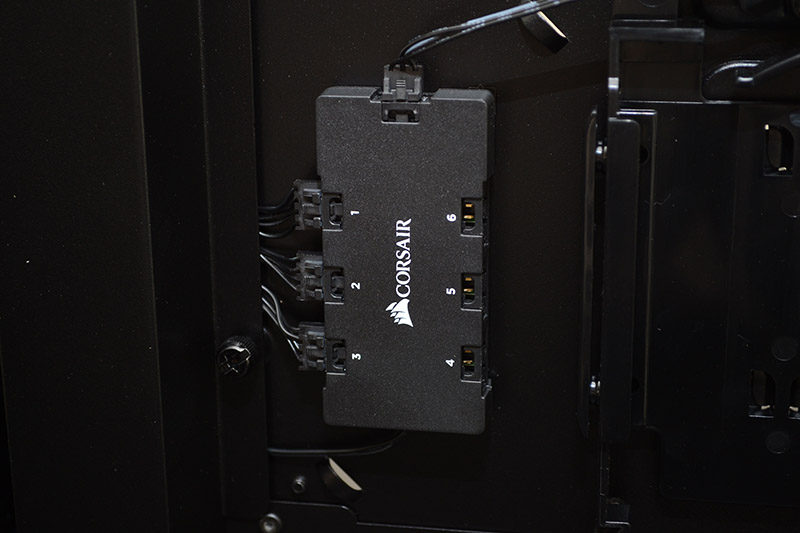
Another hub for lighting/fans. It’s nice having all these here, as it means fewer cables running to your motherboard to hook everything up.
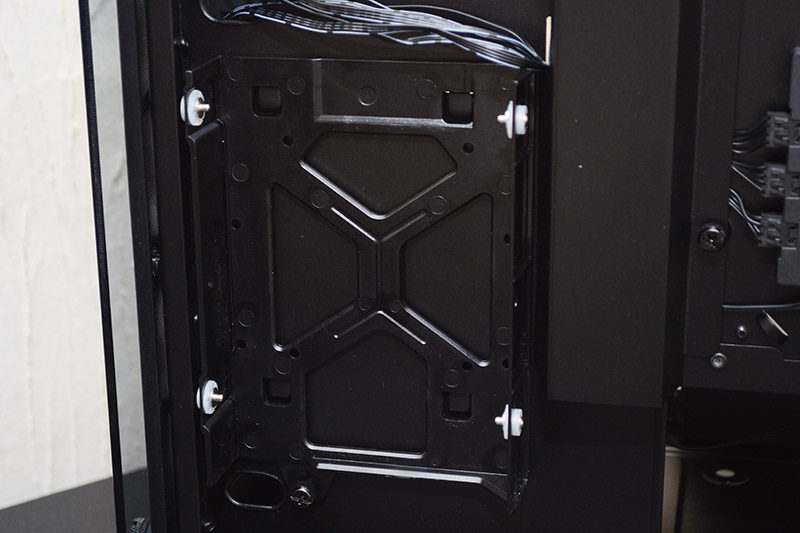
Behind the motherboard, two 2.5″ drive mounts, perfect for your SSDs.
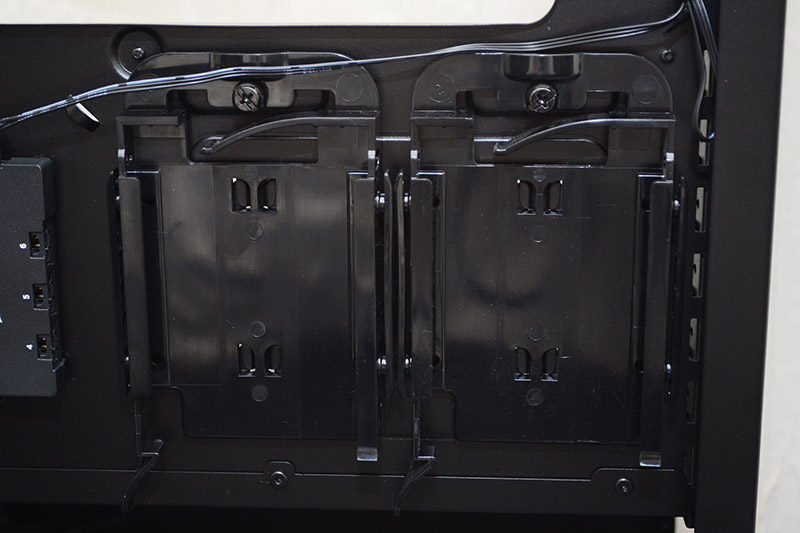
Towards the front, a 3.5″ drive mount at the top.
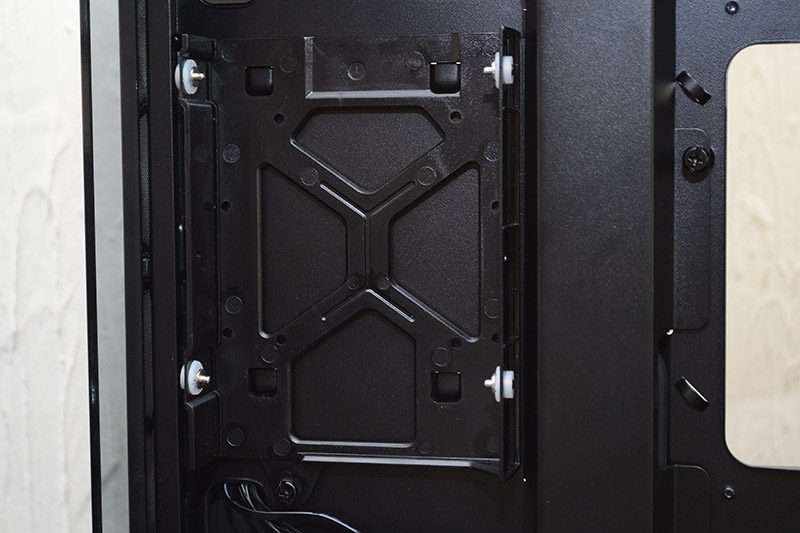
And one more near the bottom, giving us four drive mounts behind the motherboard in total.
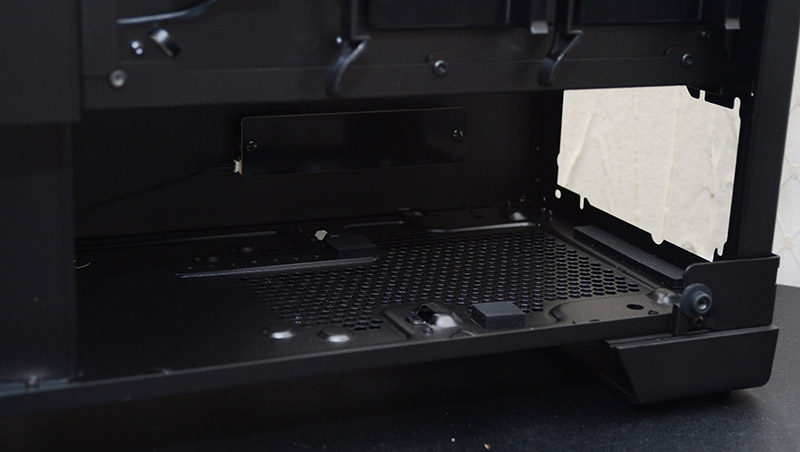
The PSU shroud doesn’t have a huge amount of room to spare, but for a modular ATX PSU, it should be just enough; just make sure you use the included cable ties to make the most of it.
The front panel glass comes away with four more thumbscrews, and you’ll find a full height/width washable dust filter that’s certain to provide clean airflow into the chassis.
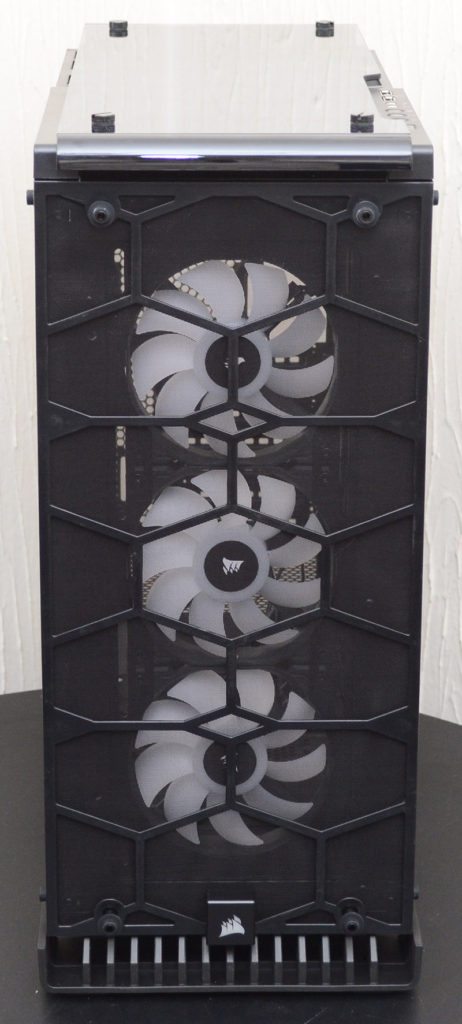
The cover is mounted with magnets, so it comes out easily enough.
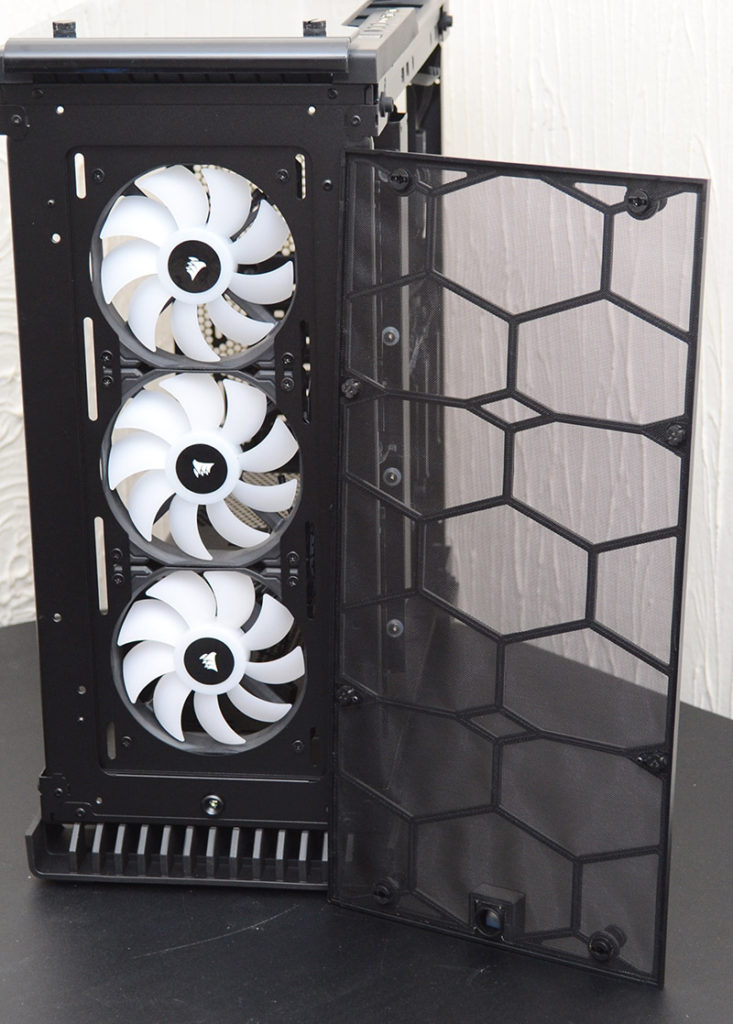
Behind that lovely filter are some rather stunning looking fans. They feature a white plastic finish that looks great, but with LED lighting in the center of the fans, they’ll also glow with colour when powered up.
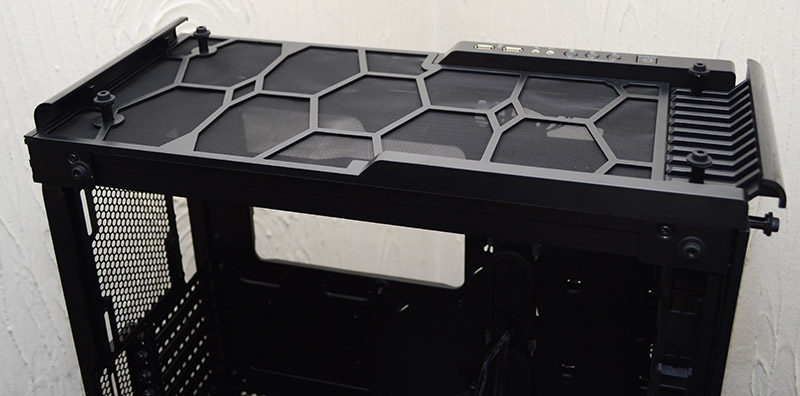
The top panel glass has four more thumbscrews, behind which you’ll find yet another full-size dust filter, giving us 100% filtered air on all air intakes.
Behind that filter, you’ll find easy access to the dual 120/140mm fan/radiator mounts.
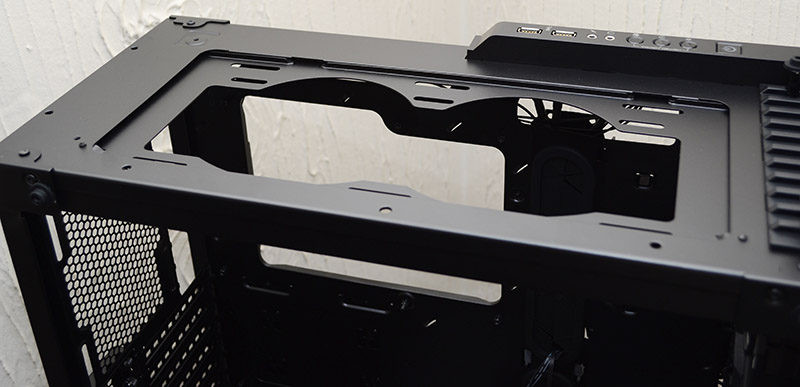
With everything stripped back, the chassis is fairly minimal, but every component looks very nicely finished with a uniform black paint, and what little plastic you’ll see is nicely finished to match. Now, let’s keep all that glass and the filters to one side and get our hardware installed!
