Corsair Carbide Air 540 ATX Cube Chassis Review
Peter Donnell / 11 years ago
The left side of the 540 features an almost-full panel size tinted acrylic window, this gives us a superb view of the chassis interior. This is going to look great in the build section, but also prove popular with those who love chassis lighting or showing off their systems. The top of the chassis features full length air intakes that line up nicely with the top edge of the front air intakes.
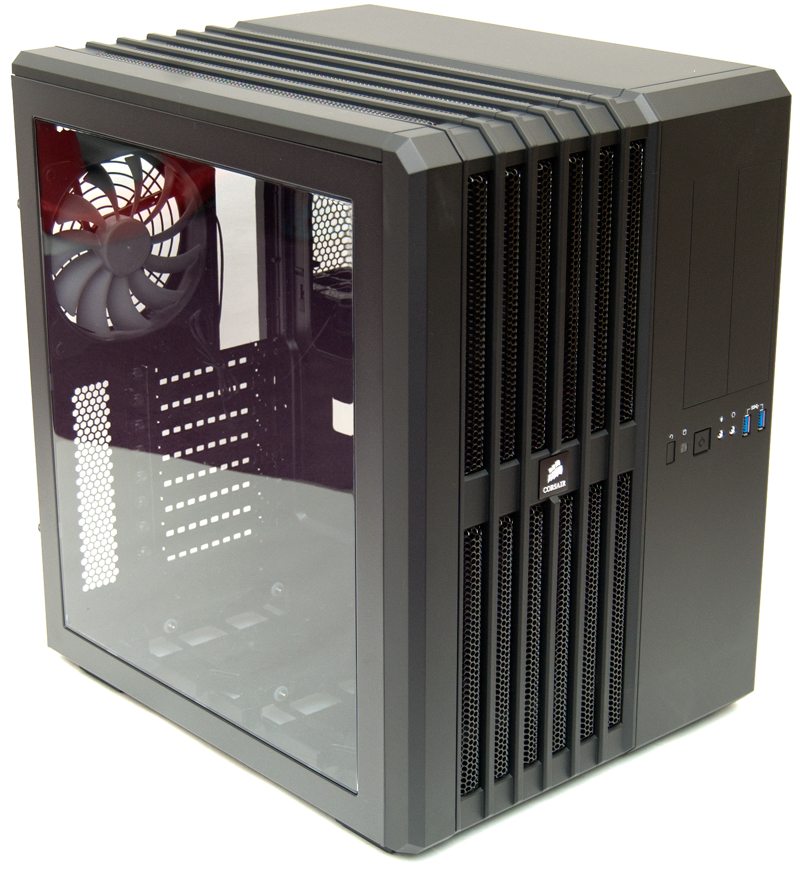
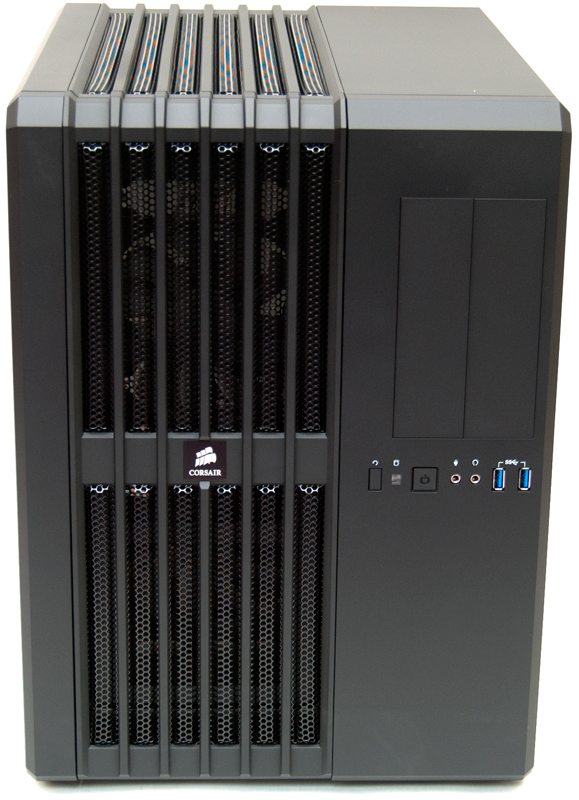
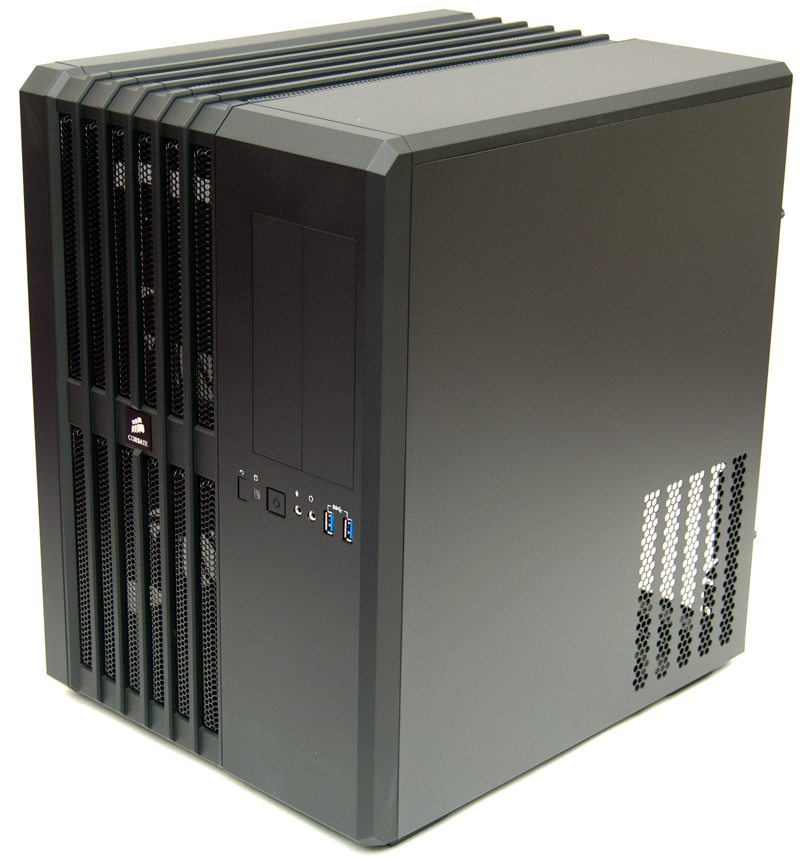
The front panel really stands out too and it’s hard not to notice that this chassis is double the width of most cases, which makes sense since it is in effect two chassis. The left side features some air intakes that line up with the top air intakes, while the right features the main I/O and 2 x 5.25″ drive bays.
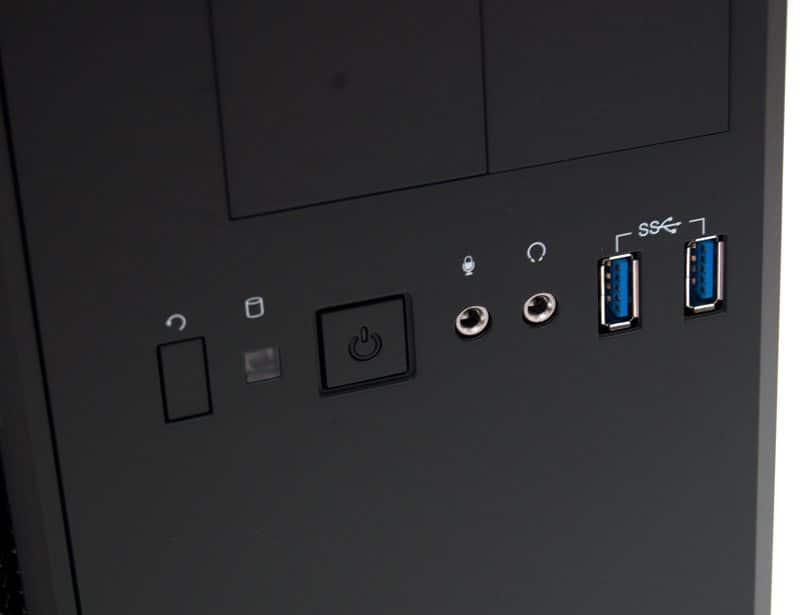
It’s a fairly simple front panel with all the basics in place. Reset, HDD LED, Power, Microphone, Headset and a pair of USB 3.0 ports.
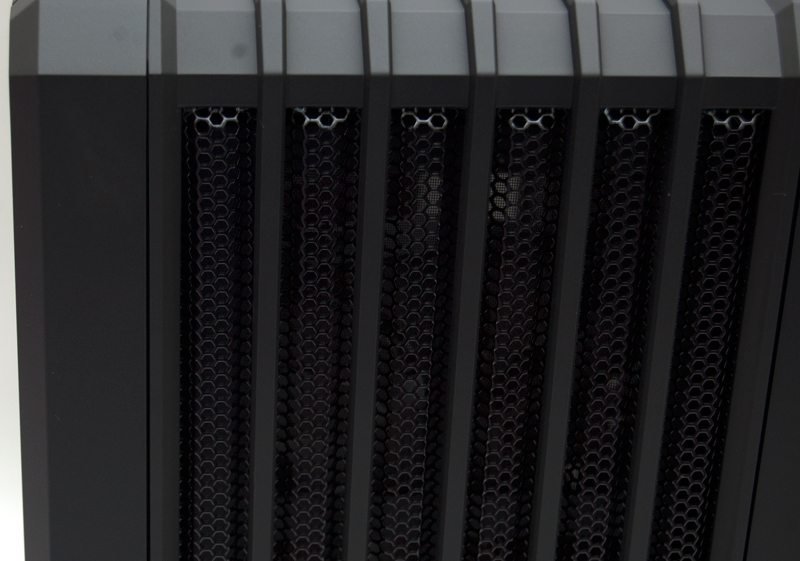
The front mesh is broken up into six vertical strips, each filled with a wide hard mesh that gives an almost industrial appearance.
The right side features a flat panel with a large ventilation area in the bottom right, this acts as the main air intake area for the PSU.
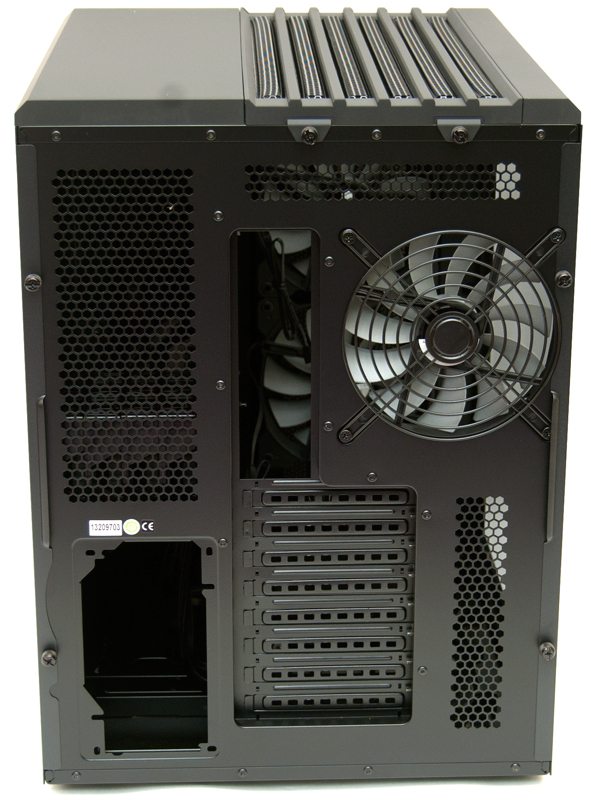
Around the back we see there are two quick release thumb screws at the top, these are for removing the top ventilation cover. below that we have a small horizontal ventilation area, a larger ventilation area on the top left and a final ventilation area in the bottom right of the picture. There is a 140mm exhaust fan installed in the back and this is covered with a screw on fan grille. The PSU mount is rotated 90 degrees as the rear compartment of the chassis isn’t as wide as the other. Finally we see that there are 8 expansion slot covers, each of these are re-usable and all come with ventilation cut-outs.
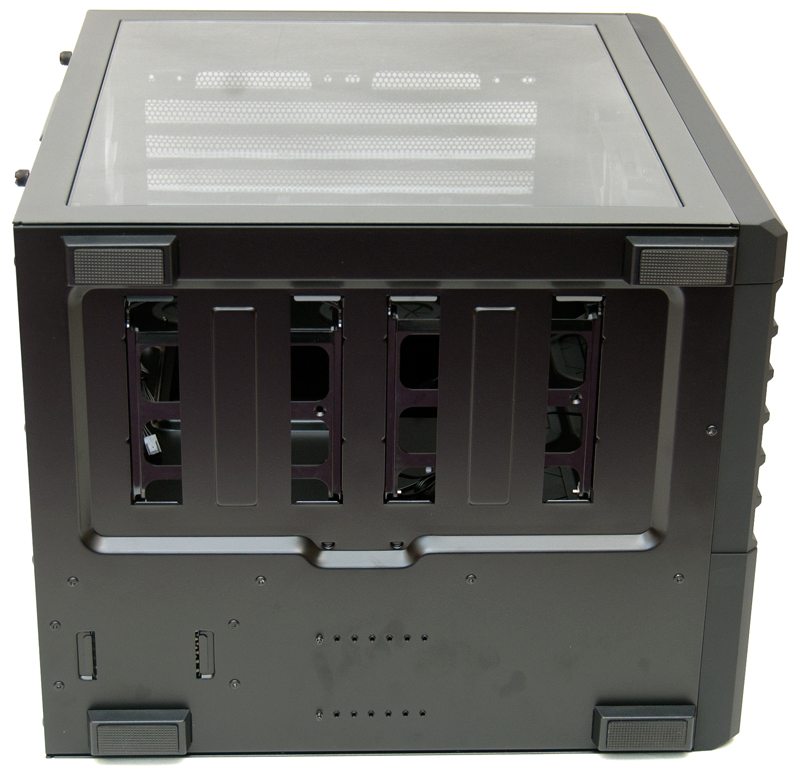
The underside of the chassis features four durable feet, each covered with very grippy rubber that should keep the chassis in place on slippy surfaces such as a desktop.
