Corsair Carbide Quiet 600Q Chassis Review
Peter Donnell / 9 years ago
Interior
Since this is an inverted ATX chassis, the right side panel is used to access the main interior of the 600Q. As you can see, it has got a huge amount of space for your components, thanks to the fact that the hard drive bays are all located behind the motherboard area. There’s a huge CPU cooler mounting cut-out behind the motherboard, as well as a range of cable routing cut-outs and grommets, so getting a clean-looking build should be fairly effortless.
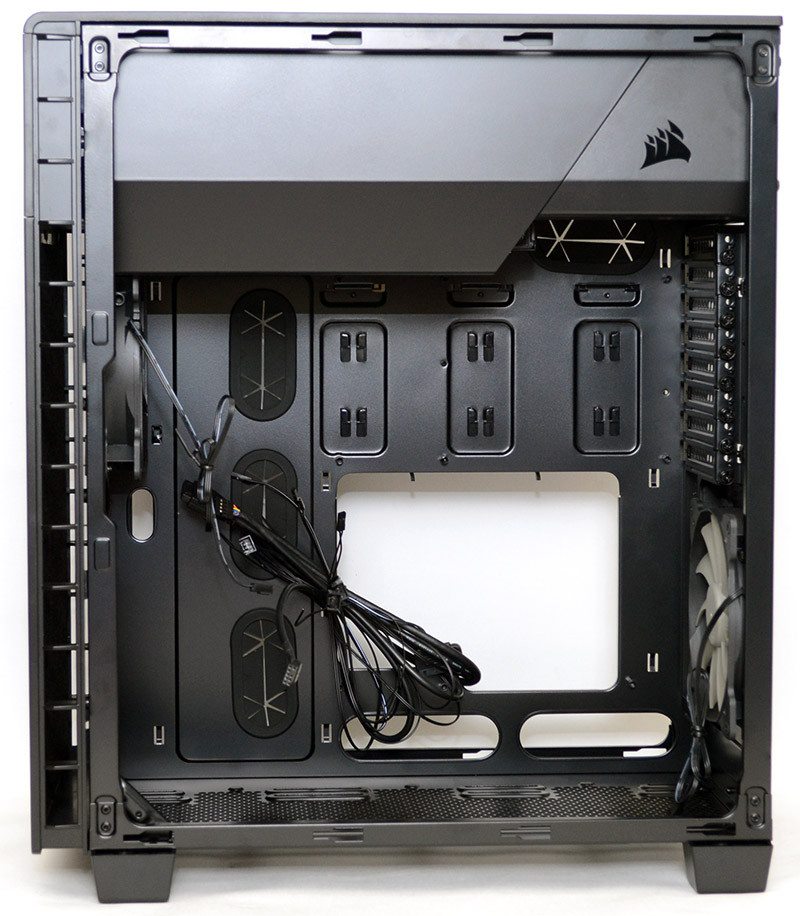
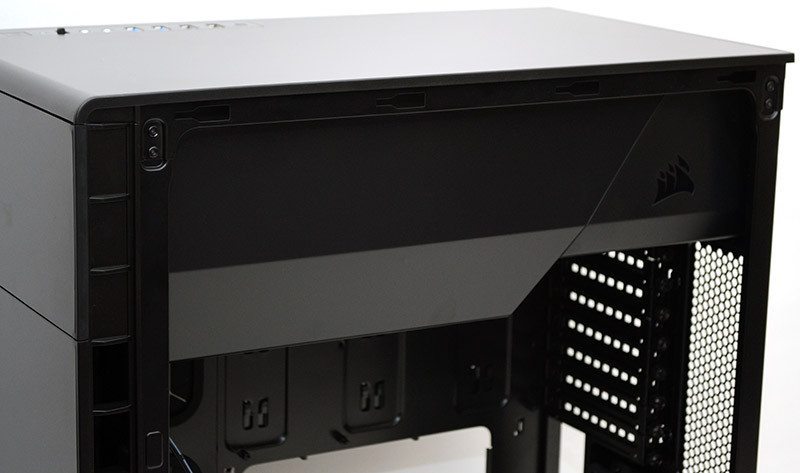
The PSU and some of the hard drive mounts are obscured using a plastic shroud at the top. This looks super sleek and stylish, but that doesn’t really matter too much unless you have the window version of the chassis and have a way to show it off.
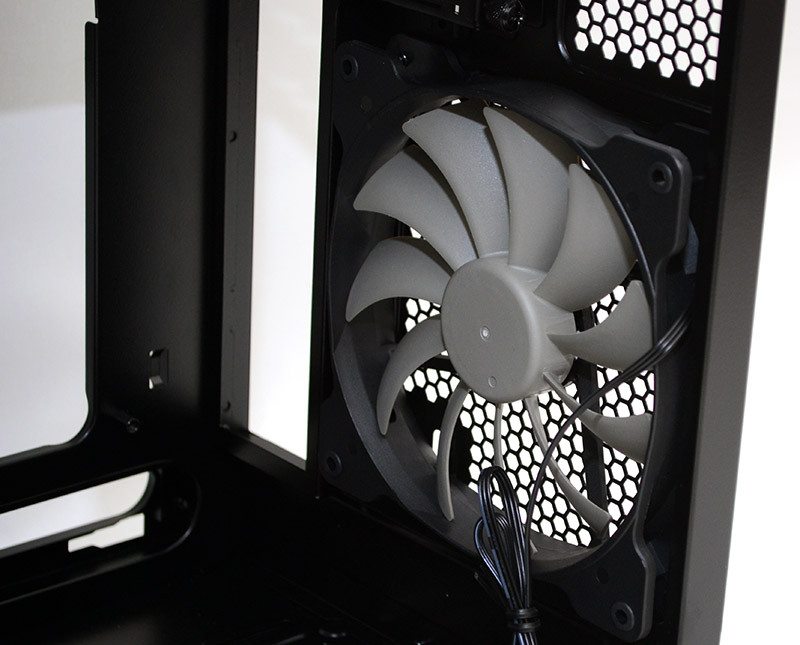
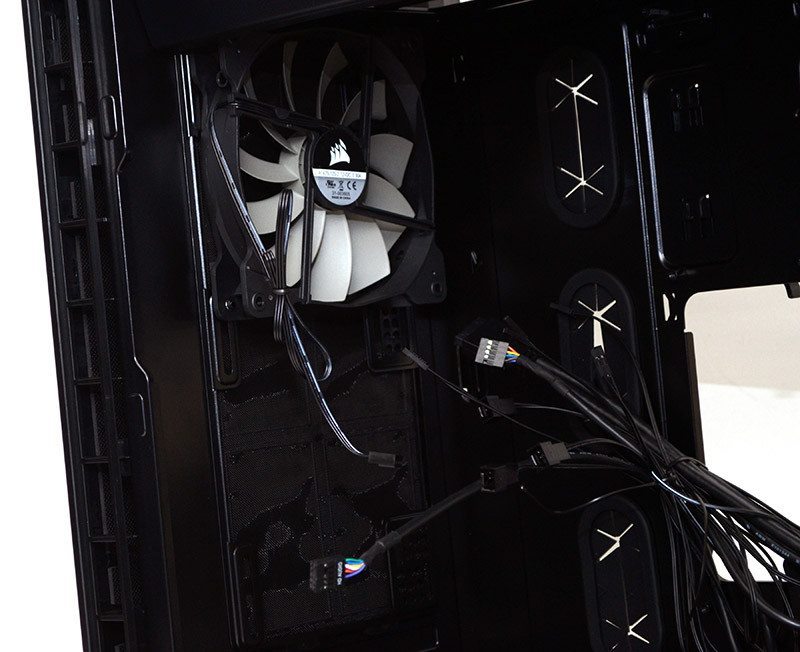
In the rear of the chassis, there is a pre-installed 140mm fan mounted as an exhaust, although there is a lot of room here to install a radiator or AIO cooler if required.
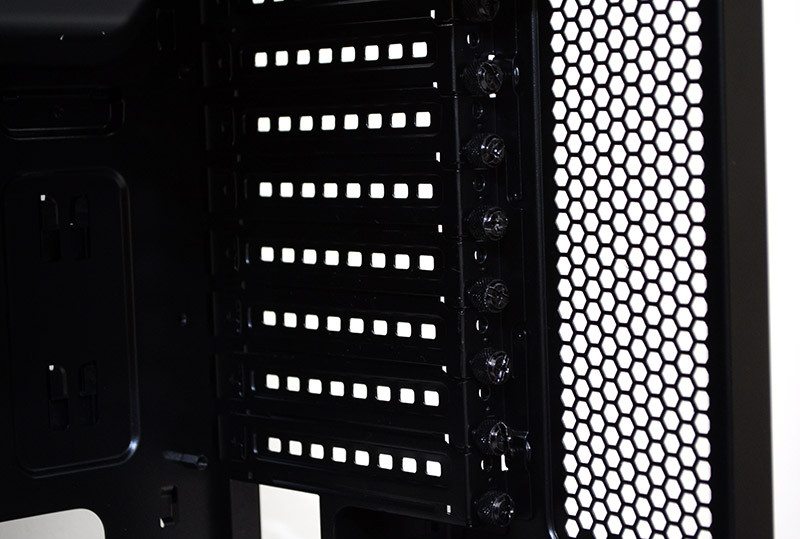
High-quality and reusable covers are installed on each of the expansion slots, with thumb screws on each, allowing for quick installation/removal of your expansion cards.
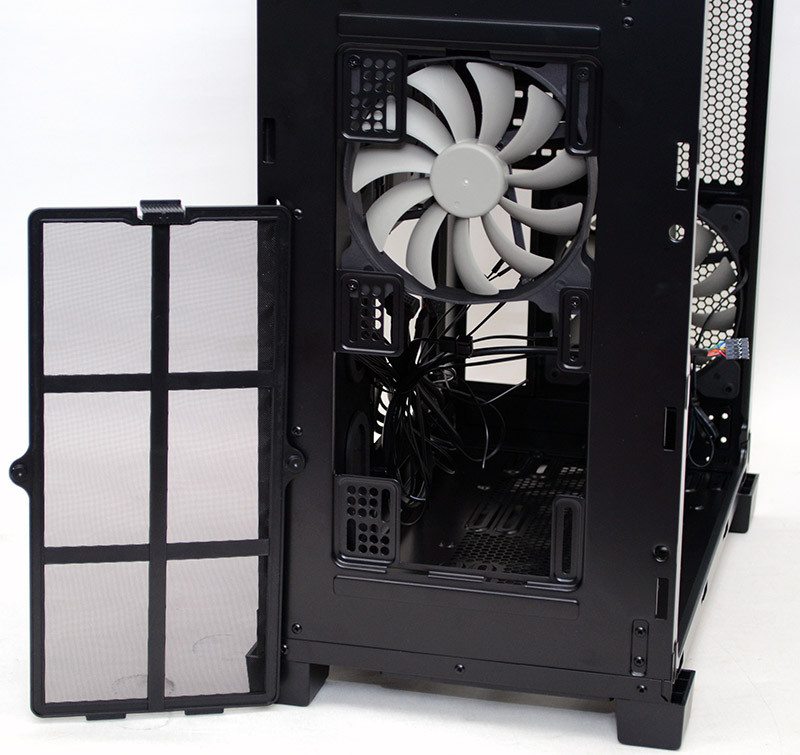
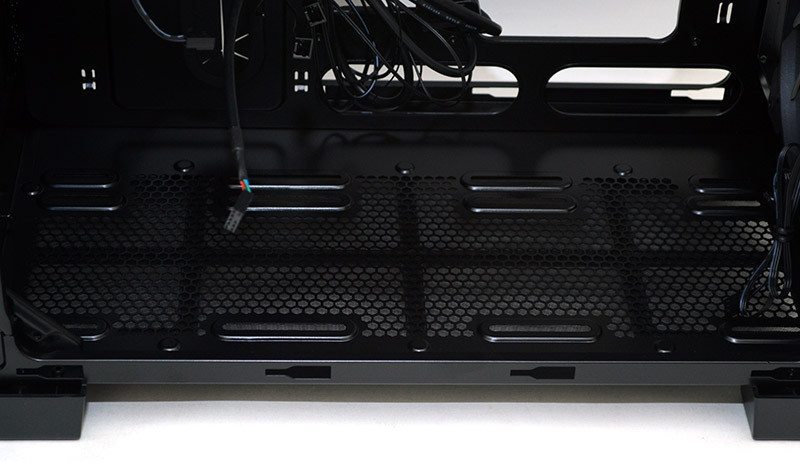
Need extra water cooling or air cooling? There’s a good range of 120mm and 140mm spacings in the base of the chassis. Having the fans lower in the case is the best place to bring in cool air, helps reduce noise and they’ll benefit from that large dust filter on the underside of the 600Q.
There’s a single 140mm fan mounted as an intake in the front of the 600Q, Corsair say this is enough to run cool and quiet, but as you say earlier, they’ve kindly included an extra one should you need it. Of course, you can always remove this fan and install 120mm/140mm spacing radiators or fans of your choosing.
Now that we have the left side panel removed, you finally see where all of the storage bays are! At the top, we’ve got a large cut-out behind the shroud for an ATX PSU and a good amount of excess cables.
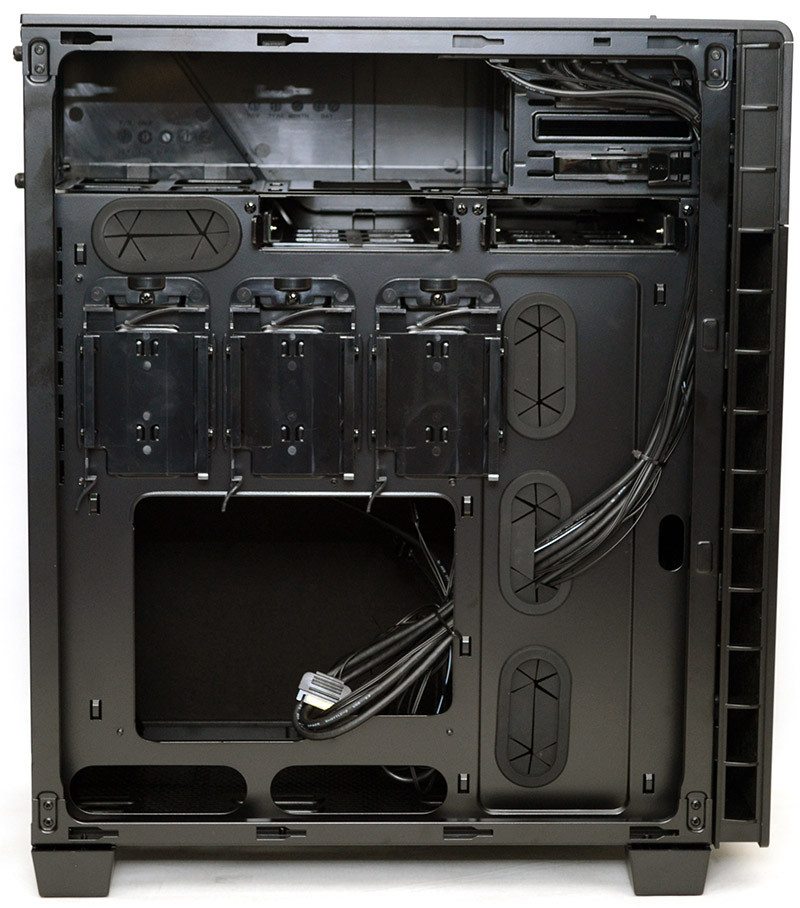
In the top right, you’ll find a pair of 5.25″ drive bays, each fitted with a tool-free locking mechanism, and two tool-free 3.5″ drive trays just below that; although you can mount 2.5″ drives in them also.
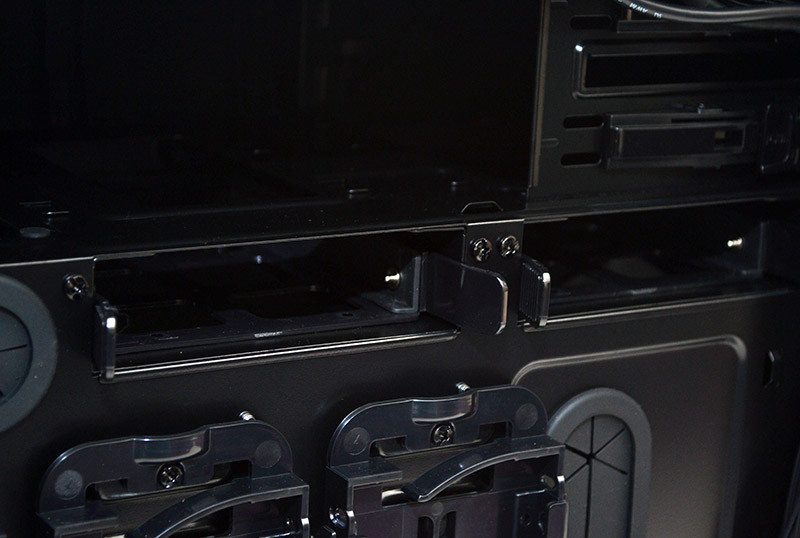
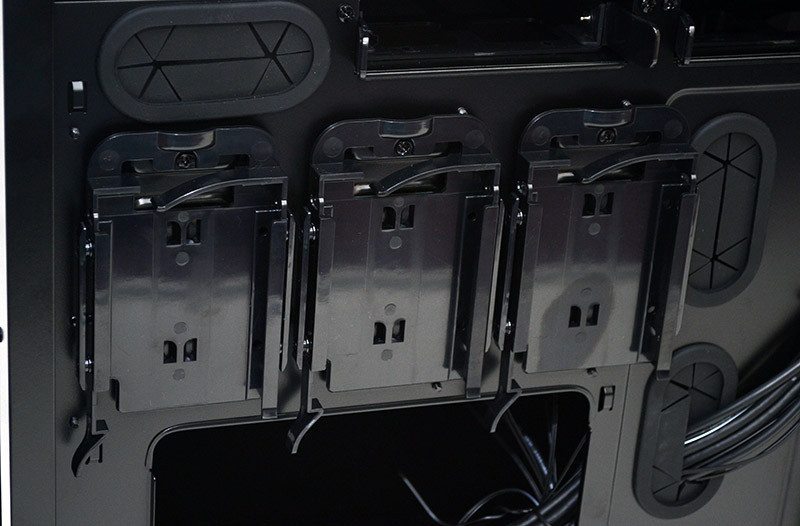
Three 2.5″ drive mounts with a simple tool-free slide-in mechanism are suspended behind the motherboard, so they take up very little room within the chassis. This is a great way to free up space in the front of the chassis, allowing for longer graphics cards, larger radiators and more.
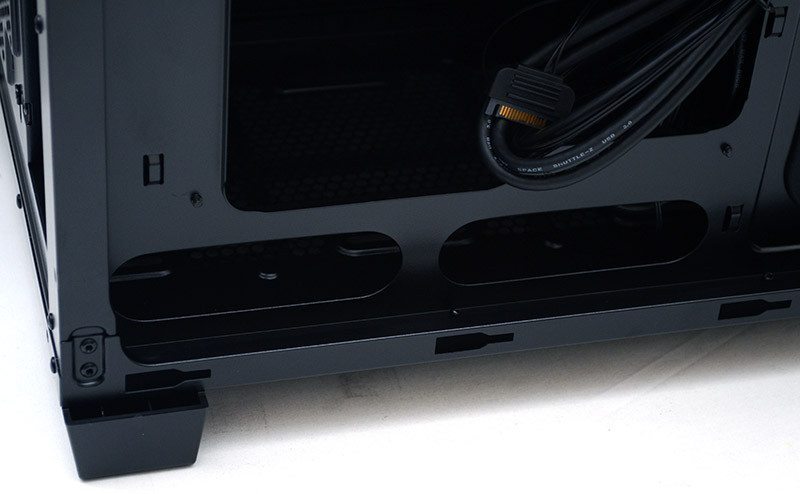
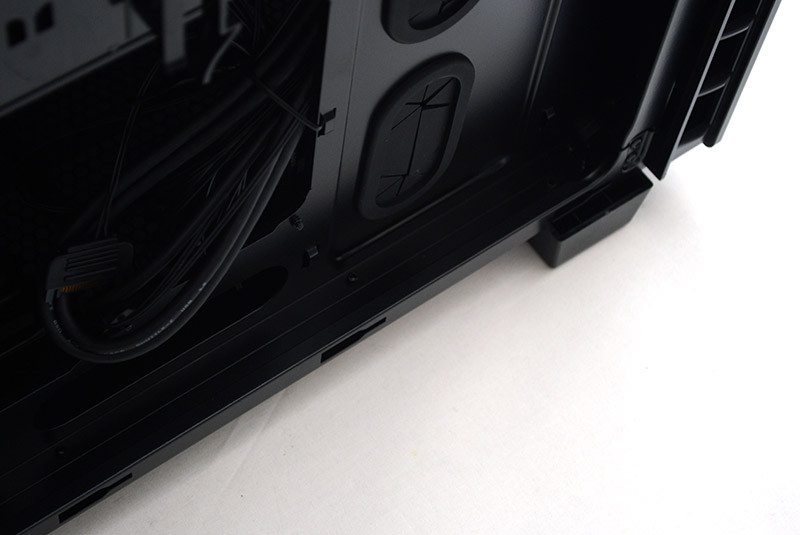
Two large cut-outs here are perfectly located for passing through to the top of the motherboard (which sits at the bottom of the chassis), as well as any base mounted cooling.
All of the rubber grommets are of a high-quality, with a large design that allow for easy pass-through of quite a lot of cables, so cable routing shouldn’t be an issue at all, even for a first-time system builder.
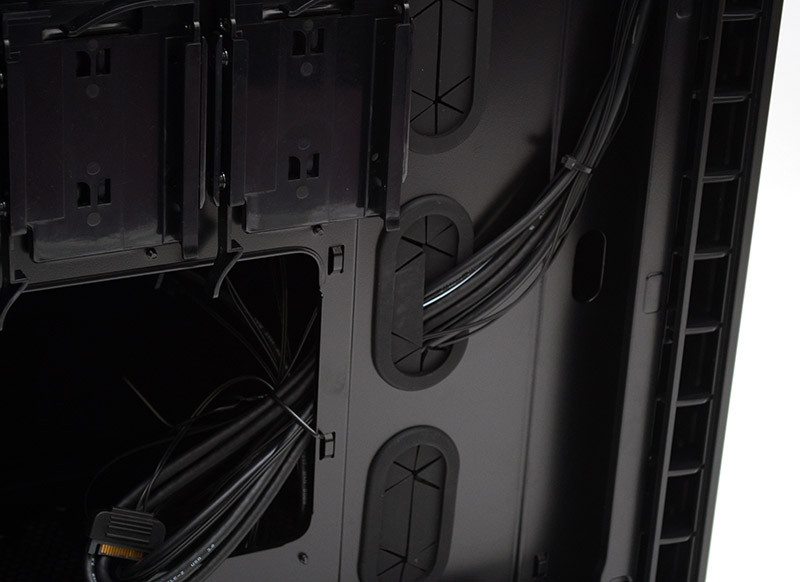
This is added to even further by the fact that there’s a simply huge amount of space for excess cables, as well as plentiful cable tie loops to help you keep things neat and tidy.
The front panel can be removed by pulling on the base of it firmly, behind which you’ll find another thick layer of sound-dampening materials, as well as the front panel dust filter.
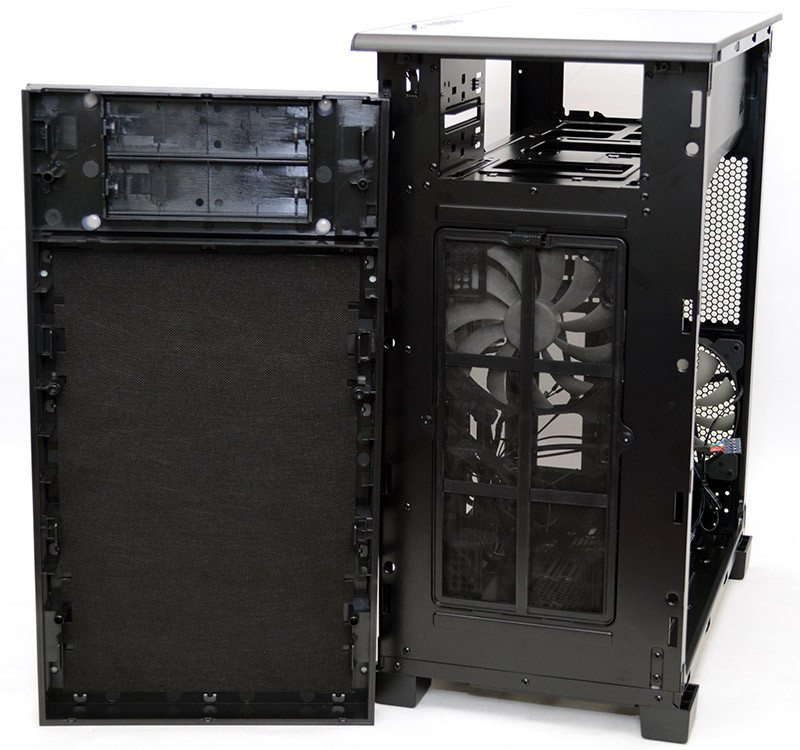
It’s not the most easily accessible filter, but being behind a thick door helps reduce noise from the fans and there’s certainly nothing wrong with having an air filter.
