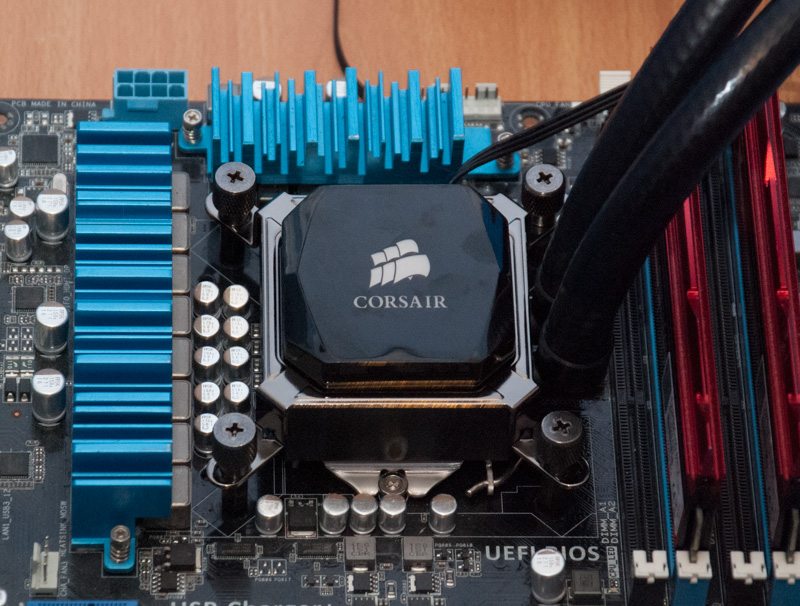
Corsair Hydro Series H80i Liquid CPU Cooler Review
Ryan Martin / 11 years ago
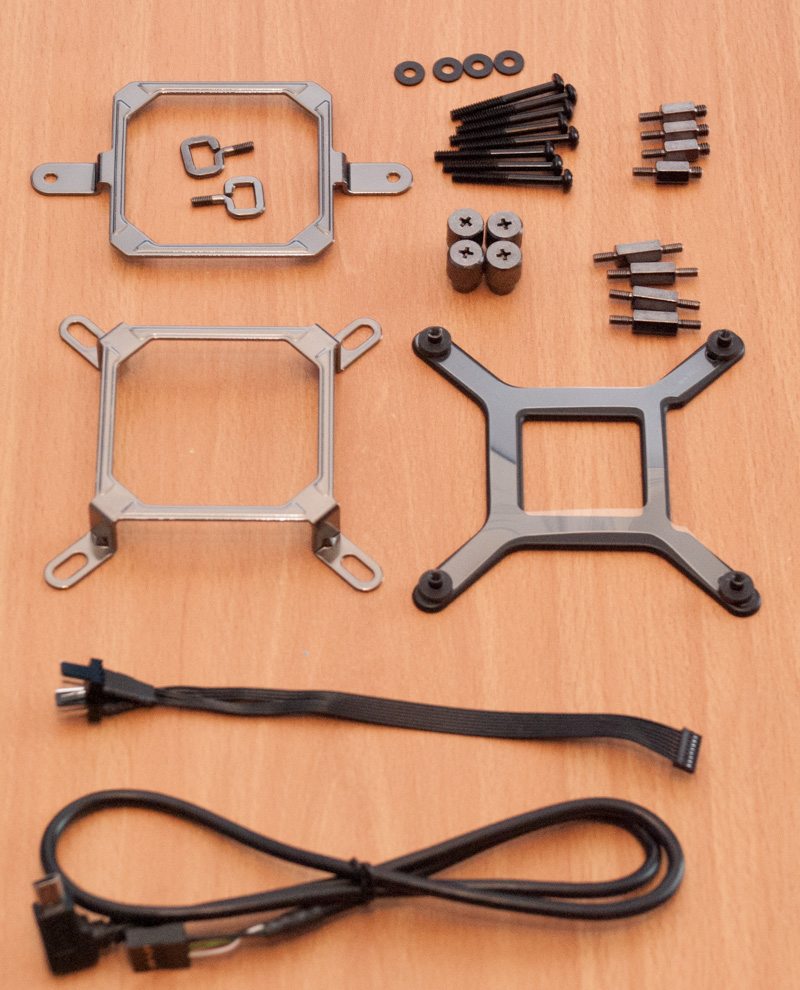
The included parts for the installation process are:
- 4 spacers for installing the radiator to your case
- 8 radiator fan screws for installing the fans to the radiator
- 4 Intel Non-LGA 2011 standoff screws
- 4 Intel LGA 2011 standoff screws
- 2 AMD screw clips
- 1 AMD bracket
- 1 Intel bracket
- 4 thumbscrew locking nuts
- 1 universal Intel socket backplate (AMD sockets use stock AMD backplate)
- 1 fan cable to connect two fans to the fan controller on the pump
- 1 micro USB 2.o to USB 2.o motherboard header cable for the Corsair Link controls
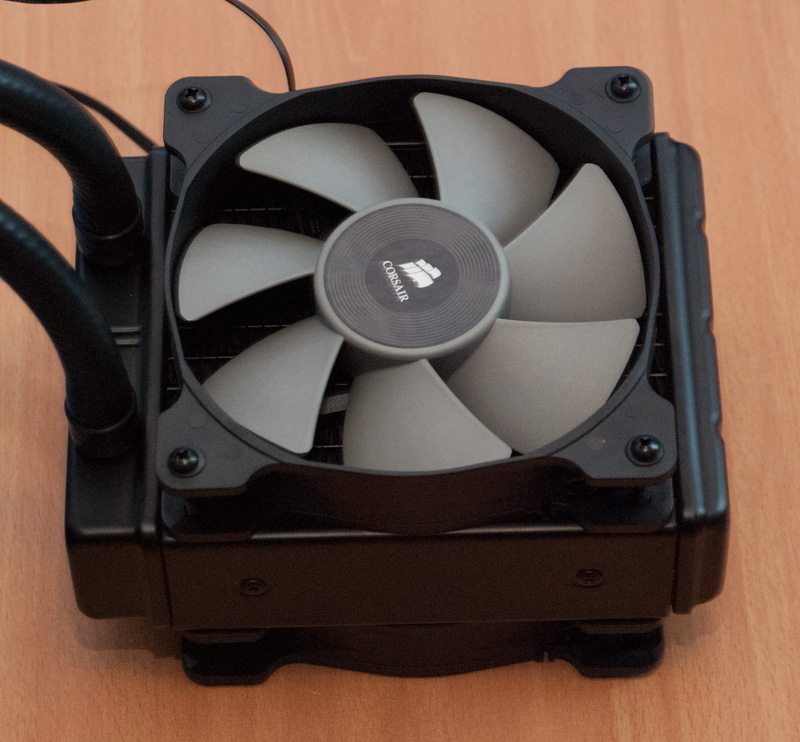
Installing the fans is very simple as you literally use the radiator screws to attach the fans to the radiator. You want to get the right balance between tight and over-tight because over-tightening could damage parts whereas not being tight enough could lead to radiator/fan rattling.
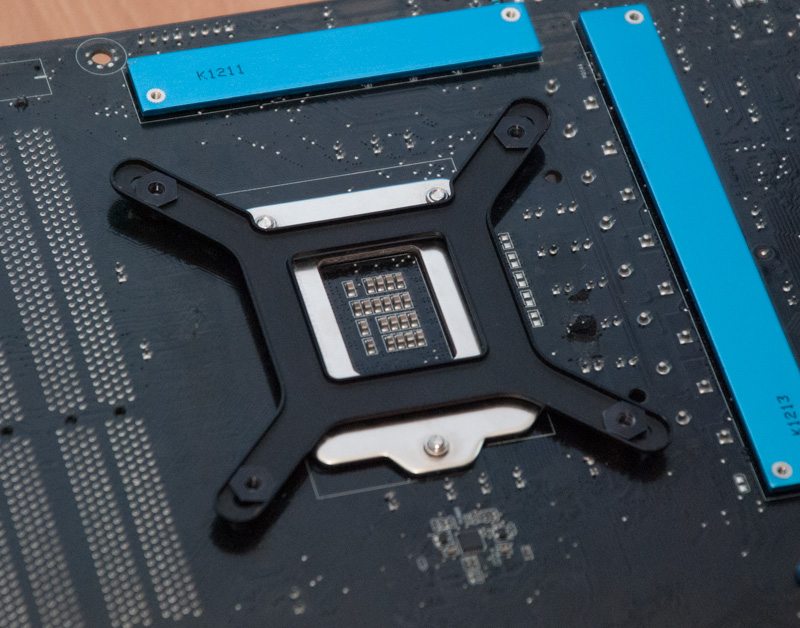
To install onto LGA 1155 you have to screw the standoffs into the provided universal Intel backplate.
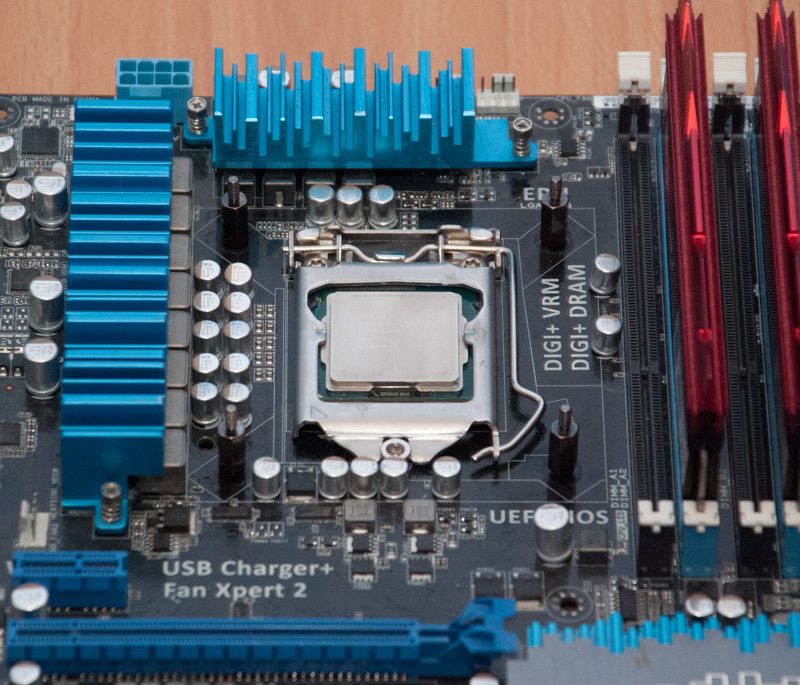
You must make sure the grooves and notches on the backplate align with the holes on the Intel socket for the best possible mount.
To install the pump unit you do not need a screwdriver. You should simply finger tighten the thumbscrews to the standoffs until the unit is firmly in place. Then the rest of the installation procedure involves plugging in all the cables. Be sure that if you use a screwdriver you don’t overtighten the thumbscrews or you could damage/snap the standoffs.
