Cougar MX500 ATX Mid-Tower Gaming Chassis Review
Peter Donnell / 11 years ago
Exterior
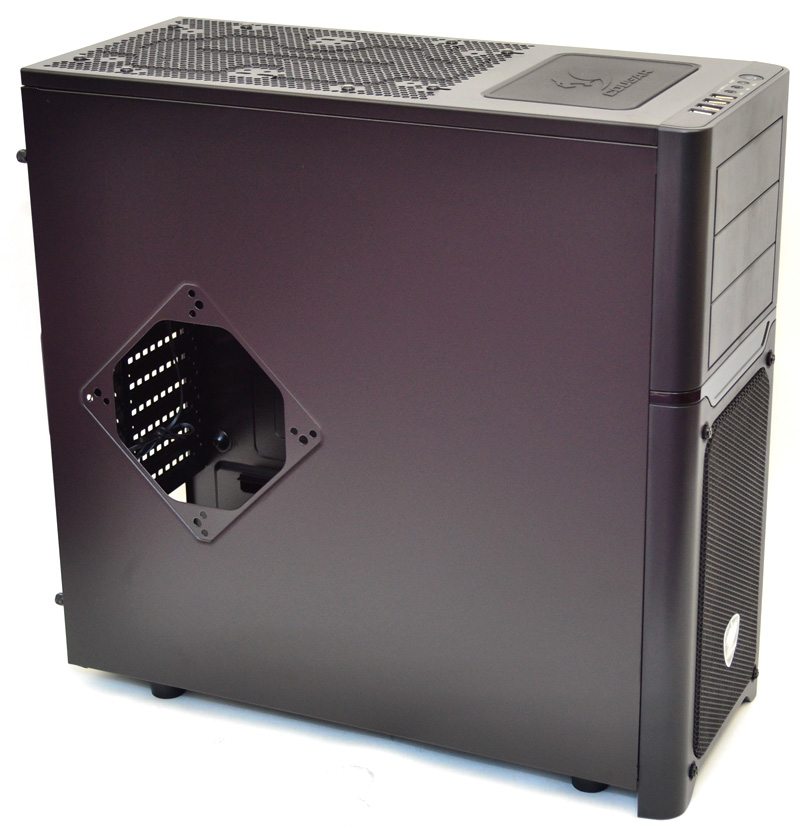
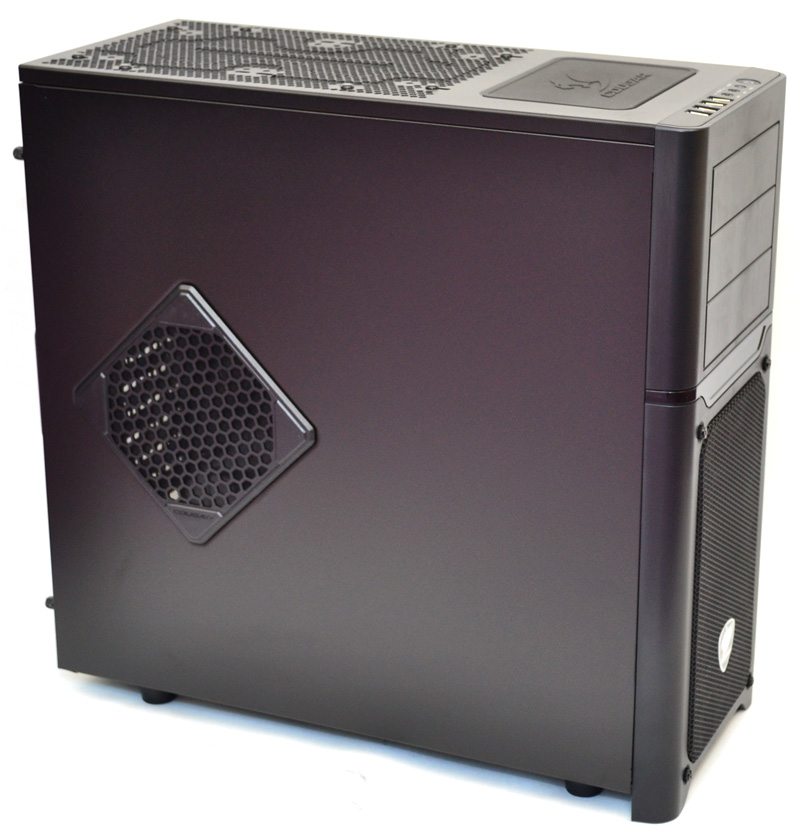
The left side panel features a 120mm / 140mm optional fan mount. As you can see it’s turned 45-degrees and is at the moment just a big hole in the side panel.
The magnetic dust filter that was included in the box just snaps into place and can be easily removed for maintenance.
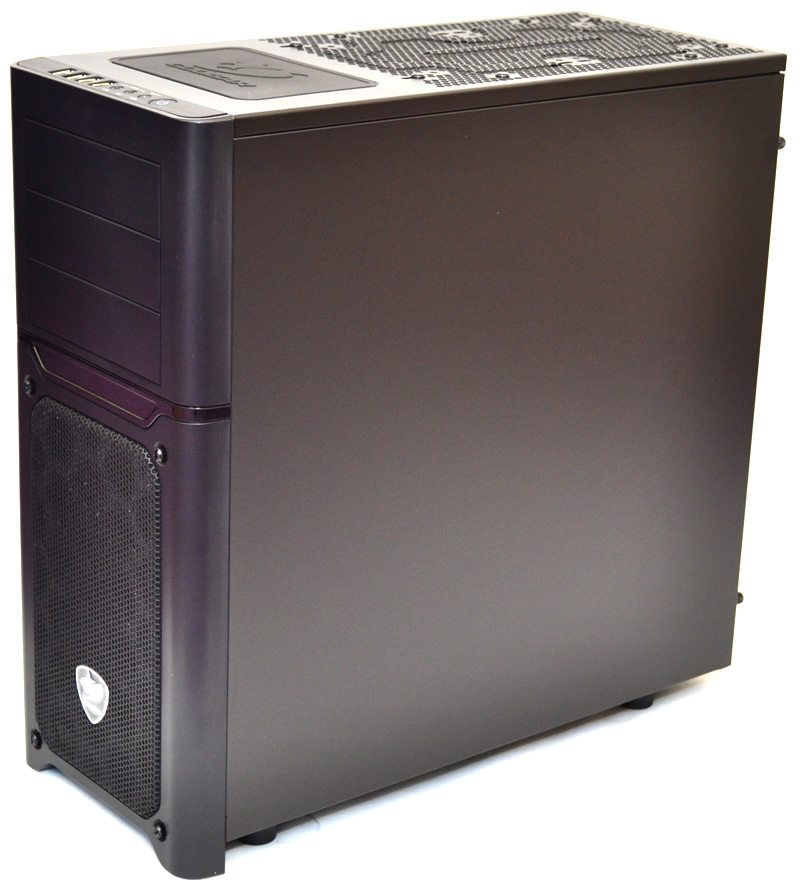
The right side panel is just a flat panel, no special features other than a pair of thumb screws at the back to hold it in place.
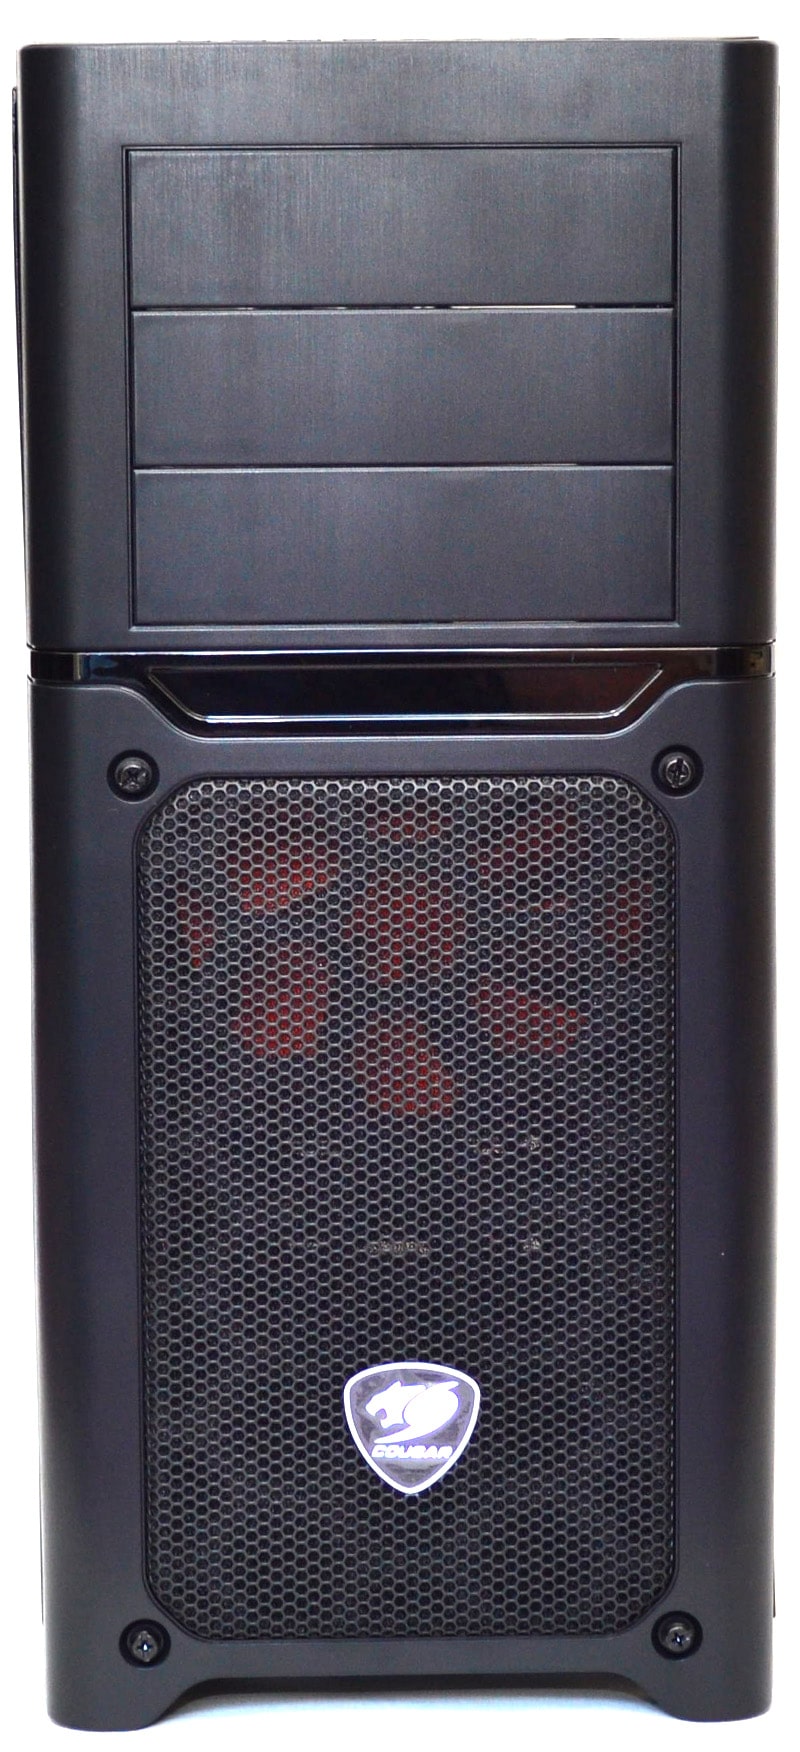
There is plenty going on with the front panel, a lot of plastics overall, but nicely finished non the less. There are three clip-in covers for the 5.25″ drive bays at the top and there is a large air-intake section at the bottom with a screw in washable dust filter.
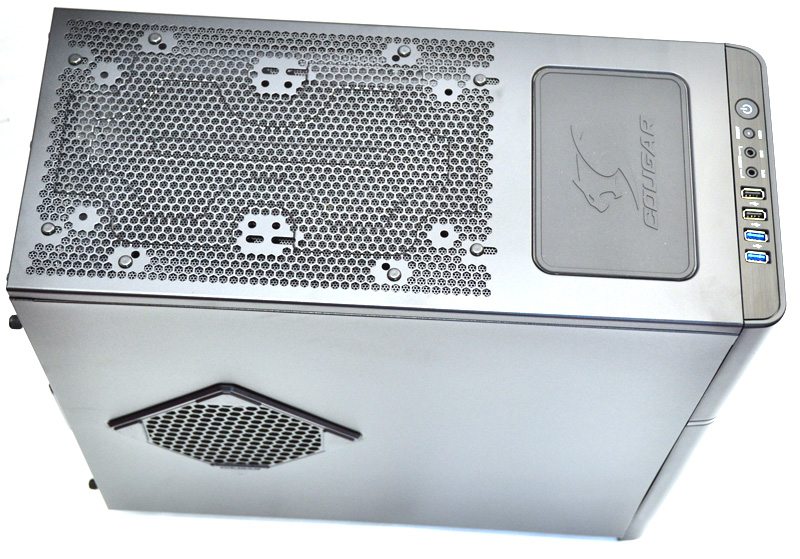
Alone the top you’ll find a funky mesh panel which features an internal filter, it’s not quite a dust filter as the top is often used for exhaust, not intake. However it will prevent larger debris falling through into your chassis.
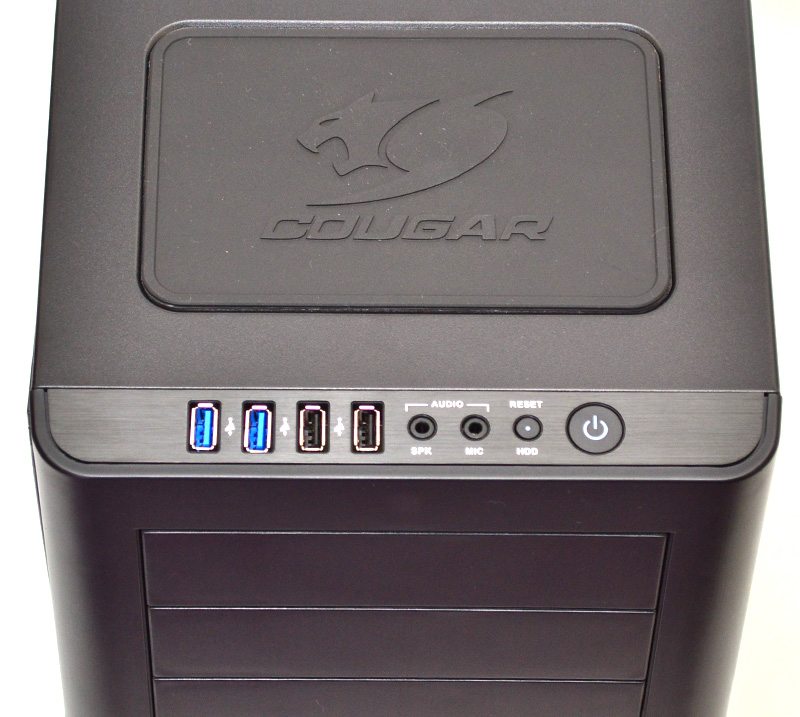
The front panel features a rubber section that is great for holding flash drives and any other little bits and pieces people often leave on top of their chassis (I know I’m guilty of dumping stuff there). The IO panel features dual USB 3.0, dual USB 2.0, HD audio connections, reset and of course the power switch.
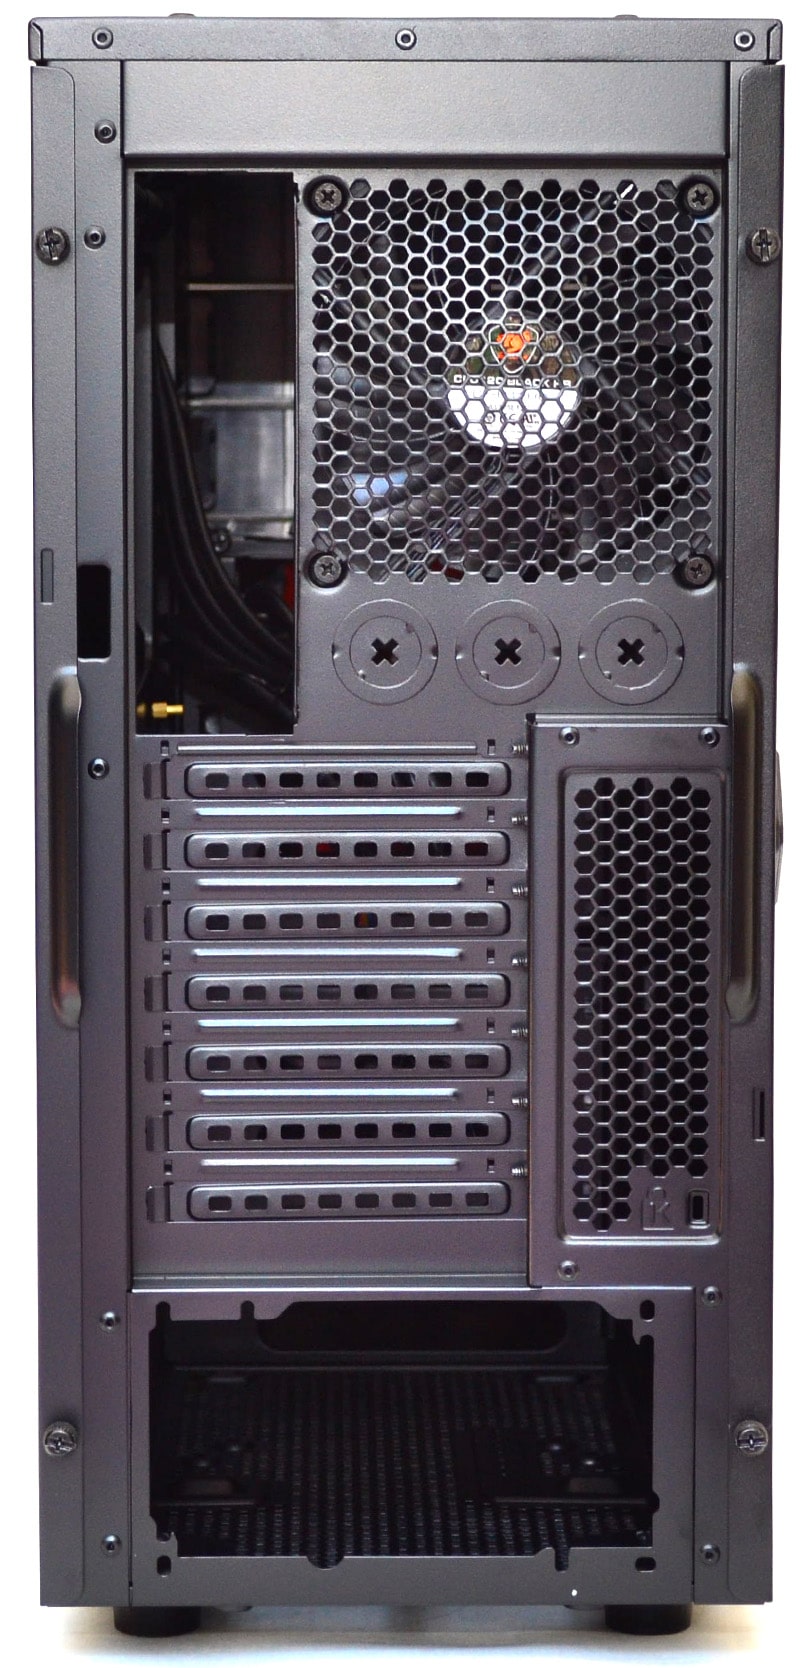
Around the back there is a pre-installed 120mm exhaust fan, some extra water/cable routing holes with push-out metal caps (rubber grommets included in box), 7 ventilated and reusable expansion slot covers and a bottom mounted PSU cut-out.
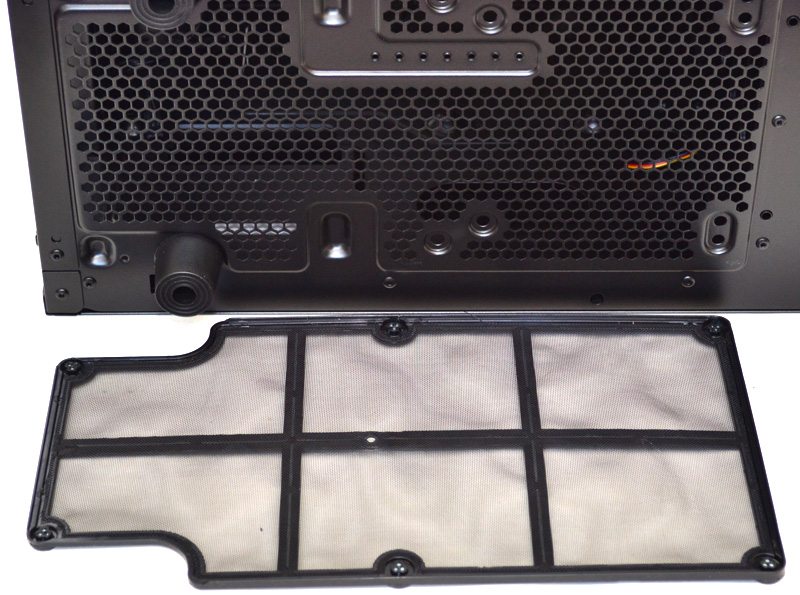
On the underside there are four large rubber feet and a huge magnetic dust filter.
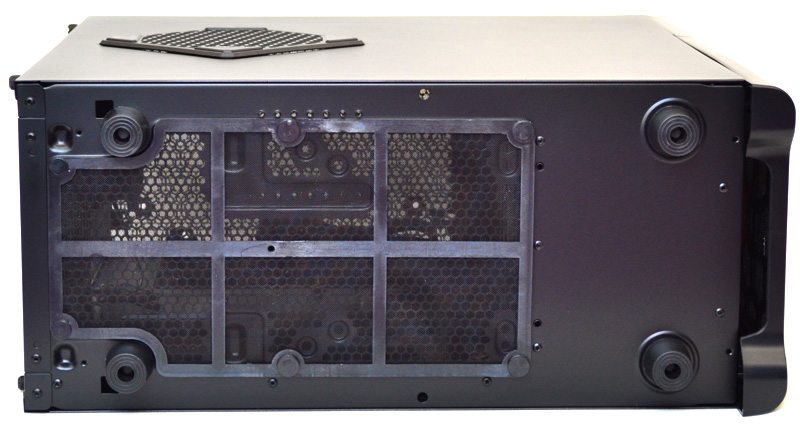
The filter can be popped off with ease, allowing quick and easy maintenance of the PSU intake and the bottom 120/140mm fan mount.
