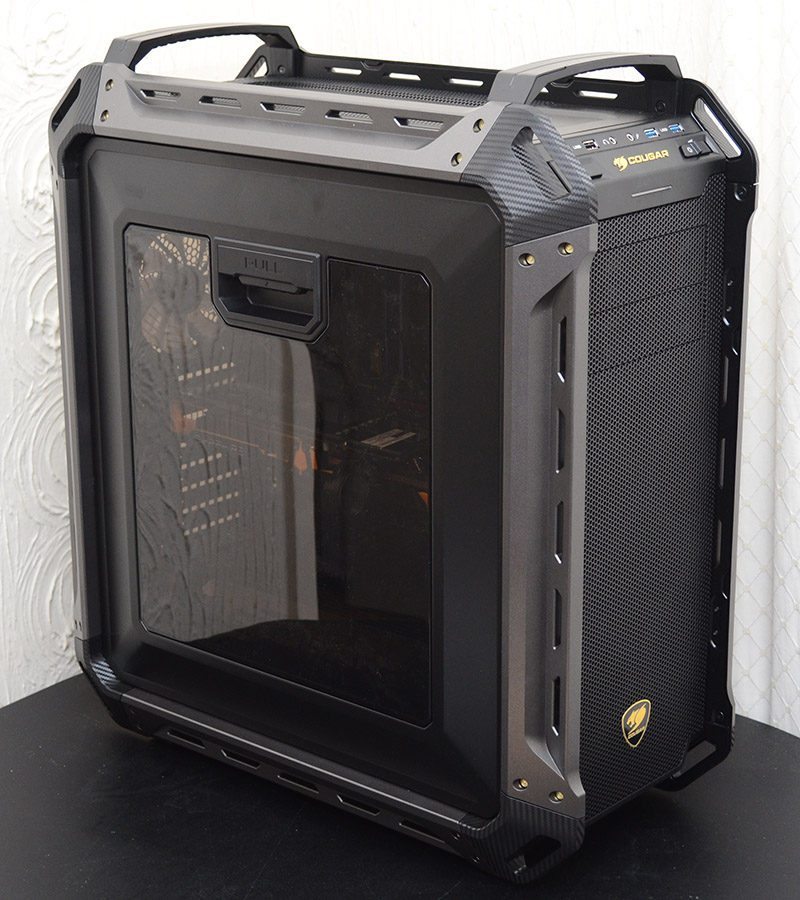
Cougar Panzer Max Full-Tower Chassis Review
Peter Donnell / 8 years ago
Complete System
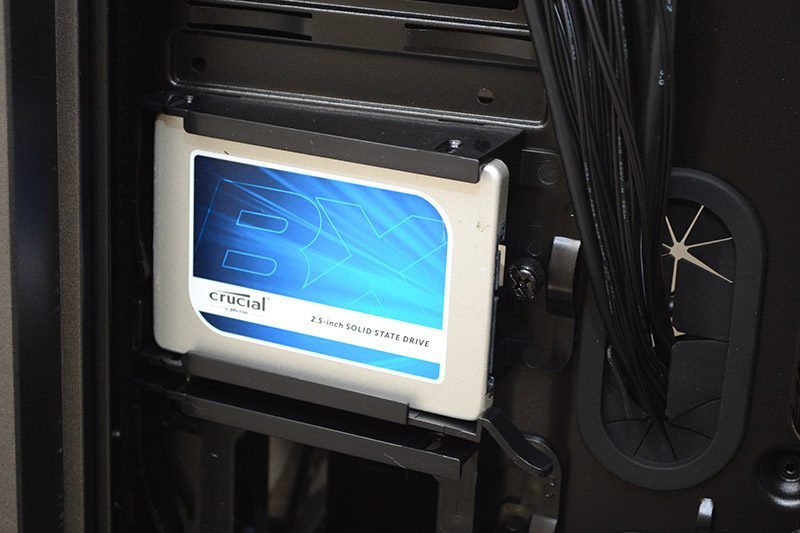
First things first, let’s get our SSD installed in one of those rear bays. They’re slide and lock, meaning they’re tool free and easy to use.
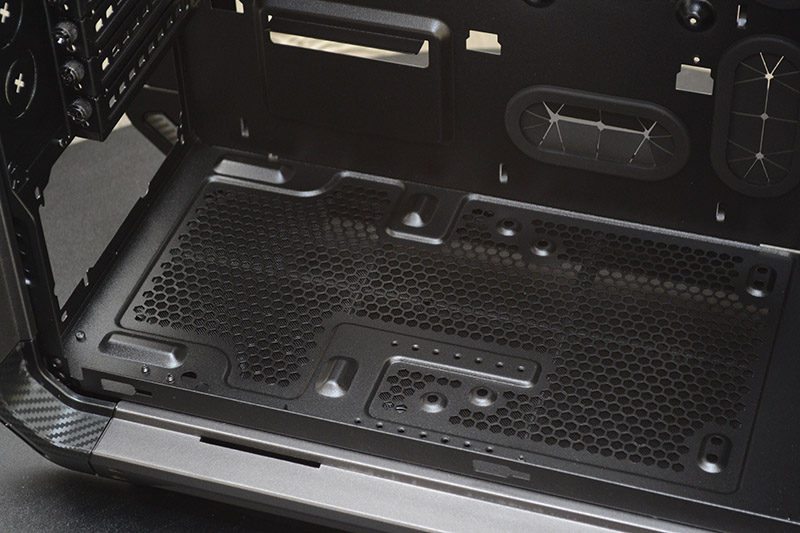
The PSU shroud is easily removed without the use of tool too, giving you easy access to those bottom fan mounts and the PSU fittings.
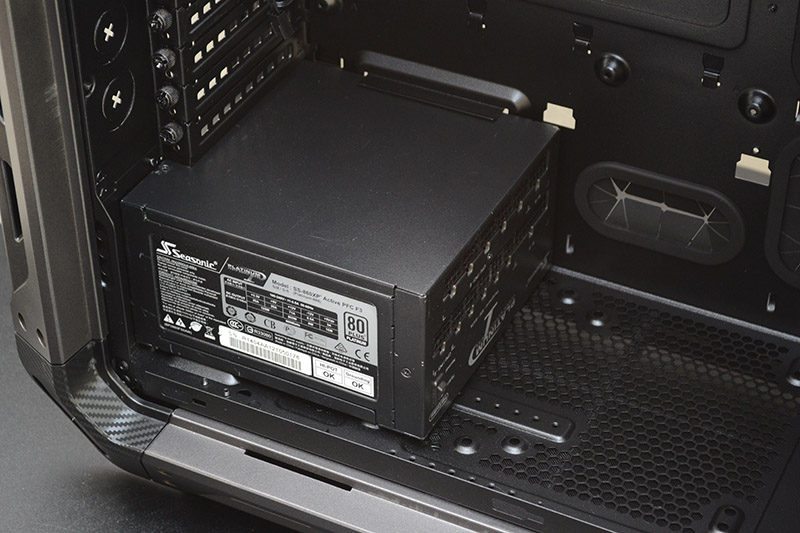
Just screw the PSU into place, fit your cables, cover it all up and it’ll look great!
Cable management is truly epic on this chassis, as there are plenty of grommets in all the right places, as well as vast amounts of routing space behind the motherboard and under the shroud. Overall, this means you’re going to have a super clean-looking build with minimal effort.
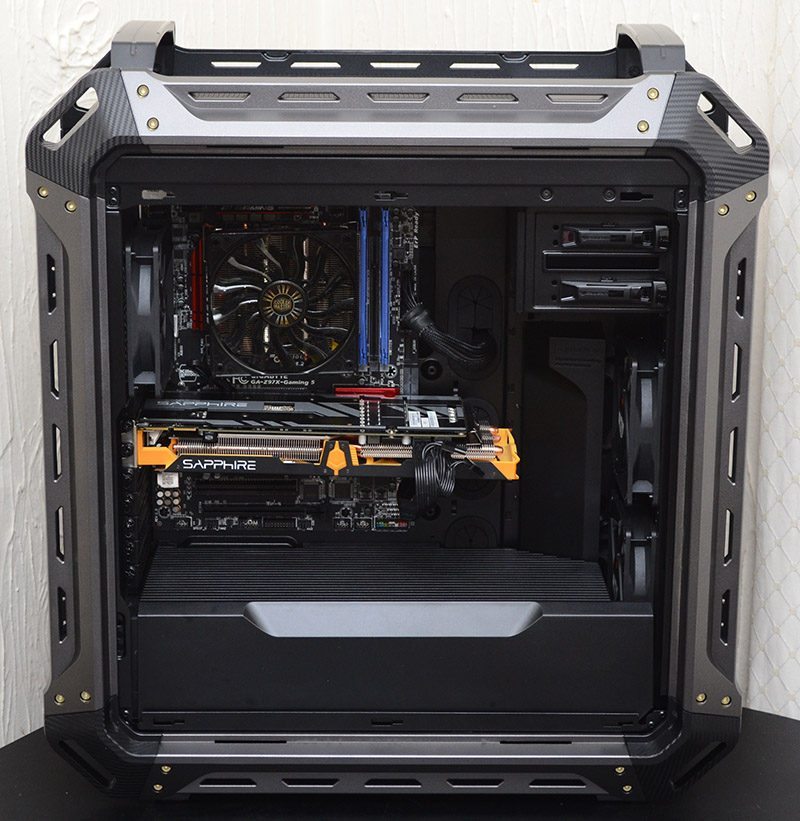
There’s a good amount of clearance here for the GPUs, perfect for a multi-GPU setup, and even the longest GPUs on the market aren’t going to pose an issue, as there are no front hard drive bays to conflict with.
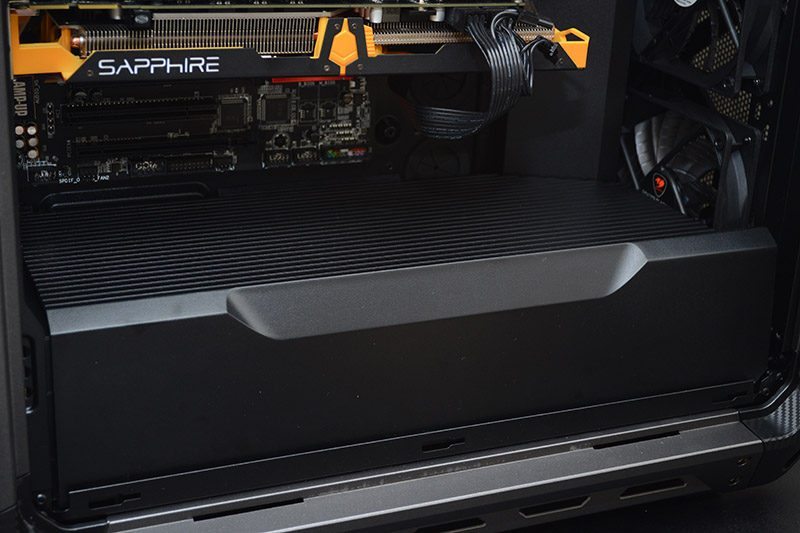
There’s loads of room up front, so thick radiators shouldn’t prove an issue at all. There is one thing I would like to see improved though, as much as I love the cable shroud, there’s no routing hole on the top of it for side-loading GPU power cables, meaning they trail under the card.
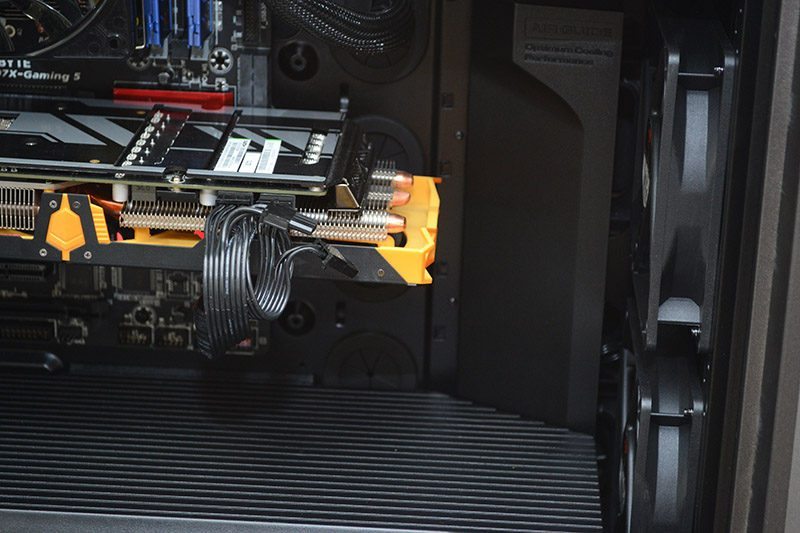
The extra-wide design of the chassis is awesome, it means that even the biggest high-end air coolers should fit with ease, and it also means lots of room at the back for AIO coolers of custom radiators.
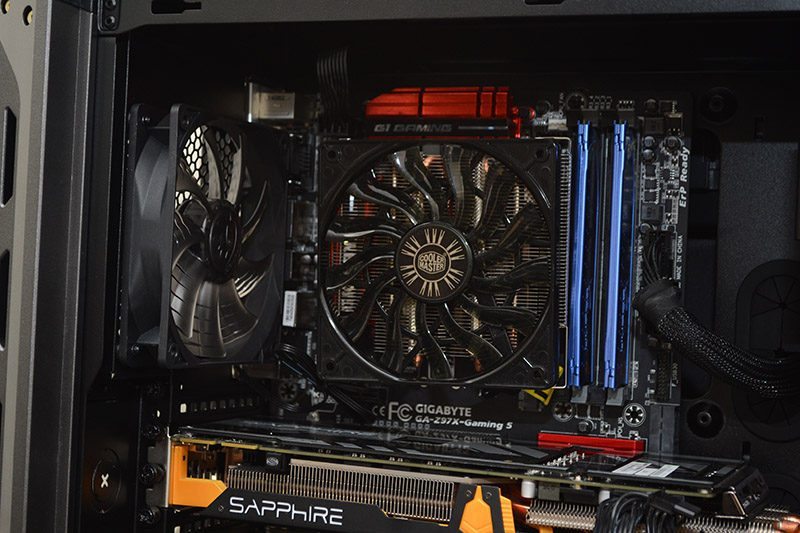
Easily accessible cable routing right beside the motherboard, helping minimize cable trail.
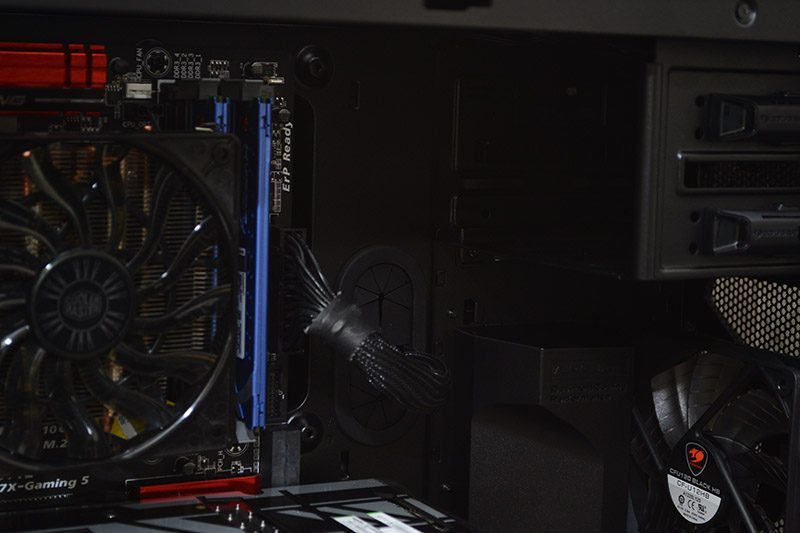
Overall, this is one slick-looking build both inside and out, so let’s complete the last part and get the side panel back in place.
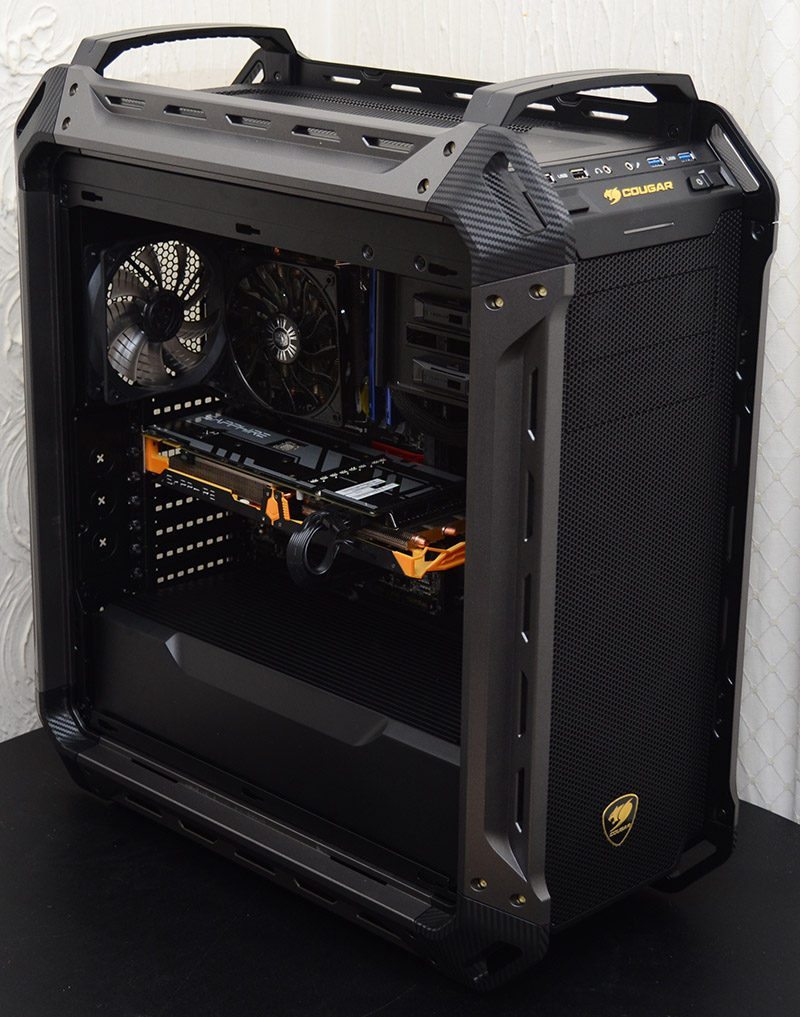
Even though cable management is fantastic in this chassis, the dark tint on the side panel means that black fittings and cables will be pretty much hidden from view further, while showing off highlights and lighting very nicely.
