
Basic NAS Setup
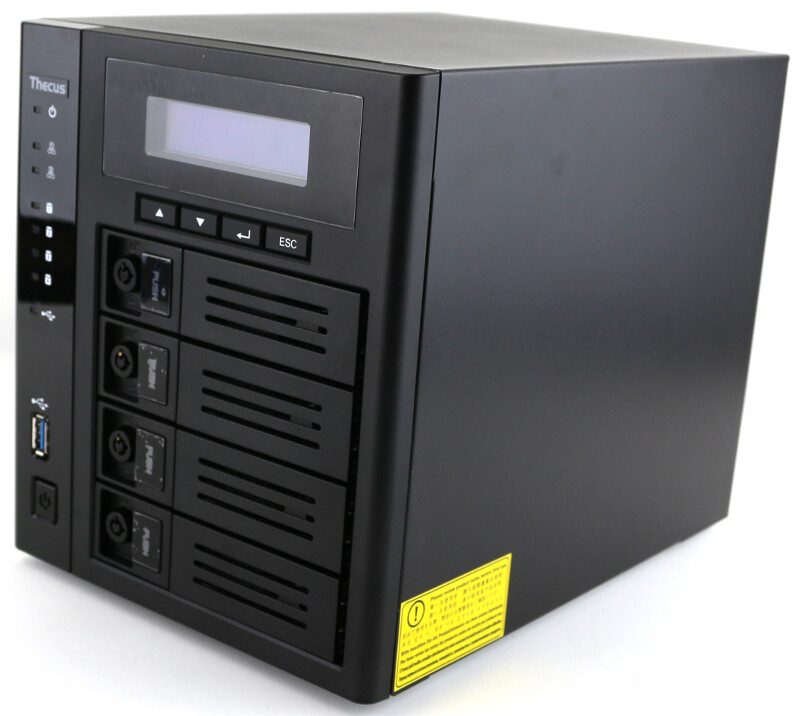
In order to get started with our brand new home theater experience, we need to set up our NAS, connect it, and configure it. That’s quickly done and I won’t dive into any details and features here that aren’t relevant to this kind of setup. We’ll have a full review of the NAS unit ready for you too soon, so check back on that for the full details and benchmarks of the unit.
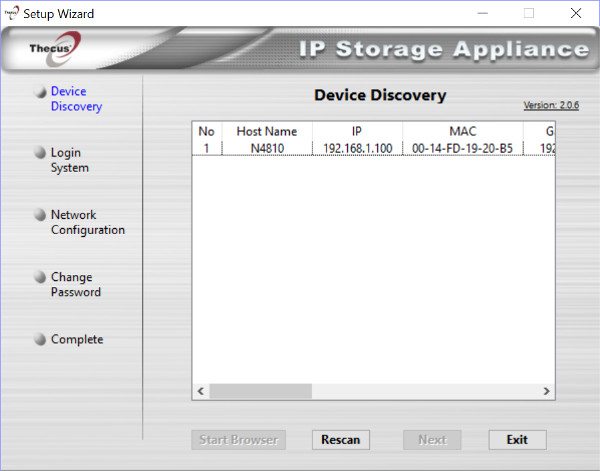
The installation is quite easy and the best way to do it is via the Thecus Setup Wizard desktop application. It will quickly find all Thecus NAS on your network and allow you to set up the basic information such as admin password and network configuration.
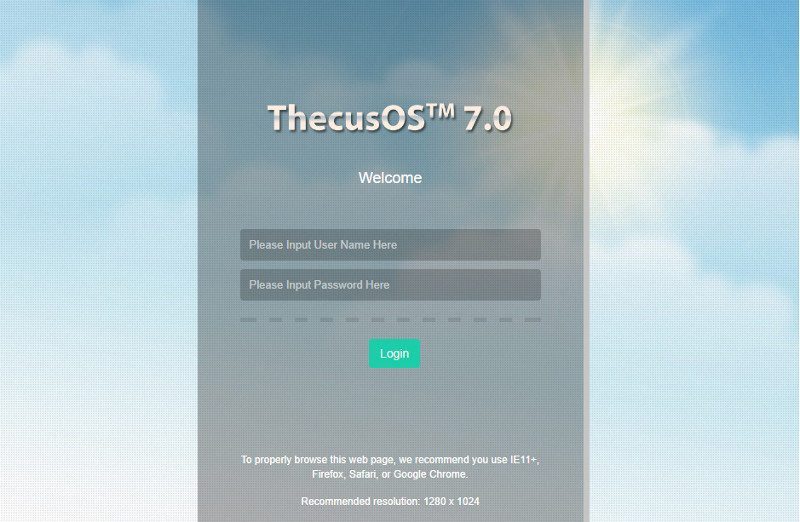
On the last page of the Wizard app, you can click the button which will take you to the actual web interface using your default browser. From here on we can continue our setup and get all our media files copied onto the NAS.
Before we can get started, we’ll have to agree to the disclaimer, like with any device. It basically says that we’re responsible for our own actions – as with everything in our lives.
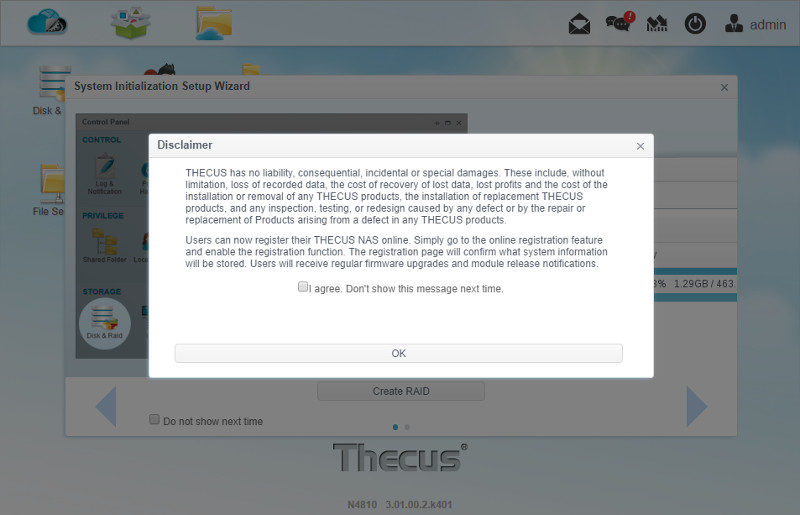
Once you have agreed to the disclaimer, we get a small system initialization wizard that will tell us what to do next – Create a disk setup and some users. And that’s what we’re going to do now.
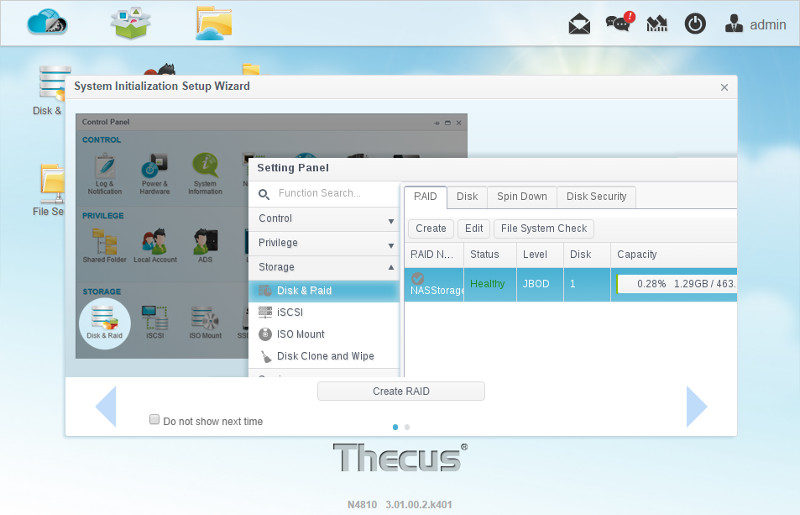
Since we only configured the administrator user and the network so far, we need to create a place to store all our media files on.
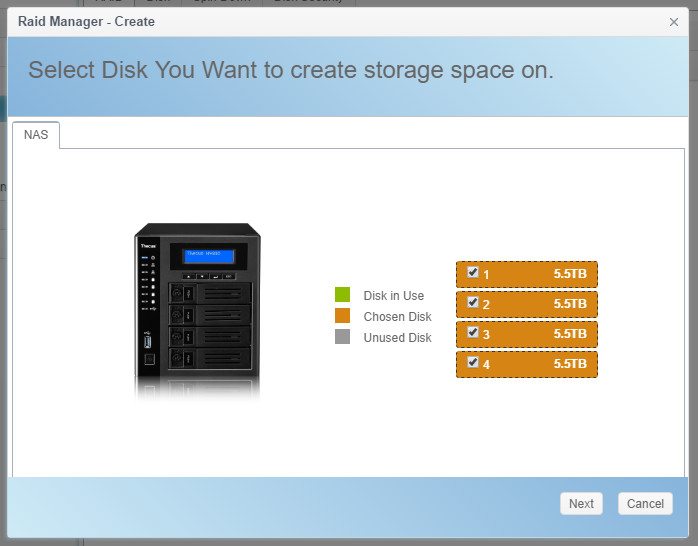
Which setup you choose is really up to your available drives and needs, but I’ll pick RAID 5 in this scenario. As a media server, it will mostly read data and the one drive redundancy allows for easy recovery in case disaster should strike.

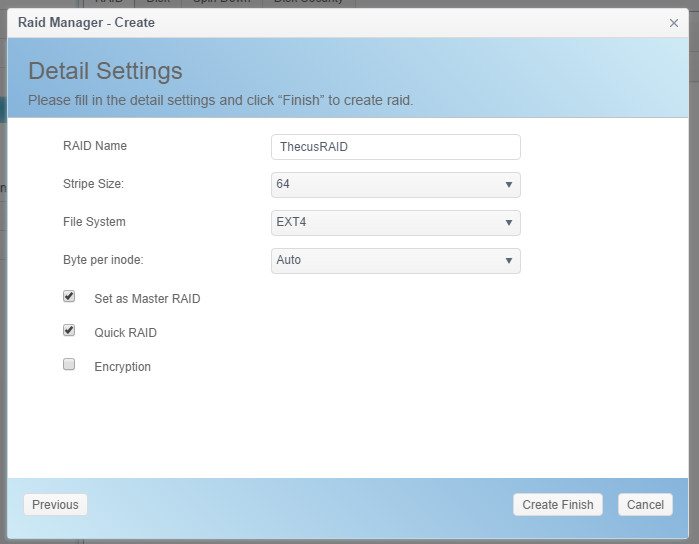
Which name you give your RAID isn’t really important and if you don’t know anything about RAID, then just leave the rest of the settings as they are. However, you might want to check the Quick RAID box as the initialization will be a lot faster with this enabled.
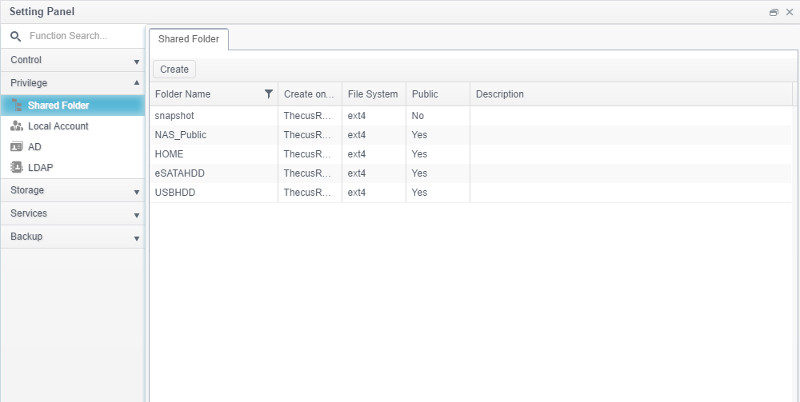
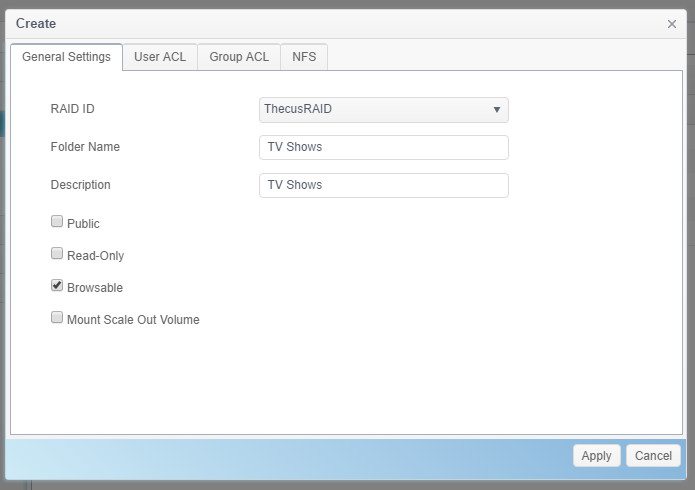
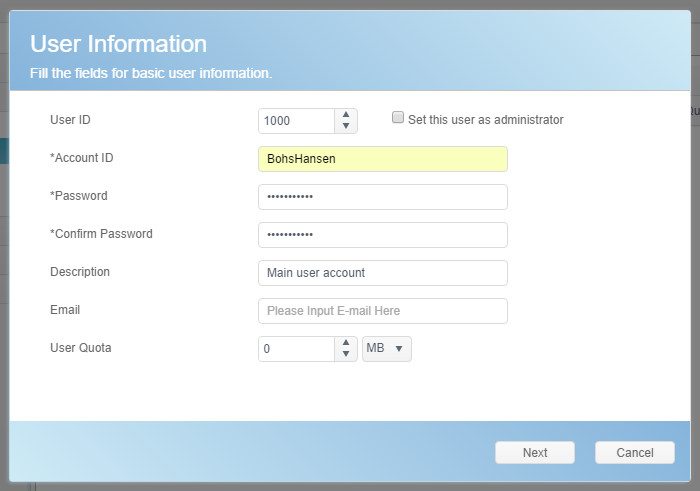
Our setup is done and, now we need to create some users that can access the server and some shared folders to store our data in.

There are a few default folders created already, but there is a good chance that you’ll create some more.
All that’s needed is a name, but you can change more settings too.
You’ll never want to use your administrator user for every-day work and as such you should create a least one more user for yourself and you also quite possibly need to create users for everyone else that will have access to your NAS and its files. You can control what every user has access to and what kind of access they have.
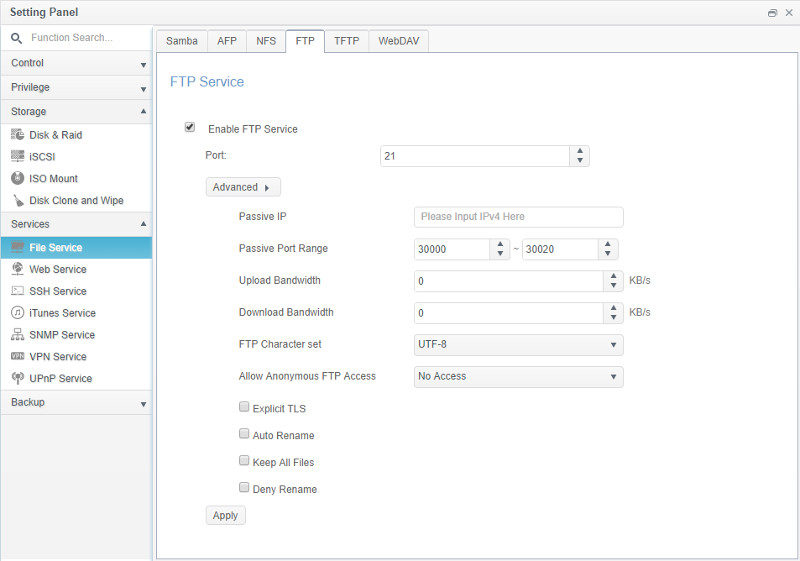
Now that our NAS is up and running and we’ve created both users and shares, it’s time to transfer our files onto the new NAS. There are various methods to do this and which to choose depends on how all your media files are stored now. If they’re on external USB storage then you can just connect the drives and copy the files over. If they’re on another network location, then my preferred method is to transfer them via FTP.
The FTP server is built into Thecus OS and is quickly set up.
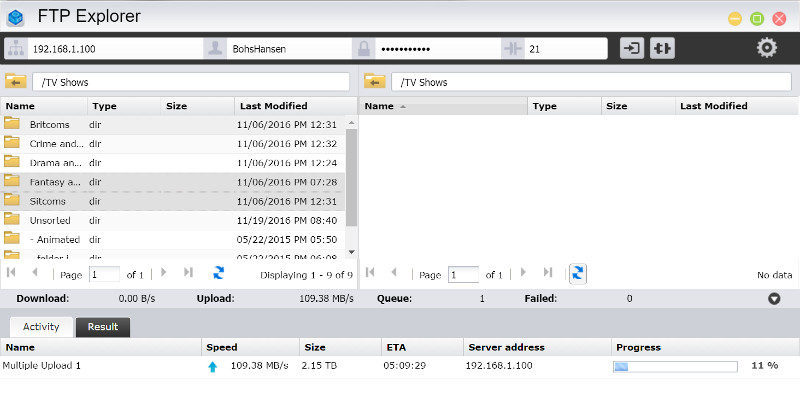
I got an FTP client on my current NAS, so I’ll use that to connect to the new one and transfer the files over that I want. I won’t transfer all files for this article as they aren’t needed, but I’ll copy over 2TB of TV shows and various other files to the NAS in order to test all the media capabilities.
With the NAS readily set up and files loaded onto it, it’s time to install the apps that we want. I’ll add a whole bunch more than you most likely will as many have more or less the same functionality. Which to use will depend a lot on which other devices you have, what software licenses you have, and the general support of theirs to the various systems.


