Deepcool MACUBE110 PC Case Review
Peter Donnell / 4 years ago
Interior
As I said, pull the handle at the top to release the magnetic hold.

Lift the glass out of the way, and put it somewhere safe.
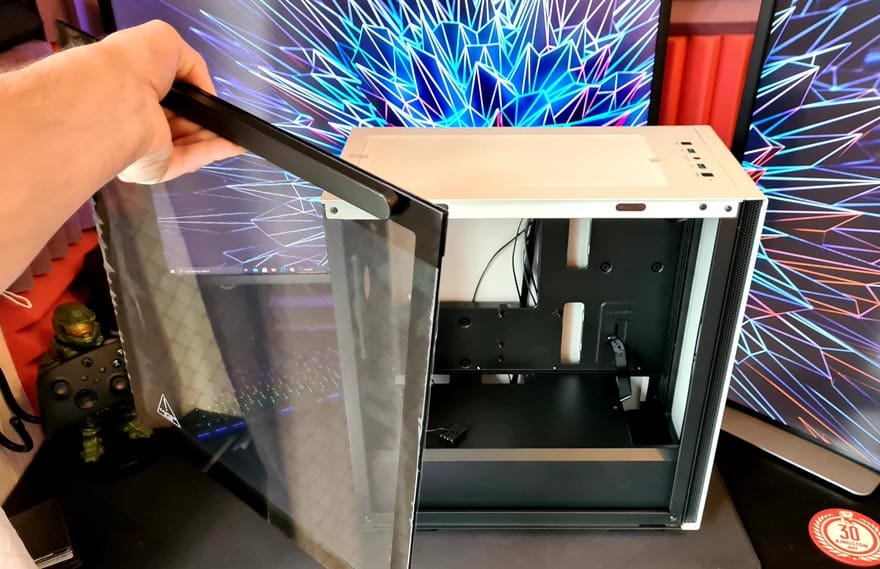
The inside of the MACUBE110 is clean and tidy, with a huge CPU cooler mounting cut-out behind the motherboard. Plus, you get a bunch more cable routing cut-outs above and to the right of the motherboard.

I do love a good PSU shroud, as it makes it easy to hide all of the horrors of my lazy cable routing, and the PSU, which rarely look all that interesting anyway.

Towards the front, you see this lovely GPU support arm. If you have a really long and heavy GPU, it’ll help you avoid it from sagging. Plus, it’s height-adjustable, which is always a nice bonus.

The front panel has the same mounting options as the top, allowing for another 240/280mm radiator. There are no front fans as standard though, keep that in mind, but alas, this case is pretty affordable too, so keep that in mind too. For me, I’d put a 240mm radiator in the front.

As you can see, there’s a large cut-away in the PSU shroud, allowing you to use the entire front panel to mount your cooling hardware.

Around the back, you’ll find a modest amount of space for cable routing. However, keep in mind that you don’t need too much space behind the motherboard with the PSU shroud anyway.
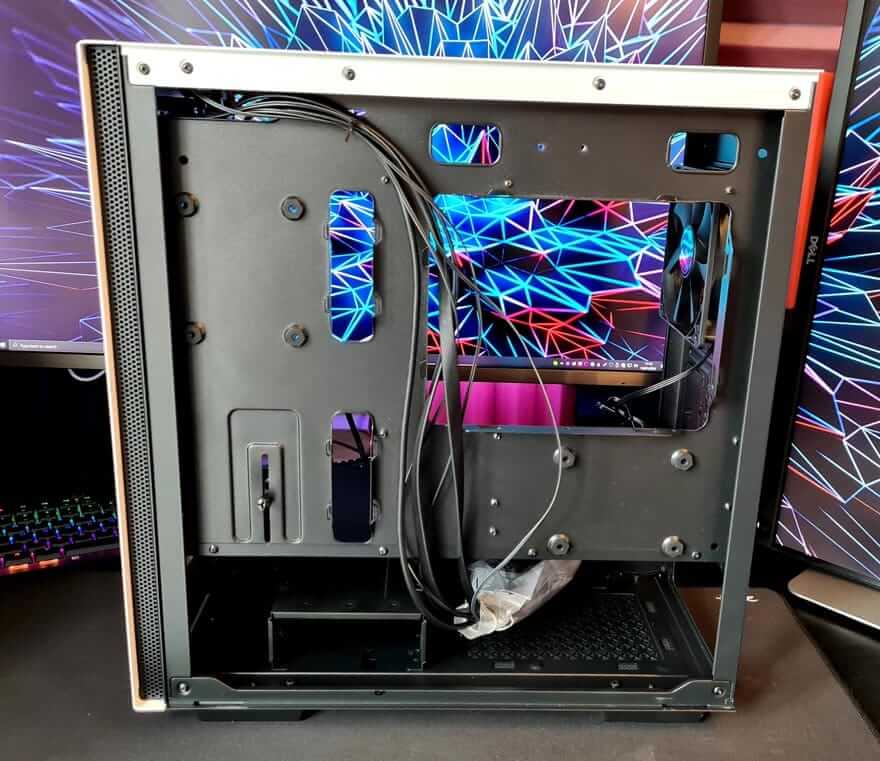
There’s a mount here to install an SSD.
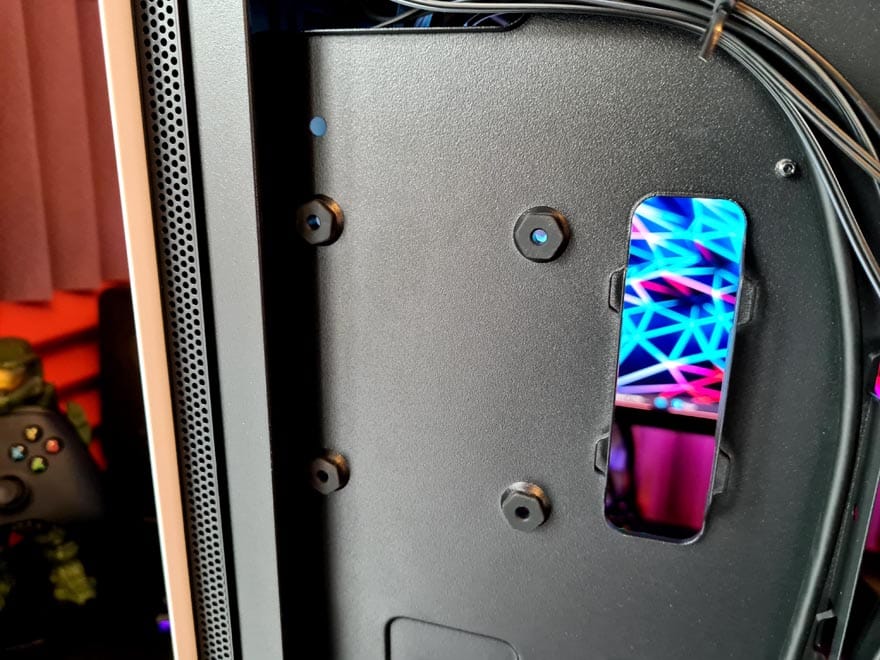
Plus, another one here just behind the motherboard mount.
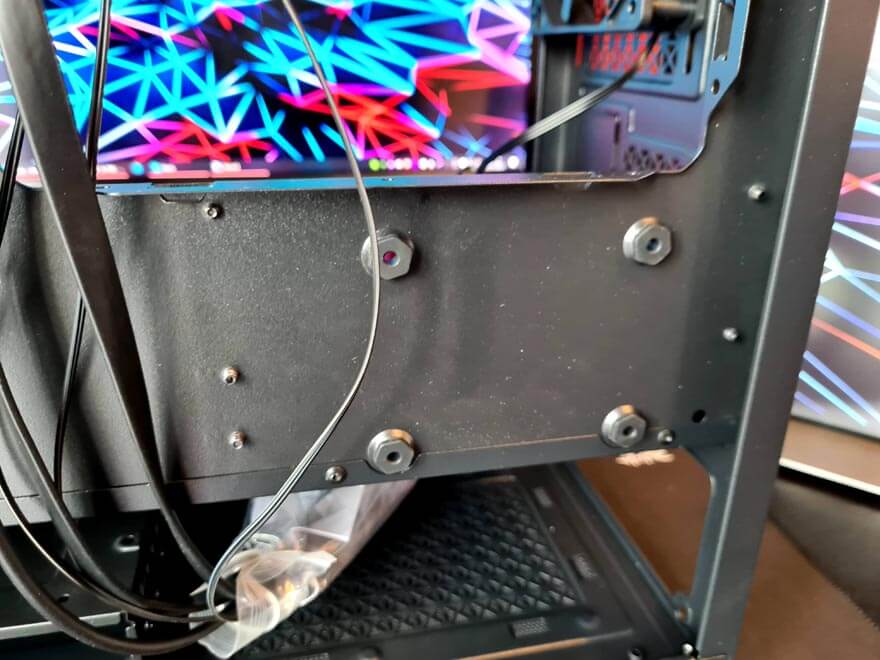
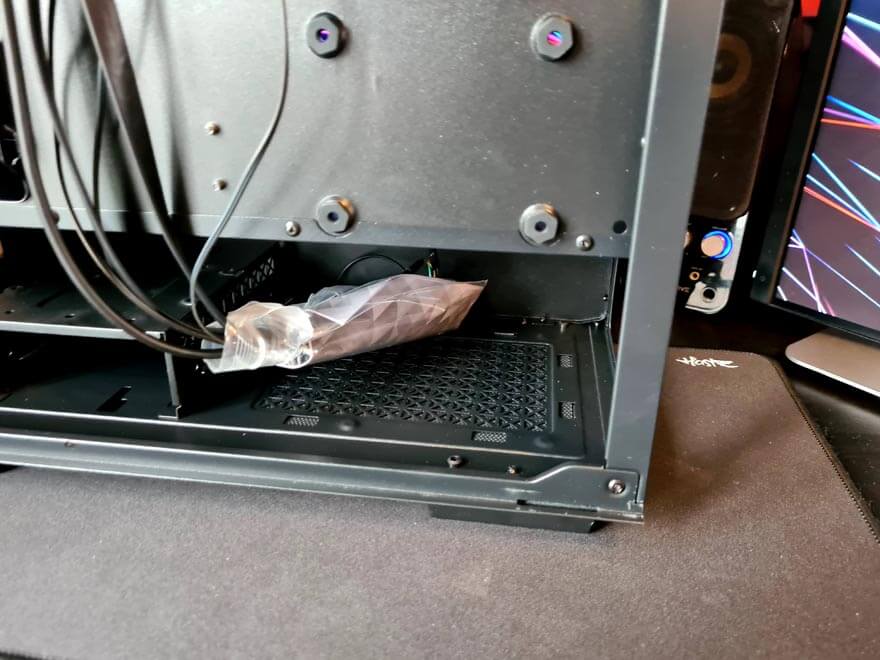
Below the PSU shroud, you’ll find an HDD bay, and you can mount an SSD on top of that too. You also have the option to move this bracket too, if you want more cable routing space, or you can remove it completely.

Plus, there’s plenty of room down here for a good size ATX PSU.
