Drobo 5N 5-Bay NAS Review
Bohs Hansen / 8 years ago
A closer look
The first thing to look a bit more at is the front cover that is held in place magnetically. The drive LEDs shine through this cover and on the inside we have the sticker that shows what each LED means and whether we need to pay attention to it or not. This is also the place where you can put one of the other included stickers that we saw on the previous page.
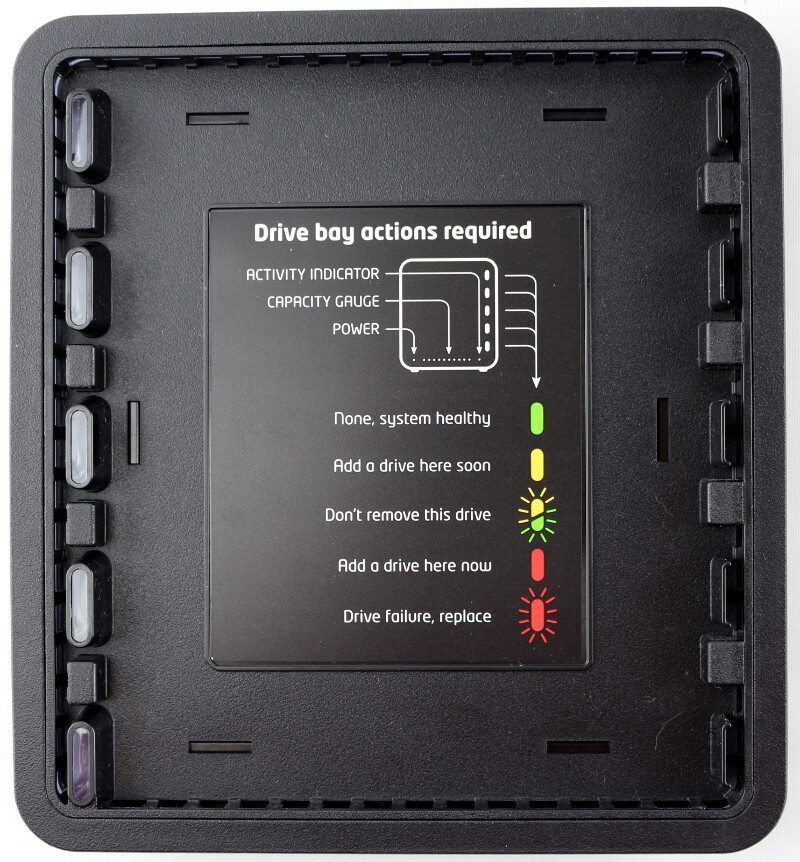
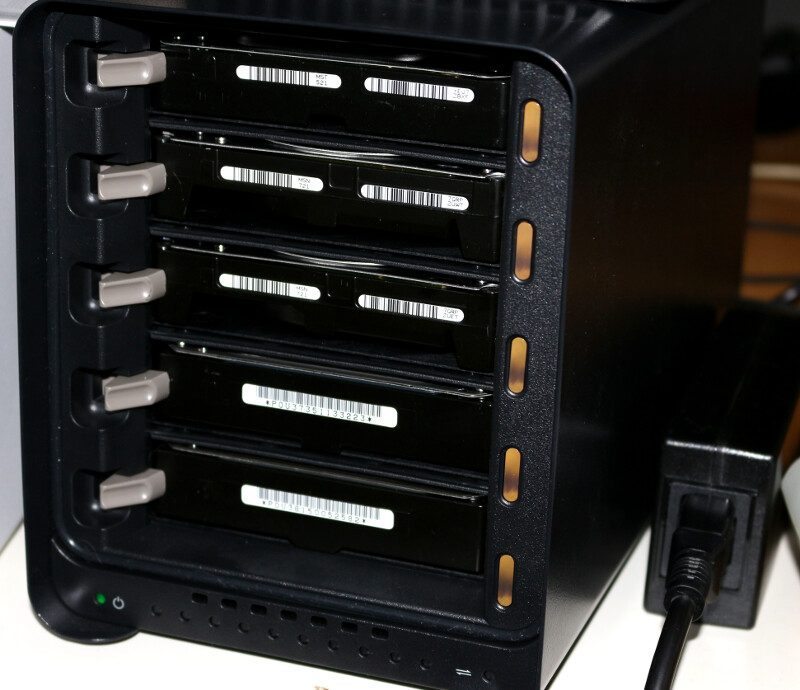
The drive LEDs are multi-coloured and switch between colours depending on the state of the drives and setup. When they’re green, all is running well. When they’re something else, the system is busy doing something with them, like rebuilding, or you need to pay attention to something (warning). At the bottom below the drives is another row of LEDs that work as capacity meter, allowing you a quick and easy view of how much space you have left and when you need to upgrade the drives to larger ones.
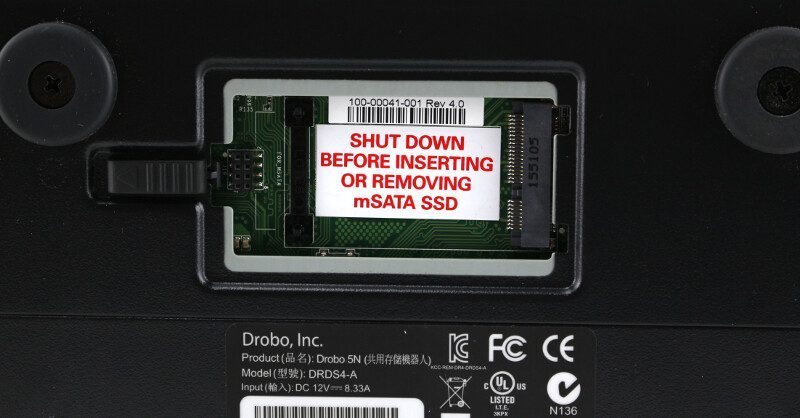
The bottom of the Drobo 5N features four large rubber feet that make sure that the device stays where you place it and that it doesn’t transfer possible vibrations from the disks to the rest of the desk or shelve where you’ve placed it. We can also see the accelerator drive slot here and that one is easily opened by sliding the button to the side.
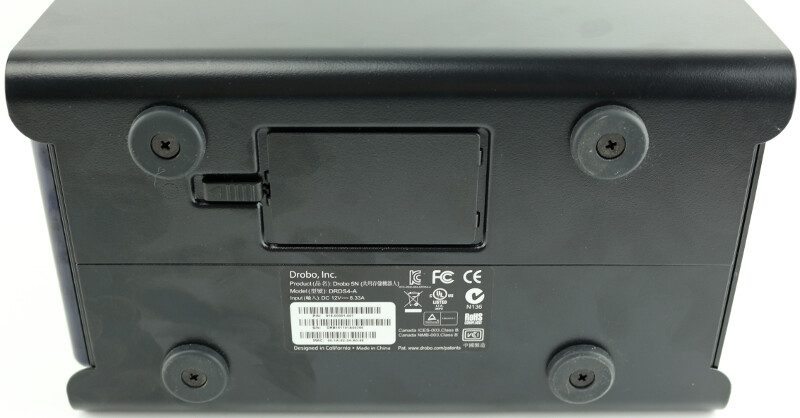
Opening the accelerator bay reveals a warning that we should remember to shut down the system before we insert a drive here. The whole thing is completely tool-less just as the drive bays are and that’s a big bonus. You don’t need any tools at any time for the Drobo 5N.
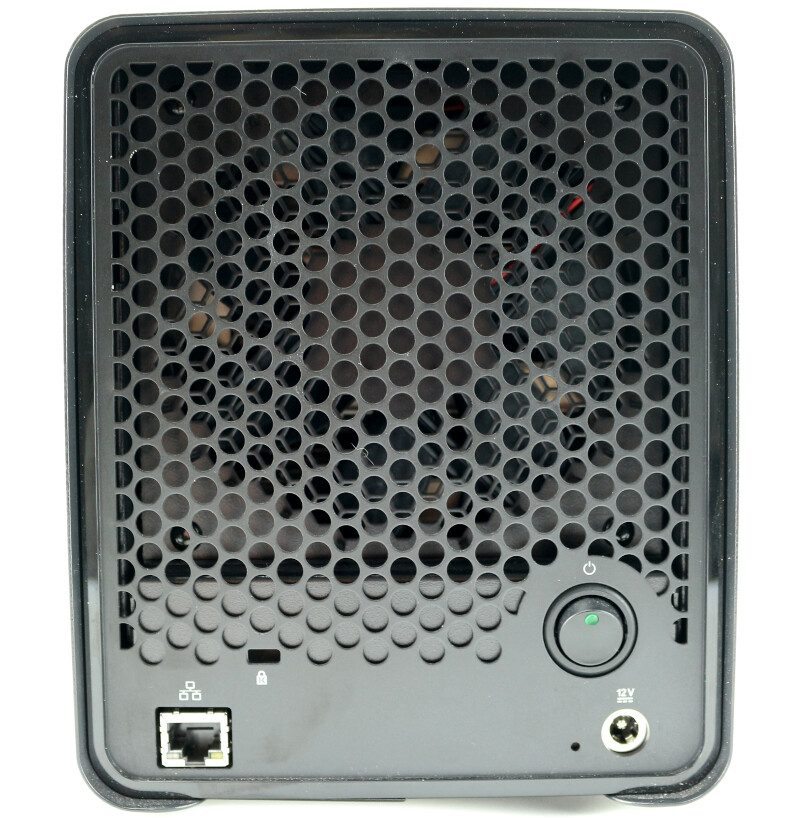
The rear doesn’t feature much and is kept as simple as the rest. At the bottom is the Gigabit Ethernet port next to a Kensington security slot on the one side and the power button and power connector on the other side. The power button is a soft-touch button, meaning that it flips back to the same position when pressed. It does however feature another LED to indicate whether it is running or not.
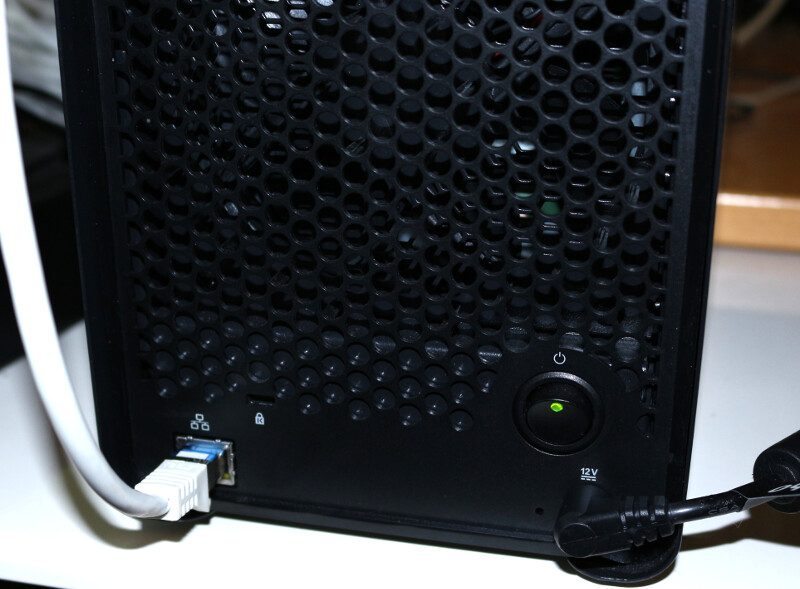
Above the connectors, we have a large fan that keeps the entire thing running cool.
