Drobo 5N2 5-Bay Self-Managing NAS Review
Bohs Hansen / 8 years ago
Setup: System Initialization
The initialization and setup of a Drobo NAS is truly easy and it’s one of its strongest selling points. The ease of use. To get started, you’ll need the Drobo Dashboard which can be downloaded from the official website. All the instruction on how to get started are found in the included quick-start guide and it really doesn’t require a lot.
If you already have a version of Drobo Dashboard installed, but haven’t used it in a while, it will start by updating itself.
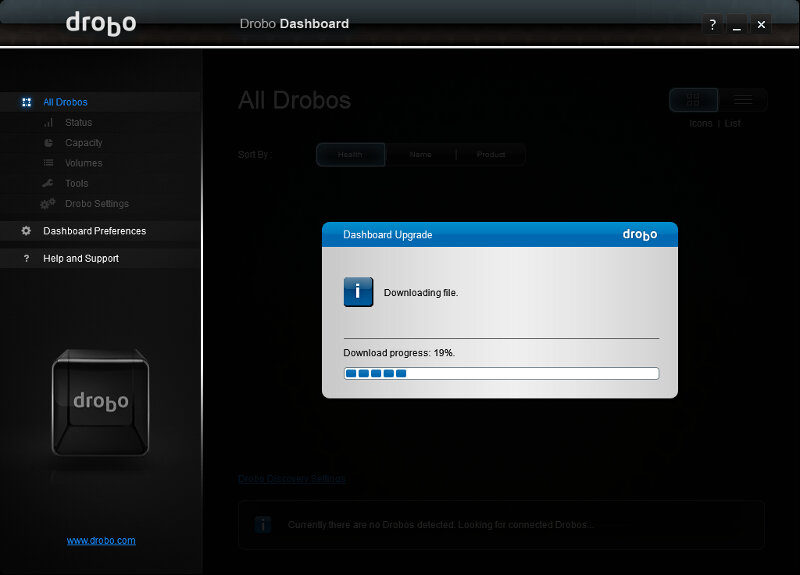
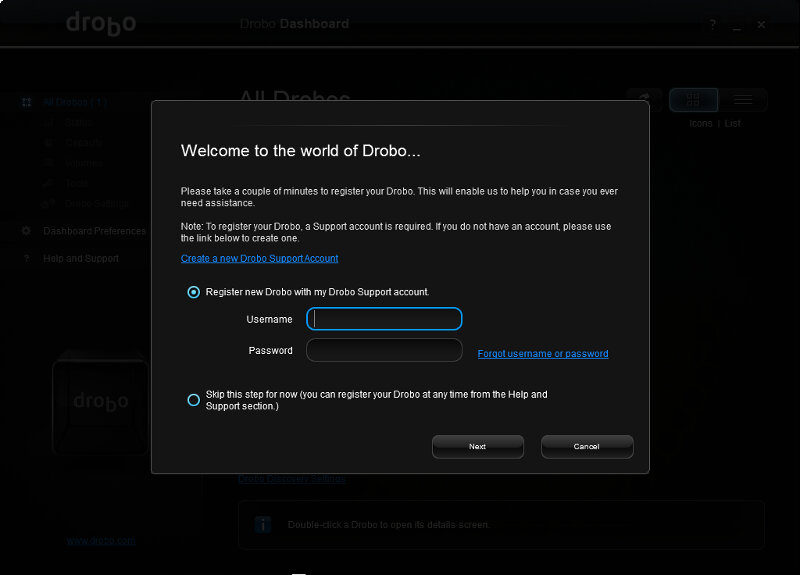
Once it’s installed and started, or finished updating and restarted, the software will scan your network and ports for Drobo devices and let you get started with them. You can optionally choose to register it with a Drobo account, but it isn’t required.
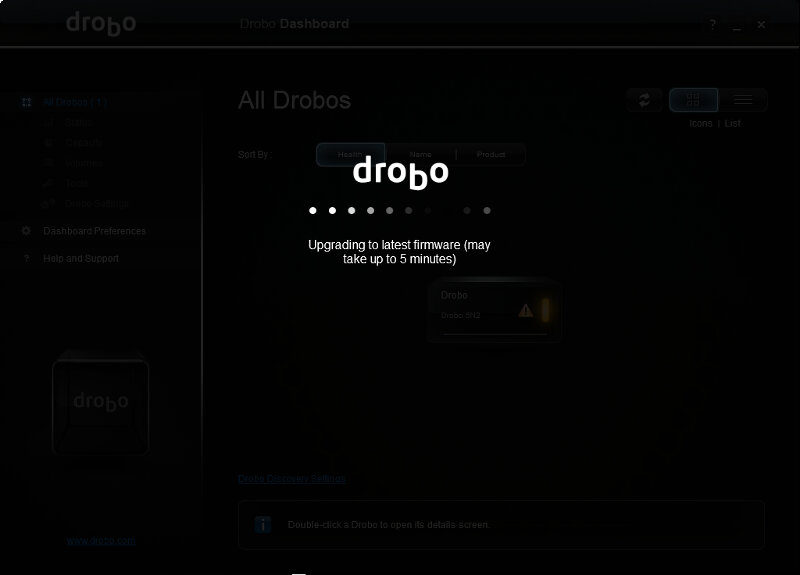
Next, the NAS itself will check for firmware upgrades. It found one and the time it takes will somewhat depend on your internet’s download speed. A couple of minutes later, it’ll be ready for the next step.
Now we should be ready to go, but we aren’t fully. My installed drives have been used in other devices without being formatted after, so the Drobo blocks access to prevent accidental data loss in case you inserted the wrong drives. Would the drives have been clean and empty without any file system on them, then the NAS would already be building the BeyondRAID array.
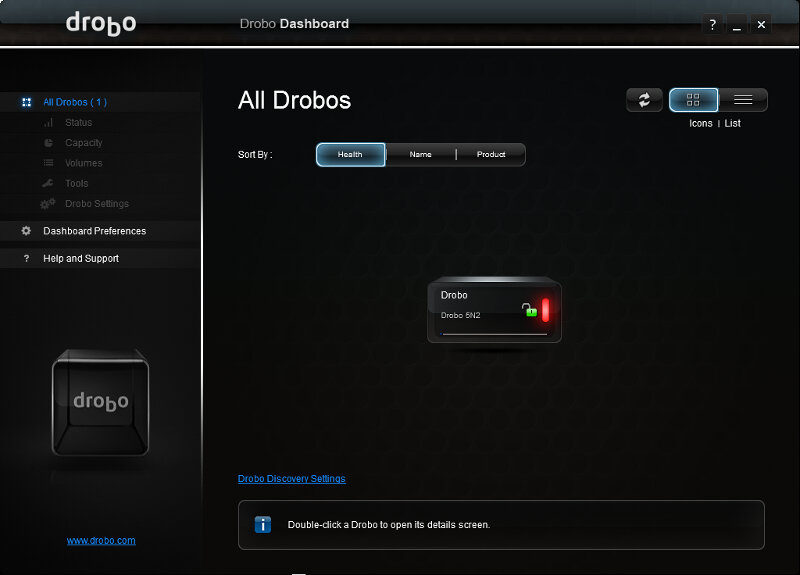
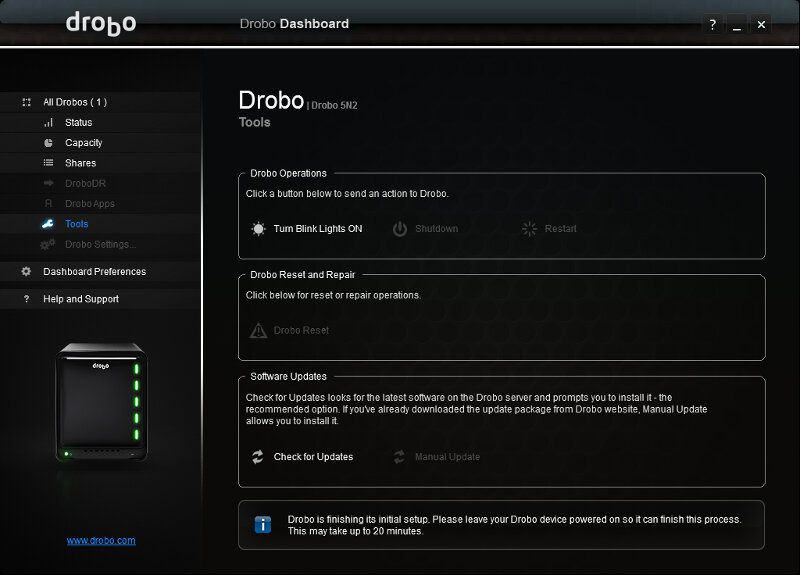
To remedy the lockout, you’ll need to reset the unit via the Dashboard’s Tools section. Just hit the Drobo Reset, after you made sure that you selected the correct NAS, and confirm that you’re sure you want to do so. It will restart and start to initialise the drives for use with Drobo.
