Element Gaming Hyperion Micro-ATX Chassis Review
Peter Donnell / 9 years ago
Complete System
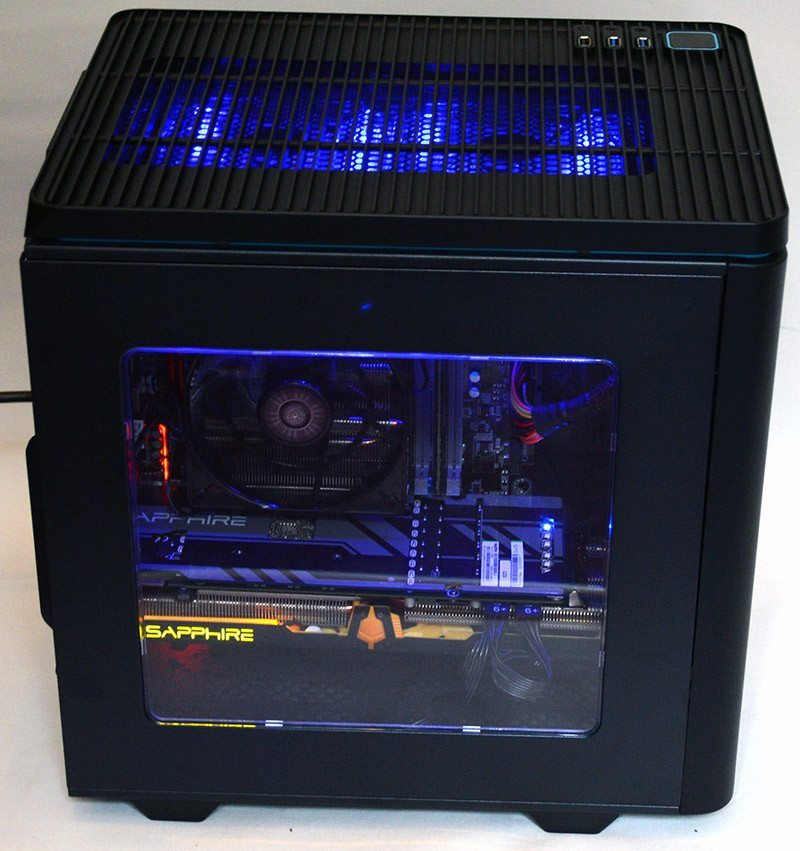
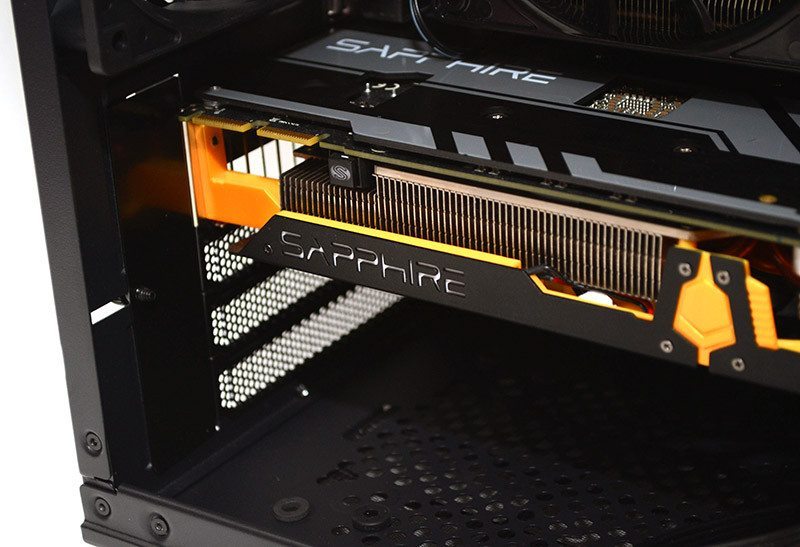
Building a system inside this chassis was fairly straight forward, with only a few minor hiccups along the way. Regardless of any issues, the internal build does look pretty good and there was just enough room to install our Sapphire R9 270X graphics card, so no doubt you can fit a decent gaming rig in here.
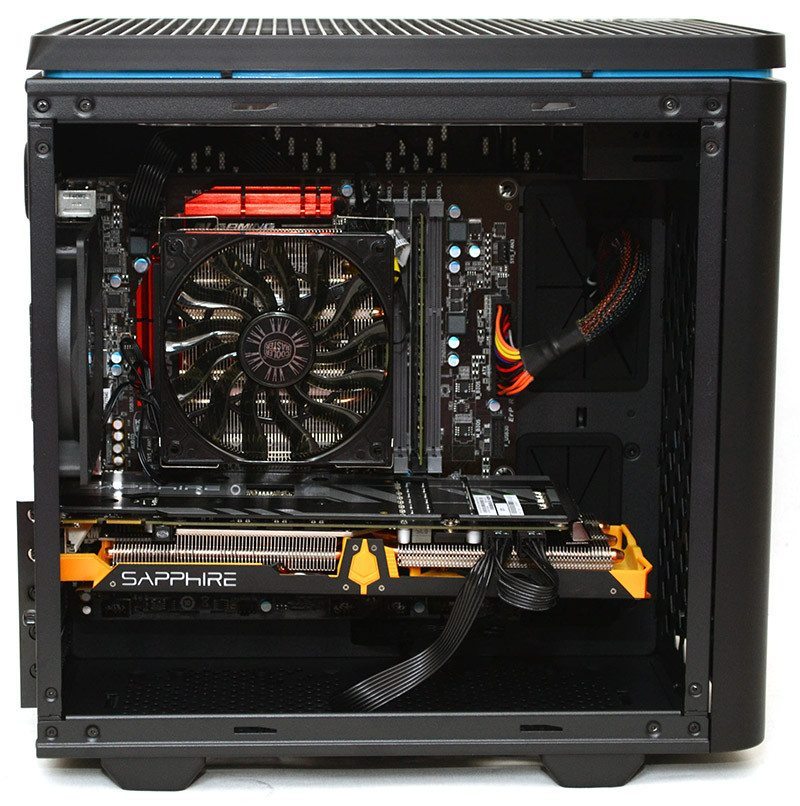
There’s good clearance at the front for the GPU, which will reap the benefits of the airflow from the 200mm fan that’s installed behind the front panel.
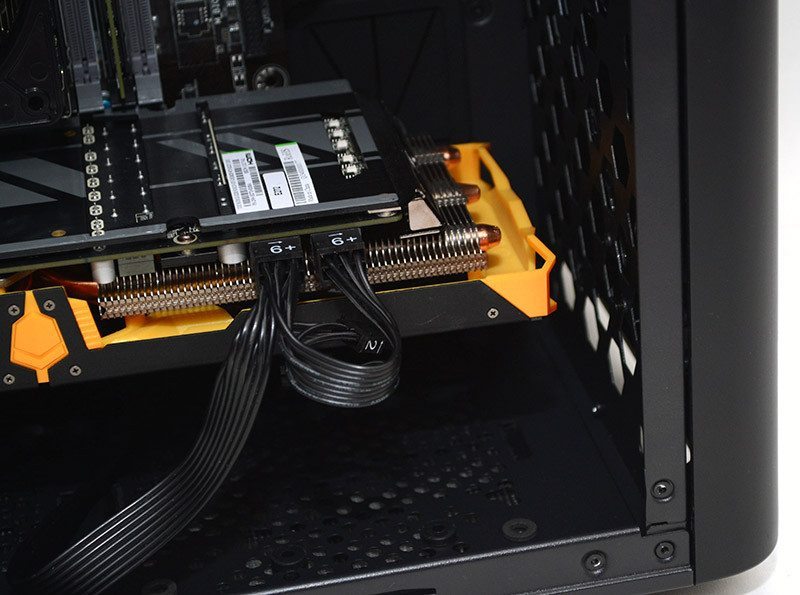
The large cable routing grommet at the top is great if a little oversized given how many cables are likely to ever pass through it. Unfortunately, the lower grommet was useless with our hard drive bay installed. You could strip the drive bay out, but you would be limited to the remaining 2.5″ drive bay or other solutions such as M.2.
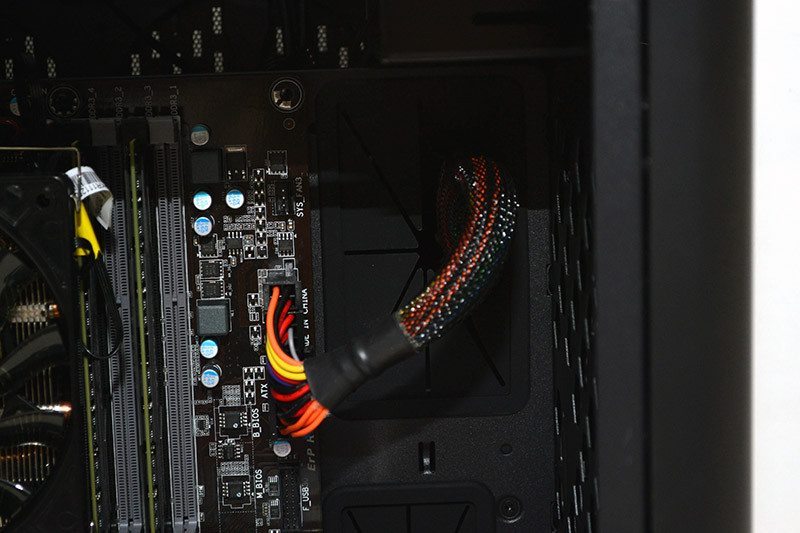
Loads of clearance at the top of the motherboard for cooling, which is good news for those wanting to install any water cooling! There’s plenty of room for an AIO cooler on the rear fan mount too, or you could simply use all the space here for some of the larger air coolers that are on the market.
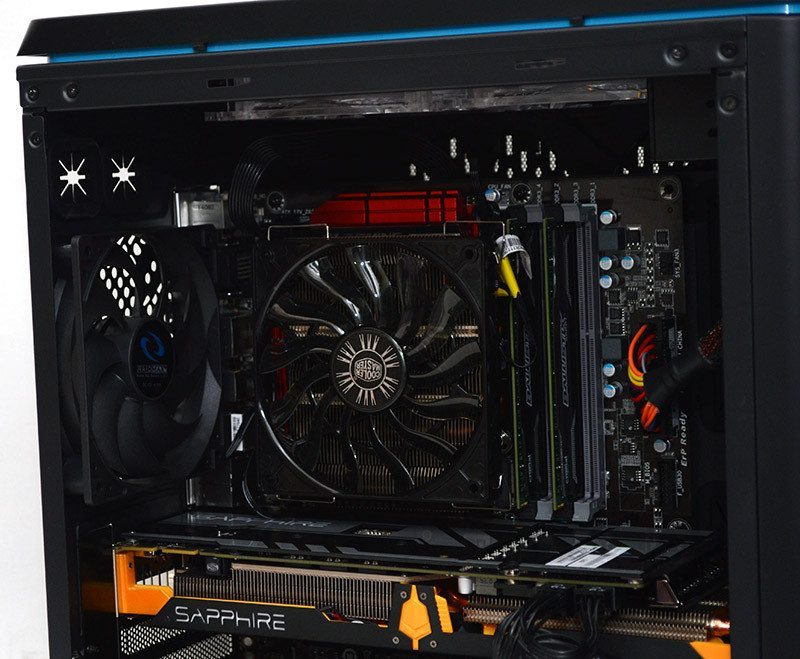
There’s easily enough room for a dual GPU setup here, but keep in mind that some larger cards may limit your ability to use those bottom fan mounts.
All panels back in place and we get a nice view through the side panel, but what about those LED fans that come pre-installed?
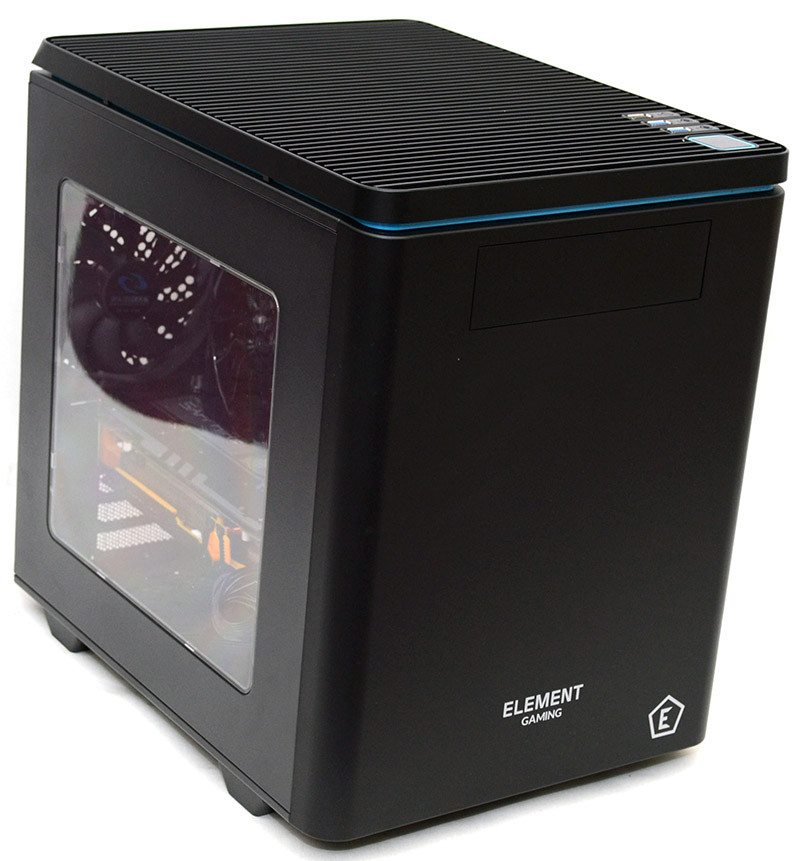
Wow, that really does look cool! The top fan mesh looks a little dull on its own, but with those LED fans illuminating the top of the chassis, as well as the chassis interior, it sparks new life into the Hyperion chassis!
