Elgato Cam Link 4K Review
Peter Donnell / 6 years ago
A Closer Look and Performance
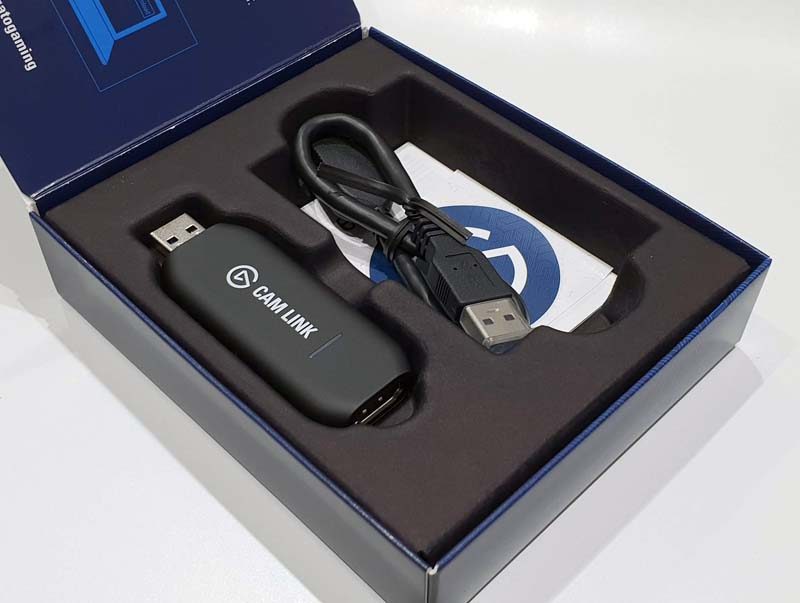
The Cam Link comes neatly packaged, and it a pretty simple setup. The box contains all the usual documentation, as well as the Cam Link device, and a handy USB cable.
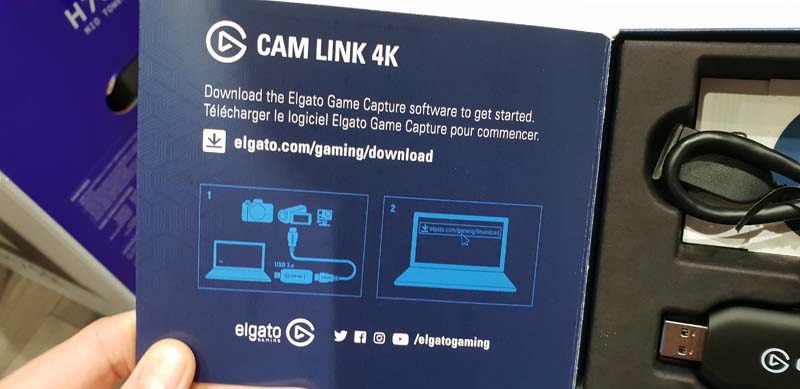
There’s also a simple link inside the box telling you where to download the required software. Obviously, you’ll want to do that first before connecting the dongle.
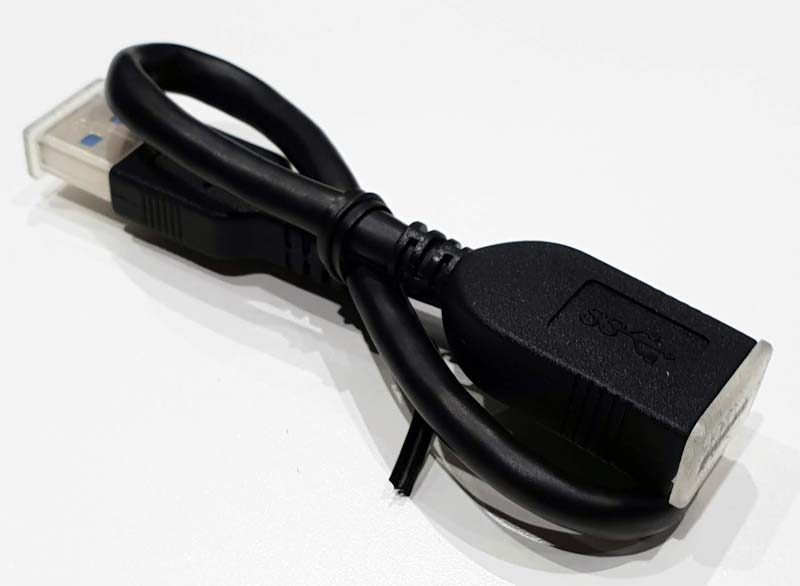
That USB cable is nothing too fancy, just a simple extension cable for the USB port. If you’re using the USB port on the back of your PC, this could just make connectivity a bit easier in general, but otherwise isn’t actually needed for general use.
The Cam Link
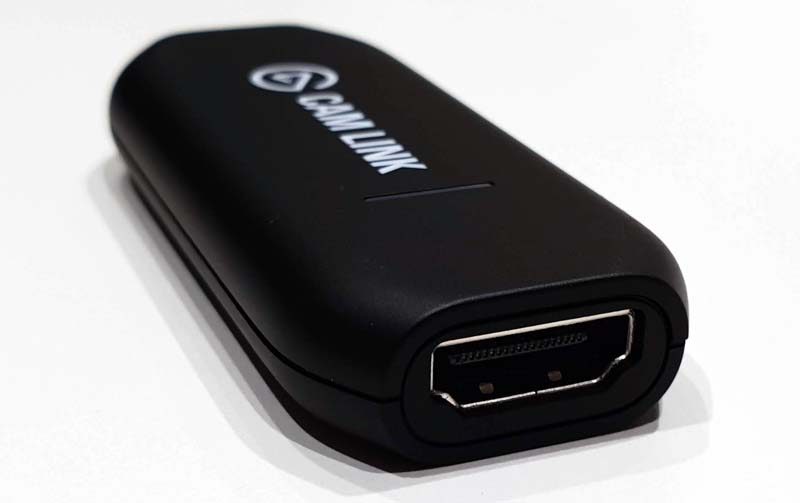
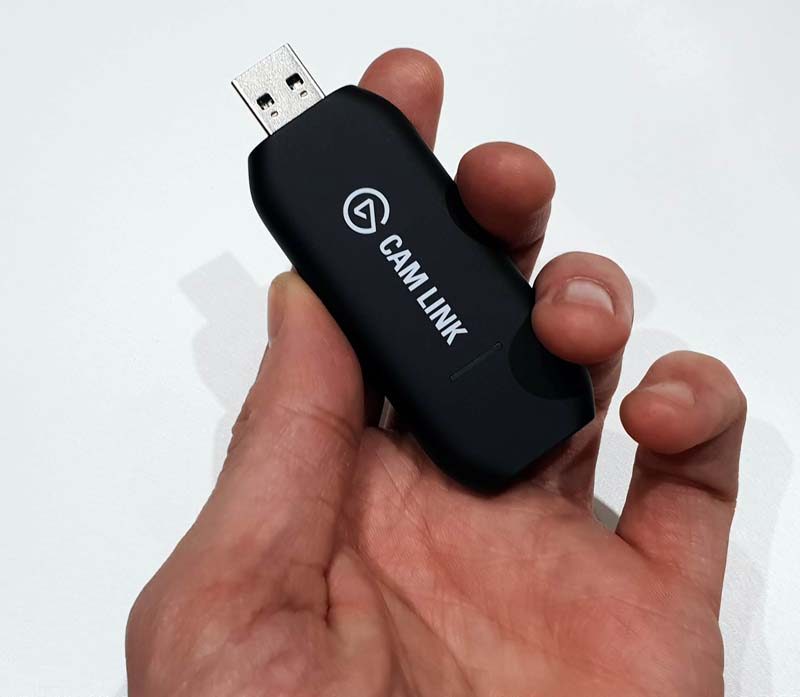
The actual device its self is pretty compact and straight forward. It’s a USB to HDMI dongle that pretty much plugs and plays. Of course, if you want to squeeze out all of the features, you’ll need the included software. However, it’ll still work as a basic input device for any compatible capture software.
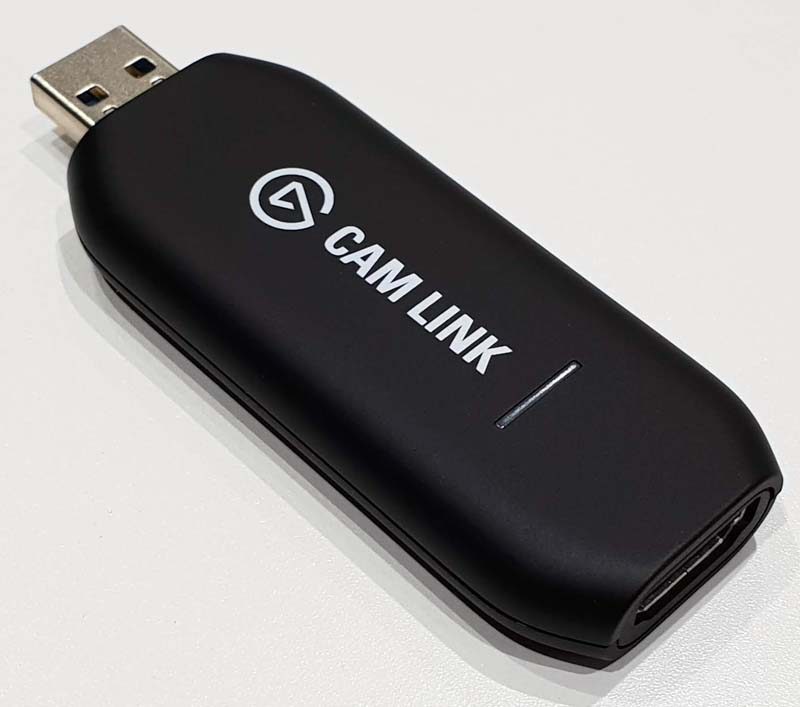
The HDMI port supports up to 4K resolutions at 30 FPS. Remember this isn’t a gaming capture device, but a camera capture device. Anyway, 4K60 just isn’t that common in the video world right now. If your camera supports 4K60 you’ll either want to record to the memory card as you always have or just go with 4K30 for compatibility.
While I’m sure you could run this off USB 2.0 for lower resolution scenarios, you’ll really want to use USB 3.0. The higher data throughput of USB 3.0 and above is required for the transfer of data at high resolutions, so make sure it’s plugged directly into an appropriate port. The same goes for those using USB hubs, ensure you have the bandwidth available on that device as a chain is only as strong as the weakest link.
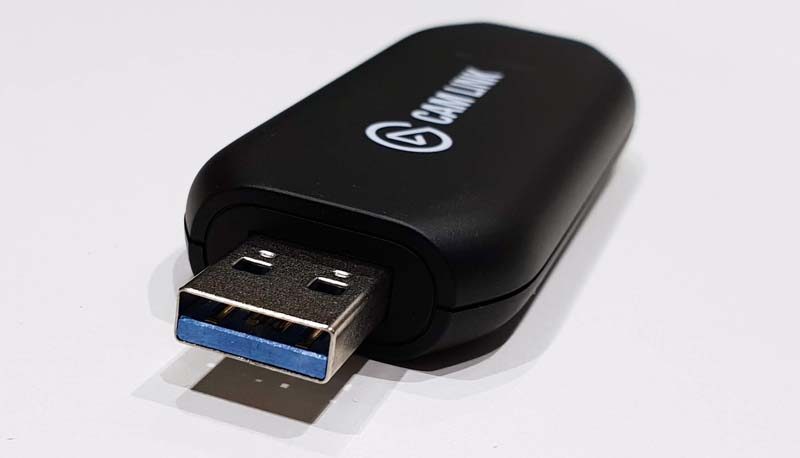
Overall, it’s a simple and stylish little bit of kit. Easy to travel with or tuck away in a drawer when not in use.
Performance
The setup of the Cam Link couldn’t be much easier than it is. Of course, you’ll need your camera, and as mentioned before, we’ll assume you’ve done the recommended compatibility tests and setup as we mentioned on the first page of the review. You’ll need to use your own HDMI cable, as many cameras have varying forms of an HDMI output. Use that cable or your own adaptors to output from the camera directly to the Cam Link USB device. Once it’s connected you should see your video feed appear in the Elgato software pretty much immediately.

You’ll notice the data overlay on our camera. Your camera may output this over the HDMI also, which you wouldn’t want. So ensure you disable it in the software so that you only get the video content to the capture device or your next YouTube video is going to look pretty daft.
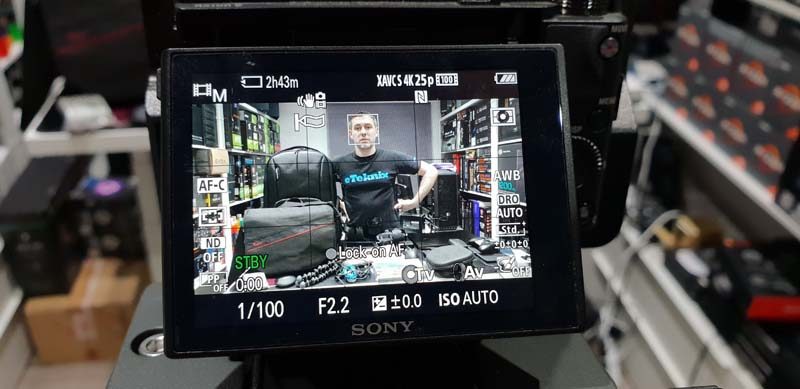
What’s really cool, however, is that you don’t need the Elgato software as such. The driver will basically add your DSLR or similar camera to Windows as a webcam. This means you can use your professional studio cameras for Skype, Messenger, Twitch, or any other bit of software that accepts a video input device. This includes most video editing software too, so the possibilities are endless.

System Performance
This is where things will take some tinkering. Obviously, if you’re recording on the computer, you’ll need to ensure you have the required storage space, as well as the required performance. Don’t expect to record 4K video feeds on your dusty old laptop with a mechanical drive in it. You’ll want to ensure you’ve got at least a SATA 3 SSD, although if you’re editing 4K videos, you’re likely on M.2 NVMe or similar anyway. However, it’s something to keep in mind. The file sizes and required write speeds will obviously vary for you depending on which settings you use; resolution, bitrate, audio, etc.
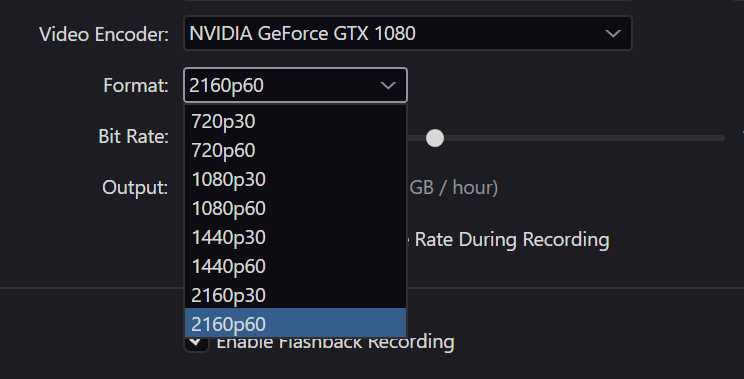
If you’re shooting at a frame rate above what the device can handle, it’ll drop frame too. So if you’re running above 60 FPS, it will capture just the 60 and ignore the rest. That’s pretty much common sense stuff though, don’t expect it to support things beyond the specifications and ensure you’ve set up the capture rate to match the input rate for optimal results.
Lower Latency
You’ll get much lower latency this way too, thanks to the proprietary hardware of the Cam Link offloading some of the data processing from the HDMI chain to the USB. It’s built for real-time streaming most importantly of all, and it’s here that you’ll see much lower latency overall. Of course, whatever other tasks (such as gaming) or your hardware in general, will obviously have varying impacts on the results. You’re still encoding and writing large video files to the hard drive one way or the other.
Input Vs Output
The most important thing to keep in mind though is that you get out what you put in. If you’re stuck using a webcam, you’re limited to the capabilities of the camera built into that device. With the Elgato Cam Link, you’re limited to your own choices. For example, our Sony camera allows us to use various lenses, autofocus, fixed focus, change the ISO, change the shutter speed etc. It’s far more freedom than we’re used to. Seriously, the Skype video calls have never looked so good.
Supported Resolutions
- 3840×2160 up to p30
- 1920×1080 up to p60 / i60
- 1280×720 up to p60
- 720x576p50
- 720x480p60


