Game Max Obsidian Gaming Chassis Review
Peter Donnell / 7 years ago
A Closer Look – Interior
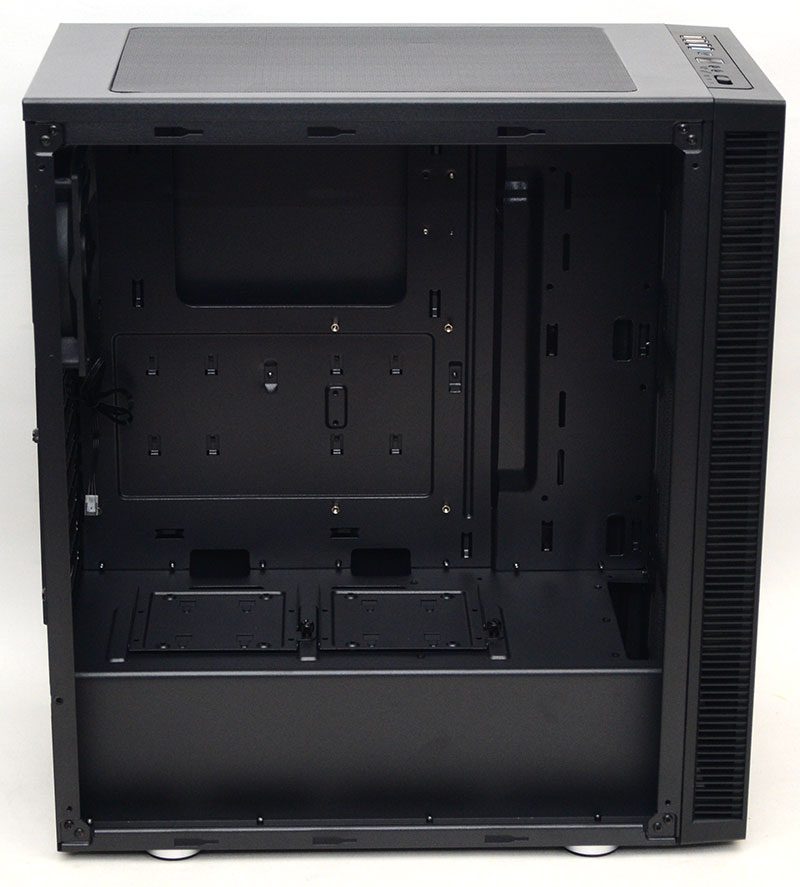
The interior of the chassis is finished in the same dark black glossy finish as the exterior. This is great, as the chassis components will look fairly hidden through the side panel window. There’s a small cut out behind the motherboard, it should help with some CPU cooler mounting, but it may be a little small. Cable routing is fairly straightforward, a couple of holes at the bottom, a long hole on the right, which should easily get the job done.
PSU Shroud
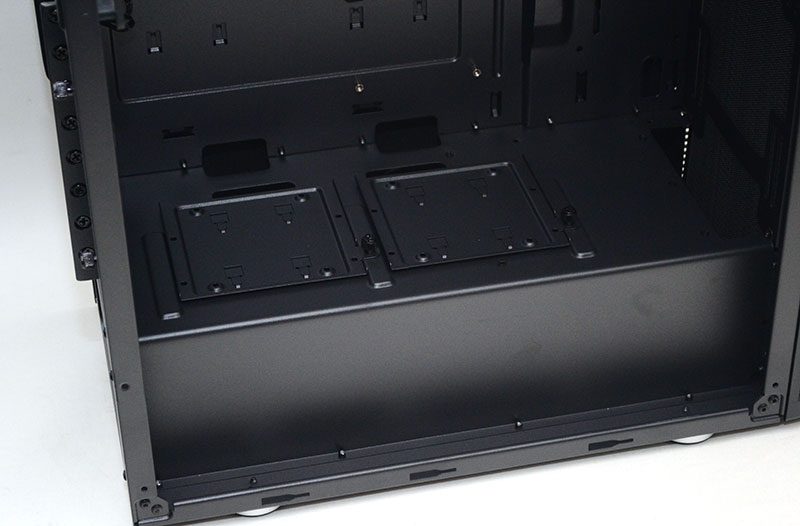
This is a more common feature these days, but one I’m always happy to see. It’ll hide the cable gore out of sight and just cleans up the design. There’s also space here to mount a pair of hard drives, and some handy cable routing space at the back to make installing them a little easier.
Up front, you’ll find room for 120/140mm fans or similar spacing radiators up to 240mm.
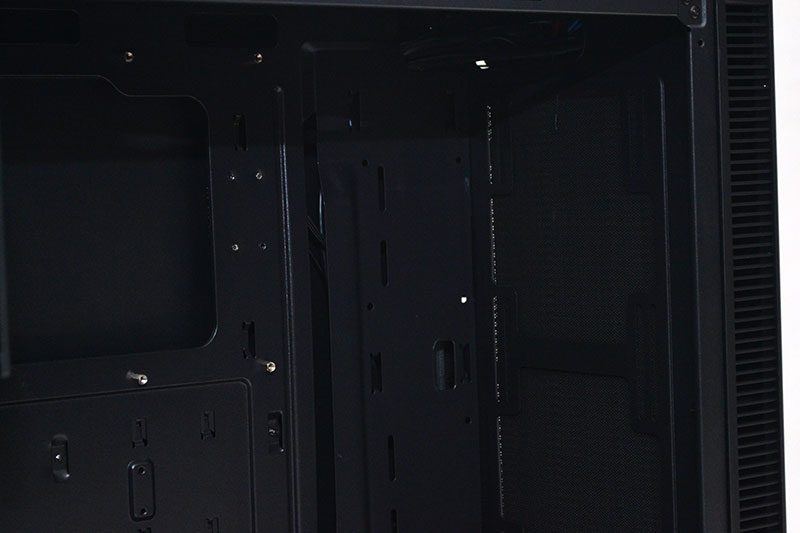
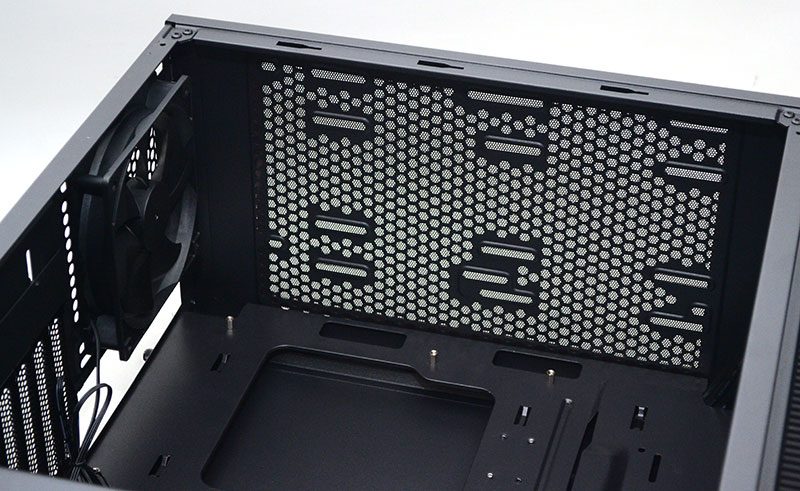
There’s only one fan pre-installed with the Obsidian, a 120mm exhaust fan in the back. It’s nothing fancy, but it’ll get the job done. If you’re installing an AIO cooler, I suggest mounting a 240mm in the front for the coolest airflow directly to the radiator.
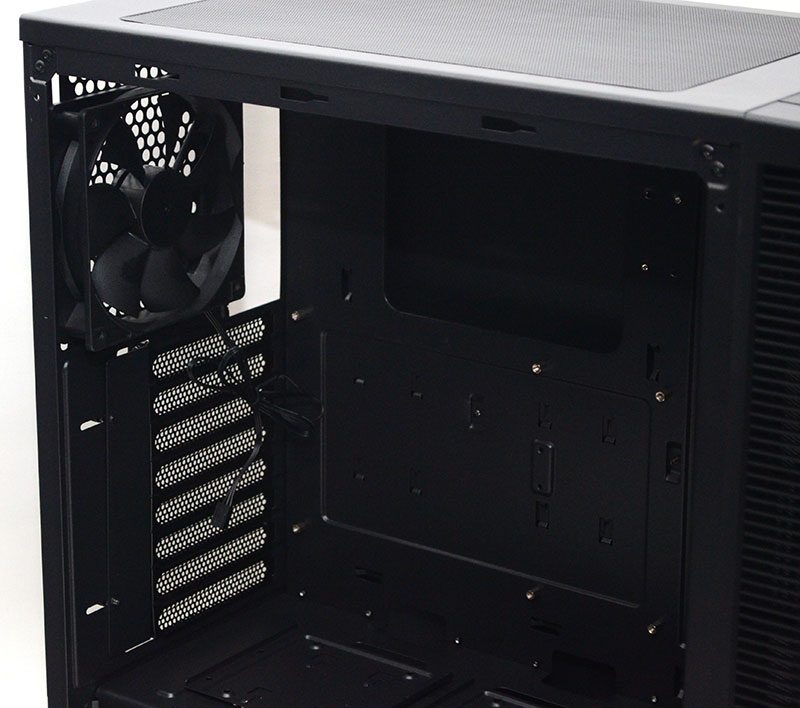
If you desire something a little bigger, there’s room for up to a 240/280mm in the top also.
Around the Back
Cable routing space is fairly limited, but that’s to be expected for a chassis with these dimensions. However, it’s just about enough space, and the PSU cover should help you hide a few more cables too.
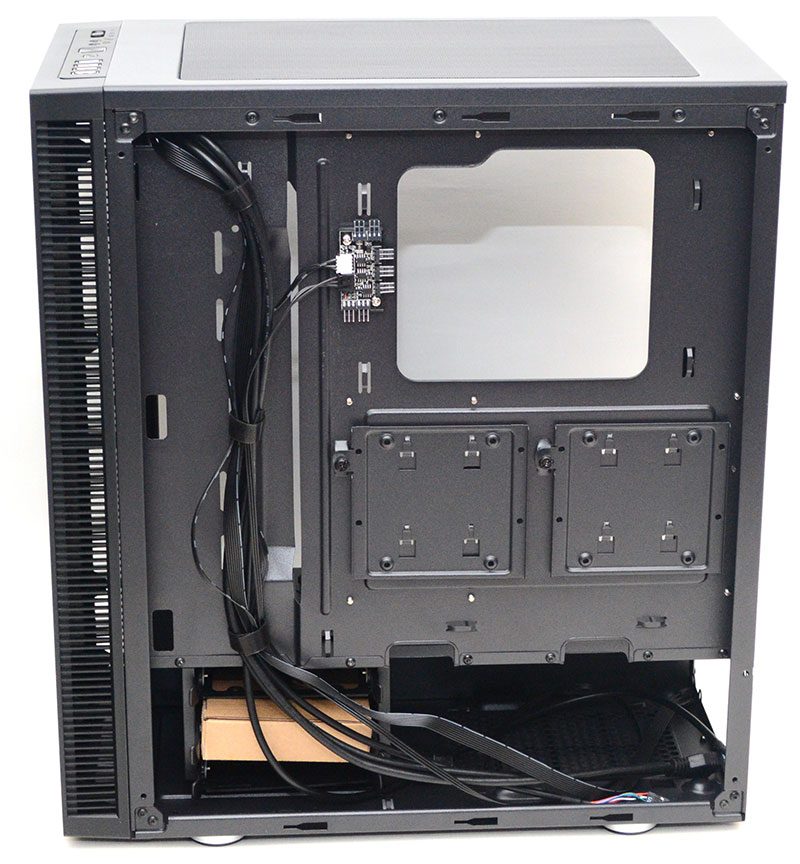
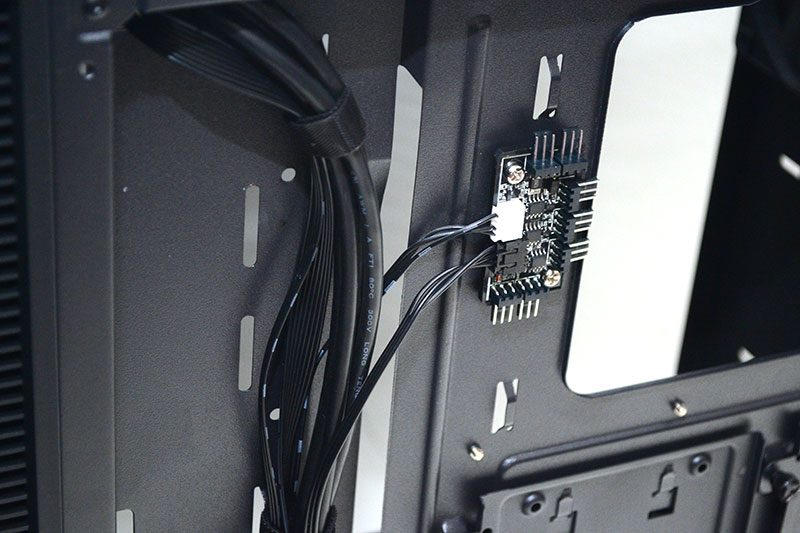
The fan control switch on the front of the chassis is a nice addition. Of course, you’ll need to hook your fans up to this handy fan hub, which supports up to seven fans, and the pre-fitted cable hooks to your motherboard for PWM control.
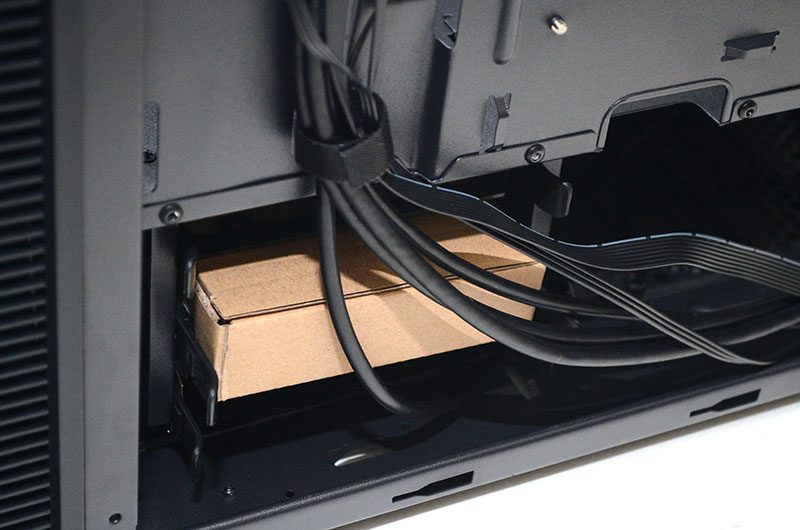
There are some HDD bays on the PSU cover, but there are two more here on the rear of the motherboard.
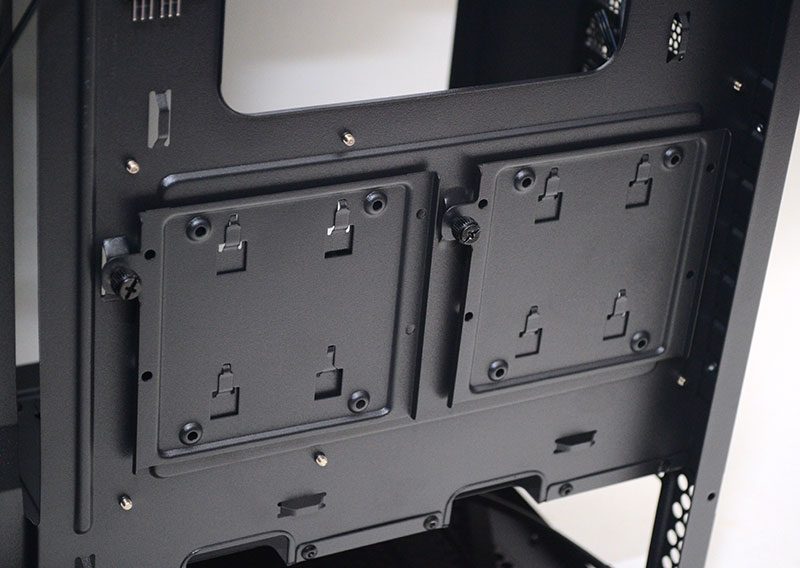
If that wasn’t enough, there’s another two tucked under the PSU cover, giving us six mounts in total.
