Game Max Starlight Mid-Tower Chassis Review
Peter Donnell / 6 years ago
A Closer Look – Interior
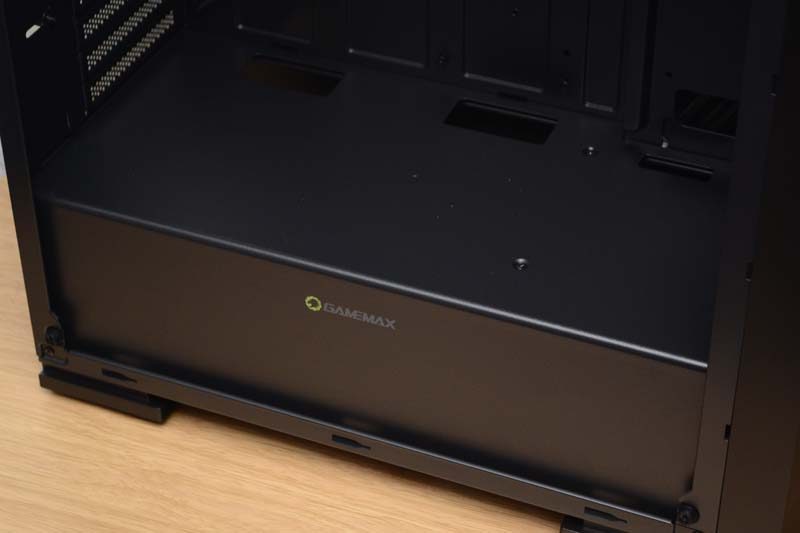
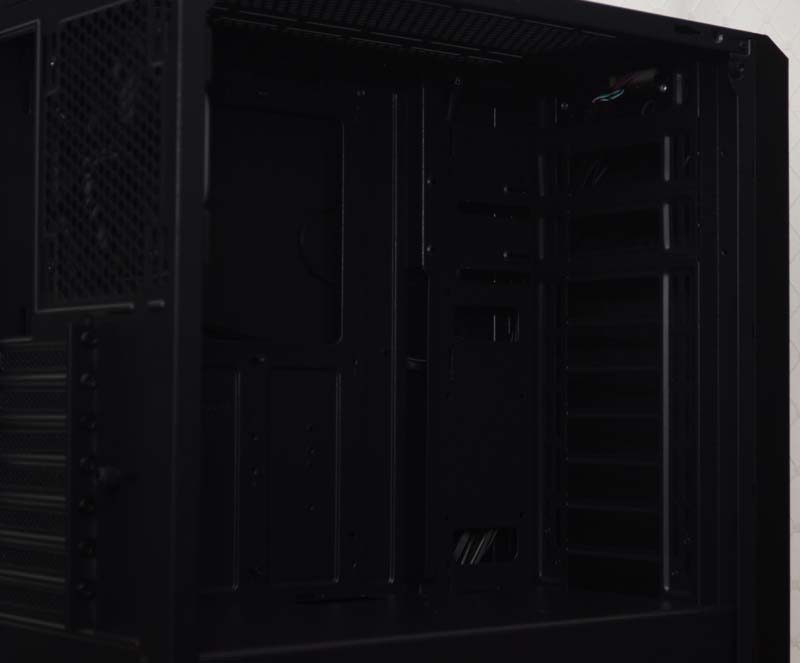
The interior is super clean, and at first glance, it doesn’t seem like there’s much of anything going on in here. However, there’s a large cut-out for the motherboard CPU cooler mount. Also, there’s a stepped design for the cable routing to the right of the motherboard. Finally, there are two smaller holes towards the front too.

The PSU shroud is built-in and pretty robust but also features two cut-outs for routing cables to the motherboard. A third hole towards the window edge for routing GPU cables would be nice though, but hardly a deal breaker.

RGB Fan
In the back, you’ll see that the rear 120mm fan is one of their own RGB models. It’s pre-wired to the built-in hub too.

In the front, there’s room for both 120mm and 140mm fans, and no doubt room for some water cooling too; personally, I would keep this an air-cooled chassis, but that’s just me.

Behind the Motherboard
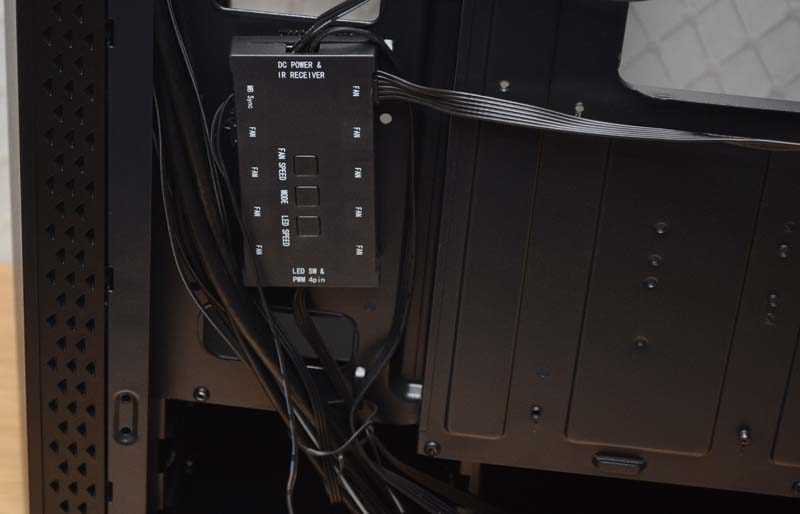
Around the back, there’s an ok amount of cable routing space, nothing crazy. However, thanks to the cavernous PSU shroud, you shouldn’t need much extra room anyway. There are quite a few pre-installed cables though, which mostly hook up to the RGB hub; all pre-installed fans and lights are wired and ready to rock.

RGB Hub
The built-in hub has onboard controls. You could just dial in the settings you love and leave it alone forever. However, there’s an IR receiver module too. Of course, that means you can control it once things are all sealed up. Furthermore, you can even use a sync cable to control the RGB with your motherboard. So, plenty of options then!

Tucked away below that, you’ll find two HDD bays, which use screw rails. However, you can screw 2 x 2.5″ drives directly to the motherboard backplate also, giving you four drives in total.

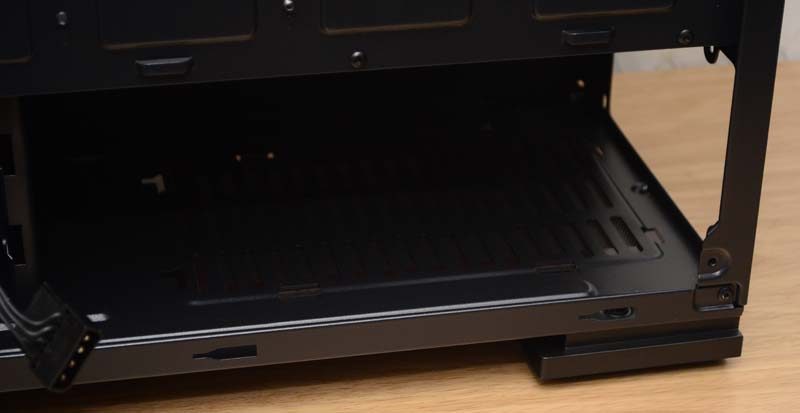
The PSU mounting area is surprisingly massive. It comes with its own air intake, dust filter, and plenty of cable storage space.


