GAMEMAX Eclipse Tempered Glass RGB Chassis Review
Peter Donnell / 7 years ago
A Closer Look – Interior
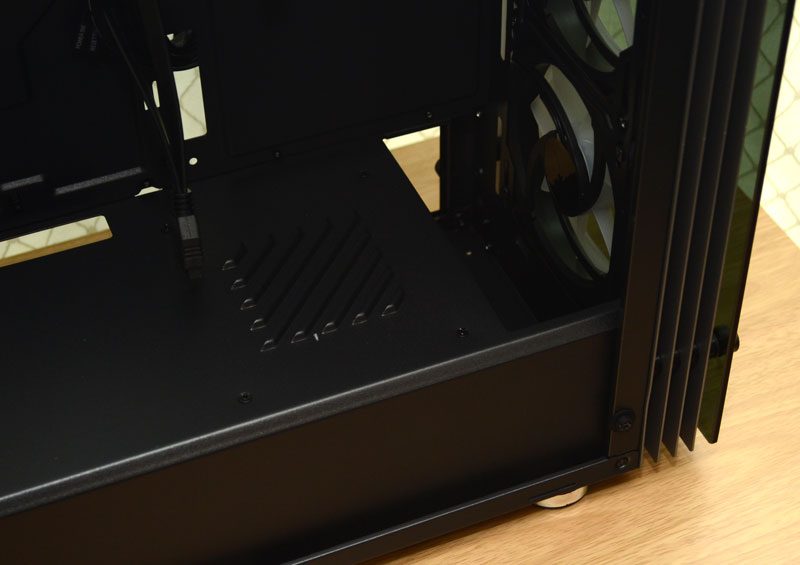
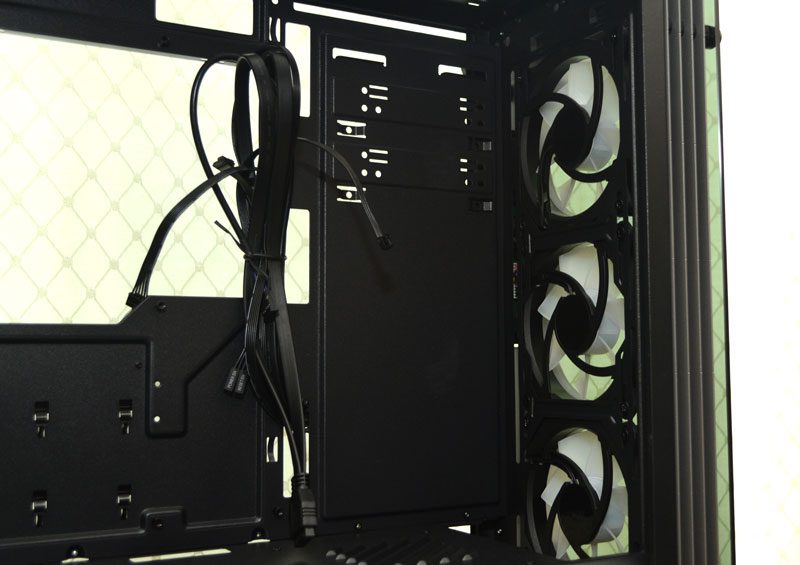
Well, the exterior of the chassis looks fantastic, and it just keeps getting better on the interior. If anything, it’s a little bland in here, but that actually works in its favour. It’s neat and tidy, and won’t take the focus away from the hardware you install. There are plenty of cable routing options here too, and an absolutely massive CPU cooler mounting cut-out behind the motherboard.

Above the motherboard, fans look like the ideal solution, although dependant on your motherboards features, you may get a slim radiator up here also.

Radiators?
Radiator support in the front is much better, as there’s a large cut-out to the PSU shroud, allowing for full-height radiators.

Of course, there are three lovely fans pre-installed, but you could always fit your radiator behind them or even use your own fans if you’re so inclined. Personally, I’d be more happy to air cool this chassis, the stock airflow looks great, and it’d be a shame to complicate the matter.

In the back, I’m a little shocked to see only one of the expansion slots features a reusable cover. Of course, the rest are those horrid snap-off panels, which should not be on any chassis above £30 in my opinion.

Cable Routing
Behind the motherboard, things continue to look neat and tidy. There’s a reasonable amount of cable routing space too. However, the bulk of your cables will be hidden under that full-length PSU shroud, keeping them away from those lovely windows as much as possible.

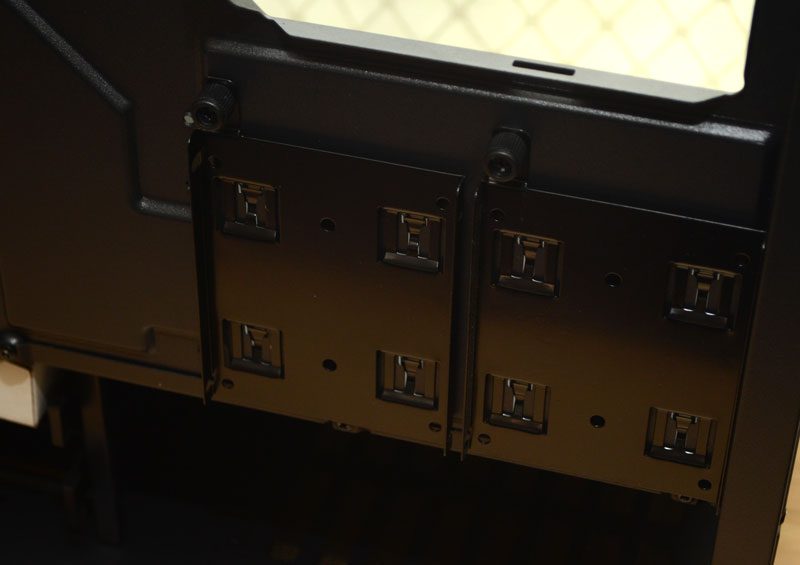
There are two dedicated 2.5″ SSD mounts behind the motherboard, which will again look great through the windows.

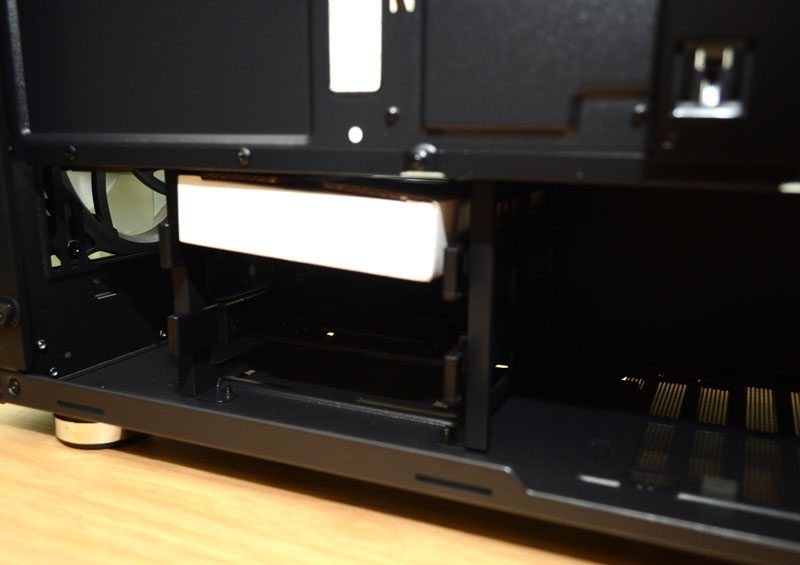
Finally, you’ll find a removable hard drive bracket, with support for 2 x 3.5″ drives tool-free, or 2 x 2.5″ drives with the included screws. Now, let’s get a system put together and see that RGB lighting!


