Gamemax Moonstone Tempered Glass RGB Chassis Review
Peter Donnell / 7 years ago
A Closer Look – Interior
The tempered glass side panels are held in place by four thumbscrews. It’s pretty easy to get inside, and when you do, you’ll find there’s a huge amount of space for your hardware. There are no HDD bays towards the front, so you’ve got the full length of the chassis for massive expansion cards and big radiators. The right of the rear panel features direct mounts for 2.5″ HDD’s and 120mm fans, should you need them.
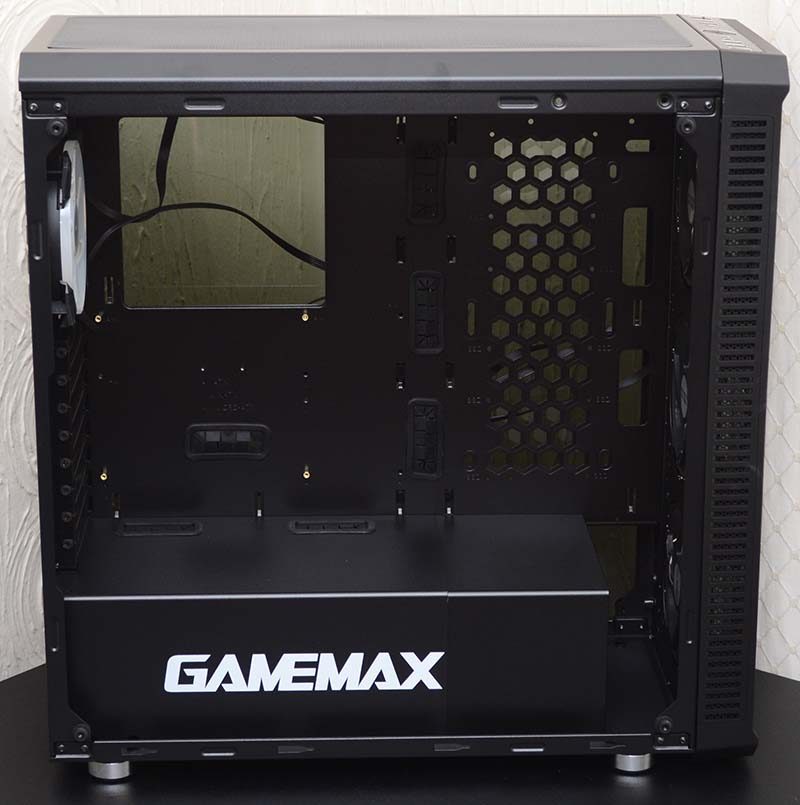
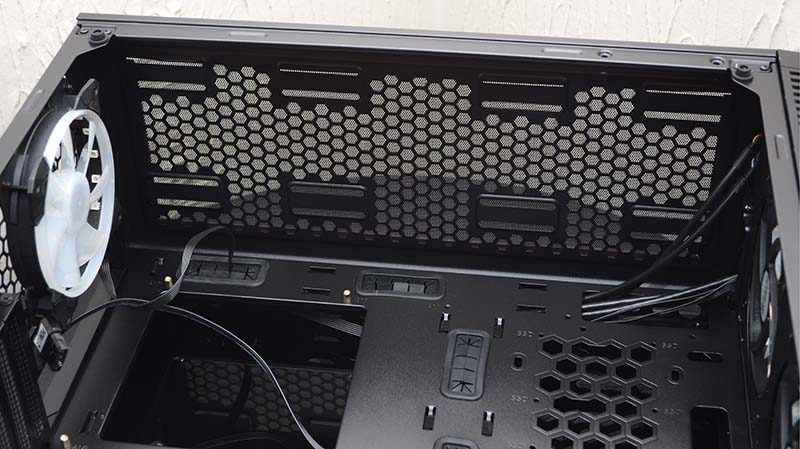
There’s a good amount of clearance above the motherboard, allowing you to fit additional cooling hardware in the top of the chassis. Of course, this ventilation will also provide a lot of passive airflow too.
Cable Routing
The cable routing grommets are everywhere you could need them. My only issue with them is that they look really small, and it’s going to be tough getting cables through them. Of course, that’s a problem you’ll likely only have to deal with once, so it’s hardly a deal breaker.
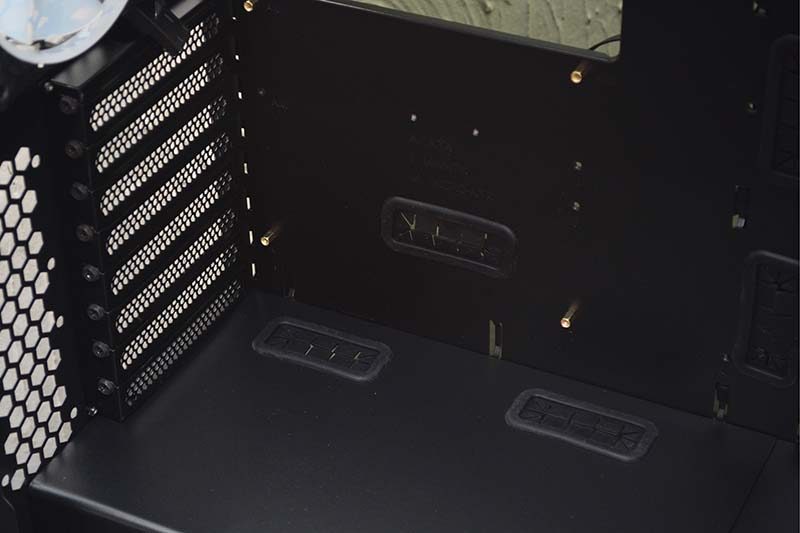
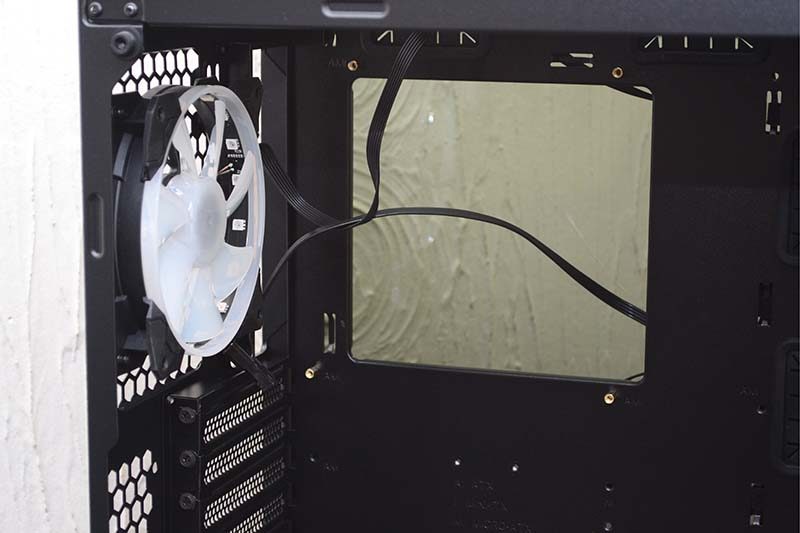
In the back, you’ll find a single 120mm RGB LED fan is pre-installed. Of course, you could easily swap this out for your own 120/140mm solution too.
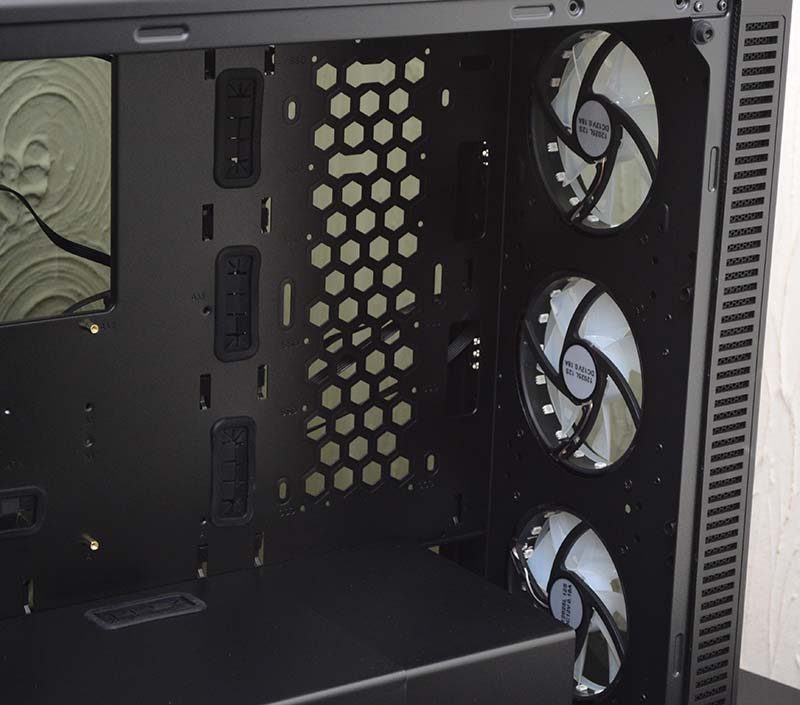
There are three more of those lovely fans pre-installed in the front too. Four fans pre-installed certainly adds value for money!
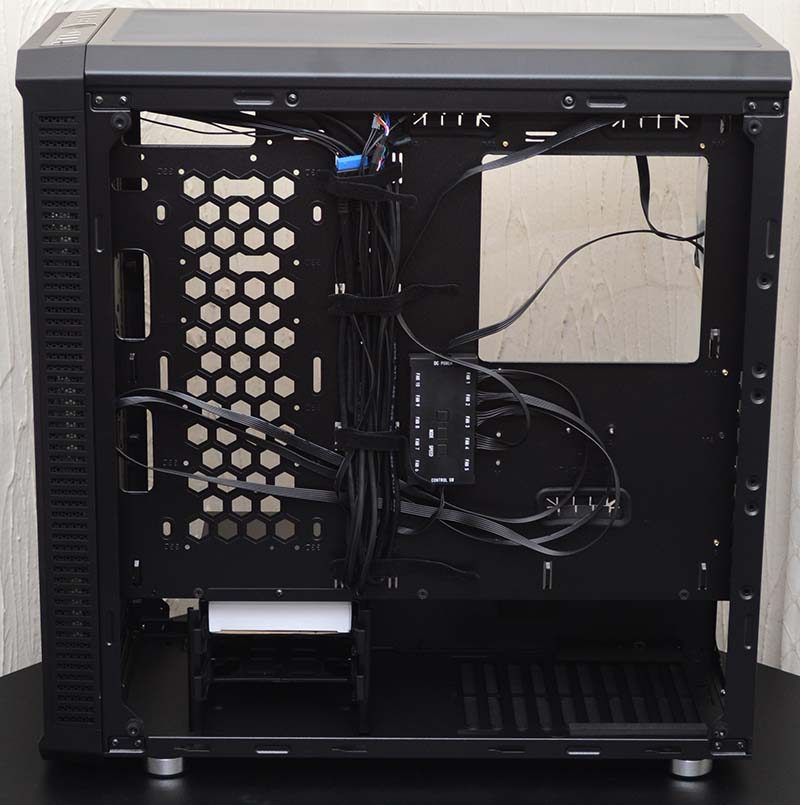
Behind the motherboard tray, you’ll find a good amount of cable routing space. The PSU shroud is going to hide you PSU, a bit of cable gore, and two 3.5″ HDD bays. Overall, this will certainly help you achieve a clean looking build.
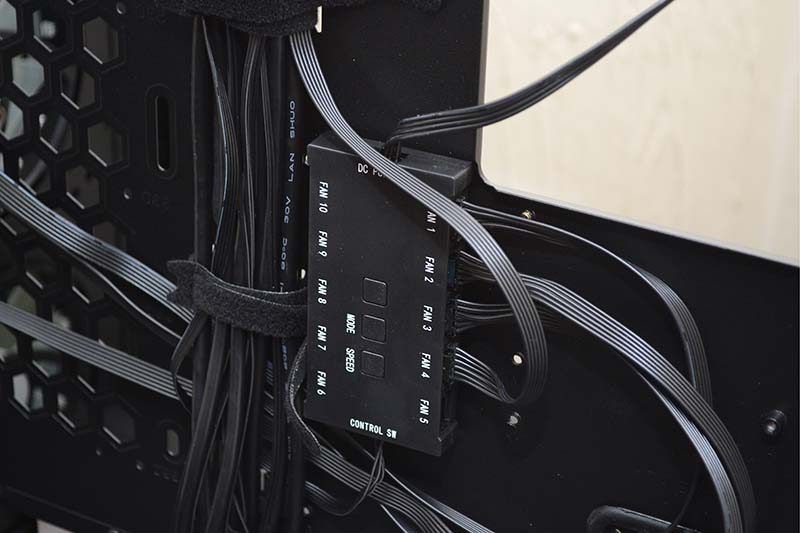
Cable routing is helped further by this lovely 10-port fan hub. It’s powered by a single Molex connector and can be controlled directly from the front panel for ease of use.
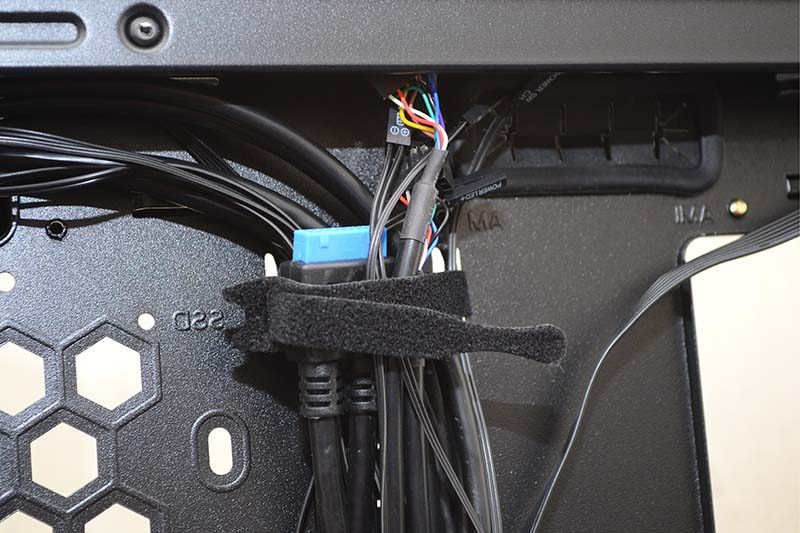
Finally, there are lots of cable tie loops to use, but also a bunch of pre-installed Velcro ties. Overall, there’s a lot of things that will help with cable routing, and that’ll ensure that even with glass on both sides, your build should still look neat and tidy.
