Gamemax Polaris RGB Tempered Glass Chassis Review
A Closer Look – Exterior
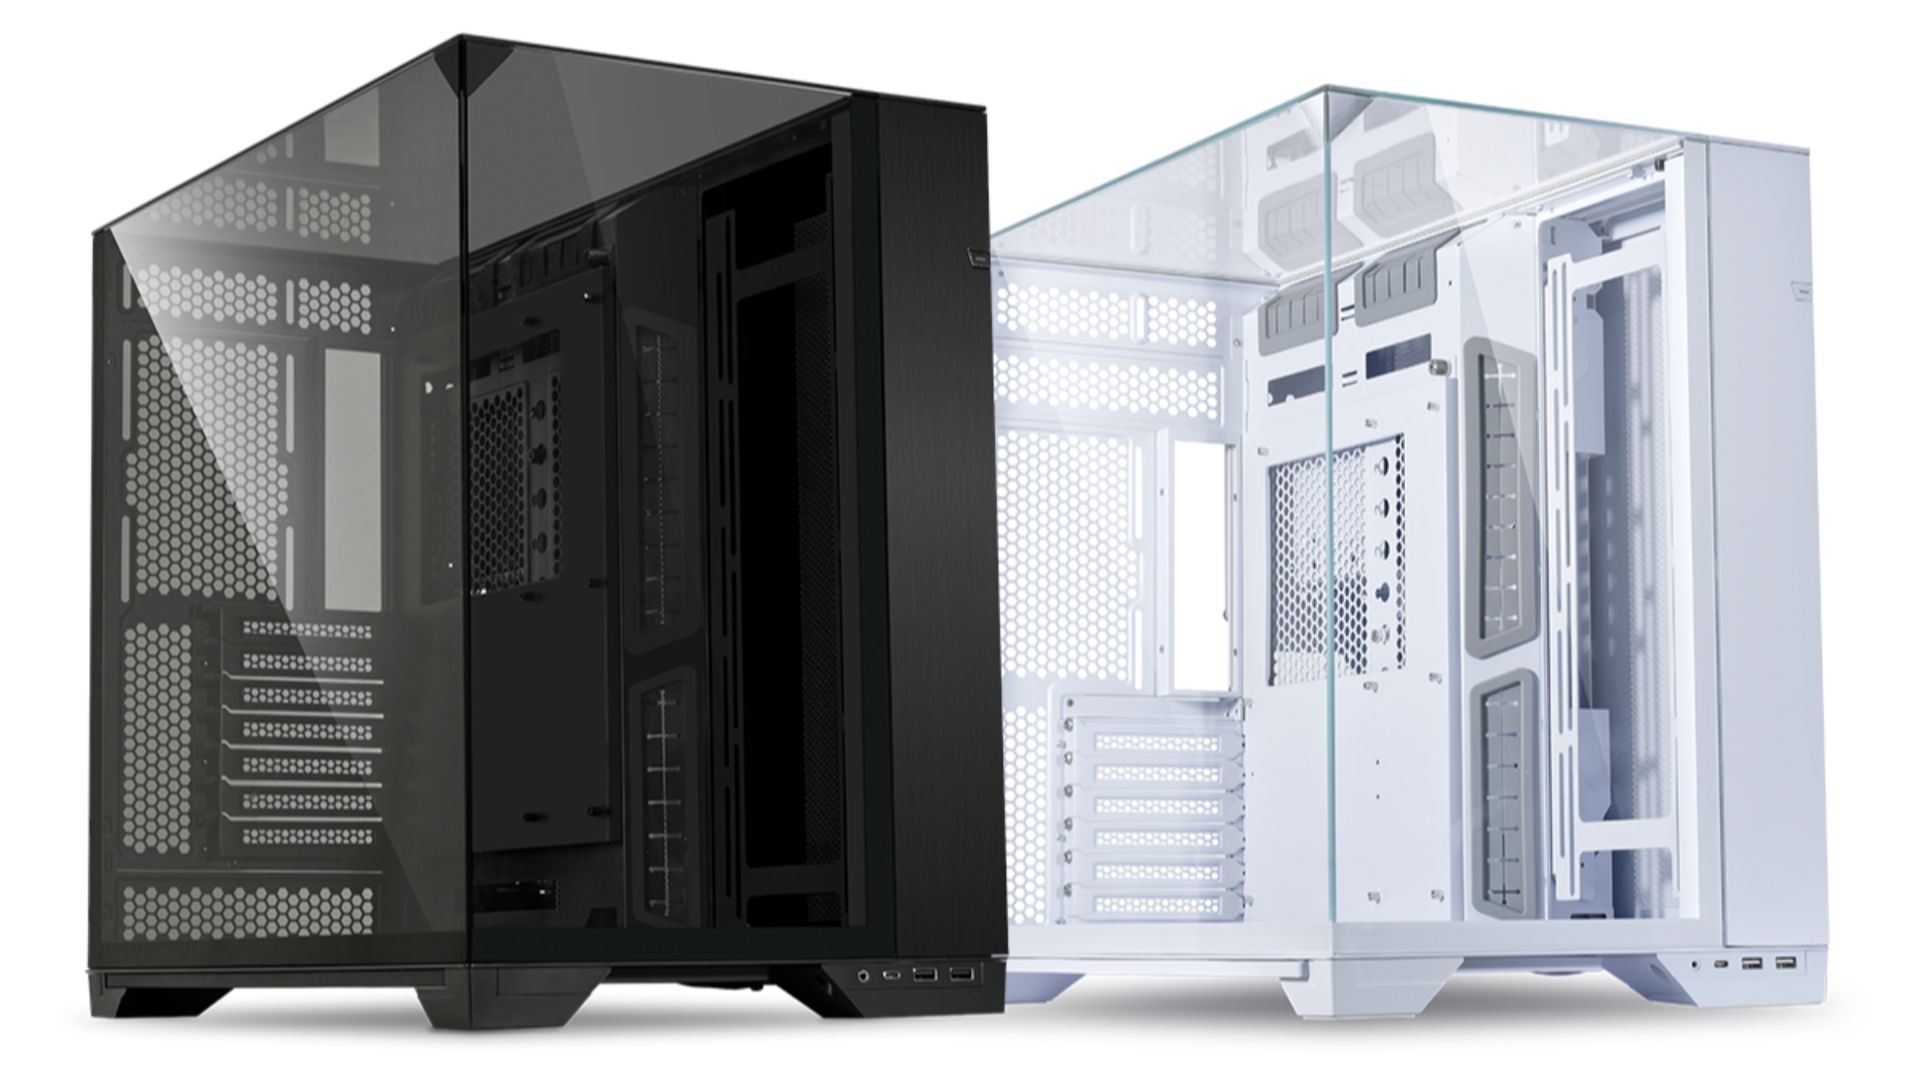
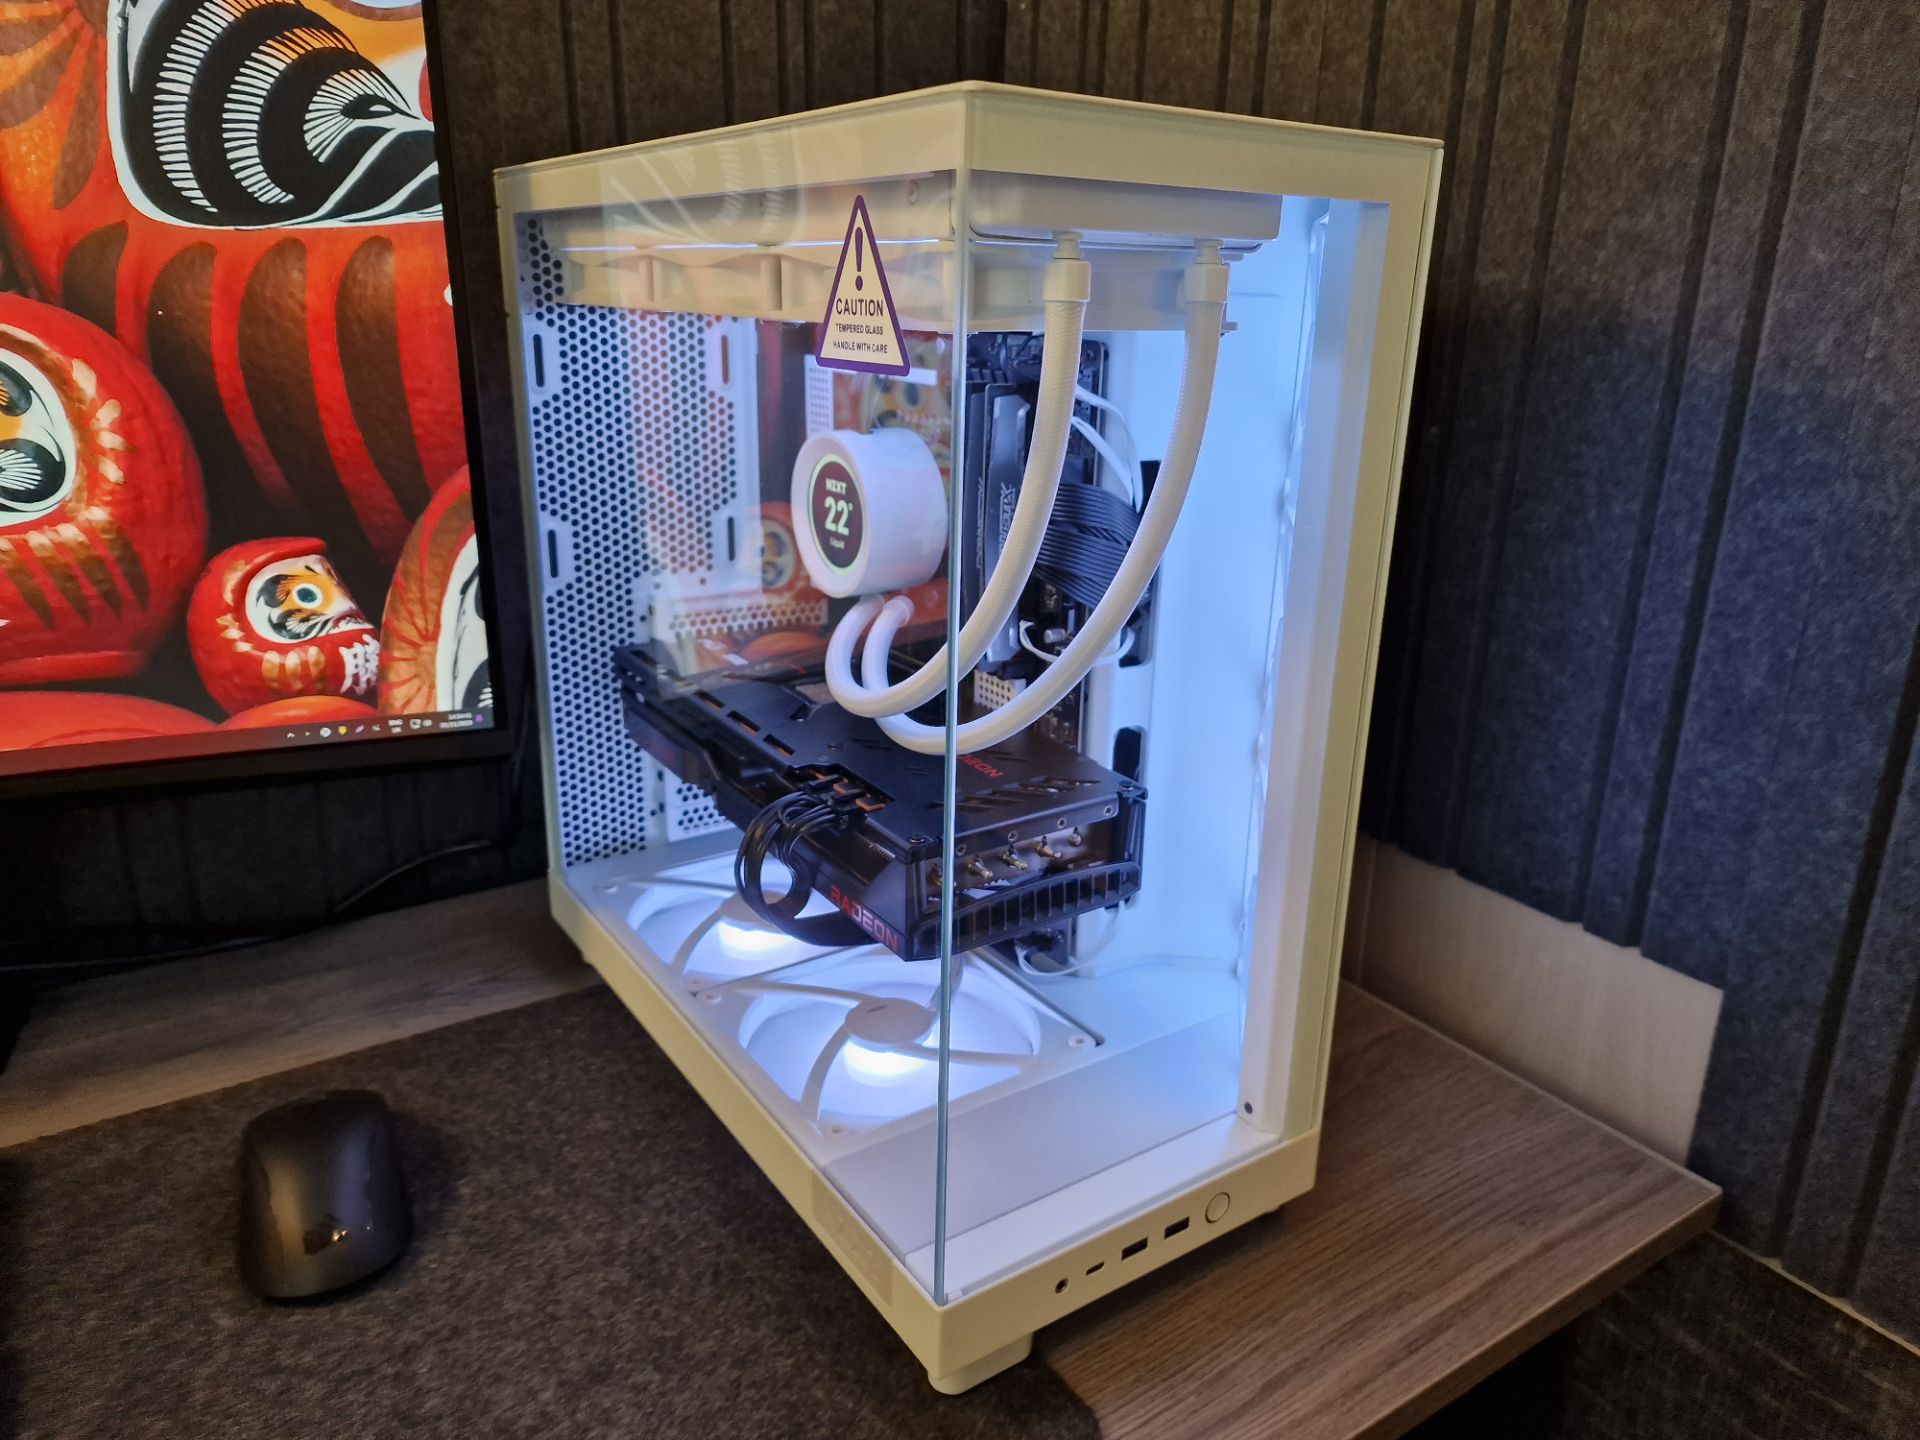
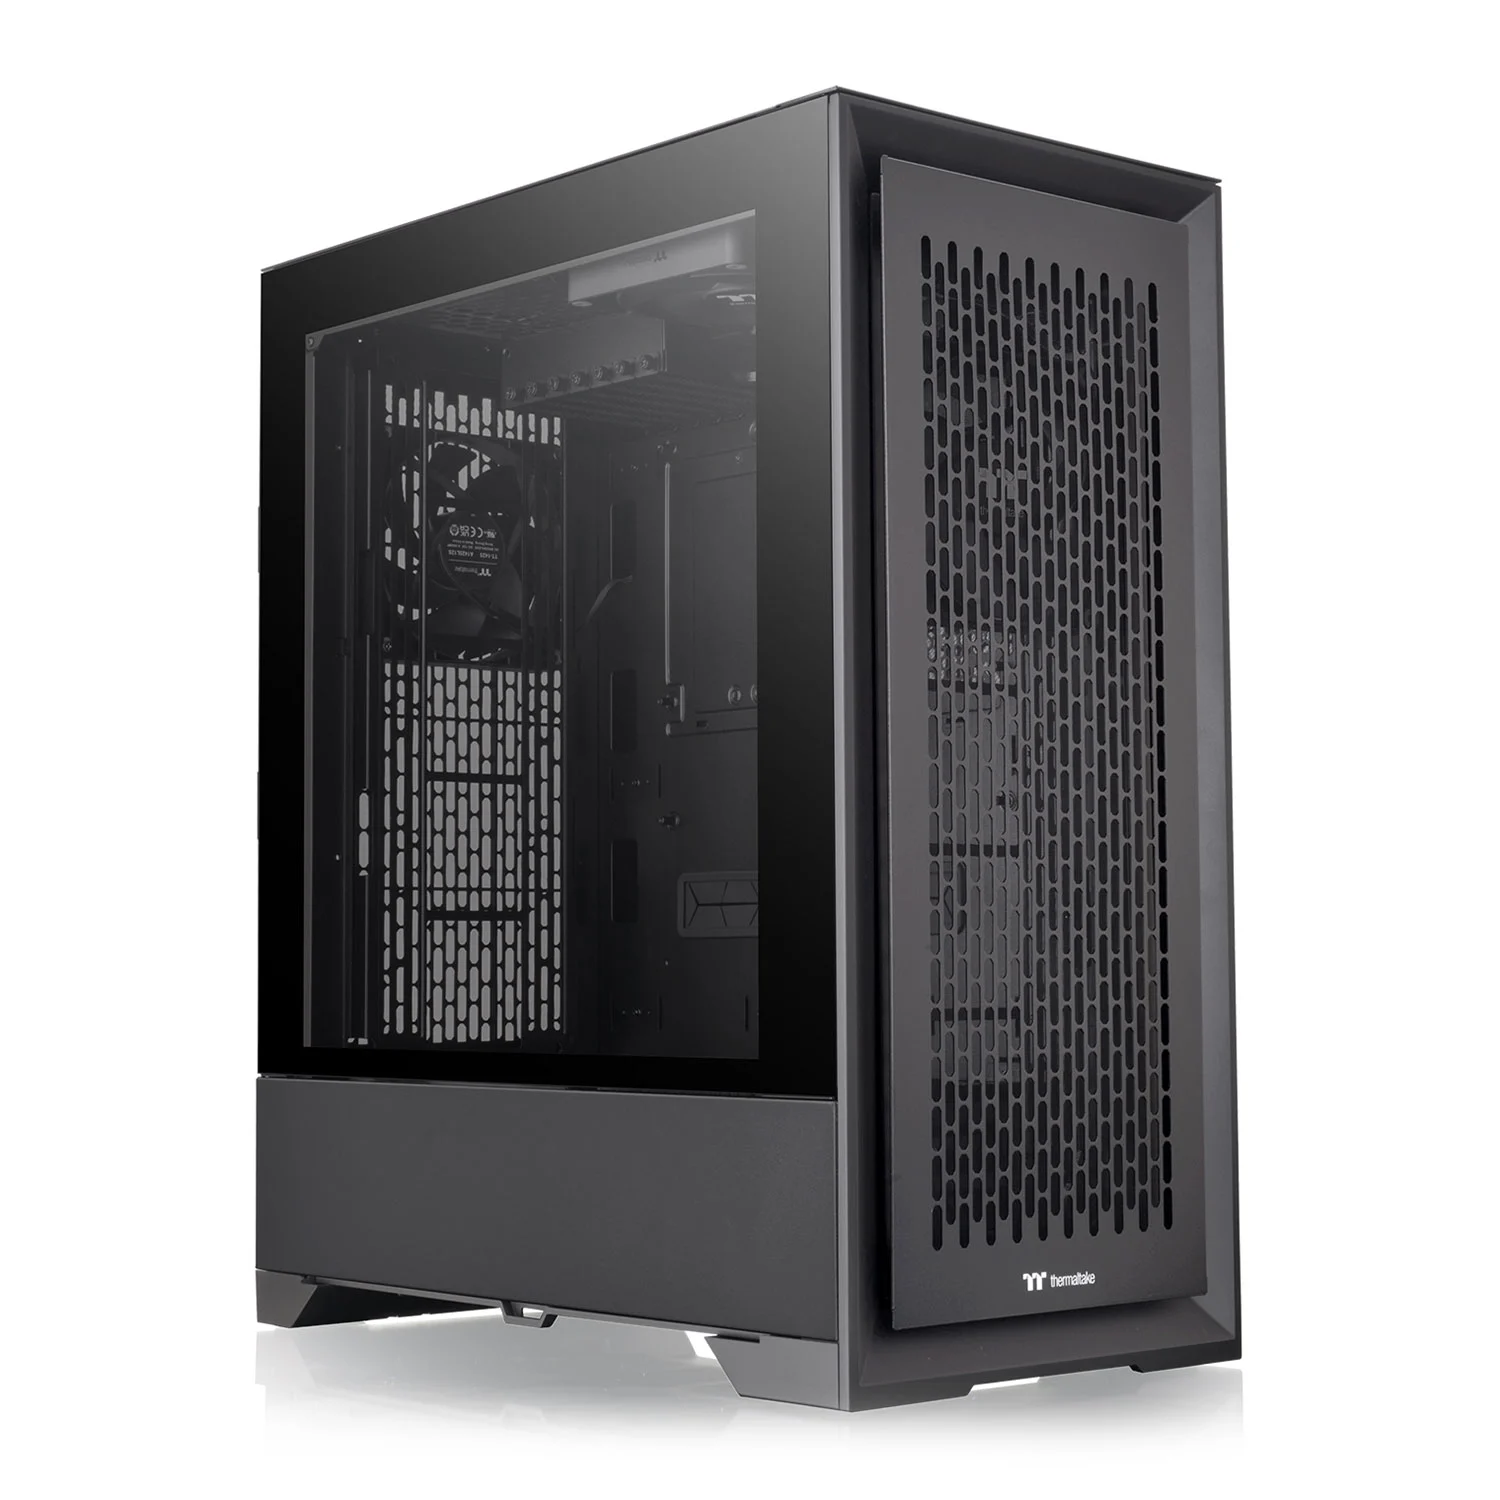
The Polaris isn’t designed to be the greatest chassis in the world, and little details do show that it’s a more affordable model. The metal panels don’t feel quite as thick, but they’re still well within a reasonable limit of course. The side window is pretty basic in how it mounts to the chassis, and the panel gap isn’t as tight as it could be. That being said, it looks great, and the huge lump of tempered glass gives a stunning view of the system interior; perfect for showing off your hardware.

There’s a built-in PSU shroud too, with a nicely printed Gamemax logo proudly on show through the glass.

Front Window
There’s a second piece of tempered glass on offer here, covering almost all of the front panel. Don’t worry about airflow though, there’s plenty of ventilation on the sides to keep things nice and cool. It looks great as it is, but wait till you see it with the RGB lighting powered on; we’ll do that in a few minutes.

I/O Panel
There’s a few USB ports here, as well as HD audio jacks, and power controls. What’s cool is that you can wire the reset button to the internal lighting hub, turning it into a lighting profile controller.

The right side panel is pretty standard but does feature a raised section that will allow much more cable routing space behind the motherboard.

Things are pretty basic around the back too. This is a budget chassis, and as a result, the PCI expansion slots are a basic snap-off design. I can’t stand those, but when it comes down to it, they’ll get the job done.

There’s a basic clip-in dust filter mesh on the PSU air intake too. Again, it’s a cheap solution, but it’s certainly functional.


