Gamemax Polaris RGB Tempered Glass Chassis Review
Peter Donnell / 7 years ago
A Closer Look – Interior
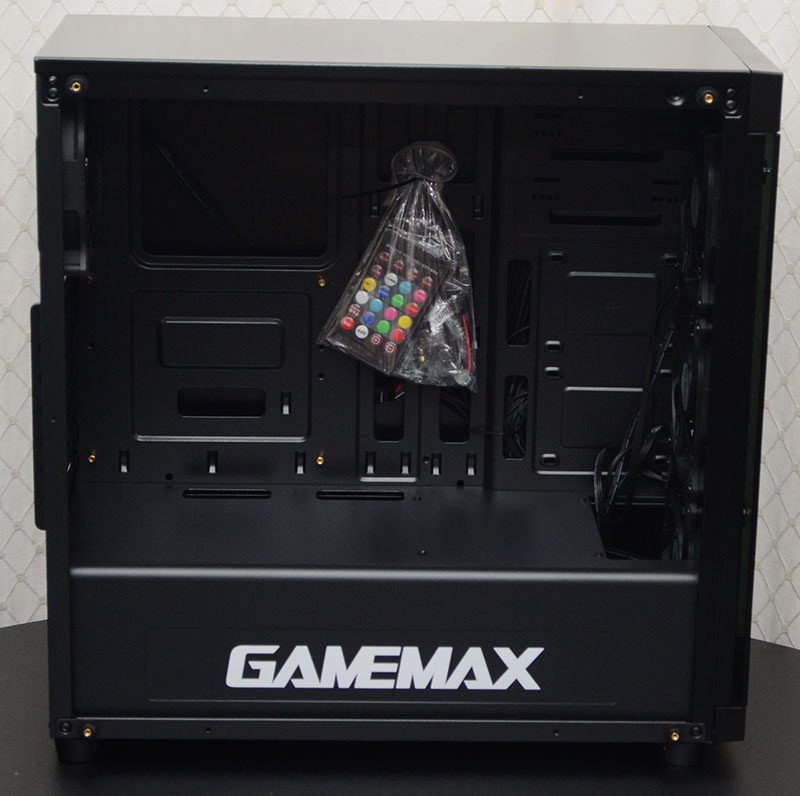
The side panel is easily removed thanks to four thumbscrews on the side. Once you’ve lifted it out of the way, youcan see there is quite a lot of workspace on the interior. I love that they’ve kept all the hardware black too, as this keep things looking neat and tidy; very important given it’ll be so exposed by the window.

There is a single 120mm RGB LED fan installed in the rear of the case. Behind the motherboard, you’ll find all the main standoffs are pre-installed, as well as a large CPU cooler mounting cut-out and some routing holes. Of course, all this should ease the general installation process.

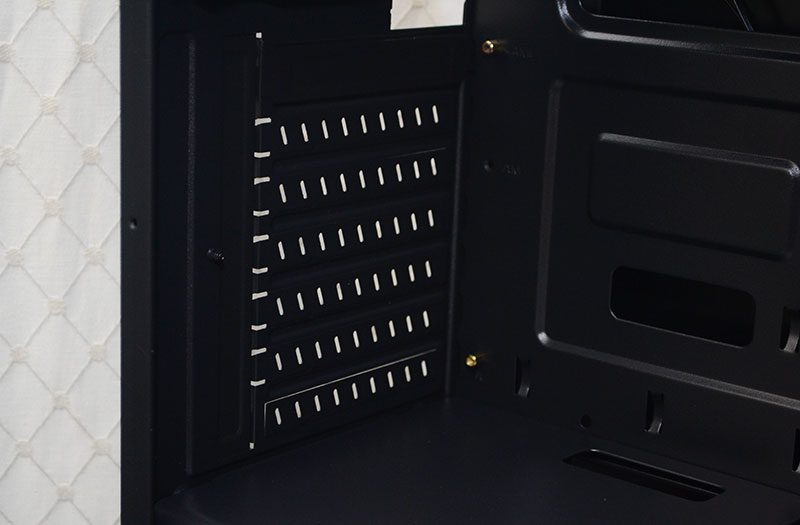
The top slot is reusable, but the lower six are snap-off. You can buy a cheap set of replaceable covers online though, so it’s not the end of the world if you need to plug a gap after a hardware change.

Four Fans!
One thing I love about this chassis is that it comes with four pre-installed fans. They’re all RGB and controlled with the built-in hub and remote too, so no need for fussy desktop software. Of course, they’ll also give you a huge amount of airflow, which is always a good thing.


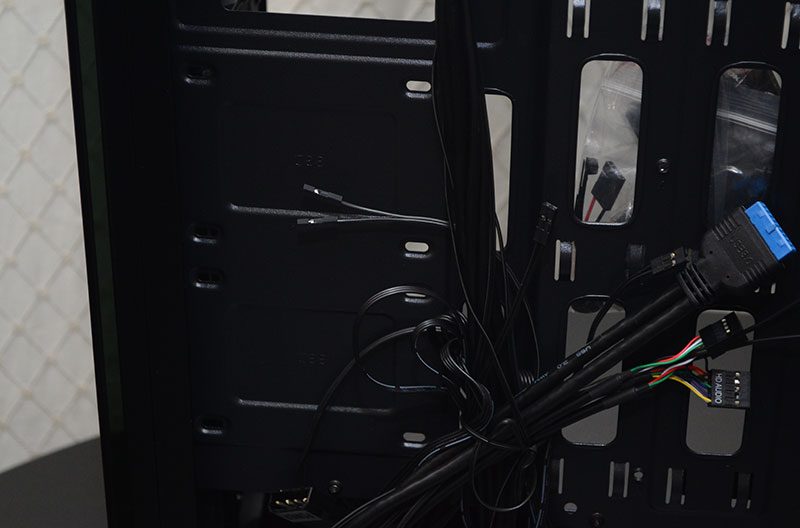
Behind the motherboard, there’s a pretty pathetic amount of routing space. Thankfully, this is supplemented by some space below the PSU shroud, where you can hide cables, as well as the raised side panel that gives you a little more room to work with. There’s a lot of cable tie down points too, and you’ll certainly need them.

All of the HDD bays are hidden, with some 2.5″ mounts here, and two 3.5/2.5″ trays hidden under the PSU shroud.

Here you will also find the hub for the included fans. It uses a single Molex power cable and operates via remote control or the reset switch on the chassis. It’s pre-wired too, so you’re good to go right out of the box.


