Gigabyte BRIX GB-BXi5H-5200 Review
Ryan Leiserowitz / 10 years ago
A Closer Look
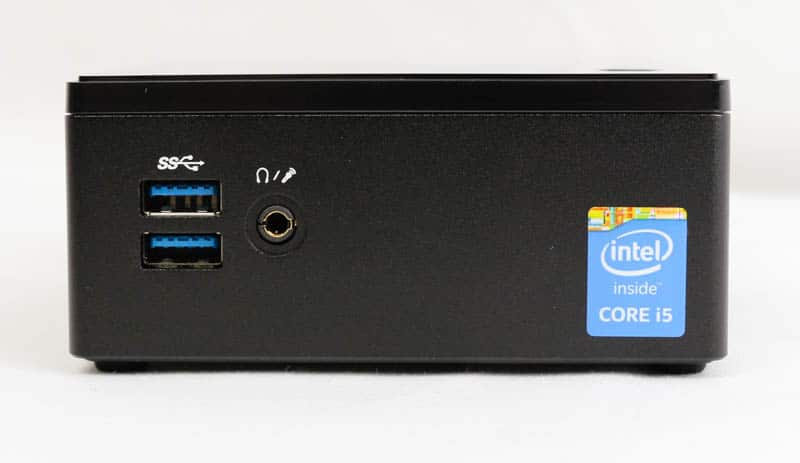
Here is the front of the BRIX, pretty simple with just dual USB 3.0 ports and a 3.5mm headset jack (headphone out, microphone in).
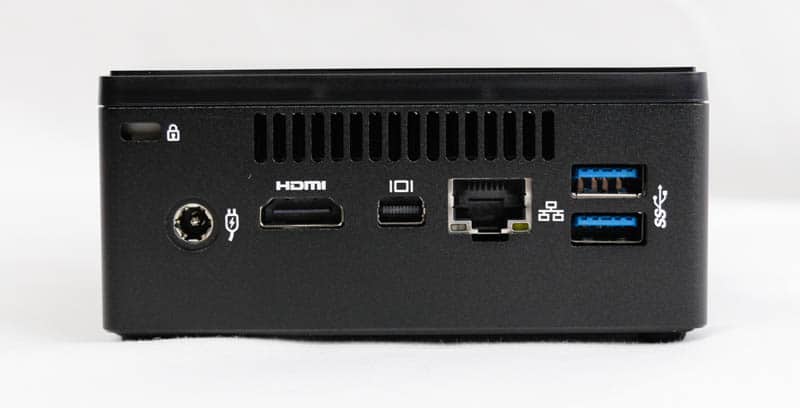
On the rear of the BRIX you will find a Kensington lock port, vents, HDMI, Mini DisplayPort, RJ-45/ GbE LAN, dual USB 3.0, and DC in from the power adapter.
Gaining access to the inside of the BRIX is very simple, you will need a set of precision screwdrivers to remove the screws easily.
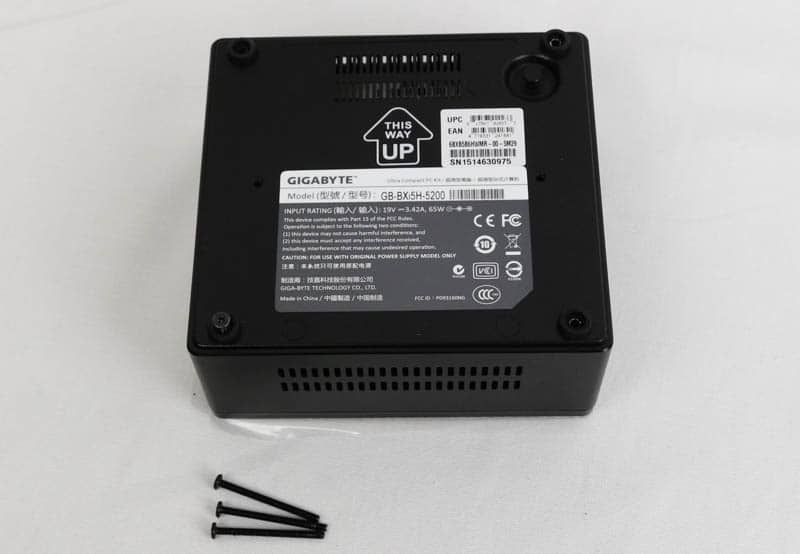
The screws are long bolts that go through the length of the case inside each foot in every corner. You will notice that the protective plastic has been placed back on the unit to keep it protected.
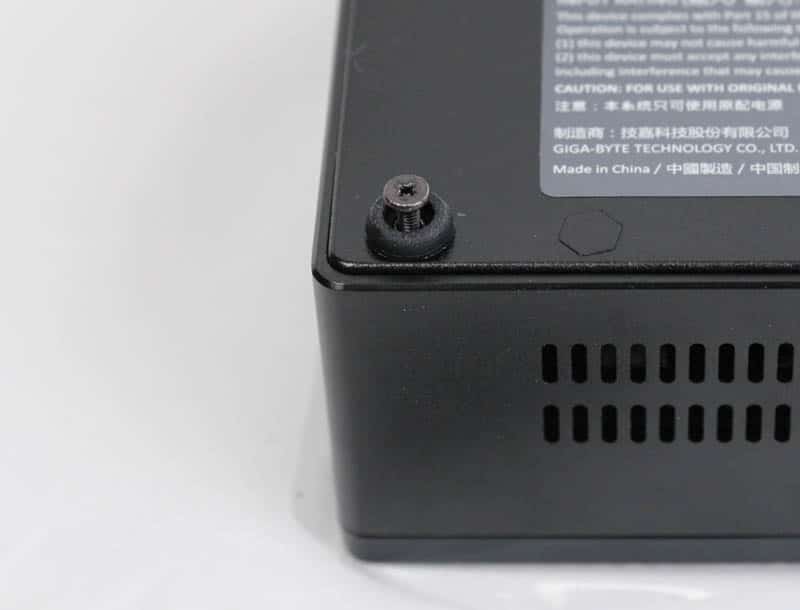
A view of the bottom, there is just a very small intake that has been machined.
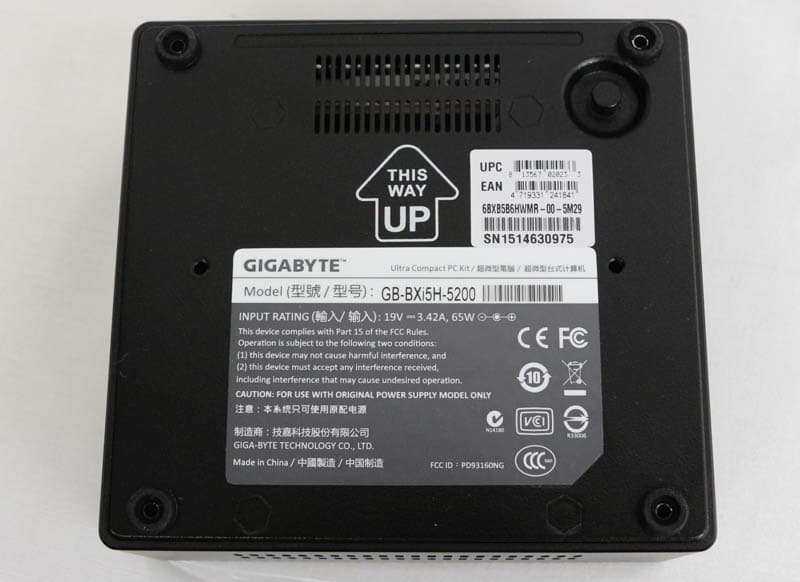
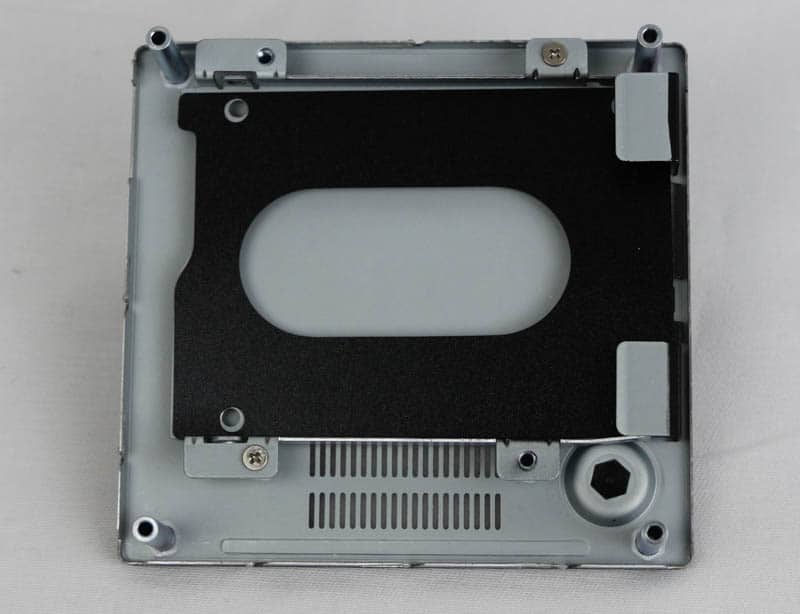
Here is what is on the other side of the bottom of the unit, it is where the 2.5″ SSD or HDD can be mounted.
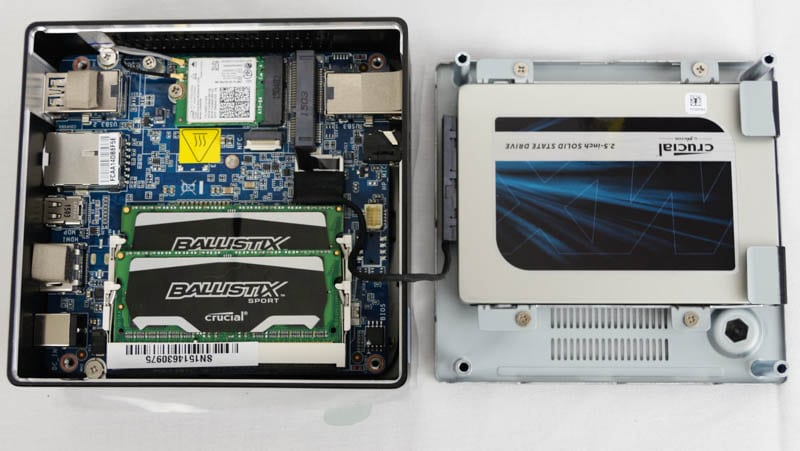
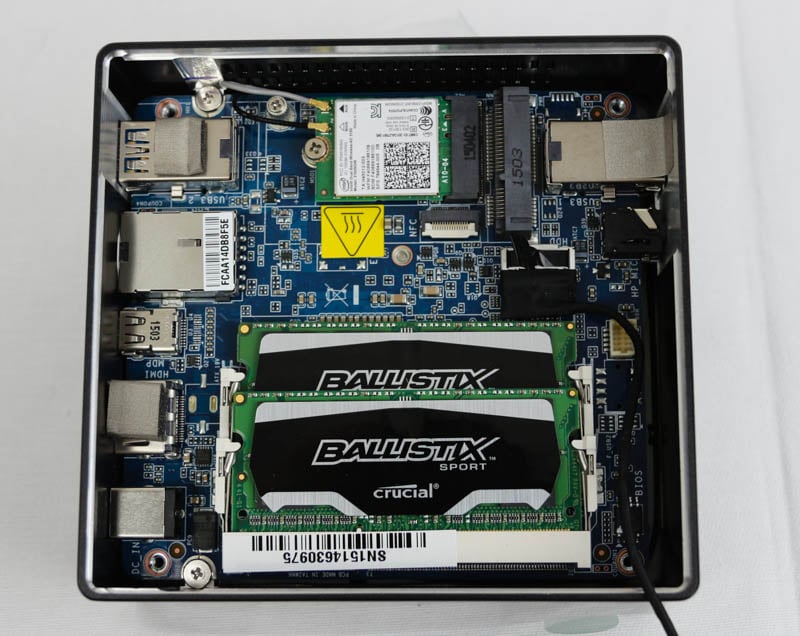
Here is what the unit looks like freshly opened, the Intel 3160 WiFi card is installed and the 2.5″ SSD/HDD adapter is taped down to the PCB there with that piece of masking tape.
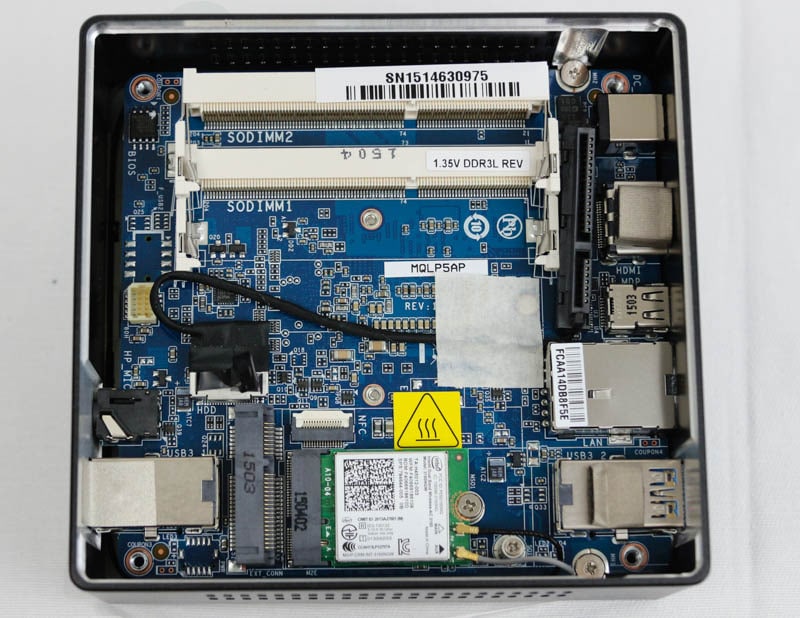
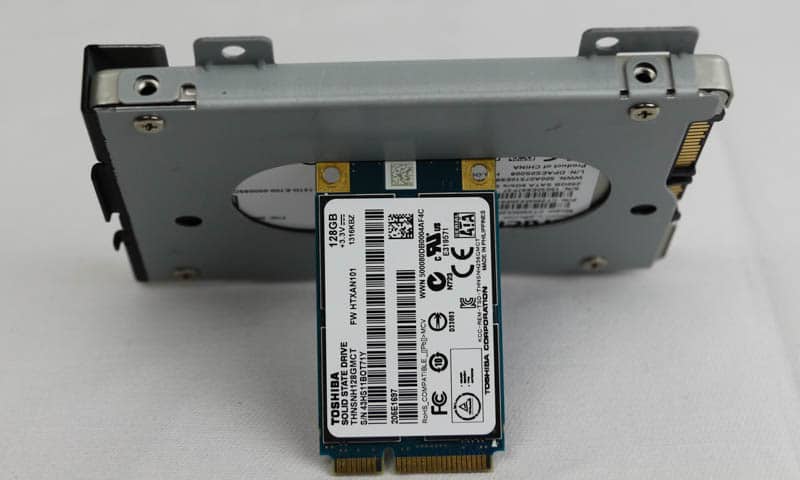
Here you can see where the MSATA SSD option installs. It is right over the WiFi card and it secures down with a single screw. Having the option for both MSATA and 2.5″ really opens up your storage options and what you might be able to use this for.

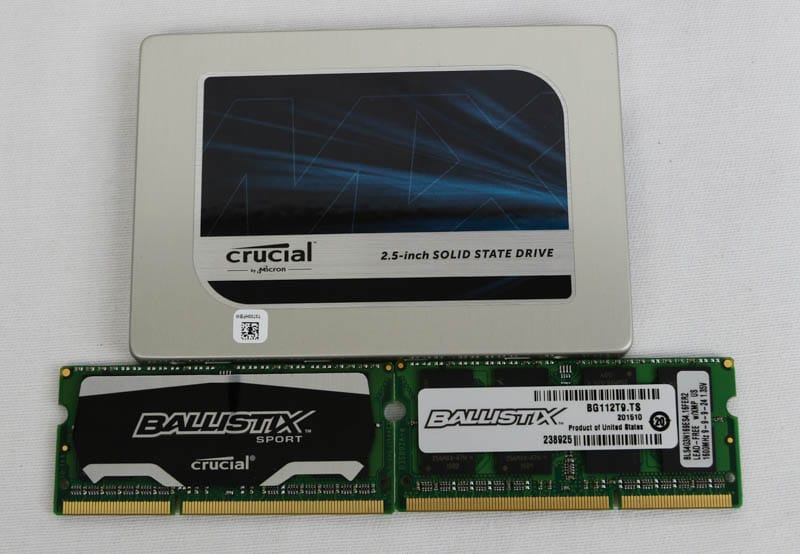
Here is what we will be testing the BRIX unit with, a 250GB Crucial MX200 SSD and 2x4GB DDR3 1600 SODIMMs of Crucial Ballistix.
The memory installs very easily into the unit.
Here we just wanted to illustrate that the 2.5″ SSD/HDD tray can mount the screws either on the sides or the bottoms, however you would like.
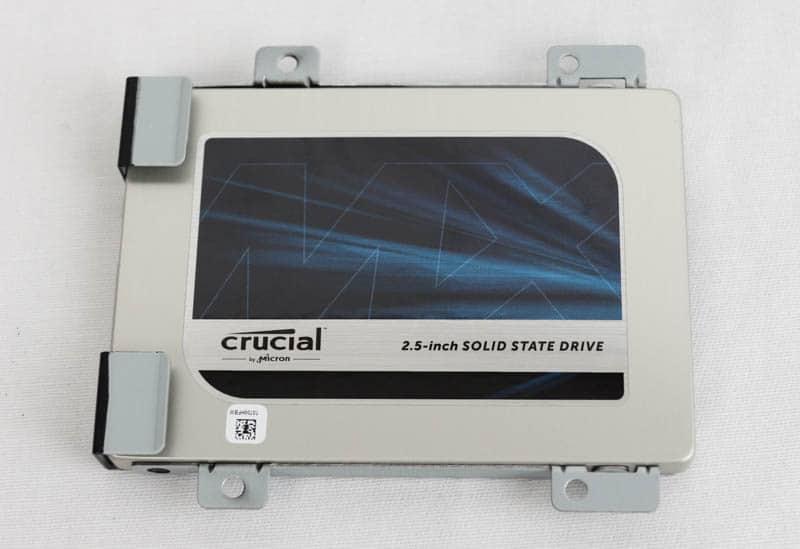
The Crucial MX200 in the tray and ready to be mounted back to the bottom of the unit.
Here you will see everything set up just before it is closed up and in use.
