Gigabyte BRIX GB-XM11-3337 System Review
Ryan Martin / 11 years ago
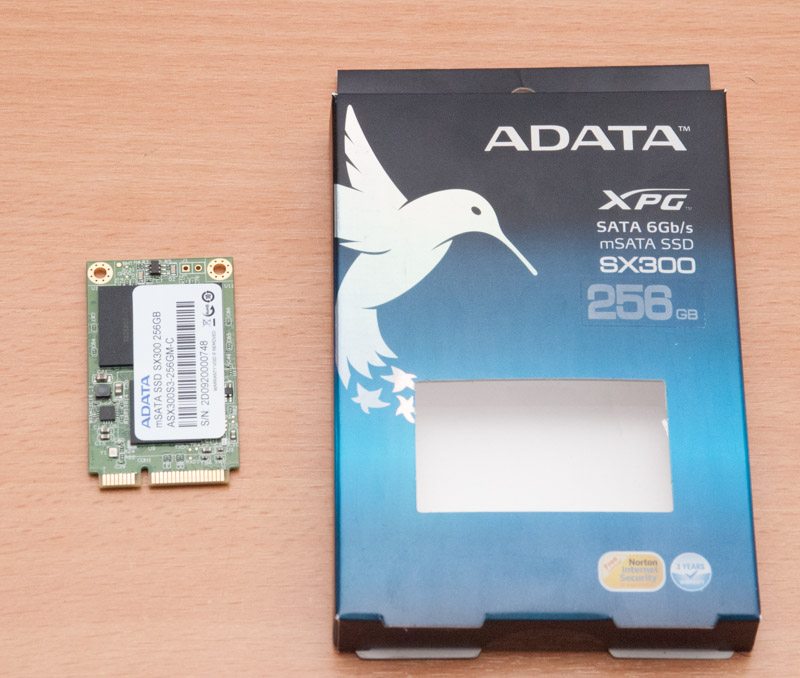
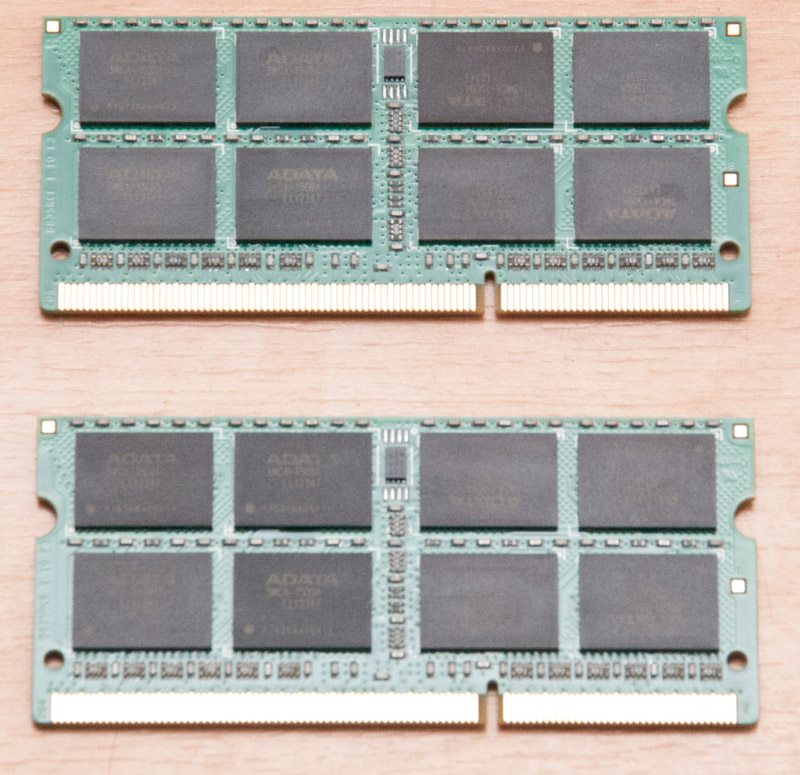
As you’ve probably guessed from the pictures so far, the Gigabyte BRIX is more or less a barebones system. You have to add your own mSATA storage drive, your own SODIMM RAM and your own OS. At this point we would like to say a huge thank you to ADATA for providing us with an mSATA SSD and some SODIMM RAM that made testing possible.
For running our benchmarks we used ADATA’s XPG 256GB SSD which operates at SATA III speeds. This SSD certainly isn’t cheap, at $269.99, but for this particularly mini PC which is very much performance orientated this kind of SSD is ideal to get the most out of it.

ADATA also provided us with 16GB of SODIMM 1333MHz DDR3 RAM, this costs about $120 which is quite a hefty amount even though this is a very much performance orientated mini PC. I think 16GB of RAM is a bit overkill. I’d probably recommend you go with an 8GB ADATA kit instead and save yourself some extra money for a USB hub.

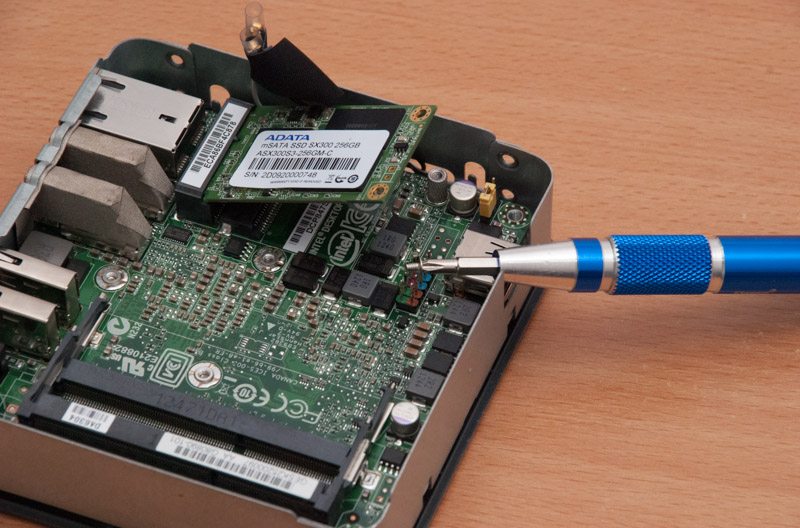
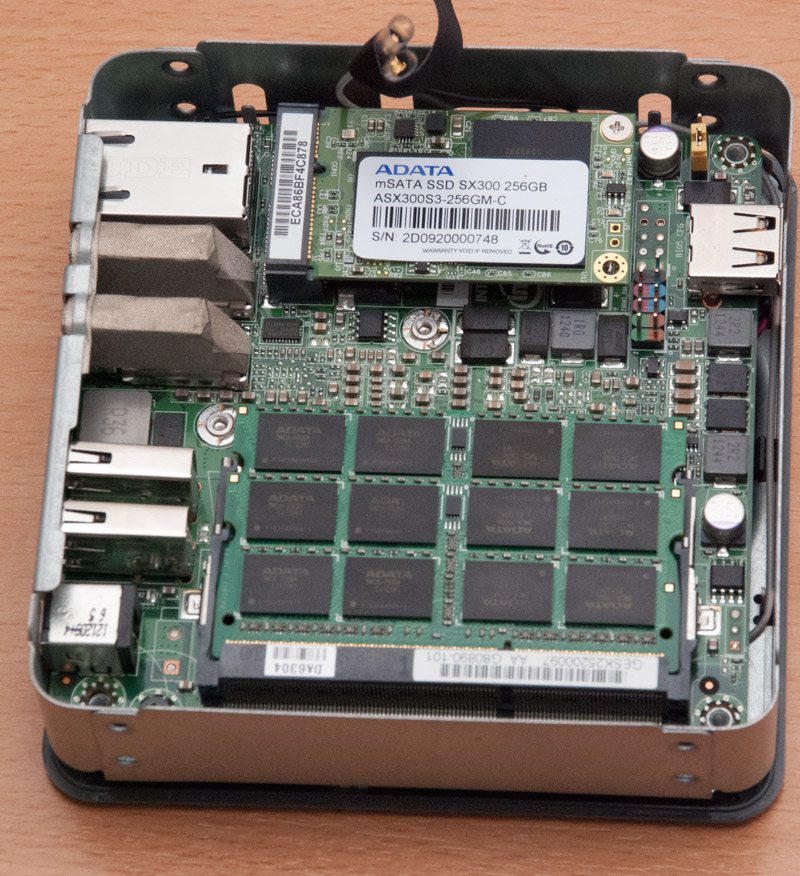
Installing the mSATA SSD is as simple as clipping it in and screwing it down while doing the SODIMM was pretty much the same. Unfortunately I didn’t have time to grab pictures of myself installing the mSATA SSD and SODIMM RAM into the Gigabyte BRIX so I will just use the pictures I have of installing it into the Intel NUC. The procedure is exactly the same so the same rules and methods apply.
You simply slot your mSATA SSD in to the allotted mSATA space and screw it down into the provided screw hole. Make sure you take the screw out first because you need to use the screw that is already there.

The installation is pretty much plug and play for the RAM just make sure you use the tabs on the side to leverage the SODIMM sticks in.


