Gigabyte X99 Gaming G1 WiFi (LGA 2011-3) Review
Ryan Martin / 10 years ago
BIOS and Overclocking
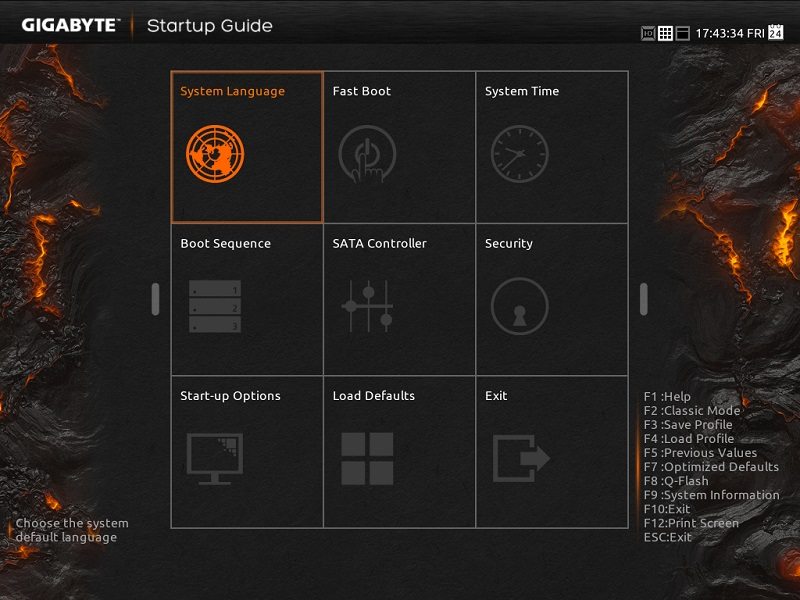
Gigabyte’s dual-BIOS gives y0u the flexibility to choose between two different BIOS styles, and two different BIOS chips. Upon entering the Gigabyte BIOS a splash-screen greets you and from this you can either go left, into the new BIOS design, or go right, into the Classic BIOS model. A problem I noticed with earlier Gigabyte X99 motherboards remains persistent here: upon booting and mashing the delete key to get into the BIOS, sometimes the system just hangs on a black screen before the BIOS. You can just reboot and normally it will get you into the BIOS within 3-5 tries but that’s not good: it should work first time. Using the Direct to BIOS button averts this issue, but then you’ll need physical access to your motherboard which you’re unlikely to have once your complete system is built.

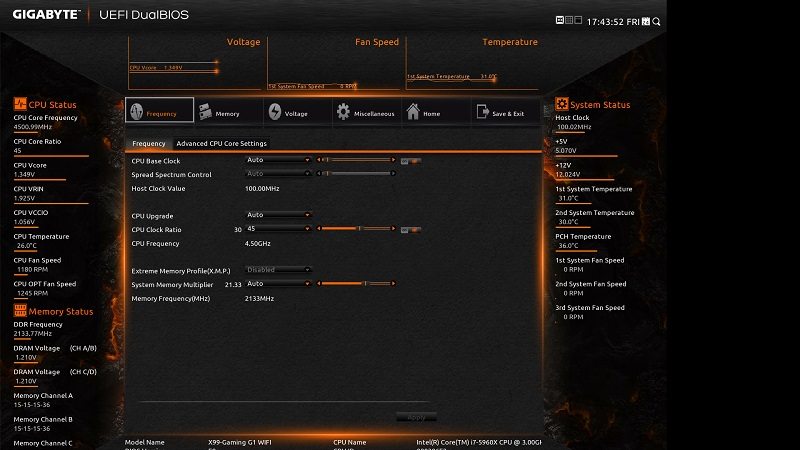
The modern BIOS is a visually impressive full HD (1920 x 1080) display and is arranged in an overclocking friendly way with three of the six tabs dedicated to CPU and memory overclocking settings.

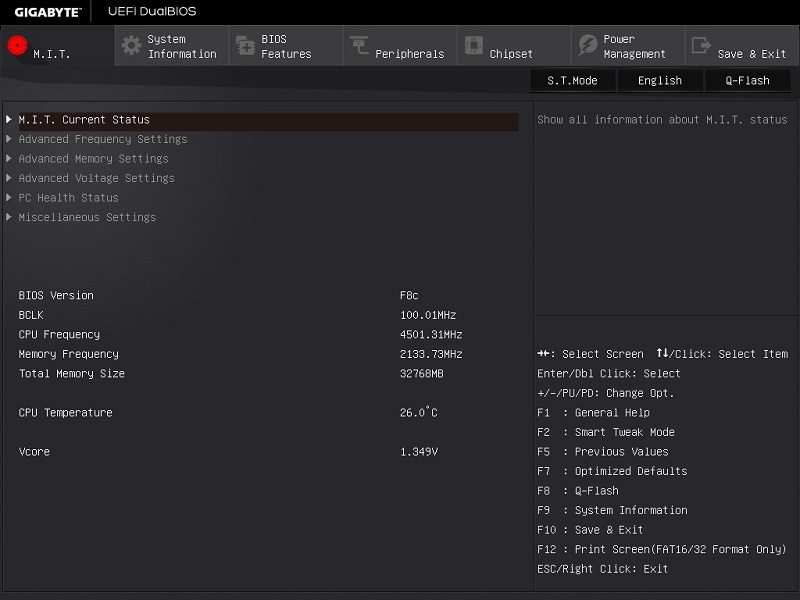
The older BIOS design, which is my personal preferrence, uses Gigabyte’s MIT BIOS structure that pre-dates the current UEFI layout.

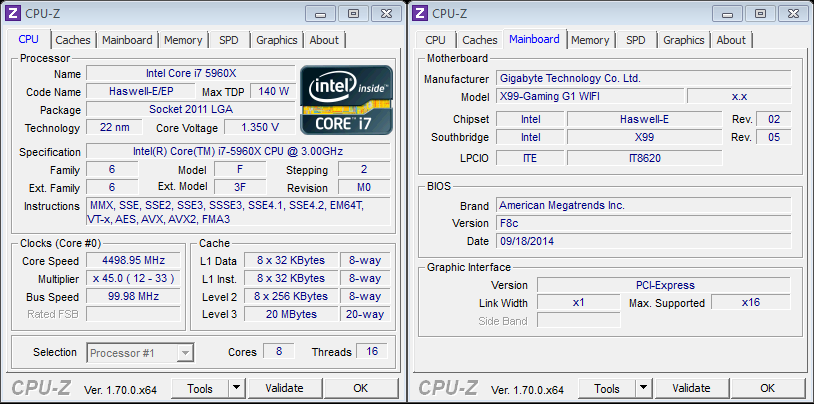
Overclocking on the Gigabyte boards could not be easier for us as we know our CPU can do 4.5GHz (although some boards can only do 4.4GHz). We simply dialled in a 45X multiplier and adjusted the VCORE to 1.35. This voltage can probably be fine-tuned down a little but for the purposes of ensuring total stability we maintained a high voltage throughout the testing.


