Gigabyte X99 UD4 (LGA 2011-3) Motherboard Review
Ryan Martin / 10 years ago
A Closer Look & Layout Analysis
For once we’ve got a motherboard that isn’t red & black which makes a pleasant change. The orange and black colour scheme makes it a fairly distinct looking board but at the same time it is still understated and clean. You’d have no trouble fitting this board into any build and let’s face it you could easily remove the heatsinks and give them a custom paint job. The layout is very similar to the X99 Gaming 5 in that it is very clean and not as busy as some higher end boards. The decision not to equip lots of buttons and switches benefits most people because it means a cheaper motherboard.
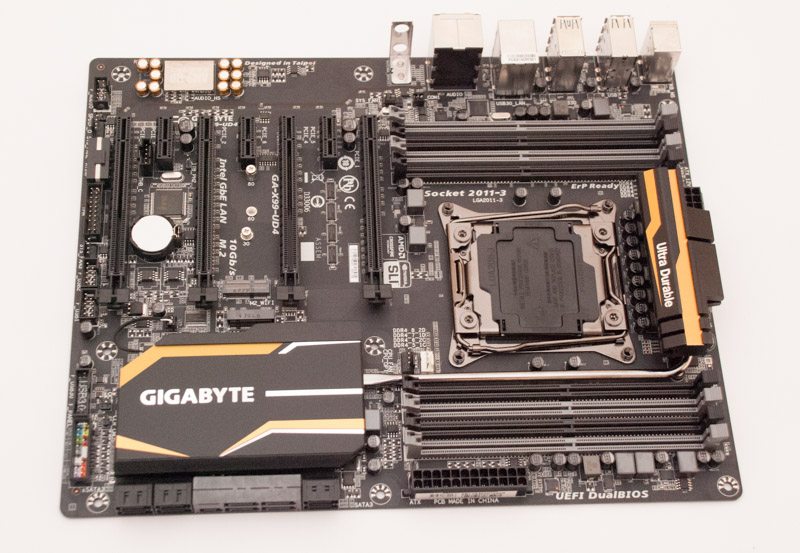
Around the CPU socket area we find the high quality 6 phase VRM and the LGA 2011-3 socket sided by eight DDR4 slots.
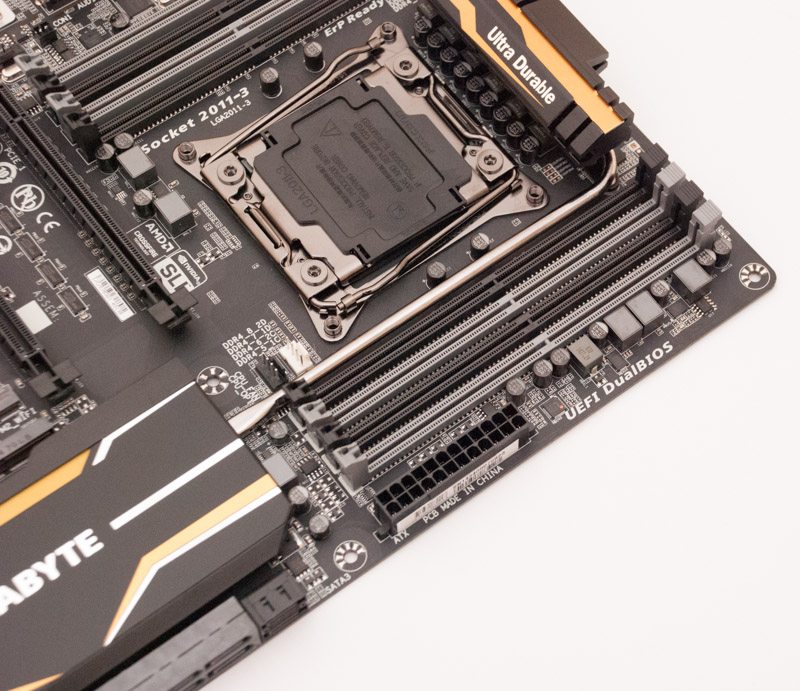
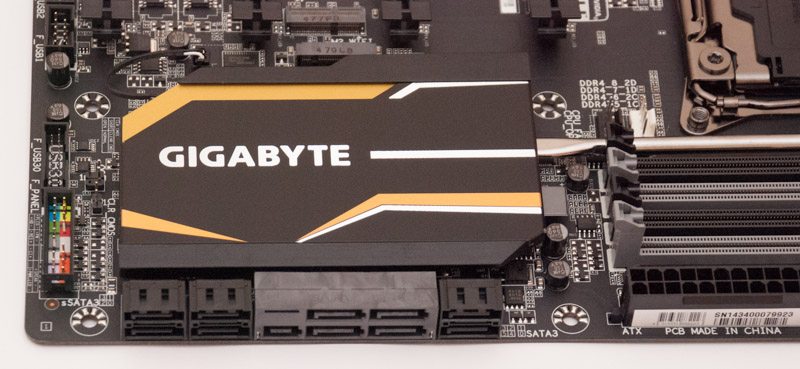
A heat pipe connects the chipset heatsink to the CPU VRM heatsink. By the chipset we also find 10 SATA III, 1 SATA Express and all the usual front panel and USB connectivity headers.
PCIe slots are in abundance as this is an X99 platform motherboard. In between the PCI lanes we find two stacked M.2 lanes to allow you to use an M.2 storage device and M.2 WiFi/Bluetooth card.
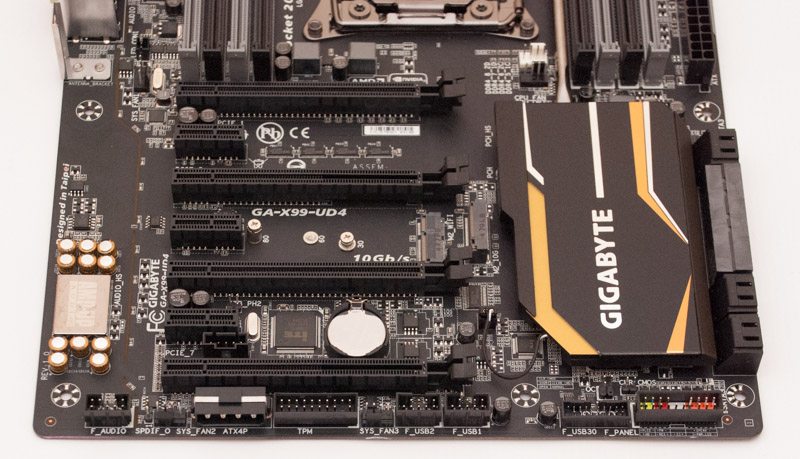
The audio section comes on a separated PCB and uses high-grade audio capacitors, unlike the Gaming 5 X99 motherboard there’s no headphone amplifier, upgradeable OP-AMP or gain boost switch.

At the rear I/O we find a variety of peripheral connectivity options. On the left there’s keyboard and mouse PS/2 ports: not necessarily JUST for legacy peripherals, some people use modern USB peripherals but like to connect them through PS/2 due to the latency and overhead advantages. There are four USB 2.0 ports and the white USB port updates the BIOS using Gigabyte’s BIOS flashback. There are six USB 3.0 ports (the white port serves as a USB 3.0 port once the BIOS post takes place) and a Gigabyte ethernet port. Five audio jacks link you up to the 7.1 channel audio implementation. There’s a hollow frame at the end for mounting a WiFi/Bluetooth combo card should you decide to take advantage of that but it isn’t included as standard because it would drive the price up for a feature not everyone wants.

At the top of the motherboard there’s only an 8 pin EPS connector, the CPU fan headers are located further down the board.
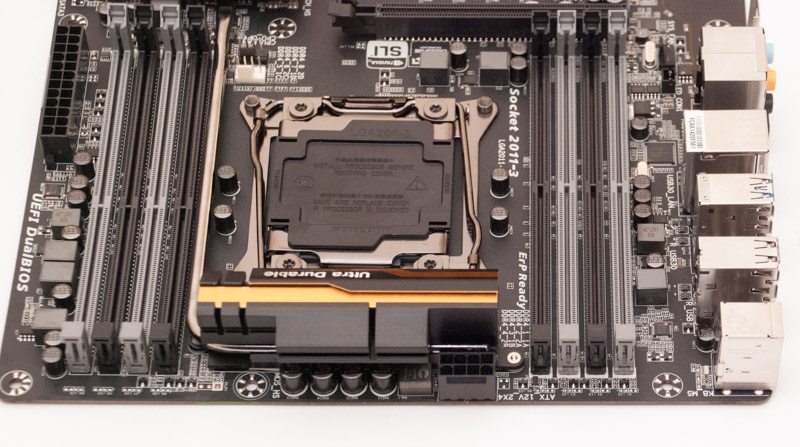
Looking closer at the CPU socket we can see those two CPU fan headers.
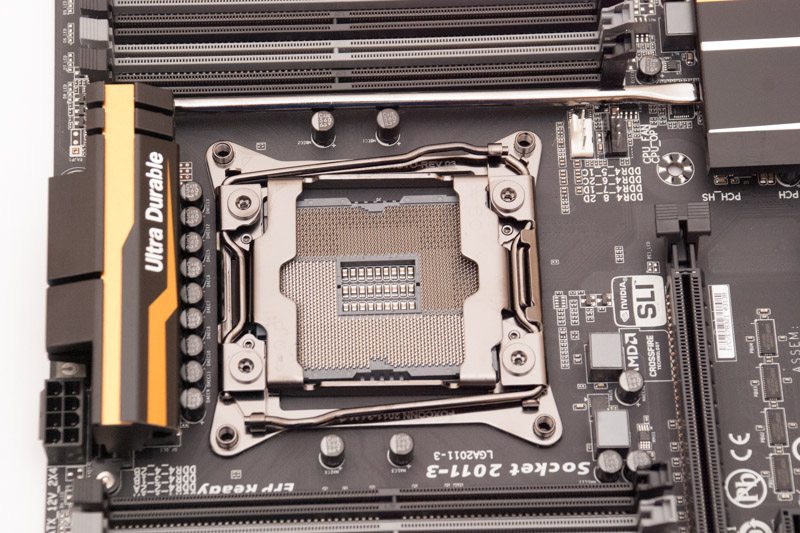
The PCB is matte black and all heatsinks are easily removable using a phillips head screwdriver.
