Gigabyte X99 UD4 (LGA 2011-3) Motherboard Review
BIOS

Gigabyte’s UEFI DualBIOS enters you straight into a splash screen page (pictured above). From there it offers up two different layouts. The swanky 1080p BIOS, pictured directly below, or the more traditional mode, pictured two down, we’ve taken a look around the more traditional BIOS as it is where most X99 users will feel at home.

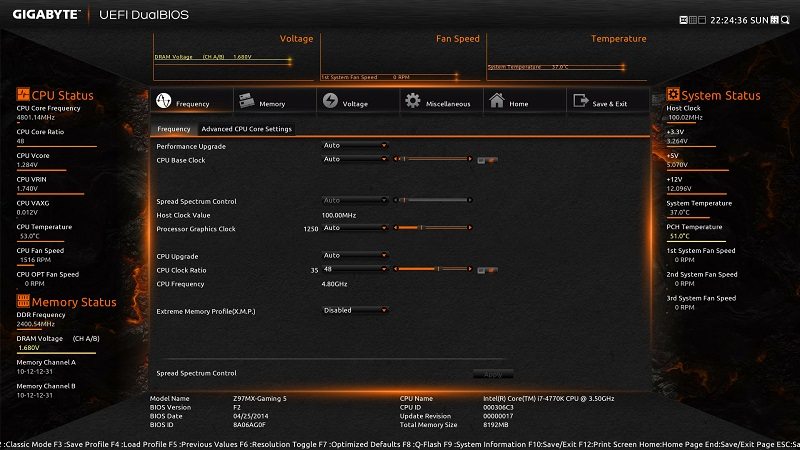
With Gigabyte’s latest X99 BIOS I certainly can’t complain about the feature set: having the ability to choose between two styles of BIOS is nice. I prefer the “old-school” BIOS which has actually had a significant overhaul since Z97, see for example the Gigabyte Z97MX-Gaming 5 BIOS.

It must be said straight away that the new BIOS needs fine tuning. Since I started this review we’ve gone through a lot of BIOS versions in under a week but bugs are still here. For most the BIOS has all the features, but needs some tweaking and fine tuning. For example sometimes entering the BIOS with the delete key just results in a black screen until you reset, it is also hard to identify the drives you are saving a screen shot to since the device names are very confusing. On the positive side though Gigabyte have already fixed a significant mouse bug.

The M.I.T tab features all the CPU & memory tweaking options with voltages and frequencies.


M.I.T also contains fan controls and temperature warnings.

As you progress to the right of the M.I.T the tabs are not as frequently needed. Most of the settings under the reset of the tabs you’ll hardly ever change except maybe you boot order when you first set your system up.


The chipset tab does contain some useful things if you’re someone who’s utilising lots of PCIe based devices including M.2, SATA Express and multiple graphics cards. From here you can enable and disable certain things, remember a lot of PCIe based connections share bandwidth so you can’t populate everything.


