Gigabyte Z590 AORUS MASTER Motherboard Review
Ben Enos / 4 years ago
A Closer Look
While the Z590 version of the AORUS MASTER motherboard looks similar to that of the Z490, there are a few slight changes to the overall layout. For one, the top heatsink on the Z590 is just the bare heatsink and does not have any sort of cover on it, whereas the Z490 model did. We can see the SATA ports have been moved closer to the middle of the board as well. Moving the SATA ports up a bit means they will be closer to the graphics card which also means they should technically be more out of sight than before, meaning you may be left with a cleaner-looking build once all complete.
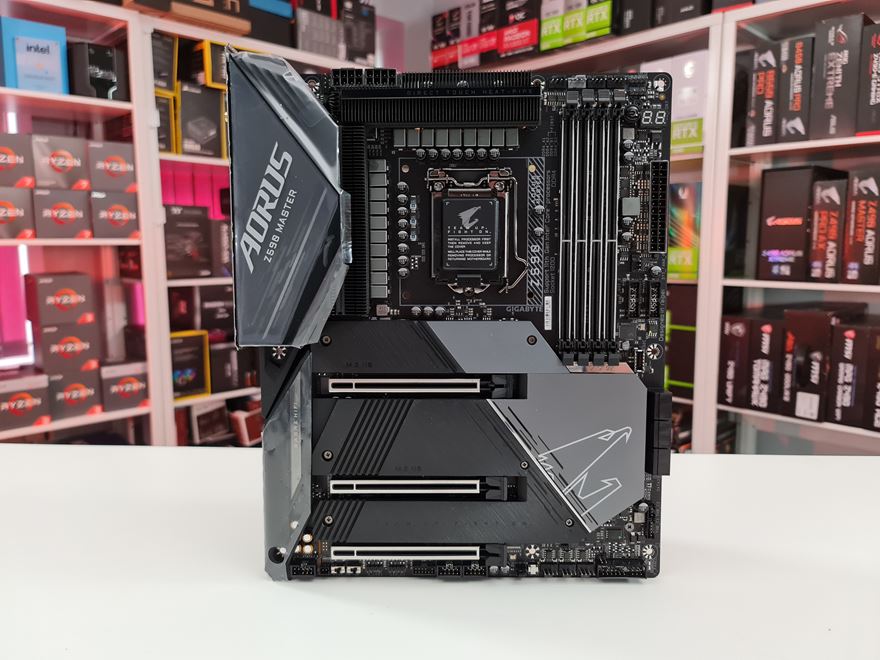
Gigabyte has made sure there will be confusion as to which board this is once it is installed. There is a nice cover on the rear IO that features the wording ‘ AORUS Z290 MASTER’ and it looks amazing. Long gone are the days of all the rear IO ports being all in your face and ruining the aesthetics of your build.
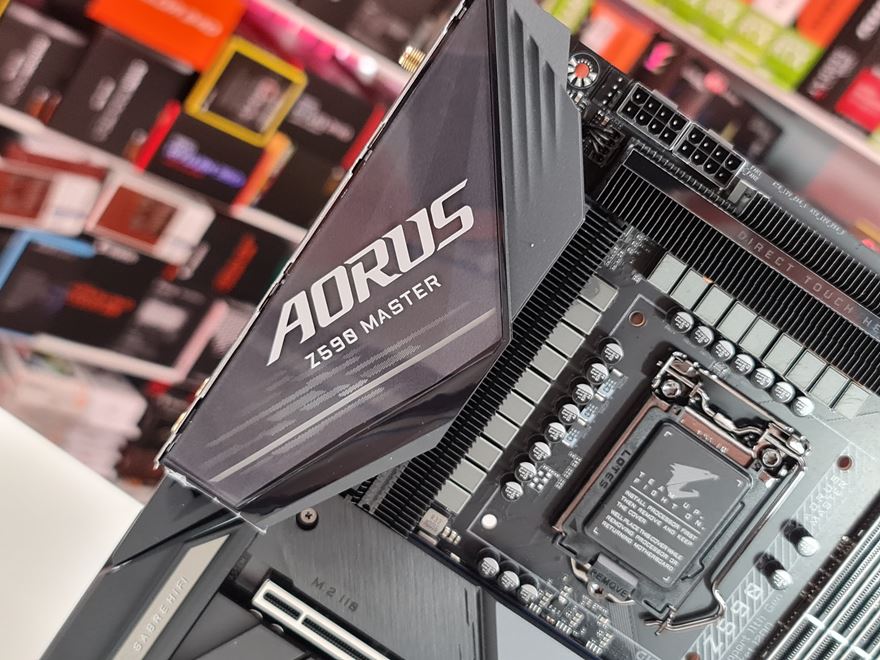
Gigabyte has gone all out when it comes to the power of this board. Not only does it have 8+8 EPS CPU Connectors, but it also features a Digital PWM Controller that is capable of pushing 90A through each of the VRM Phases. Considering this board comes with a massive 18+1 Phase design, that is 1620A total that can be pushed. This is going to allow for maximum stability and overclocking on your CPU. Throw in some Tantalum Polymer Capacitors and Gigabyte really is trying to Unleash The Power and we mean ALL THE POWER!
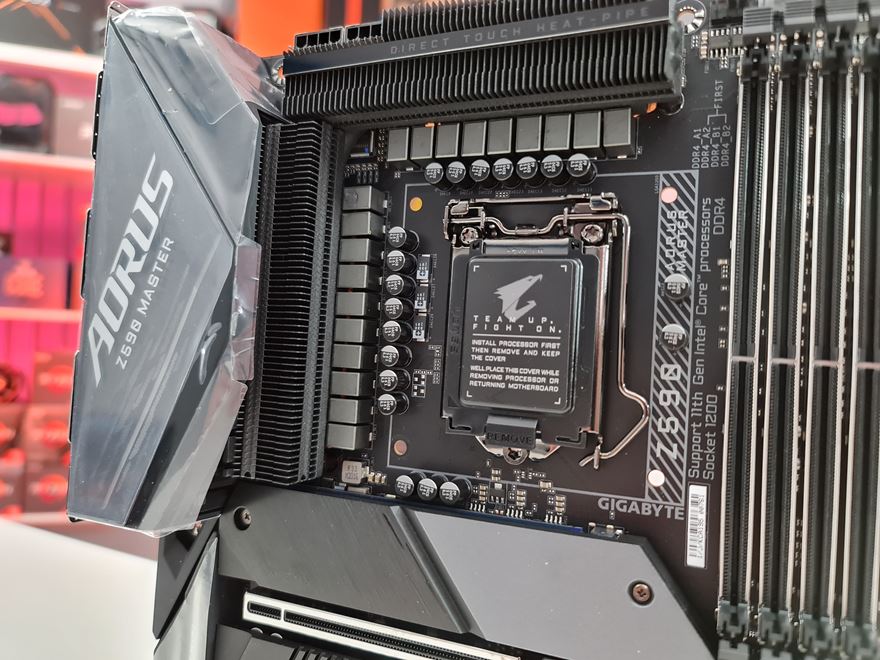
The 8+8 CPU power connectors have metal shielding and will make sure all the power you need is getting to your CPU.
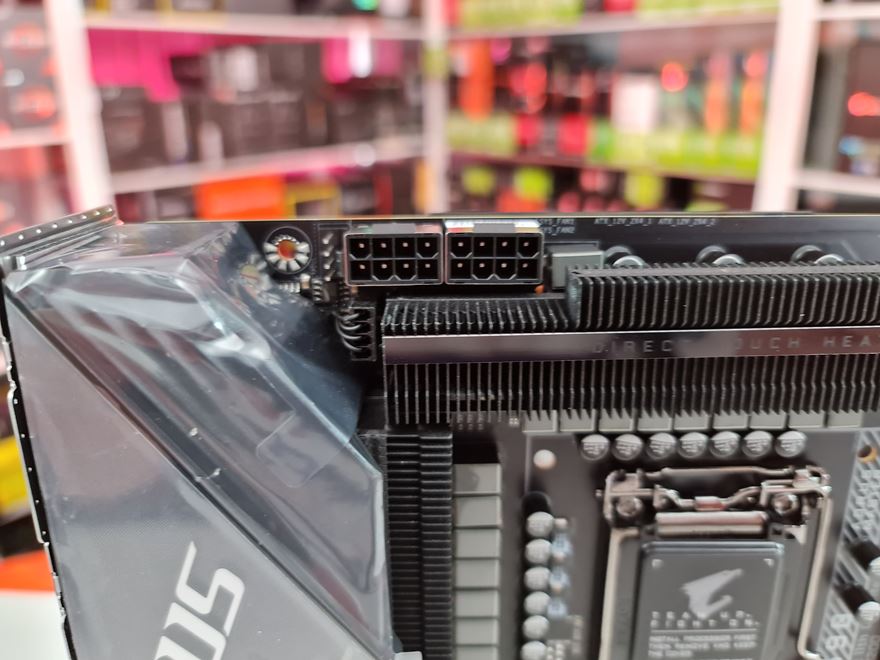
With all this power, surely we are going to need some cooling to match? Of course, we are! Gigabyte had this all planned out and have included Direct Touch Heat Pipes. The fin array has a nice density to it and as mentioned, there is nothing covering all of this so, in theory, it should help to dissipate heat quicker than even that of what we saw on the Z490 Master Motherboard.
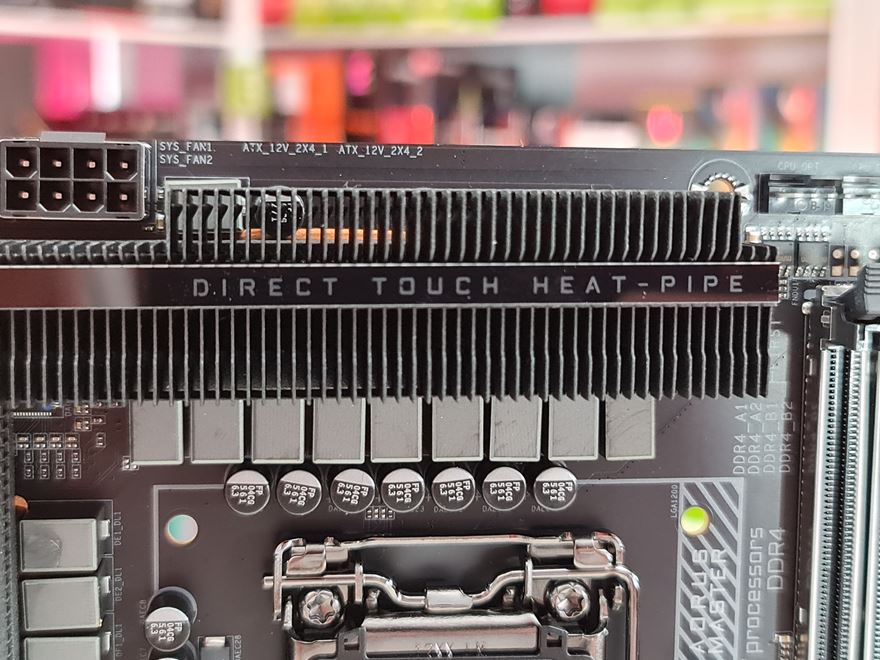
Need fans or RGB? Towards the top right of the board, we have a few 4-pin PWM fan headers to choose from and we also have 12v and 5v RGB connectors to make sure we can make the use of all the RGB that everything seems to be coming with these days. Just below this, we have a nice power button. While your standard user may not make much use of this, for those of us who run test benches or do professional overclocking, these things really do come in handy.

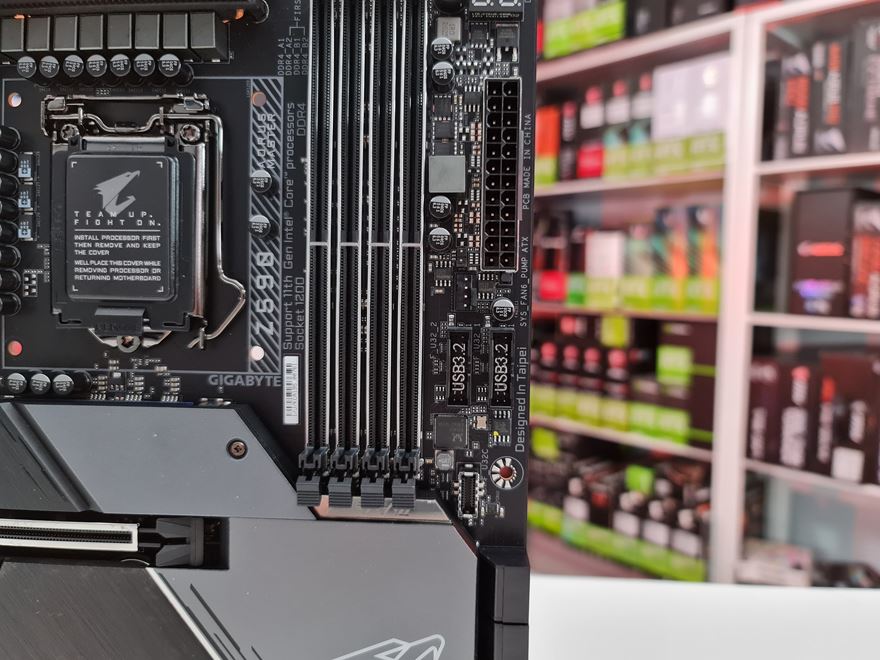
Moving down the righthand side of the board and we can now see our 24-pin ATX power connector which will feature the same metal shielding found in the 8+8 EPS connectors. There is another fan header so we are definitely not short on these and we also have a pair of USB 3.2 headers so we can make use of the USB ports on the front of our case.
One thing I personally like to see these days is the advancement of Audio on motherboards. Over the past few years, companies have started paying more attention to this and it is a win for us consumers. Gigabyte has gone with an ESS SABRE Audio DAC and DTS. Audio is becoming more important and it is great to see motherboard companies getting on board with this. I mean, why would YouTubers like Andy spend hours getting their audio perfect if it was going to sound like crap anyway, they wouldn’t! It’s also nice to think you have that slight advantage or your opponent when gaming and hopefully be able to hear them before they hear you.
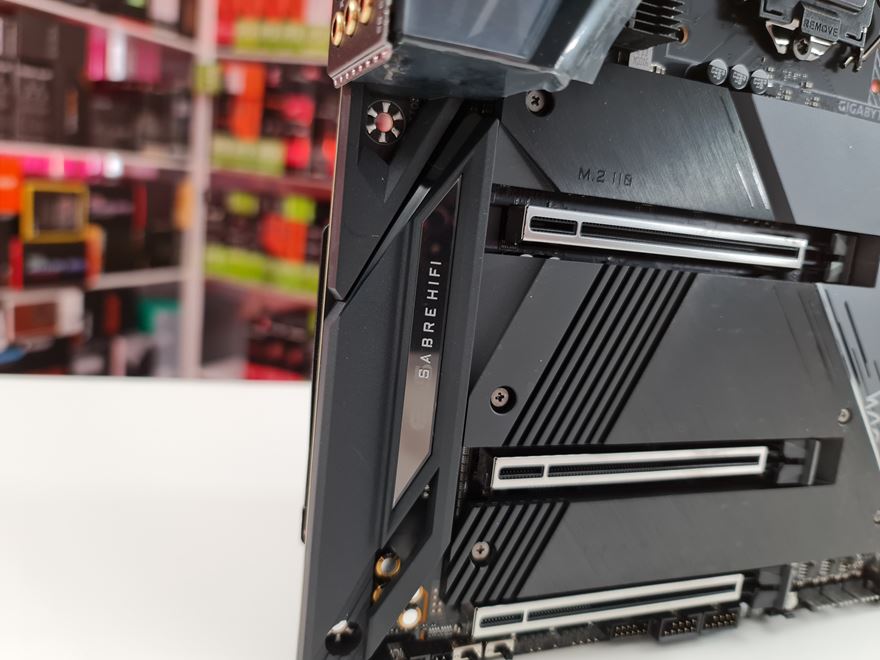
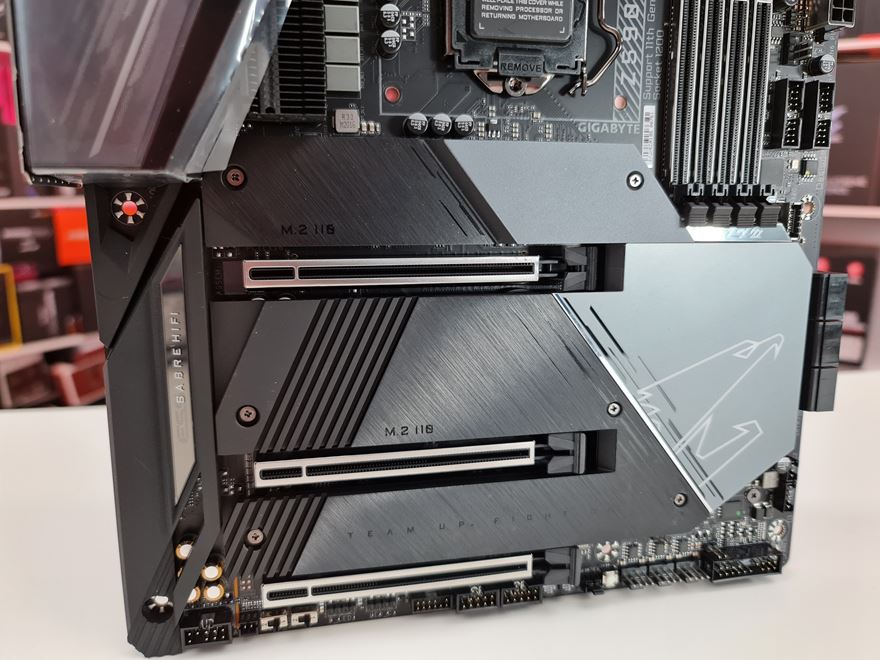
There are 3x PCI Express slots running at x16/x8/x4, Also, behind the shielding are 3x M.2 slots, each above one of the PCIe slots. This is where things start to get a bit fun and interesting. Normally the top M.2 is run from the CPU and the others are off the chipset and while this is the case here, the top slot only works with 11th Gen CPUs. So, while you can use a 10th Gen CPU in this motherboard if you do you will lose the top M.2 availability. When using an 11th Gen CPU the top slot runs off of PCIe 4.0 which will allow us to use the fastest NVMe drives out there. The bottom two slots will work with either 11th or 10th Gen CPUs as they are only running on PCIe 3.0 off of the chipset anyway.
For those of you who are not quite ready to ditch their old SATA SSDs and Hard Drives, fear not! Gigabyte has included 6x SATA 6Gb/s ports. With the sizes of drives we see these days, this should be more than enough ports for most people to hook up all their old drives before they make the leap to a cable-less all NVMe future. I mean, we all want fast speeds but sometimes, and I do mean just sometimes it is still a bit more practical to have a single large hard drive vs multiple smaller drivers. Would you trade your 8TB Hard drive in for 3x2GB NVMe drives?

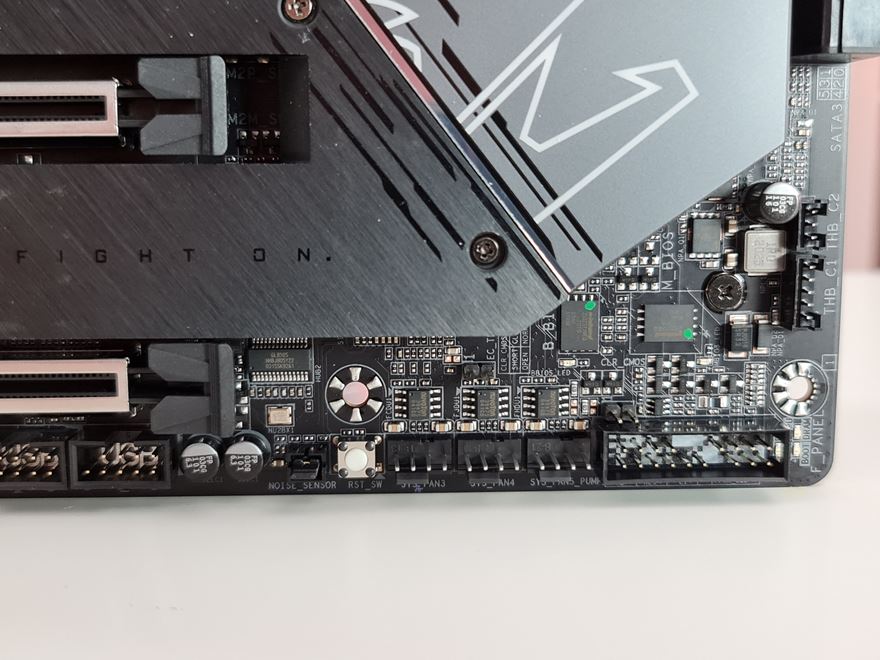
Saving most of the fun for last as we look across the bottom of our motherboard for all the different ports and connectors it comes with. Left to right we have our frontside audio connector, 2x BIOS switches that will let you switch between single BIOS and dual BIOS modes, then will also let you switch between BIOS 1 and 2 when in dual BIOS mode. There are a couple more RGB headers which mean we have headers at both the top and bottom of the board which will not only let us connect multiple devices, should aid us in our ever-important cable management journies. THE SPI_TPM port is going to allow us to use a card that will store all of our digital keys, certificates and more in a secure way. There is a pair of USB headers that once upon a time were mostly used to connect to the front of your case, not it seems they are more commonly used to control your RGB components through your motherboard.

Keeping things moving along and we have our noise detection sensor. There is an included cable that plugs into this and will help to regulate fan speed based on the pressure in the case which is affected by the temperature. We also have a handy dandy (see what I did there) reset switch that can be used to help us with a couple of different resets if needed. Another three fan headers so we know we can connect a lot of fans directly to the motherboard to alleviate the need for hubs and splitters. And last but not least we have our front panel connector to connect our power and reset buttons.
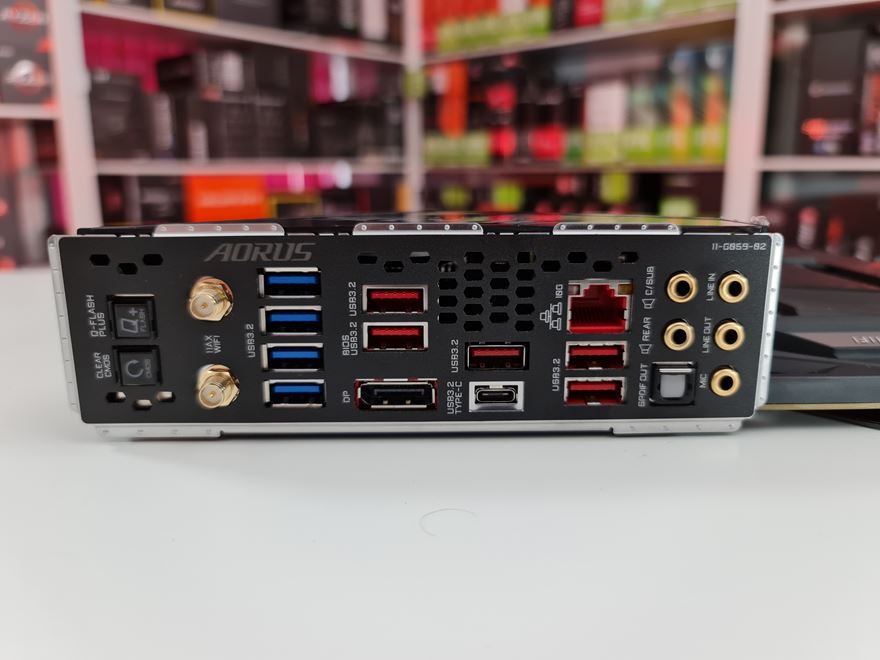
On to the back IO and there is quite a bit going on here, we have the following:
- 1 x Q-Flash Plus button
- 1 x Clear CMOS button
- 2 x SMA antenna connectors (2T2R)
- 1 x DisplayPort
- 1 x USB Type-C® port, with USB 3.2 Gen 2×2 support
- 5 x USB 3.2 Gen 2 Type-A ports (red)
- 4 x USB 3.2 Gen 1 ports
- 1 x RJ-45 port
- 1 x optical S/PDIF Out connector
- 5 x audio jacks
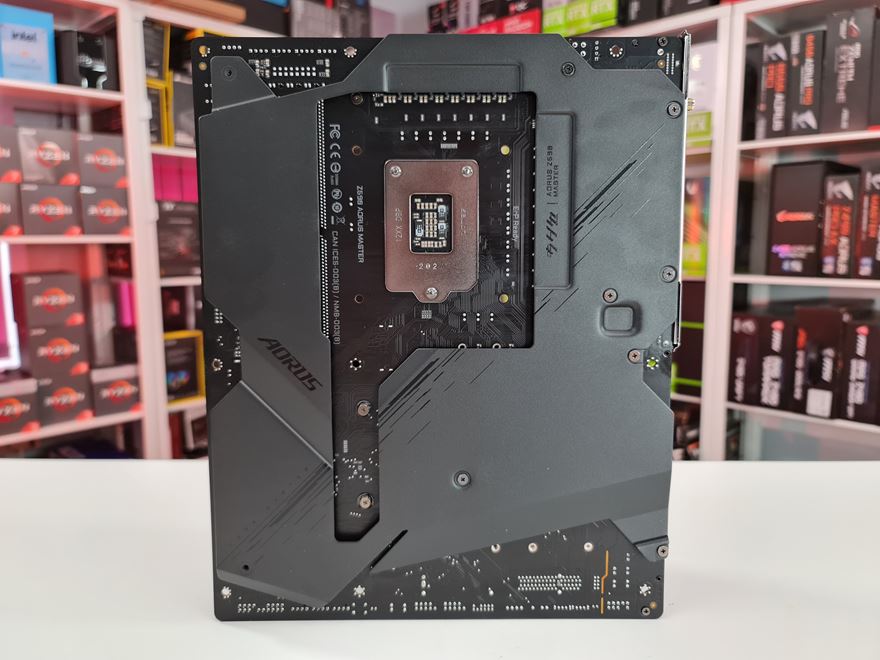
On to the backside of the motherboard and there is a protective backplate. Not only does this add a massive amount of weight to the motherboard, but it also adds an extra bit of support for things like the CPU cooler should you chose to go with an AIR cooler or even a bit of support for a massive 3090 pulling on the PCIe lanes. It may even help with the overall thermals of the board and take a bit of heat away.
