Gigabyte Z97X-SOC (LGA 1150) Sub-Zero Overclocking Review
Ryan Leiserowitz / 9 years ago
Testing & Methodology
- Gigabyte Z97X-SOC
- Intel 4790K Devils Canyon ES
- Kingpincooling Venom 6.66 CPU pot
- Be Quiet 1200W Dark Power Pro
- Crucial MX200 250GB SSD
- Team Vulcan 2400 2x8GB
- Sapphire R9 285
- Dry Ice
- Bacardi 151
- TES 1310 Type-K thermometer (great budget choice)
I used high proof alcohol since it has such a low freezing point that it helps to slush up on the base of the pot and bring down temps. I would like to source some high purity ethenol or something similar since for the future but the high proof alcohol would suffice for what we were doing today. The Kingpincooling venom has a coper base and an aluminum sleeve so I simply taped up the sides so I could use an alcohol-based liquid. Had I used acetone it would have easily eaten through the tape and leaked onto the motherboard. That would have been insanely dangerous, not to mention that the fumes from boiling/bubbling acetone aren’t the most healthy thing you can be around. Time was taken to prep the board and take steps to protect it from possible condensation. There should be an upcoming guide on how to prep boards for sub-zero for those who are interested in getting started. Temps that were reached were down to -60C and peaked at -45C when running full four core, eight thread benches that took a few minutes to run. To keep the temps down while running benchmarks, I was constantly agitating the dry ice in the pot to settle it. I wanted to settle it so I could keep the base of the pot as cool as was physically possible during those benchmark runs.
Software
- Windows 7 Ultimate – stock install
- Cinebench – available here
- PiFast – available here
- Super Pi / mod 1.5 XS – available here
- Intel XTU -available here
- AIDA 64 Engineer – available here
- CPU-Z – available here
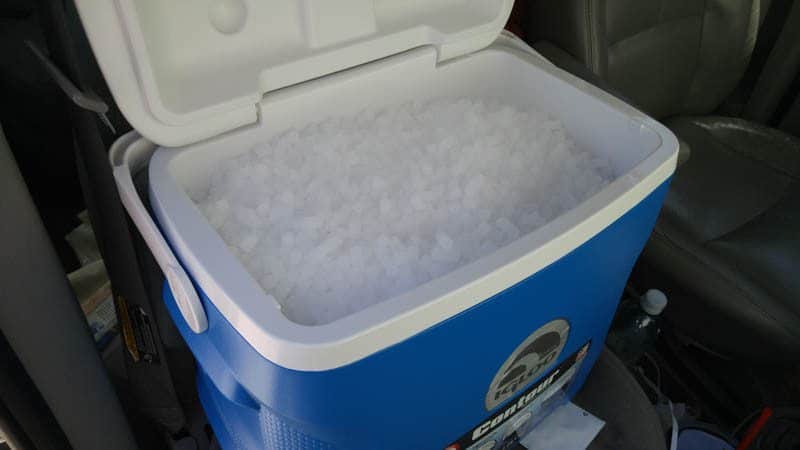
Tip for those who are interested in trying dry ice benching, you will want to get on good terms with your local dry ice specialist. I have dealt with mine for years and get great prices now, and I managed to get this filled up for $20 which was likely around 40-55lbs. It was enough for a maybe 8 hours split up over two days when kept in this good cooler. What you see here is 1/4″ “rice” pellets which are very small in sizes and are much easier to use than blocks and have much less waste and effort needed to use it as all that I needed next was a scoop. With blocks I’d need a big hammer and tongs and I’ve found that I never get temperatures as low as as I do with rice pellets.

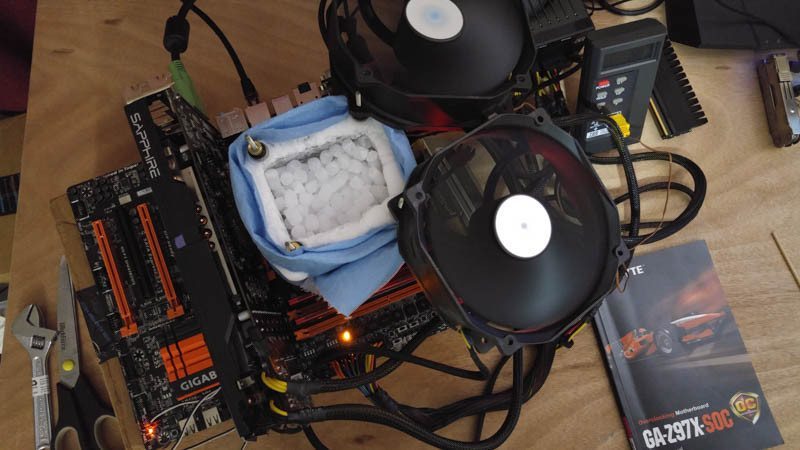
Here we see the setup for testing that I was using, it is a very simple setup once you know what to do. The biggest thing is just to take your time to make sure that you are being thorough with your insulation of the motherboard and setup so that you minimize every chance there is for allowing condensation to build up inside the insulation and around it, as water and electricity on the board will not mix.


