Hex Gear R40 Micro-ATX Chassis Review
Peter Donnell / 9 years ago
Building the R40
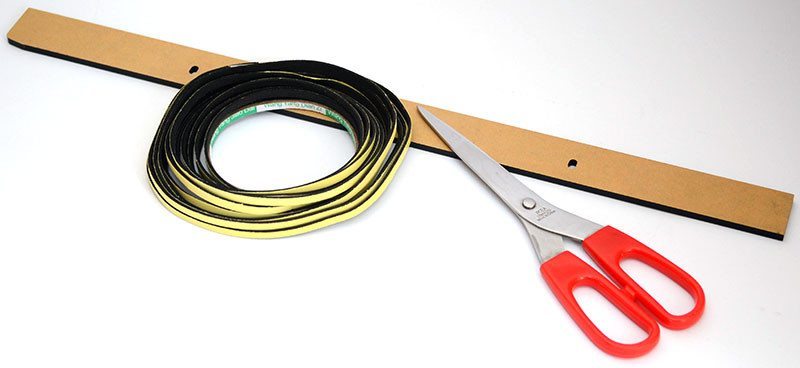
The Hex Gear R40 is a complete kit build chassis, there’s honestly quite a lot of work to do to get this thing put together, so if you’re not confident with a set of Allen-Keys, you may want to find a friend who’s willing to build it for you. First up, apply a strip of foam tape to the edge of the four plastic strips, then remove the protective brown paper backing.
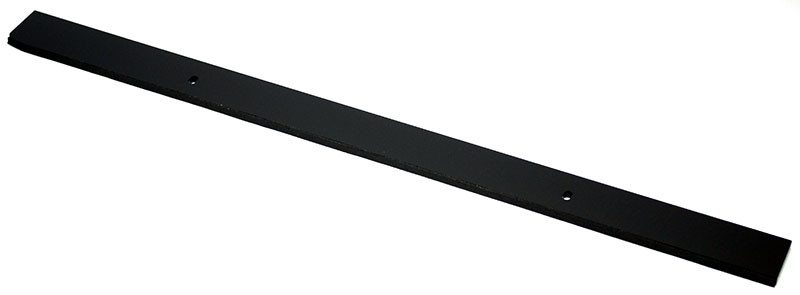
The end result looks like this; nice and easy.
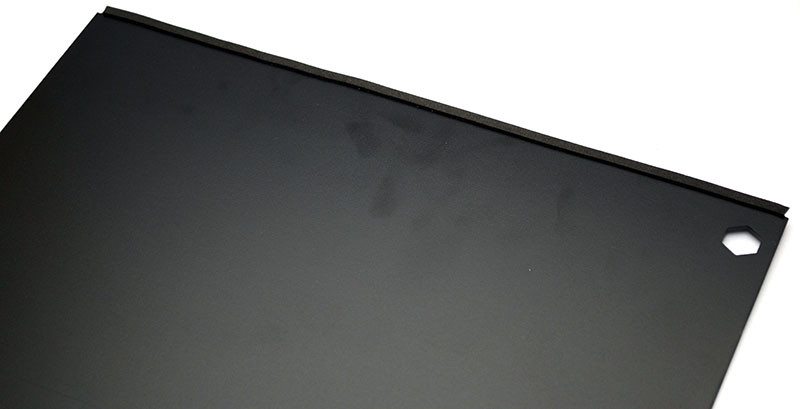
Apply more foam tape on the edges of each of the side panels.
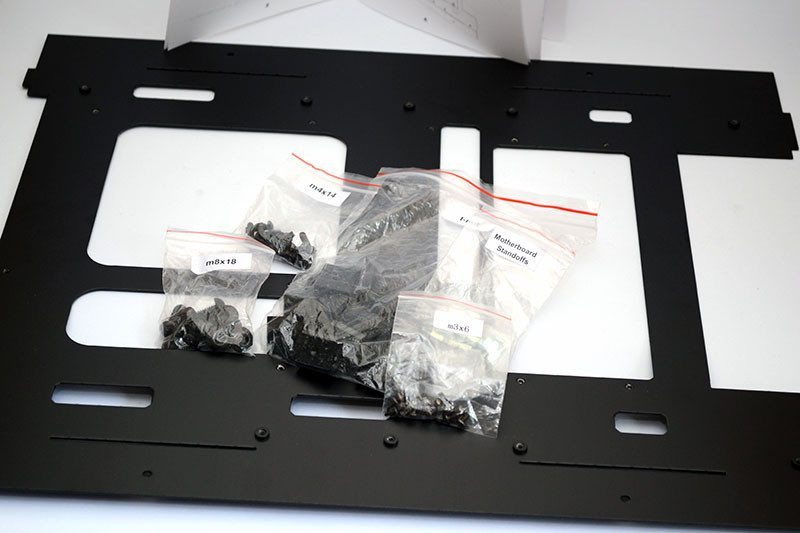
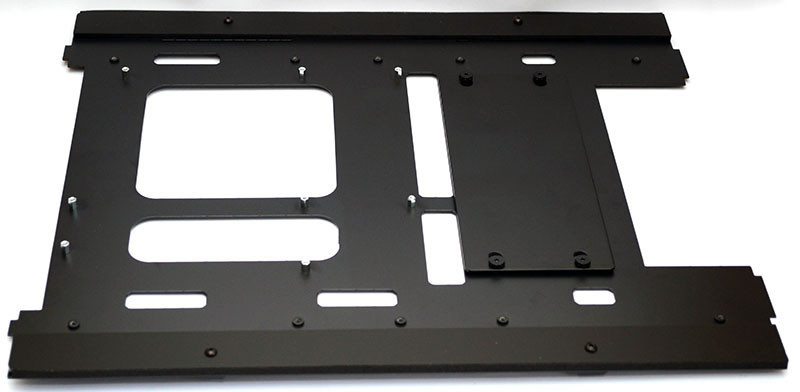
Apply motherboard standoffs, two of the plastic bars we just used, as well as the moddable metal panel onto the motherboard backplate.
That step completed, we’ve almost got our first recognizable component.
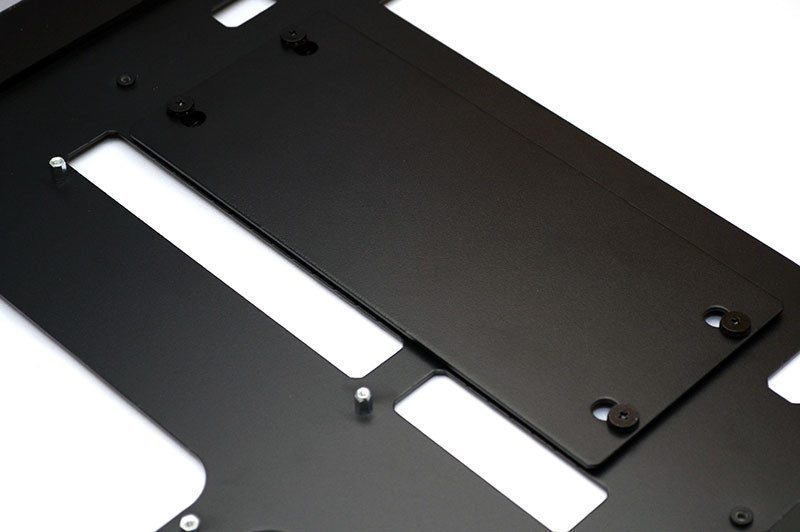
As I said before, this plate can be modified by yourself, or you can buy pre-customised panels from Hex Gear; It mounts on rubber anti-vibrations washers.
T-bolts are applied to the edges, these will allow you to add the four large corner rails, but we’ll get to those shortly.
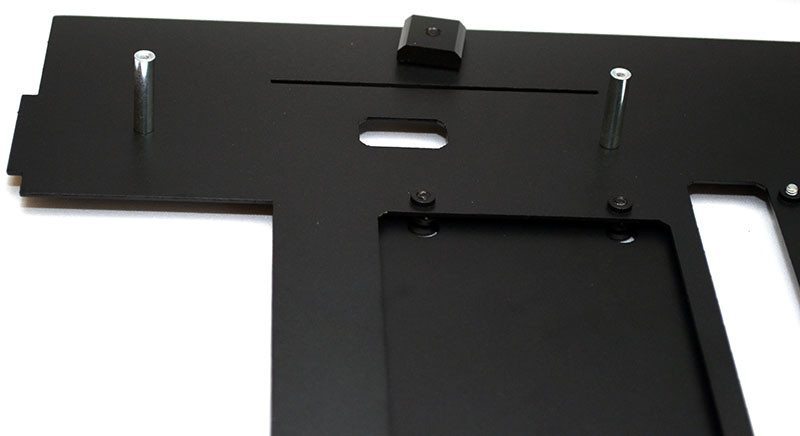
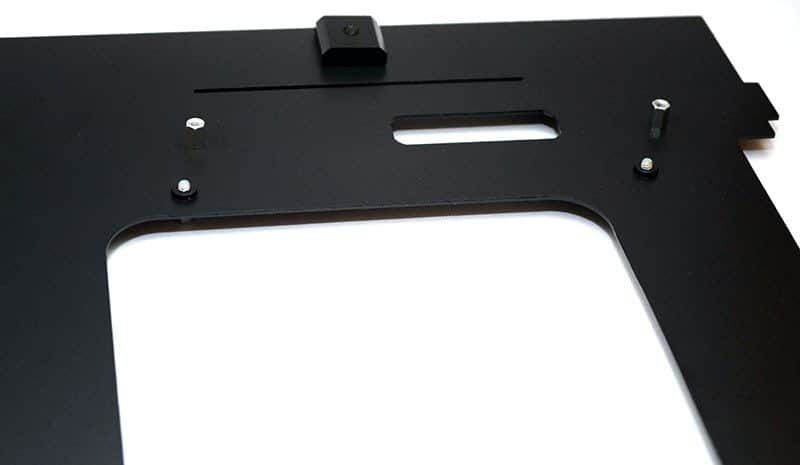
Behind the motherboard plate, we install the hard drive mounting tray. Hex Gear recommend you install your drives now, but you shouldn’t have too much trouble doing it at the end and at least that way, you’re less likely to damage your drives.
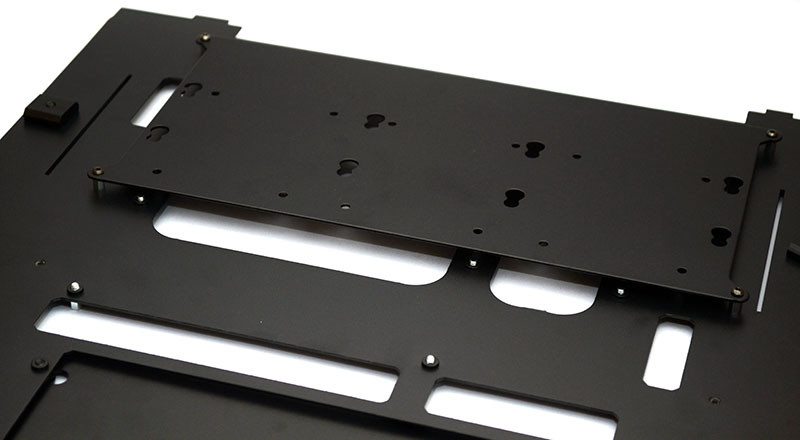
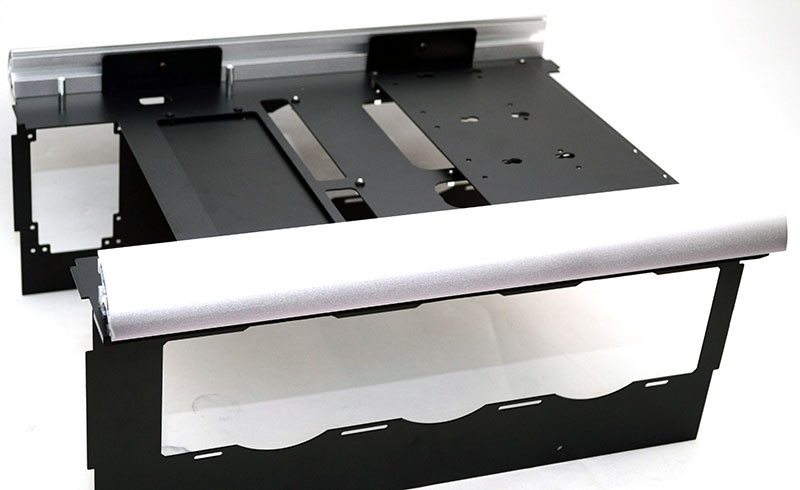
Next step, add the top and bottom panels to the motherboard back plate. These simply slot together for now, then four more T-bolts help held it in place a little, but it’s all still very wobbly.
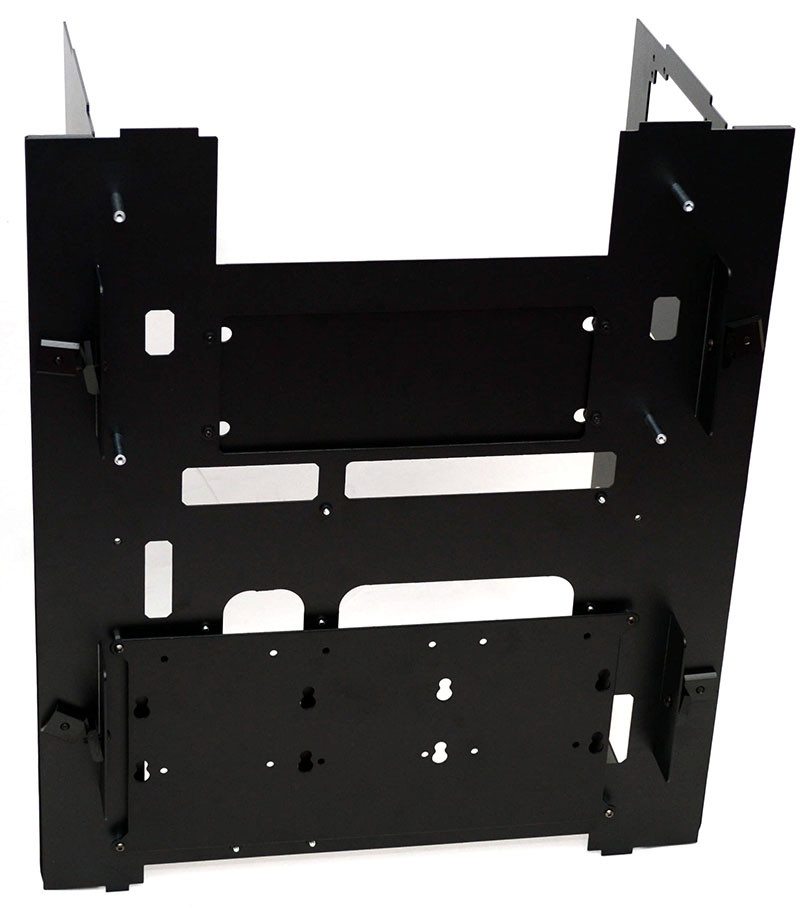
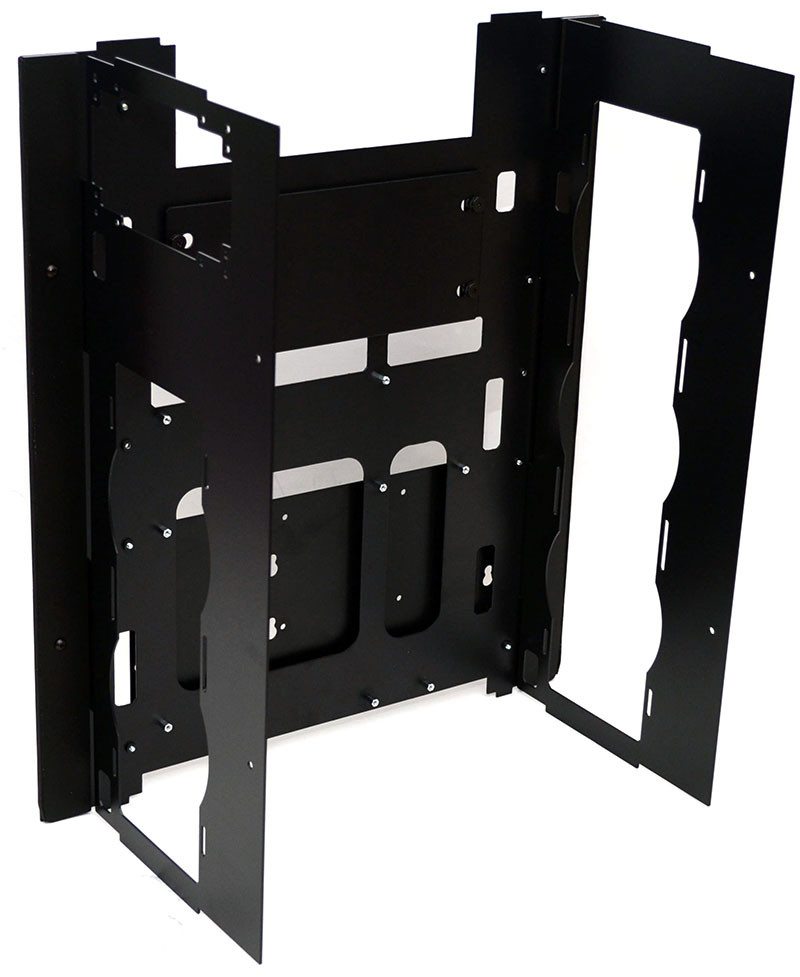
Now we apply the four metal rails to the chassis. These are big and heavy and can be quite tricky to install.
The front panel, as well as the blue front panel insert, as simply lined up and attach to chassis with four rather thick and sturdy bolts; it’s even starting to look like a chassis now!
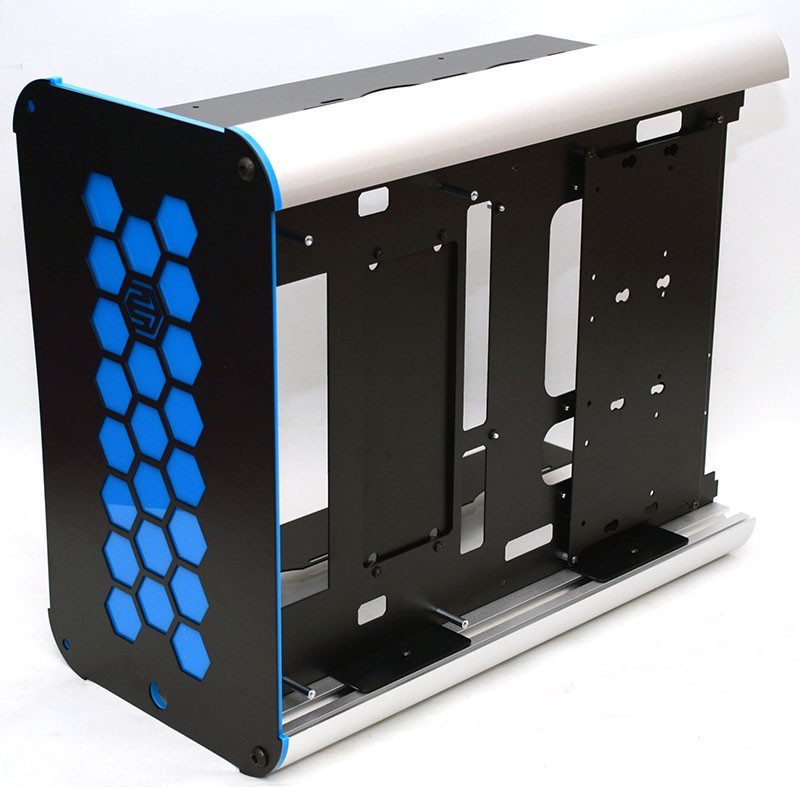
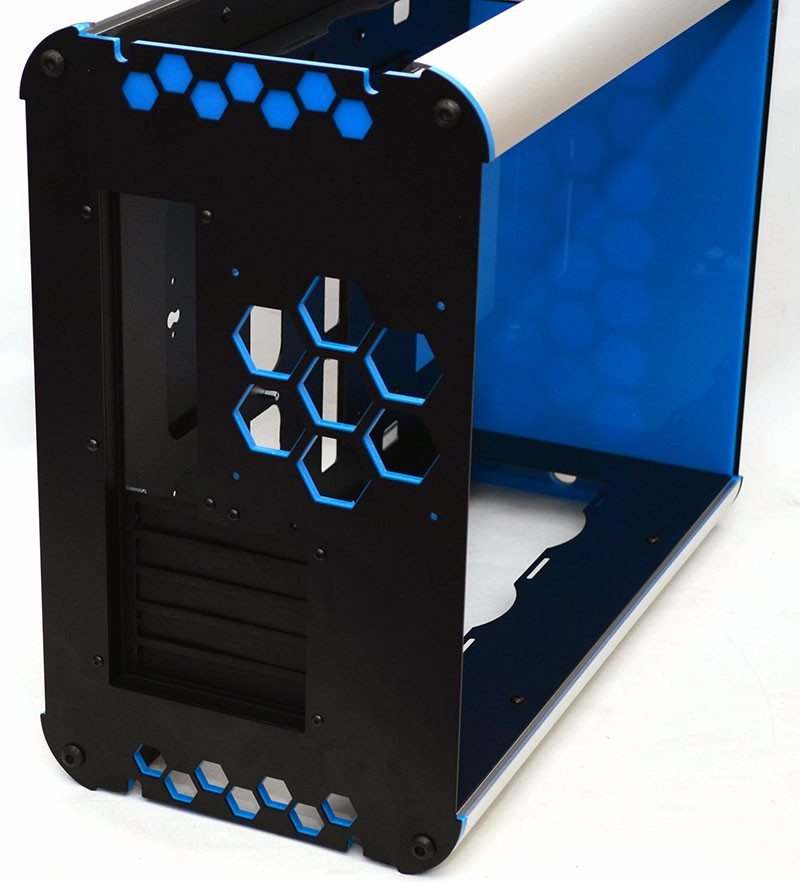
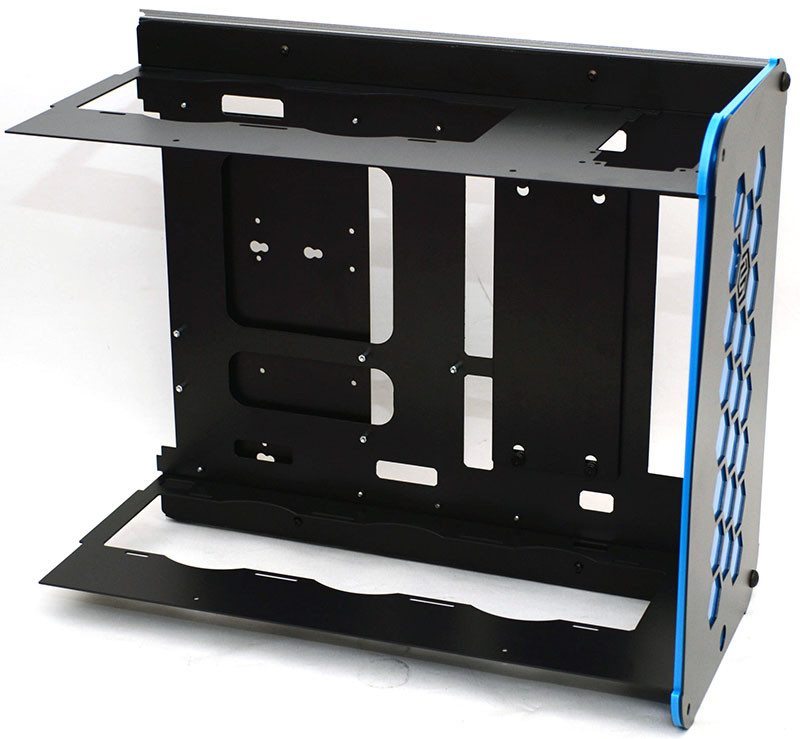
We can see the forming of the interior of the chassis now. The blue insert you see is a custom panel, multiple colours are available from Hex Gear to help you create a build that matches your preferences.
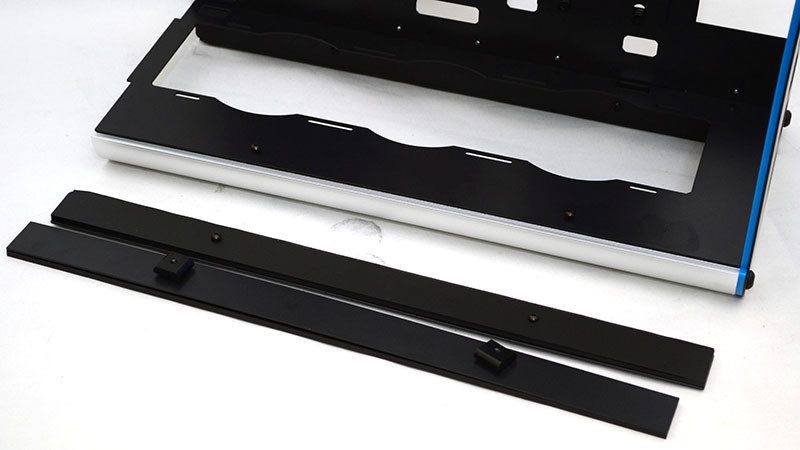
 Attach two more of the rails we built earlier using T-bolts.
Then apply two more of the large metal rails and the back panel, rear I/O panel and insert.
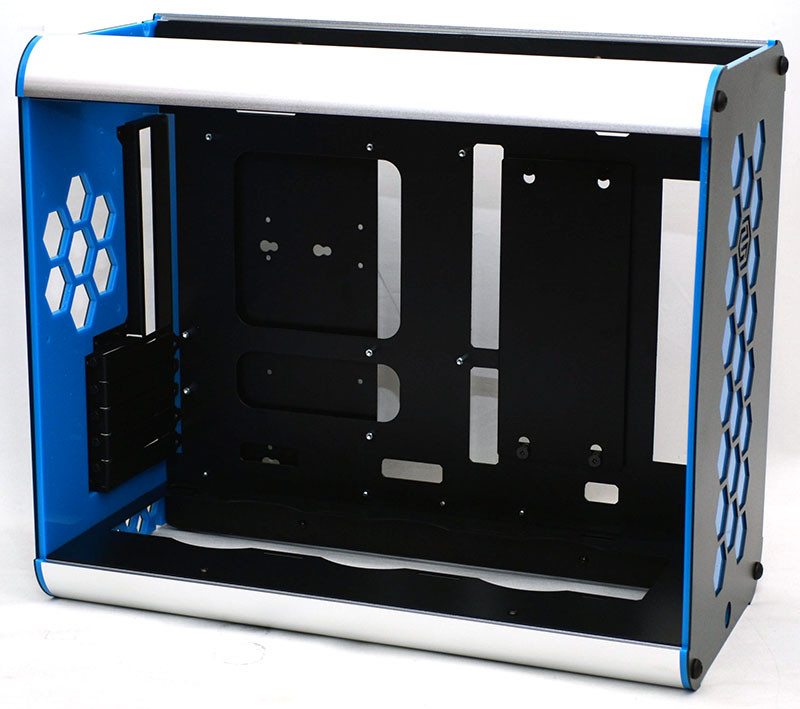
The whole thing is quickly coming together now and feels very sturdy; it also looks rather epic!
