How to overclock a graphics card
Andy Ruffell / 14 years ago
Once you have the figures recorded and you have an idea on what performance your card is capable of, it’s time to start the overclocking process. We’ve already shown your GPU-Z and this is a worthwhile tool to keep open on your screen, just to make sure that the overclock sticks and your results are applying properly.
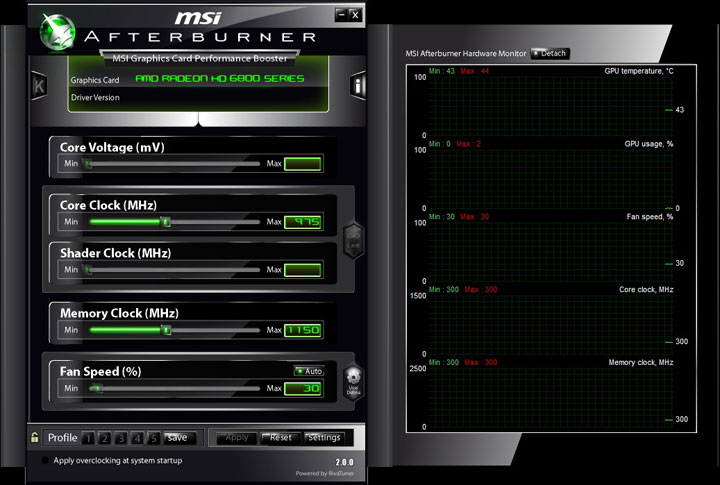
The next tool we want to educate you on is made by MSI and is called Afterburner. MSI Afterburner is a widely used overclocking application which allows the user to change values for certain clock speeds (depending on the brand of card). You will find that the core clock and memory clock speeds can be adjusted with the sliders or manually inputted if you prefer. On certain cards, you will also have the ability to change the shader clock, fan speed and sometimes even core voltage. There are ways of enabling the core voltage options by editing Afterburners data file but that’s for another article 😉
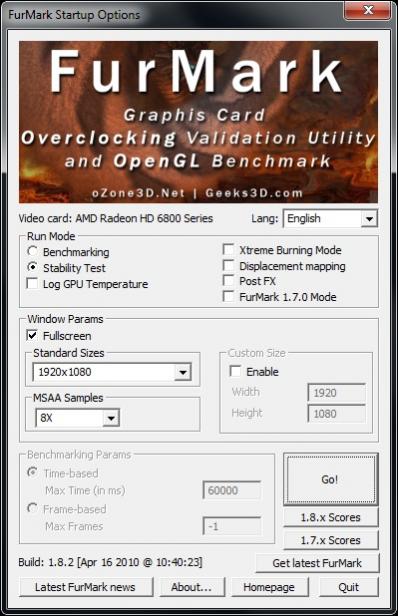
The final application that works side by side with Afterburner is FurMark. FurMark is a benchmarking tool which is known for its furry texture and massive benchmarking potential. It allows you to stress test a graphics card with all its might to see if your card is truly stable.
Today we will be showing how we overclock an AMD Radeon HD 6870 using the following test rig:
| Test System | |
|---|---|
| Processor (CPU) | AMD Phenom II X6 1100T |
| Motherboard | Asus Crosshair IV Formula |
| Memory (RAM) | 4GB Kingston DDR3 1800MHz |
| Graphics Card | HIS Radeon 6870 IceQ X Turbo |
| Primary Hard Drive | 2 x Kingston V+ Series 64GB SSD’s (RAID 0) |
| Power Supply | Thermaltake ToughPower 1200Watt |
| Operating System | Windows 7 Professional 64-bit |


