Icy Dock ‘Black Vortex’ MB074SP-B 3.5” 4-in-3 Cage Review
Chris Hadley / 11 years ago
Cage Installation & Use
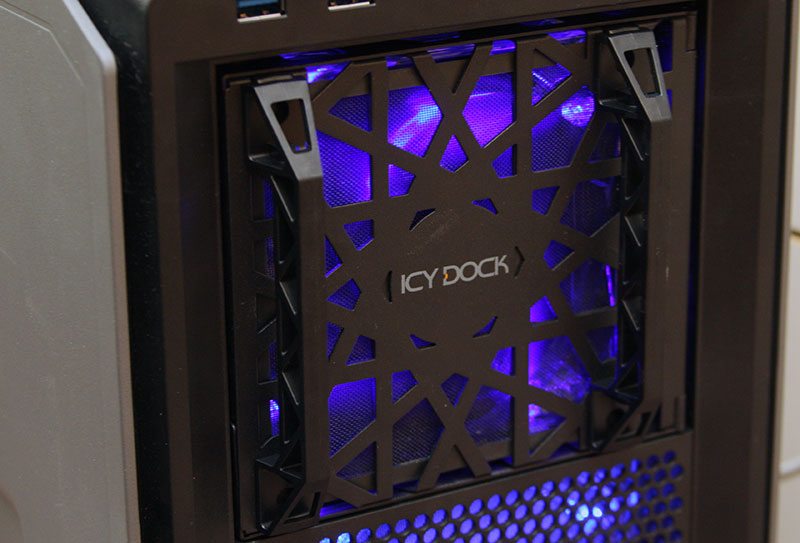
To see how easy things are to get setup and running, we’ve taken on of Corsair’s latest products – the 230T (A full review on this chassis can be found here) as a sample chassis and got stuck in to fitting the cage and installing a few hard drives. Securing the cage in place is just as simple (as one would hope) as fitting a single optical drive. With four screws on either side of the frame (although you can get away with two either side) in place, the only other bit of installation to do is connect up the fan to an available molex power connector. Whilst I have pointed out that it would be nice to see a standard three pin fan header or a SATA power connector as standard in place of the legacy option, Icy Dock do encourage users to swap out the fan for any 120mm fan of their choosing. This could be to make the LED illumination fit in with a different colour theme or it could be for better performance; the choice is yours.

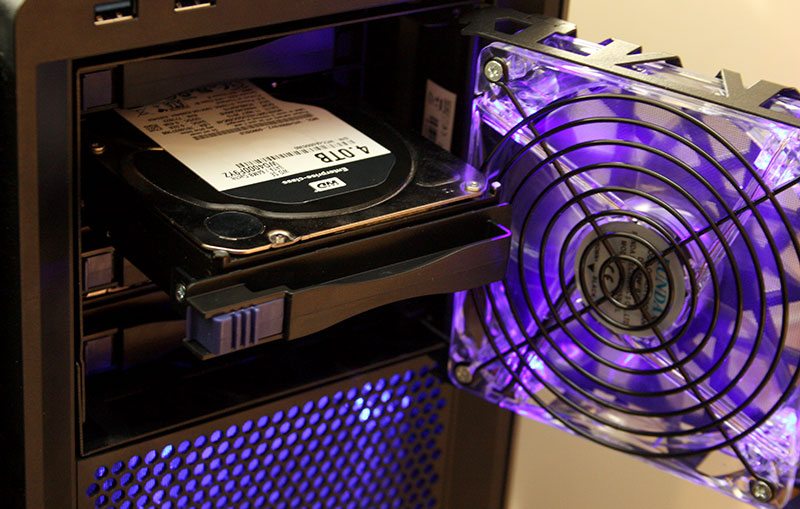
Opening up the door to the cage and swapping out hard drives is as simple as it sounds, although you will have to remove the side panel to your system in order to connect/disconnect the drives power and data cables on the rear. Another thing that I do note is that even though the door opens outward to the side, the placement of the hinge is set back a touch into the frame – the result being the door doesn’t open right up, even with a flush fitting as we have here.

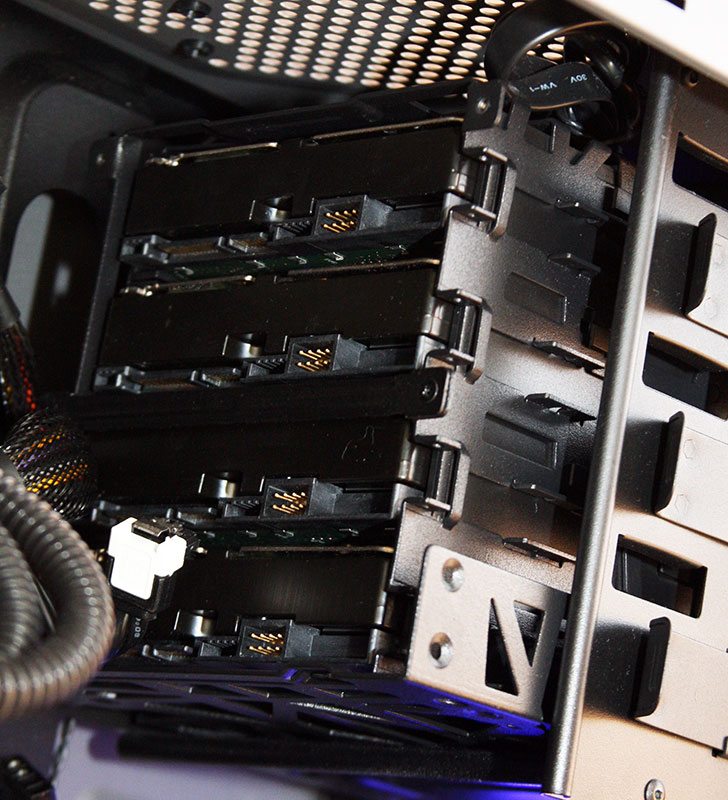
On the rear of the cage we can see that there is plenty of space to work with to get everything connected, with no parts of the frame restricting any movement inside the chassis.


