Icy Dock MB982SPR-2S Dual 2.5″ to 3.5″ SATA HDD / SSD Converter Review
Chris Hadley / 13 years ago
A Closer Look
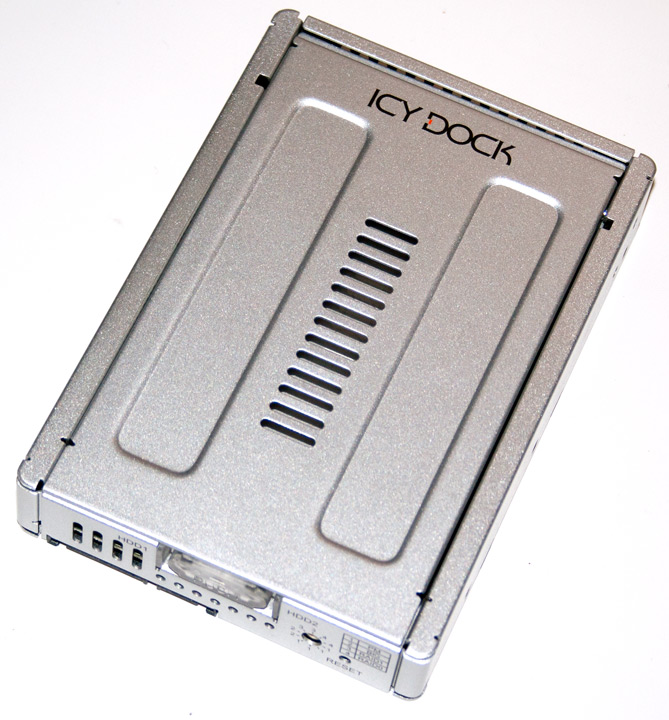
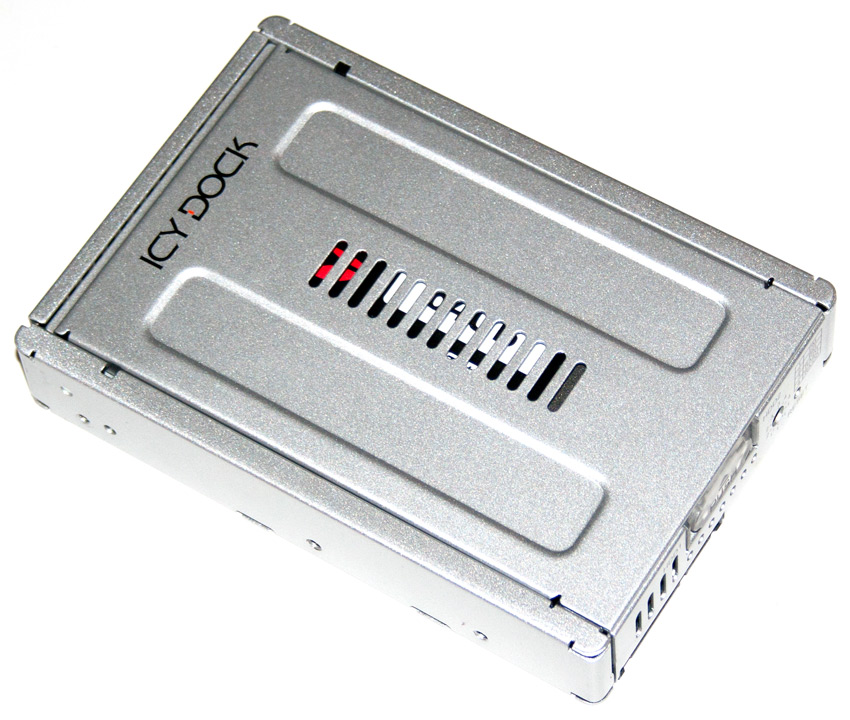
The lid to the enclosure is simple yet stylish with the Icy Dock branding printed, and a set of ventilation holes down the middle.
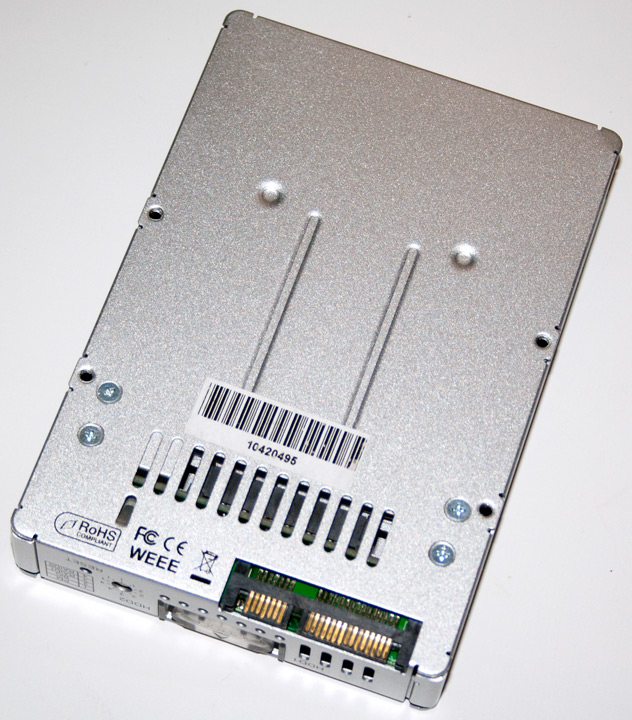
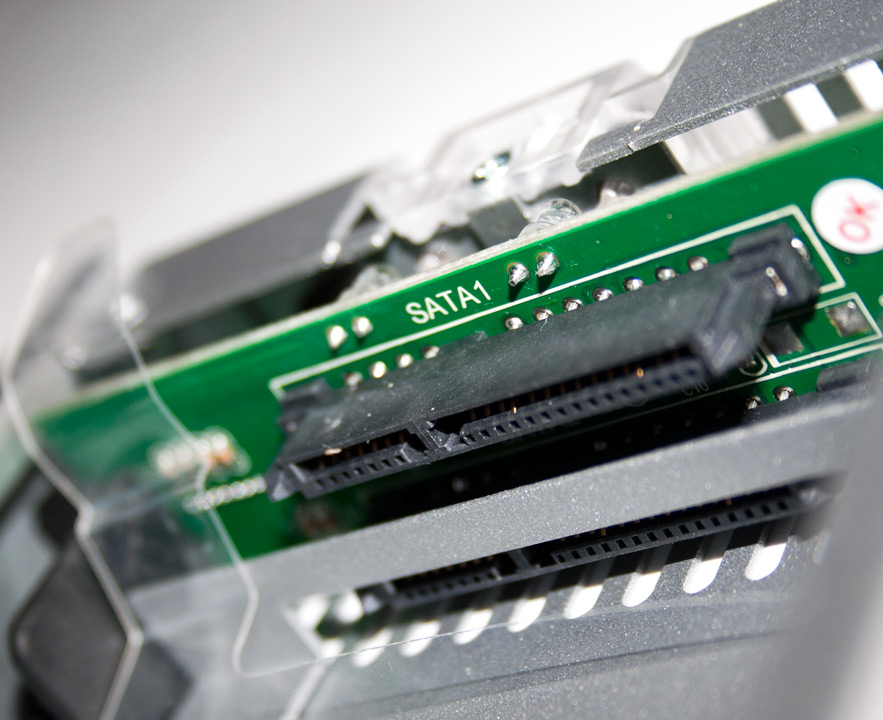
On the base of the drive are a few of the screw holes the are located around the case. We can also see the SATA connections and another set of ventilation holes.
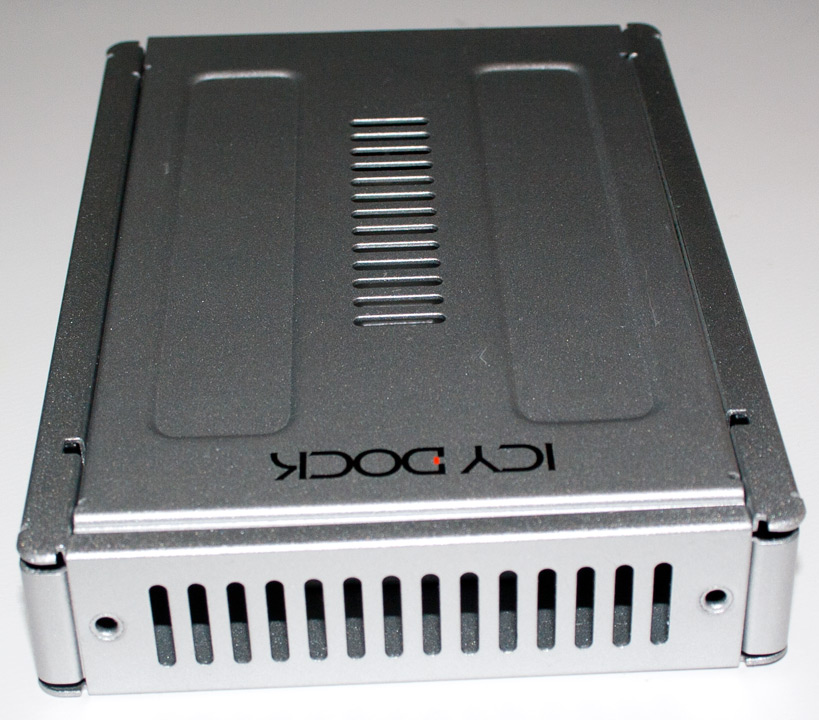
On the end of the drive is yet more ventilation holes. Whilst this will not be as much of a requirement whilst using SSDs, having two mechanical drives packed into a tight space together with no form of ventilation, would only lead to potential drive failure from overheating.
On the rear of the enclosure we see the release catch for the lid behind which is an activity LED for each drive which lights up blue when the power is on. To the right is a rotary control for selecting your preferred RAID configuration. Below this is a reset button, which needs to be pushed when you change configurations.
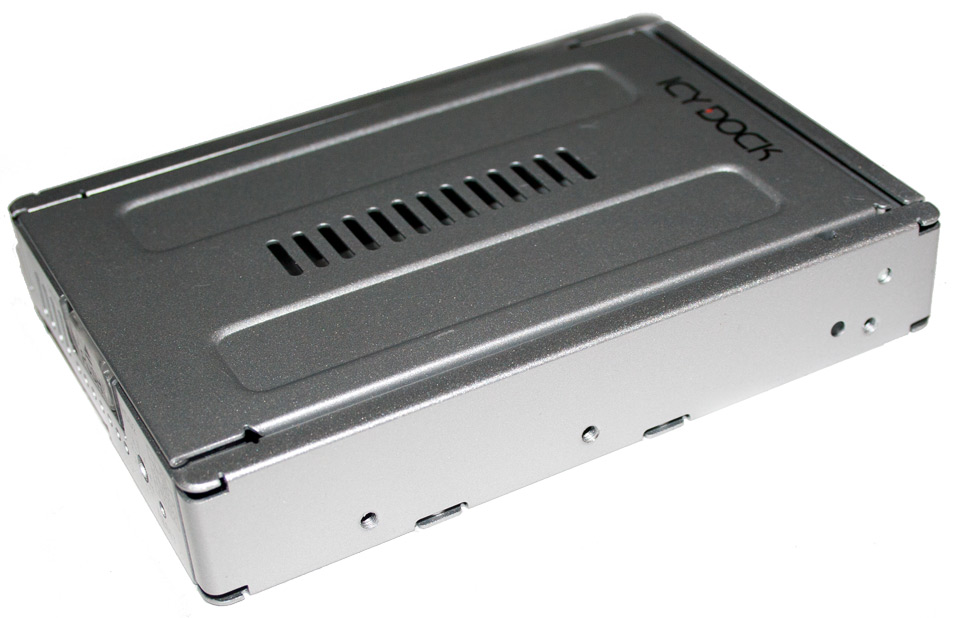
The side of the enclosure features more mounting points for various types of case.
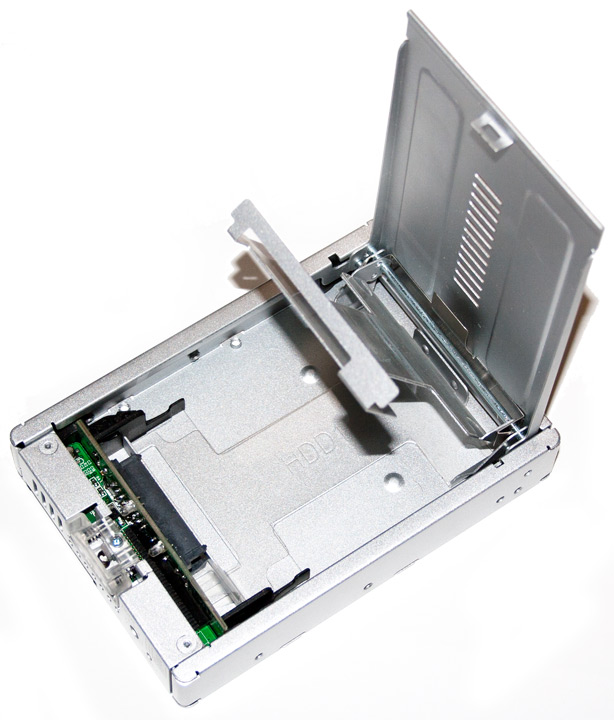
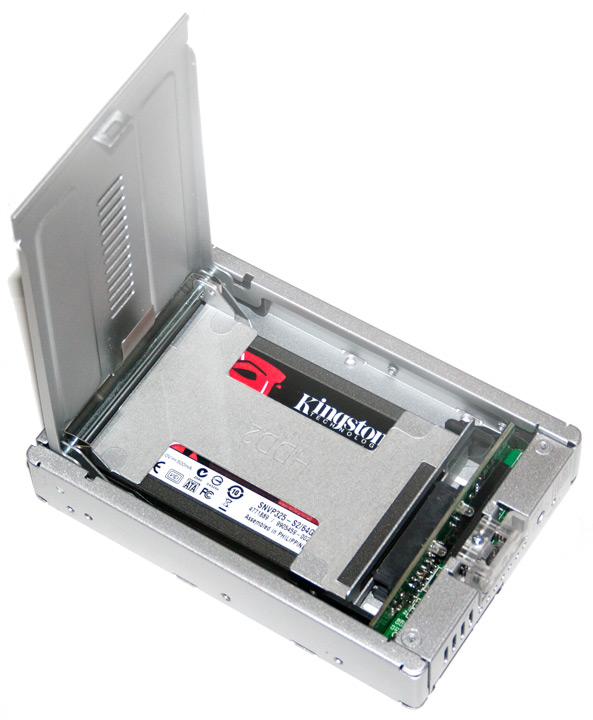
Closing the lid to the enclosure pushes the drives onto the SATA connections, opening the lid back up disconnects the drives.
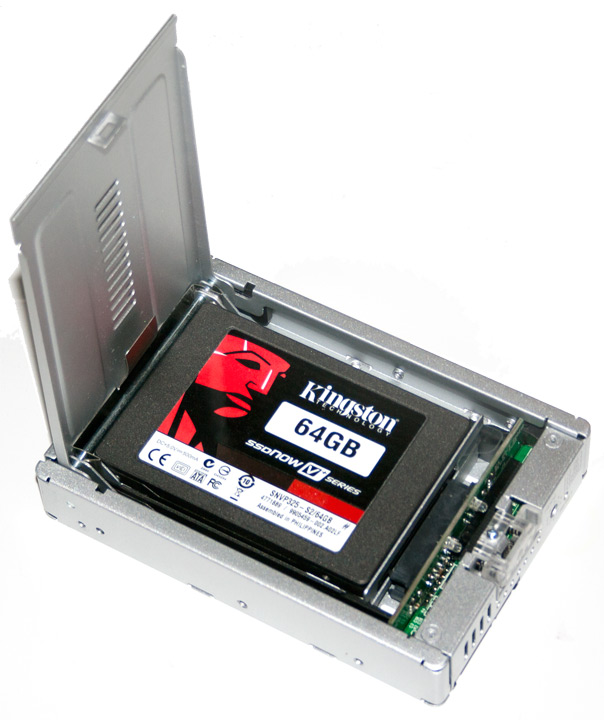
Installing the drives in to the enclosure is a very simple process. Open up the lid, lift up the tray which the upper drive sits on, place the bottom drive in and then place the upper drive on top of the tray. Removal is naturally the reverse of this, and to help get the lower drive out, a plastic film is in the base to lift the drive up.
Once the lid is closed, the drives lock into place and the enclosure is ready to be connected to your computer.
