ID-Cooling SE-224-XT ARGB Air Cooler Review
Mike Sanders / 5 years ago
Installation
As if often the case with any type of cooler, having a good and detailed manual can be an invaluable tool. Fortunately, having experienced many ID-Cooling products in the past, we knew that while it would be a little light on the written details, the diagrams would be excellent.

Mounting
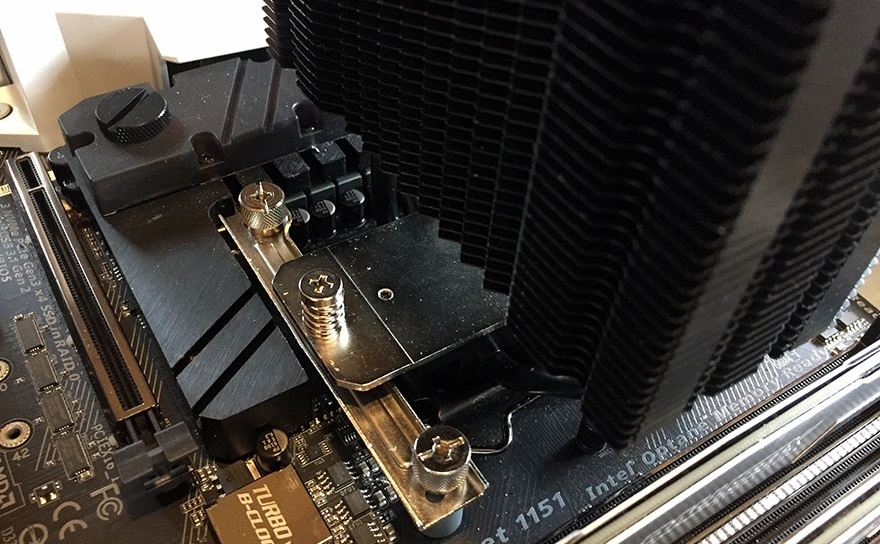
The mounting system is (thankfully) a rather straightforward processor. ID-Cooling has not attempted to reinvent the wheel here and has stuck with a method that is both tried and tested!

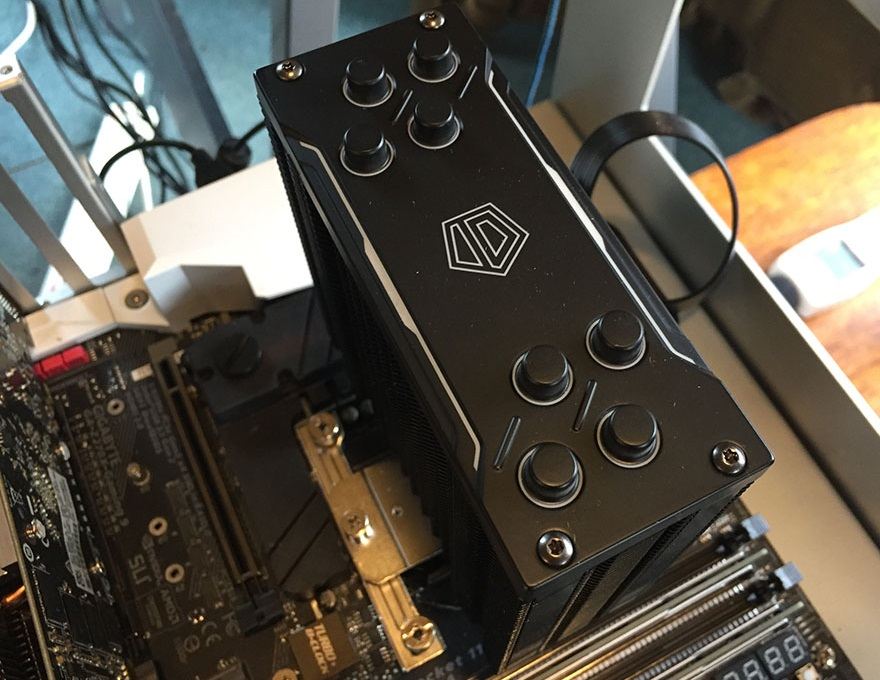
You do have to install the main radiator before you can attach the fan, but that isn’t uncommon for the vast majority of air cooler designs.

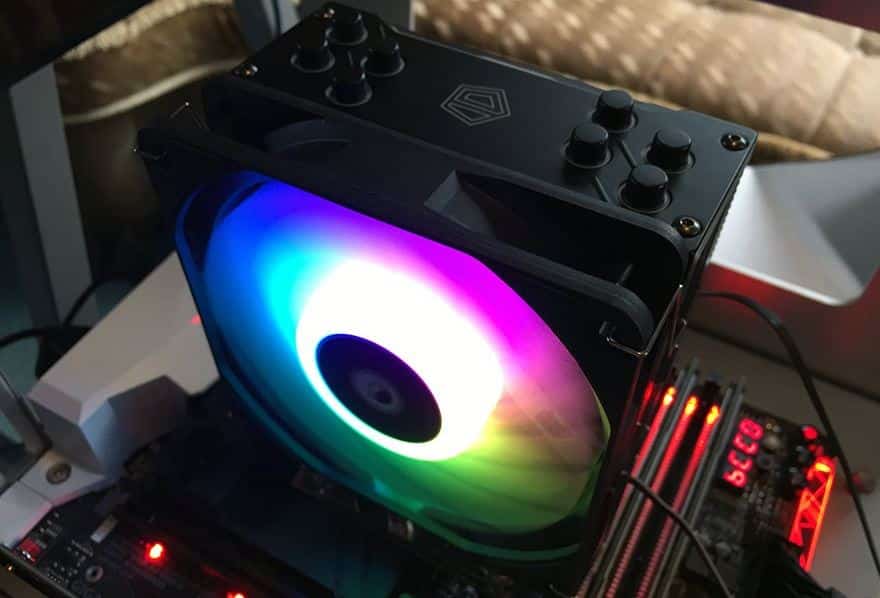
Fortunately, ID-Cooling has again adopted a well-known fan mounting design with a simple metal clip attachment on either side hooking onto the radiator.
In regards tot he ARGB lighting effects, you can attach the necessary cables to your motherboard (if compatible). Alternatively, however, if your motherboard does not support RGB lighting, then ID-Cooling does provide you with a SATA connector.
While the connector itself offers only relatively basic functionality, it is always great to see it included! Put simply, not all of us have motherboards with ARGB ports!

Overall Thoughts
From out of the box and onto our system, this cooler took us around 10 minutes to install. A figure that is a little below the average required for coolers that specifically come with ARGB lighting effects. After all, more cables generally equals more time required to set it up.
While there is nothing new or exciting in the method of which you install it, I again applaud ID-Cooling for sticking with what works. This is a mounting design that anyone with some experience with coolers would probably be able to wing without consulting the manual once. For beginners, this is about as easy as it gets with the exception of push-pins (and even they’re not simple all the time).


