In Win S-Frame Open Air Limited Edition Chassis Review
Peter Donnell / 11 years ago
Exterior
Now that I have the S-frame out of the box, we can finally bask in the awesomeness of this sleek exclusive colour scheme, which features a slight blue tint and grey dual colour finish. I love it so much that’s it’s already a shame consumers won’t ever get their hands on it, that being said the black and red edition is just as awesome.
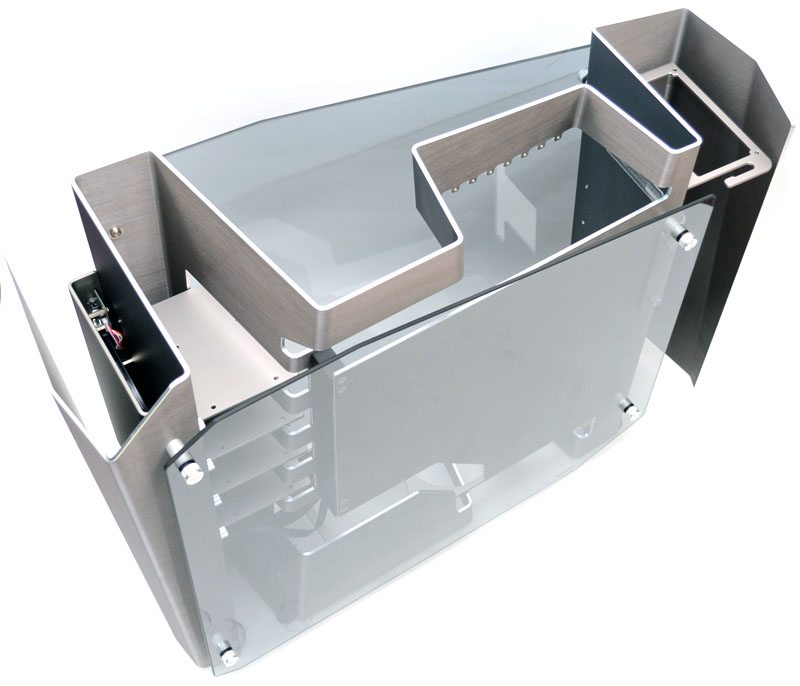
As you can see the chassis is made up from a huge piece of thick aluminium, this panel started its life as an almost 6ft long sheet and you can see how complex the shape is given that this is a single piece of metal. Mounted on the side is a custom shaped piece of tempered glass with a mild darkening tint to it.
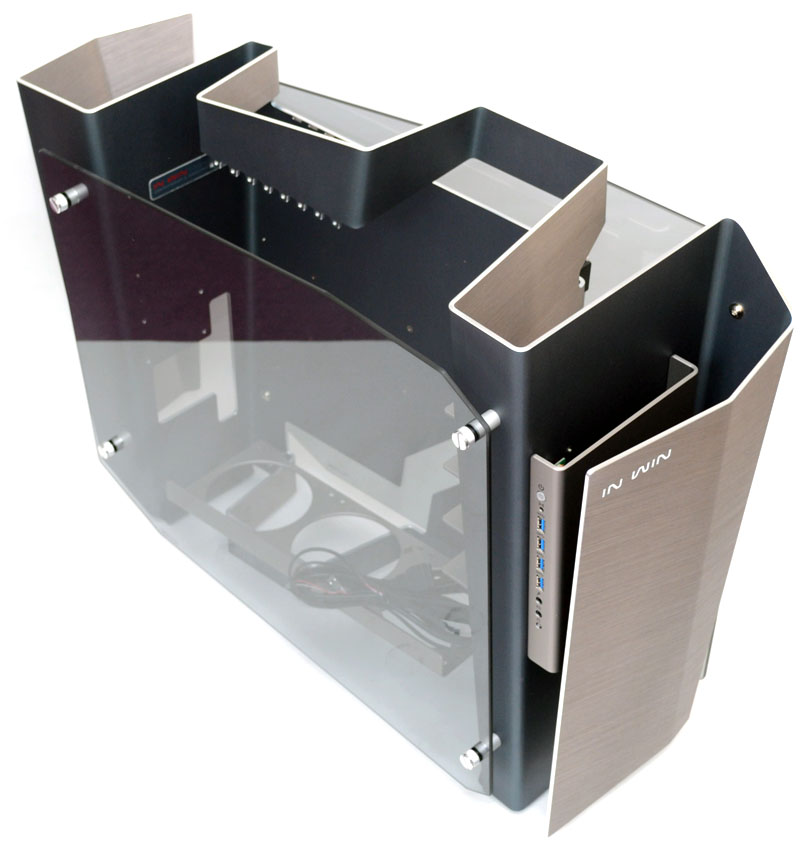
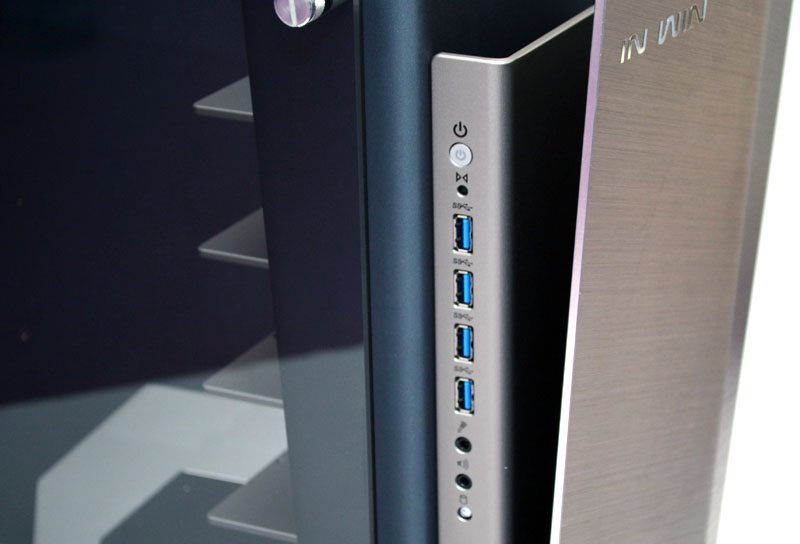
Along the front edge of the left side you’ll find even more aluminium forming the front I/O panel, from top to bottom we have the backlit power and a reset button, four high-speed USB 3.0 ports, HD audio jacks and a HDD LED indicator.
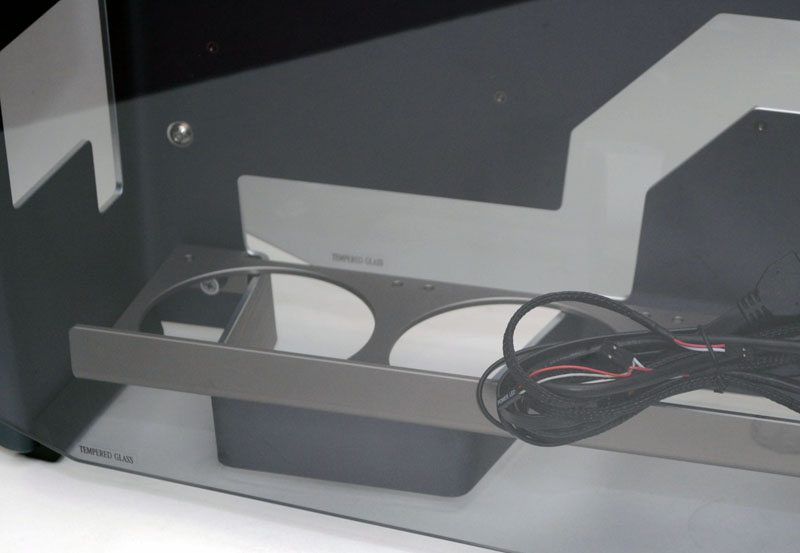
The glass can be seen through pretty easily from straight on, dependant on lighting conditions.
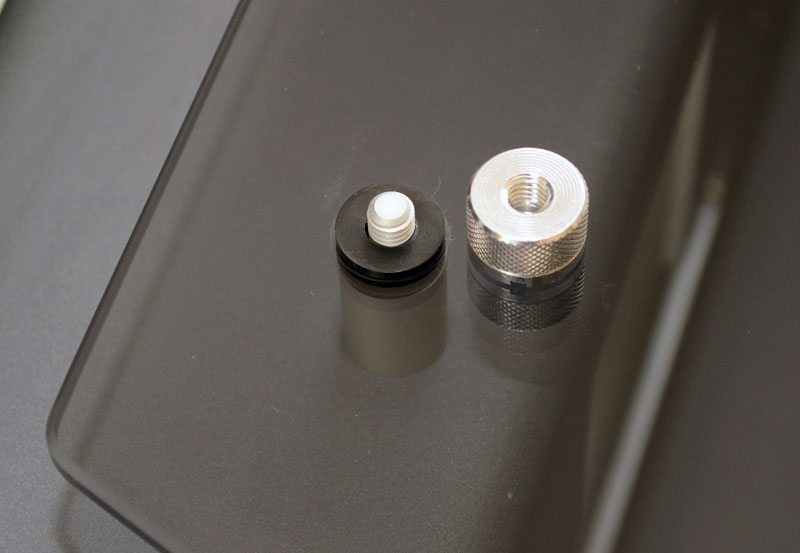
There are four brushed aluminium pegs on the left side of the chassis, each with a rubber cap to provide a soft resting position for the glass panel. The panel is held onto the peg with some beautifully finished aluminium thumb screws.
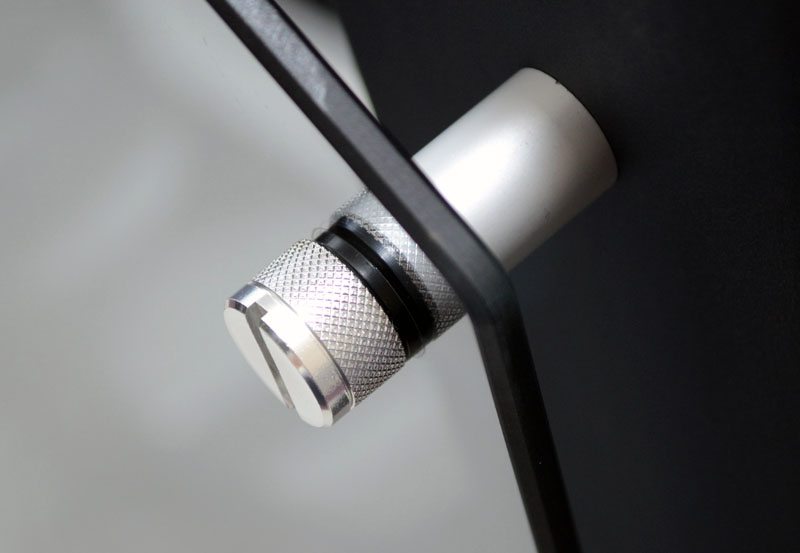
The right side panel is also made of the same tempered glass and held in place by four more of those stylish thumb screws. Obviously there isn’t much to look at back here, but it’s certainly motivation to keep cable routing as neat and tidy as possible, because it’ll all be on show when your system is complete.
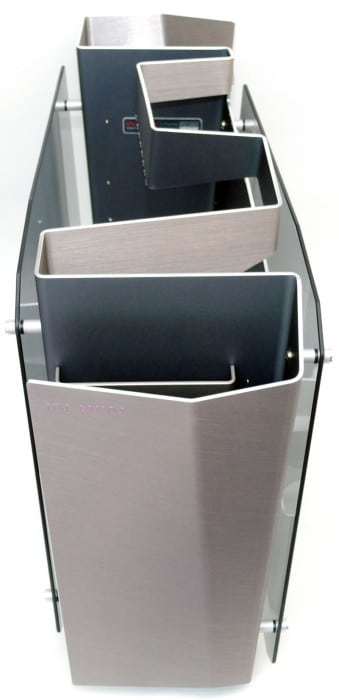
The front panel gives us a huge slab of the aluminium sheet to look at, a heavily brushed effect gives it a super premium look and the slight fold on the right side breaks up the way light hits the panel, rather than it just being bland and flat.
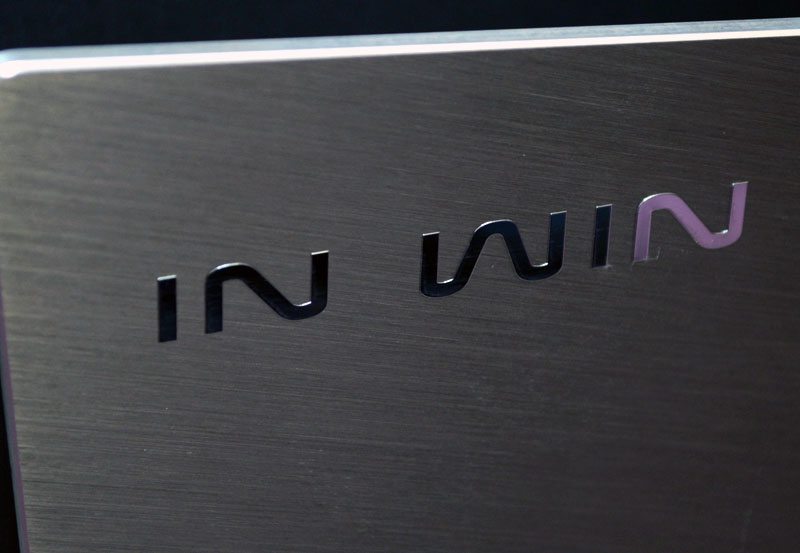
The nice glossy In Win logo in the top left adds a nice subtle branding to the case.
Being an open air case you can see all the inner workings, including the front I/O panel PCB, but In Win have even used nicely finished screws down here.
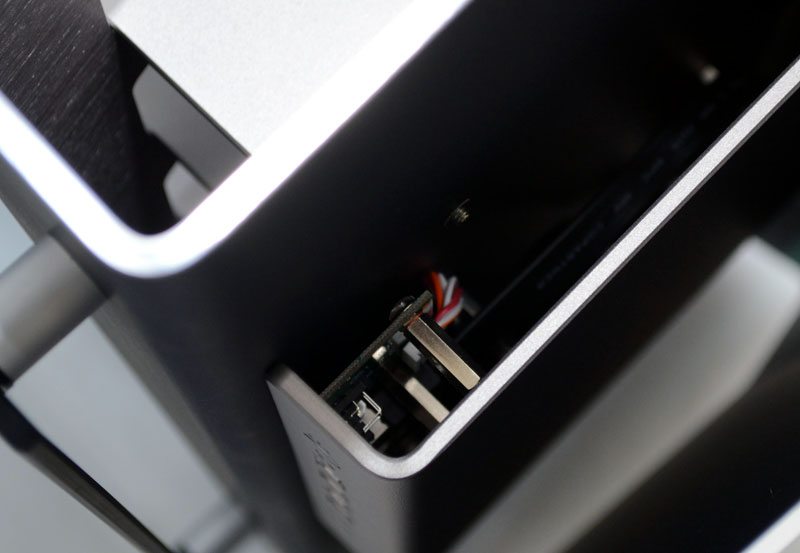
The back panel features a similar design to the front, albeit a little slimmer from left to right.
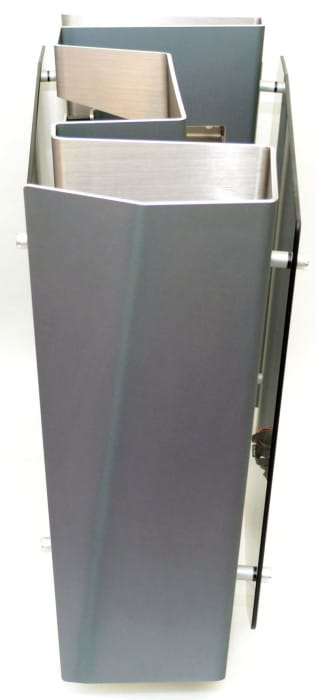
Just behind the front panel you’ll find the PSU mount, which is technically mounted on the exterior of the chassis, as the back panel wraps around it on three sides.
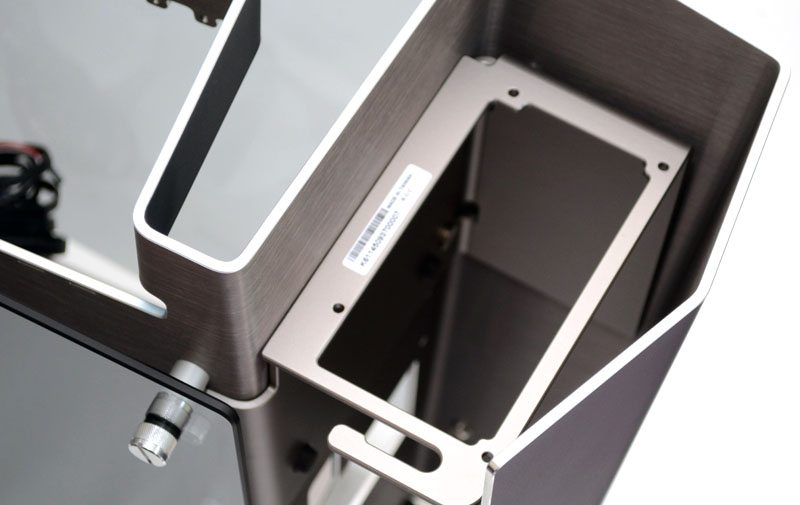
On the right side of the chassis you’ll see the PSU mount at the back, and a large open section below it which will allow lots of spare space for cable routing.
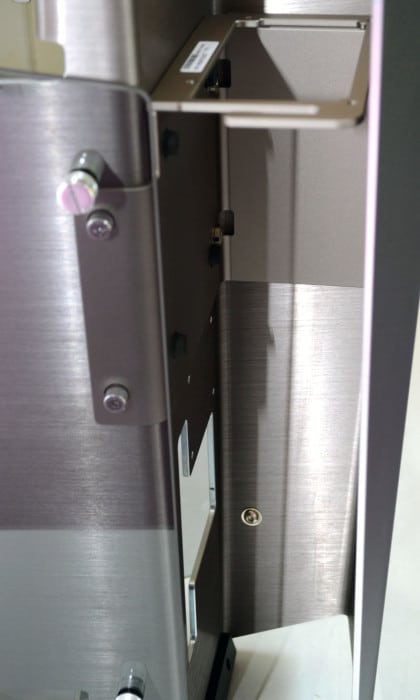
The top panel is pretty straight forward, as there is no “back panel” as such. This is because the motherboard is rotated 90 degrees, so your GPUs back plate will be at the top of the chassis.
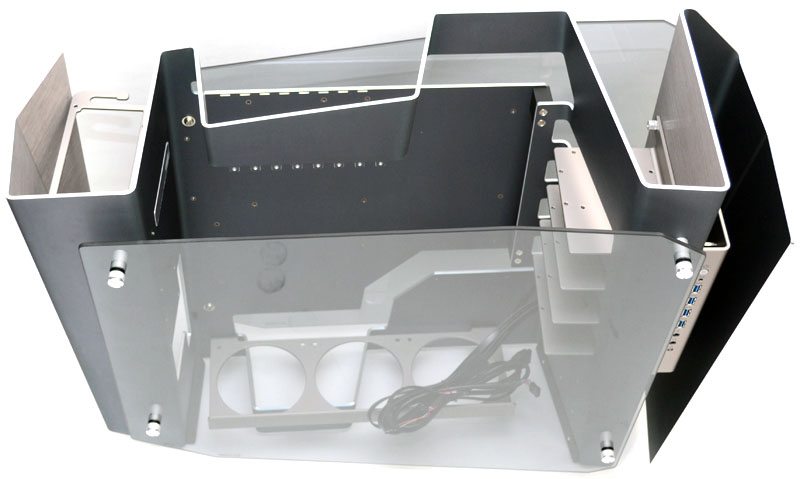
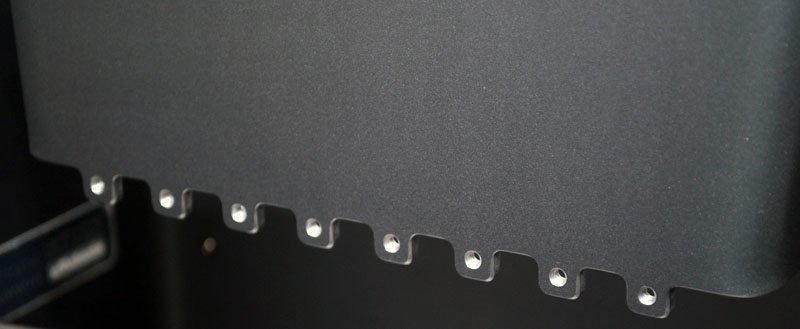
Any expansion cards slot into the little holes at the back of the panel.
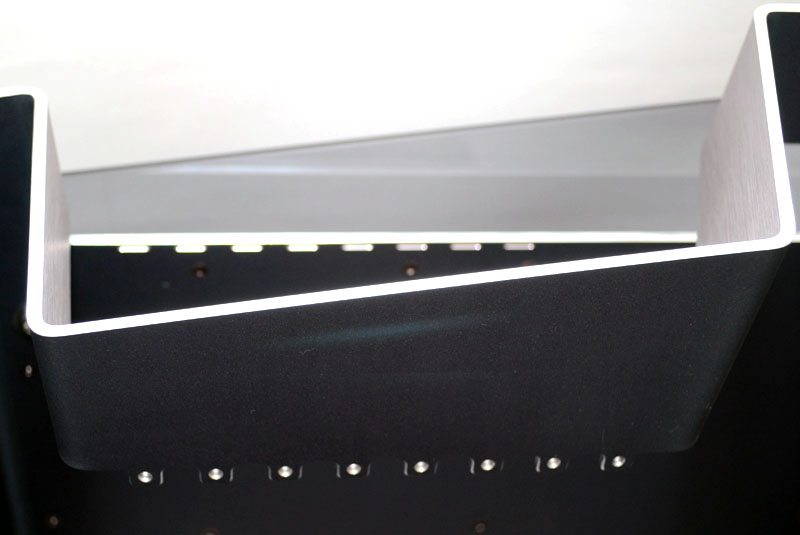
Any cards can then be screwed into the front pop out section of the top panel.
The underside of the chassis features a very similar design to the top panel, the only major difference being that there is a 360mm fan / radiator mount near the base of the chassis.
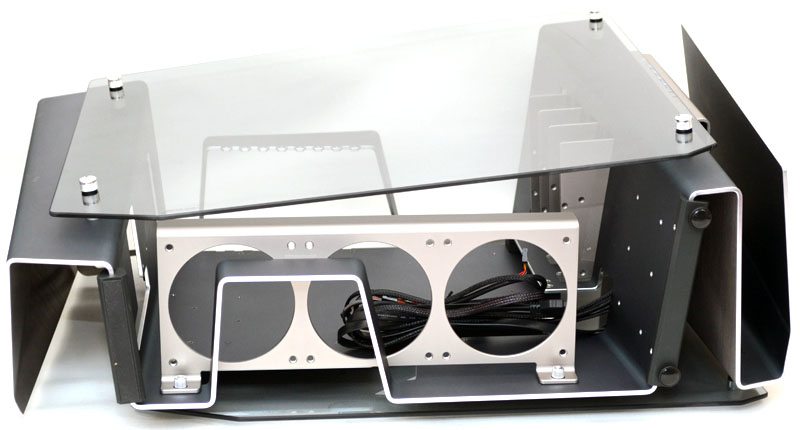
Towards the back of the chassis you’ll find a black aluminium block with a thick rubber strip applied to it, this should prevent the chassis from sliding around your desk and also help reduce any vibrations from your system.
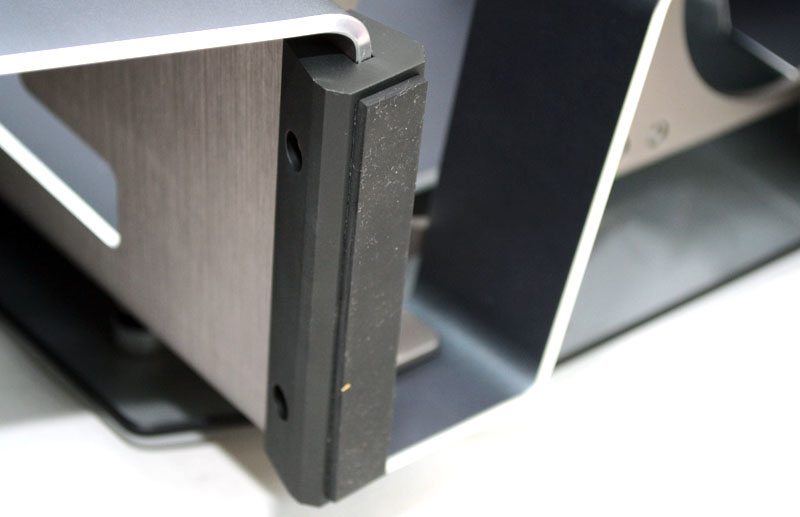
At the front are two hard plastic feet which screw into the base of the chassis.
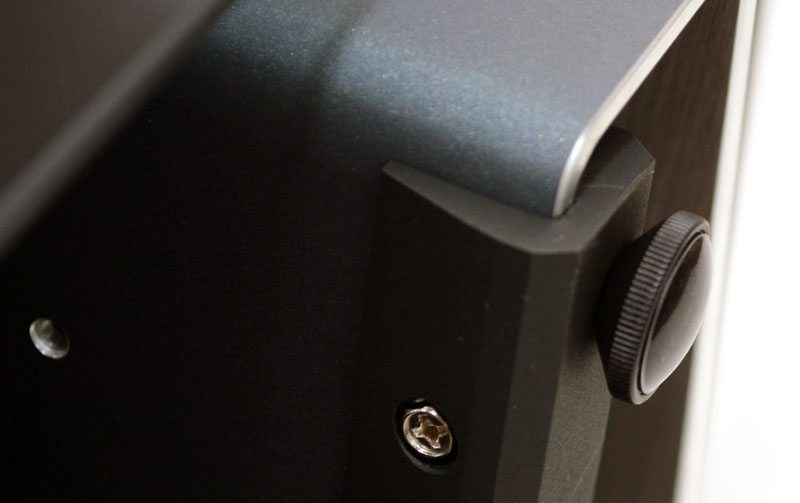
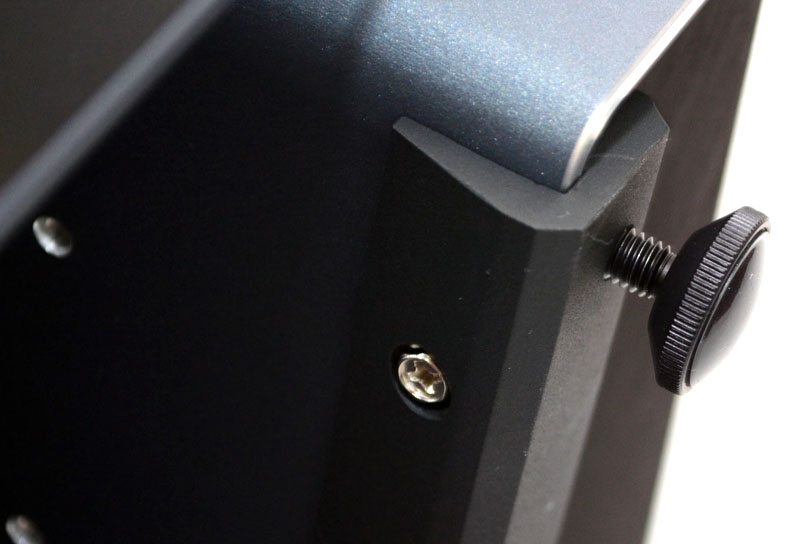
These screws can be turned to adjust their length, perfect for removing a wobble on any uneven surfaces.
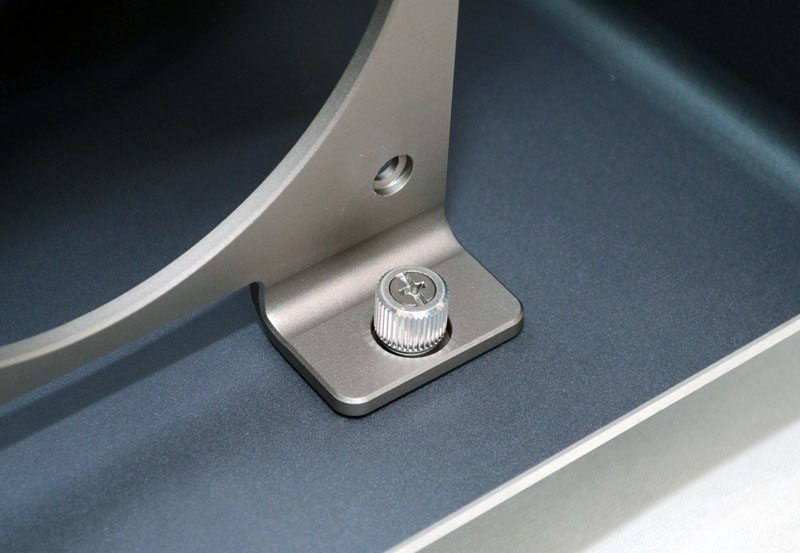
The radiator mount we saw a moment ago is held on by two spring mounted screws which can be seen from the underside of the chassis.
Time to get that side panel off and take a look inside the chassis! Here you can see the rubber washer mounting system I mentioned earlier, with all four of these removed you can simply lift the glass panel away from the chassis.
