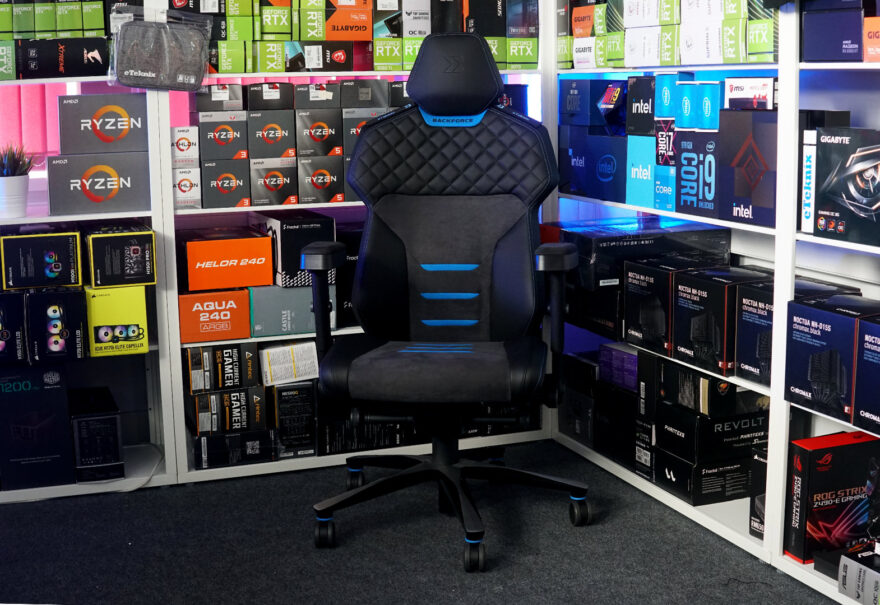
Interstuhl Backforce One Gaming Chair Plus Review
Brandon Dodman / 3 years ago
Build Process
Step one is very simple. Place a blue disk over the holes on the legs and attach the casters, making sure they are pressed all the way in.

Part two is similarly simple, you put the gas lift in the correct hole and make sure it is sitting tightly.

After that, the pre-assembled seat section is ready to be slid onto the legs and gas lift.

Next up, we need to remove this plastic cover from the underside of the chair and keep in to one side.

We then need to lay the chair down on the box to screw the backrest onto the seat. Once that’s attached, you will want to reattach the cover we removed in the previous step.

Finally, you screw the lumbar support controls onto the bottom of the seat.

Finished Build
And we’re done! Overall the chair certainly does look very gamer in design, it features coloured accents alongside a mostly black and grey design.

The sides of the chair show that the backrest has an interesting curvature that looks almost reptilian.
The back of the chair looks almost Godzilla like, featuring blue lines that look very similar to the way Godzilla glows.


