InWin 101C Tempered Glass RGB Mid-Tower Chassis Review
Peter Donnell / 6 years ago
A Closer Look – Interior
The side panel design is pretty clever yet simple too. It sits in a bracket at the bottom, so only needs two screws at the top. However, they’re not actually screws, but compression pins. Just pull them to pop them out, and the glass can be removed. Put the glass back, push the pins back in, and it locks in place. Quick, easy and effective. But I digress, as that interior is pretty spacious, and painted in a very stealthy black finish.

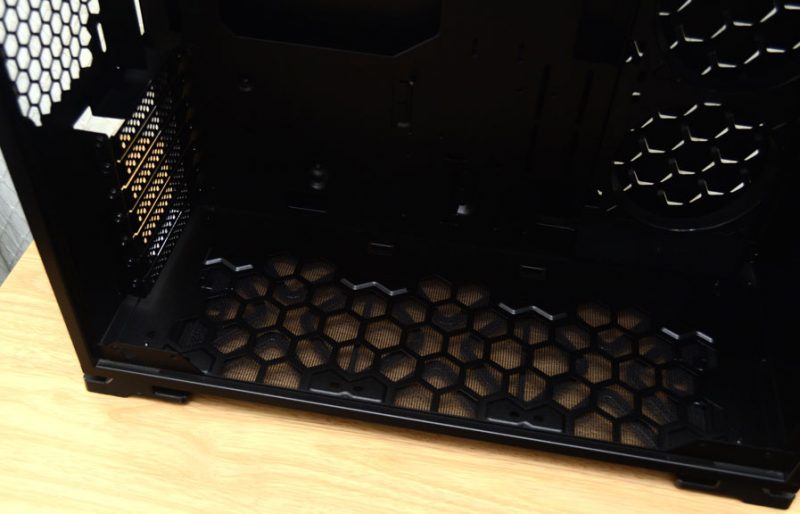
Located in this black hole of a paintjob, you’ll find three 120mm fan mounts in the base of the chassis; as well as that slide out 360mm dust filter.
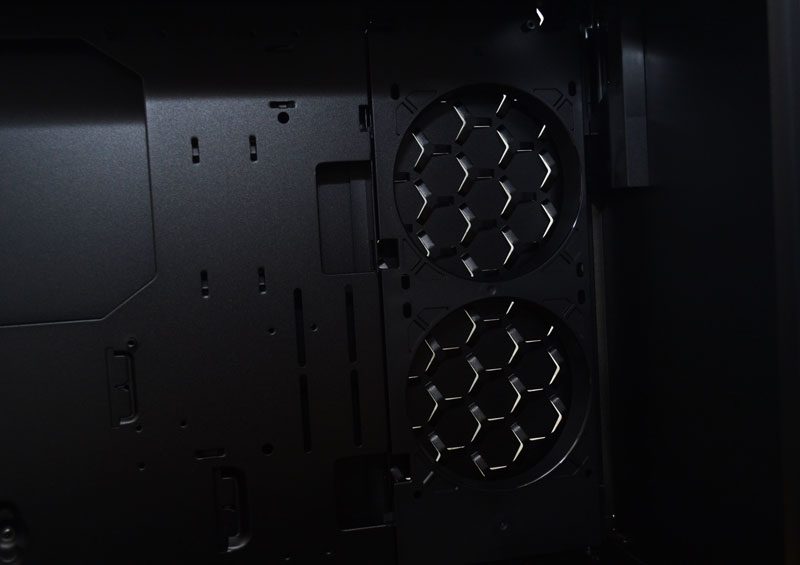
There are two more fan mounts on the right side panel. However, you could obviously use these for any kind of water cooling too. What I like is that the radiator/fans will face the window panel; great for showing off your hardware.
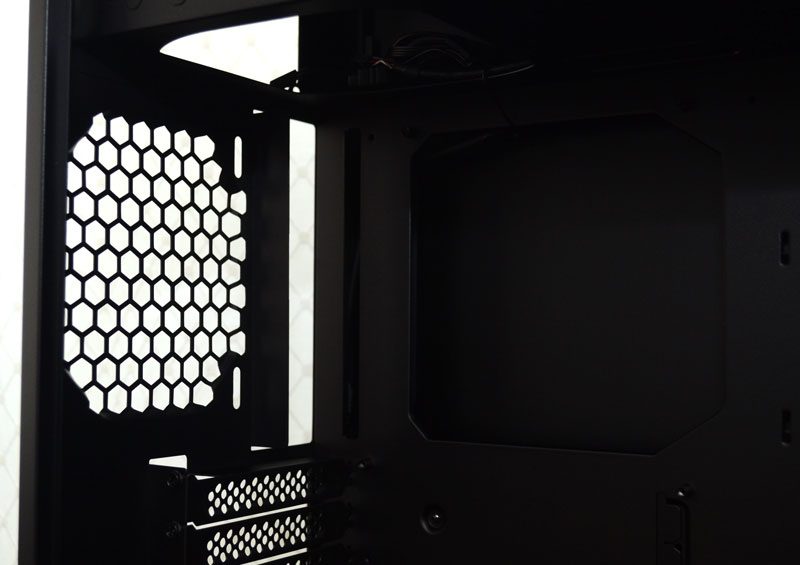
The last fan mount is in the rear, again it’s only 120mm, but it does have long screw holes for some limited height adjustment too.
The PSU mounts in the top of the chassis, where you’ll find a huge PSU shroud. The fan of the PSU will point downwards though, taking its airflow from the main chassis compartment.

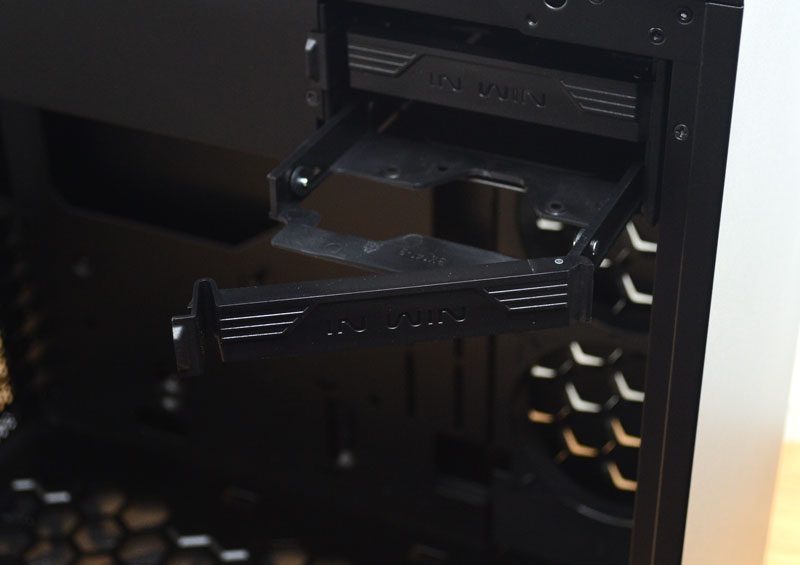
Towards the front of that PSU shroud, you’ll find two 3.5″ HDD bays.
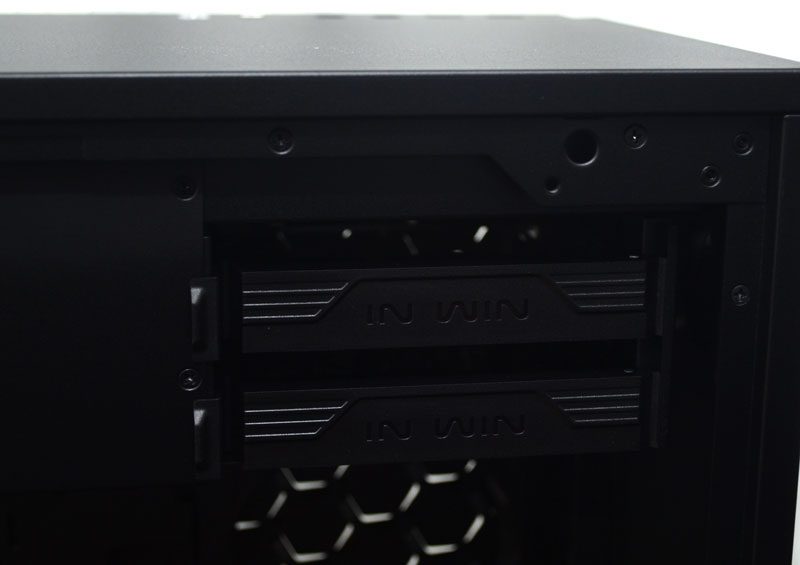
The tool-free trays slide out, allowing you to fit 3.5″ or 2.5″ drives with ease.
With the right side panel removed. you’ll find a cavernous amount of cable routing space behind the motherboard. Not that I think you’ll need it though, as the space in the PSU shroud is bloody massive. Even massive PSUs with non-modular cables won’t be an issue here!
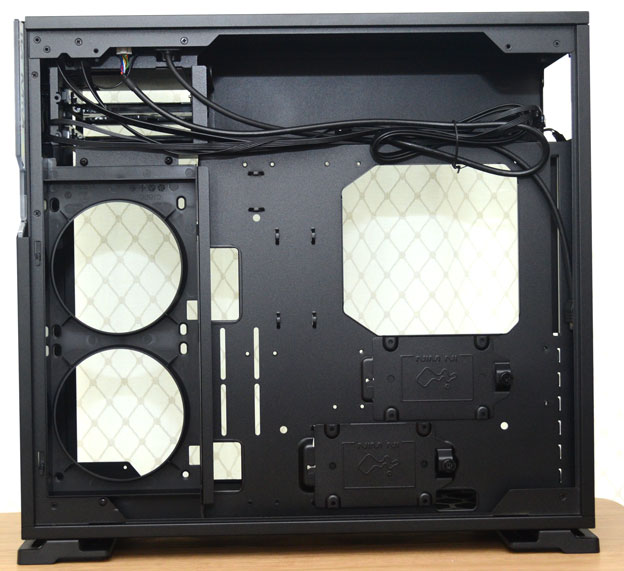
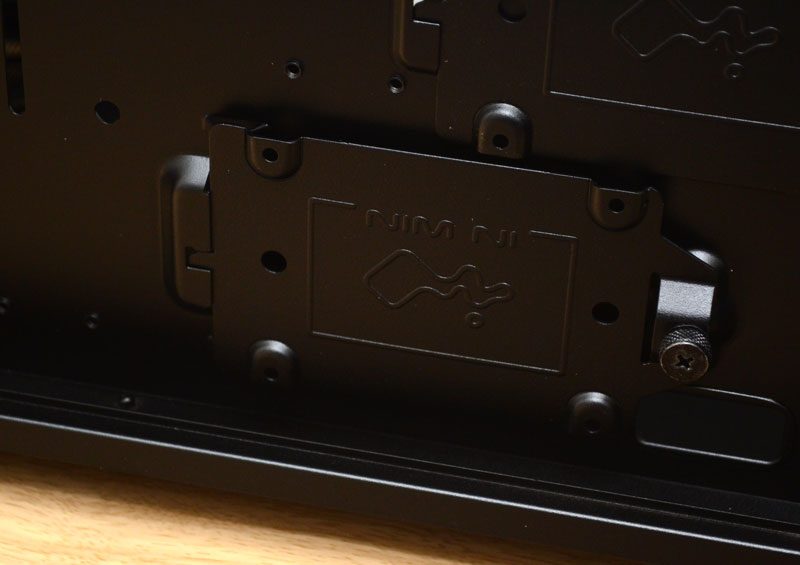
Tucked in the bottom section, there are two stealthy SSD mounts, giving us a total of four drive mounts.
