InWin 303 Mid-Tower Chassis Review
Peter Donnell / 9 years ago
Interior
As I said before, the left side panel is very easy to remove thanks to that top handle, but one of the coolest things is that it has no bezel on the left or right edges, and it looks all the better for it. It’s glass, so it’s certainly not going to flex anyway, and it’s very durable too.
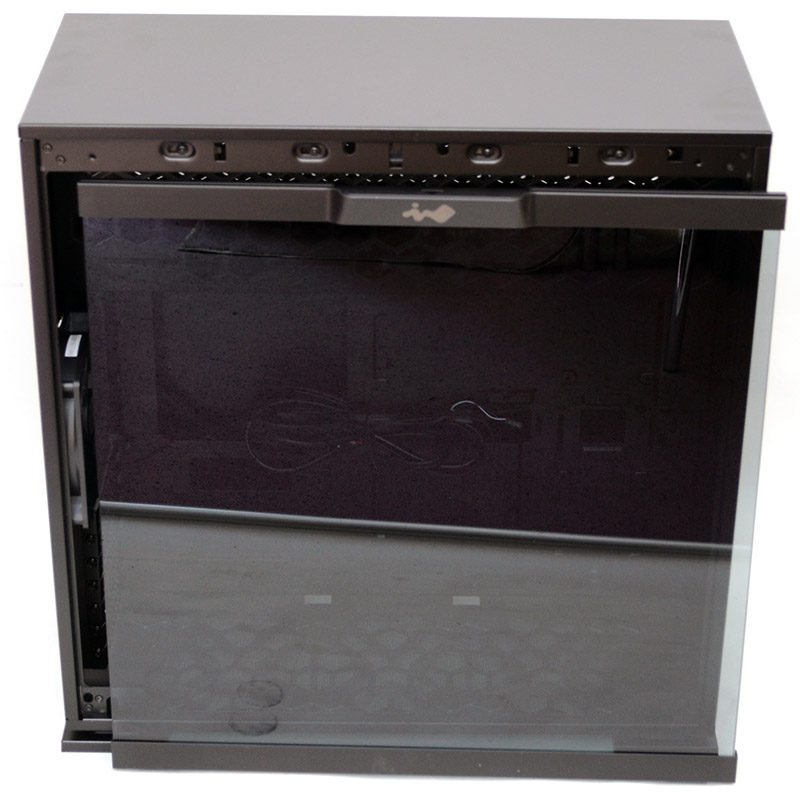
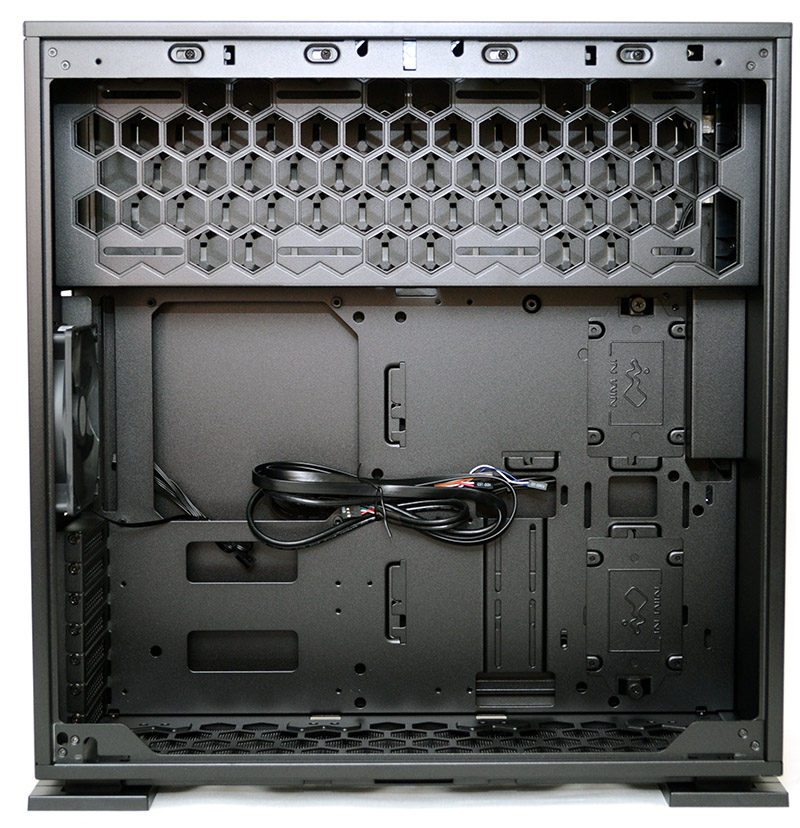
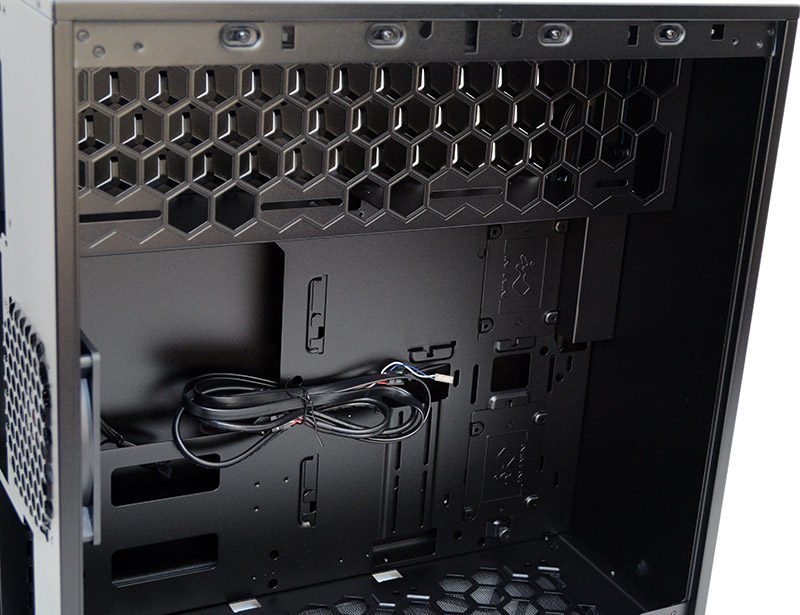
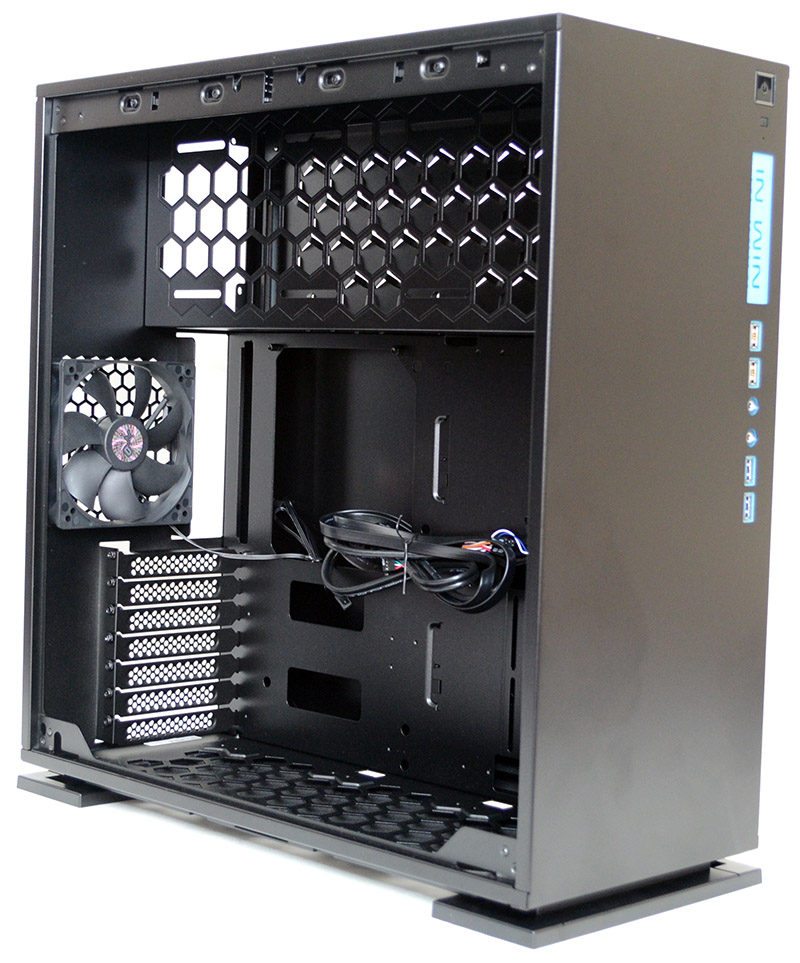
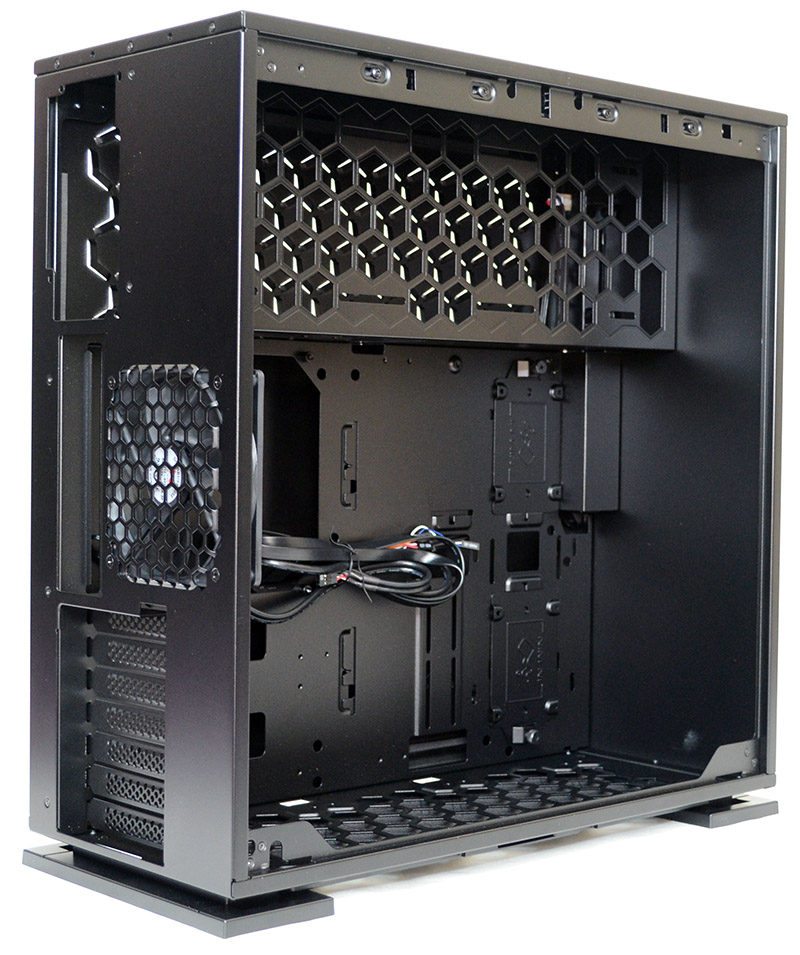
With the panel removed, we see that the interior is quite unique, with no obtrusive hard-drive trays, leaving a vast amount of space for long graphics cards and radiators to be installed. There’s a good size CPU cooler mounting cut-out as well as some cable routing holes, albeit a rather limited and oddly placed arrangement of them.
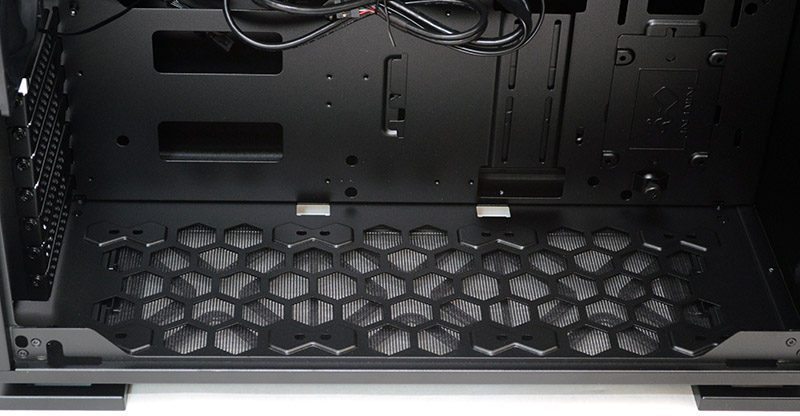
In the base, you’ll find room for 3 x 120mm fans, taking full advantage of the bottom mounted dust filter. There’s room enough here for a good size radiator too, but keep in mind that any expansion cards mounted in lower slots may limit your options, so always measure everything up first.
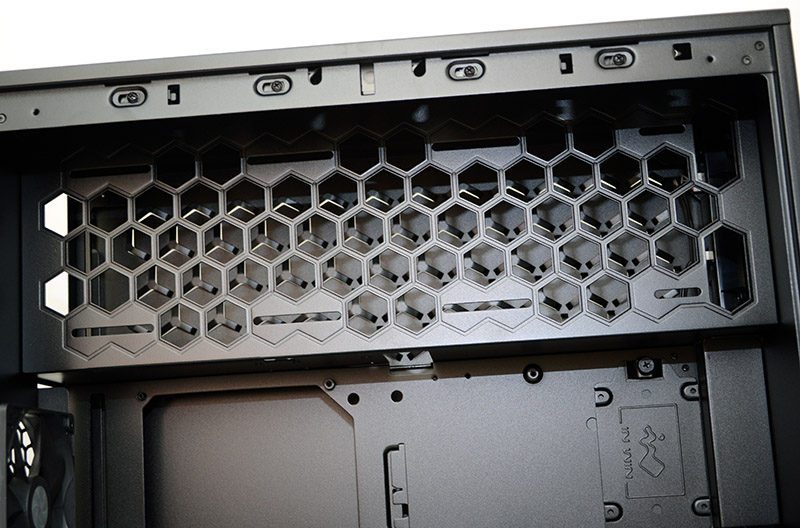
Now this is interesting, an internal fan and radiator mount. Obviously, there is ventilation on the right side panel, and there are intakes and exhausts on this side too, so airflow should be an issue, but it does present an interesting way to mount an (up to) 360mm radiator within the chassis. Even without a fan or radiator here, it’s a nice aesthetic touch that looks great.
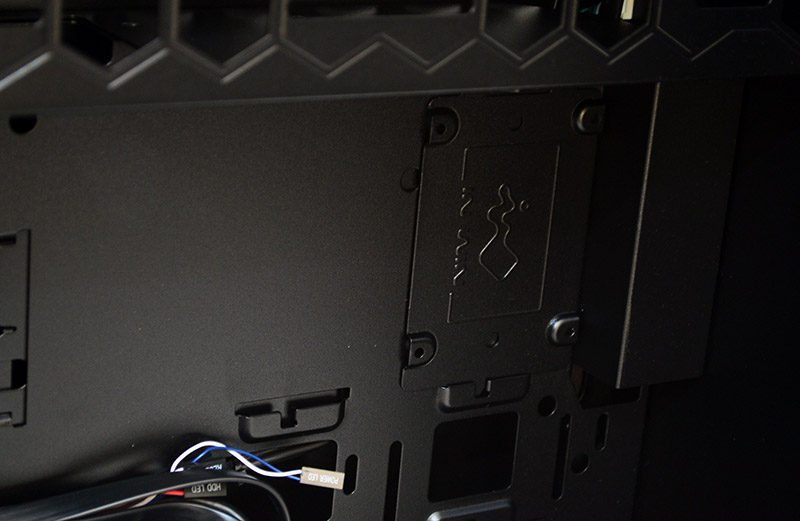
Towards the front, you’ll notice three 2.5″ drive mounts, which sit parallel to the motherboard, giving you a great way to show off your new drives; the less than visually appealing 3.5″ drives mount out of sight behind the motherboard.
Even without drives installed, the brackets look quite nice, with some subtle InWin branding on the front.
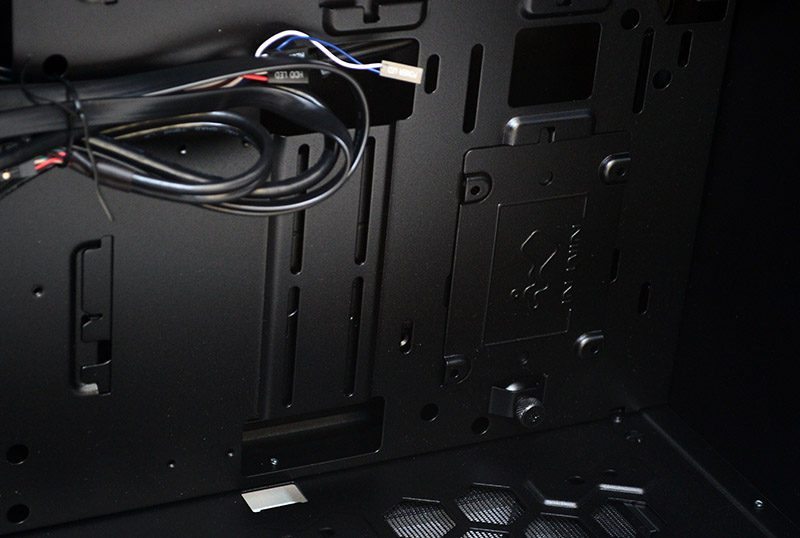
To install your drives, use the included thumb screw to remove the bracket, fit your drive, then thumb screw to put it back.
In the back, a standard 120mm exhaust fan, the only fan in the system by default. I like that InWin included it, but it’s most likely anyone investing in a chassis of this design will be installing their own aftermarket cooling setup.
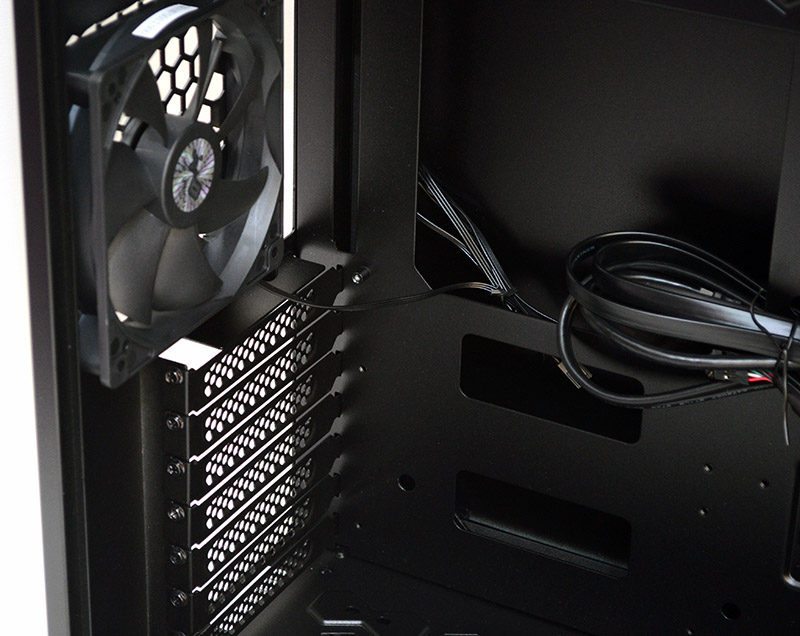
Overall, a huge amount of space here for your hardware and lots of room to provide a nice presentation of your components.
 |
 |
|---|
Around the back, the right side panel can be removed by two side-mounted thumb screws, allowing for quick and easy access.
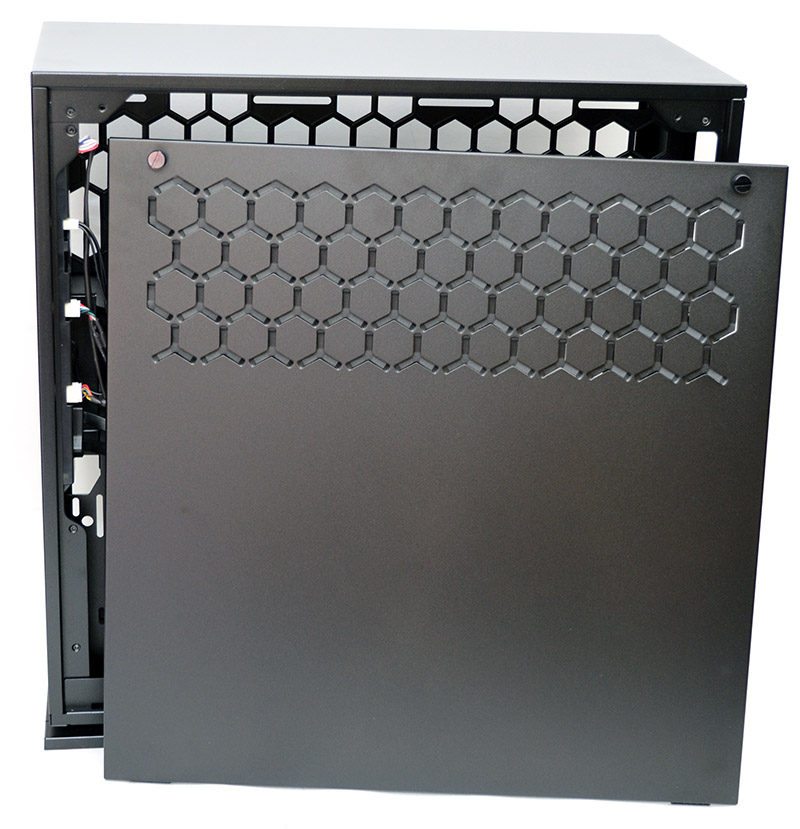
The PSU mounting area is huge, giving you lots of space for excess cables and, of course, lots of room for ventilation from the right side panel and inner radiator/fan mounting.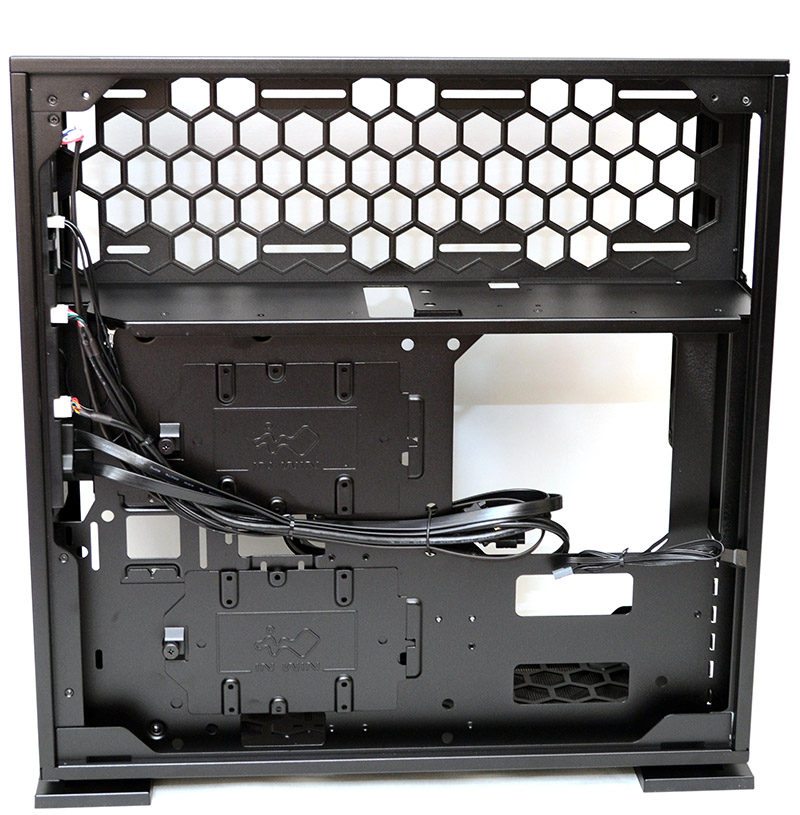
As you can see, there are a bunch of extra wide screw fittings, which should improve compatibility with a wide range of fan or radiator configurations.
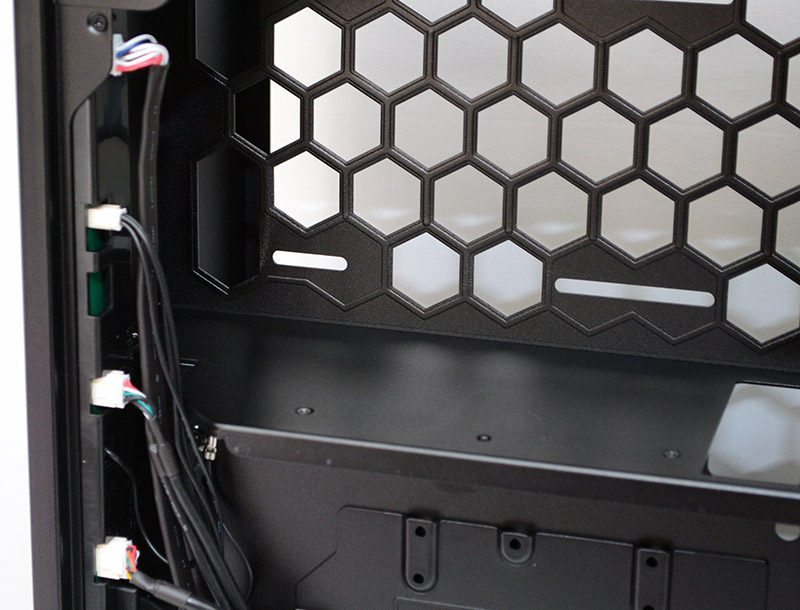
All black interior cables, always a welcome bonus to those who strive for neat and tidy cable routing.
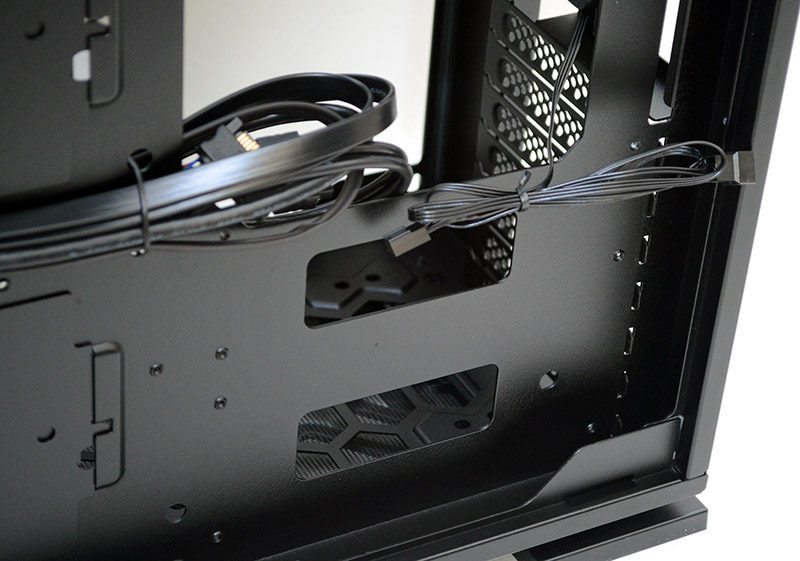
A couple of small cut-outs near the PSU, allowing easy cable pass-through to the main compartment.
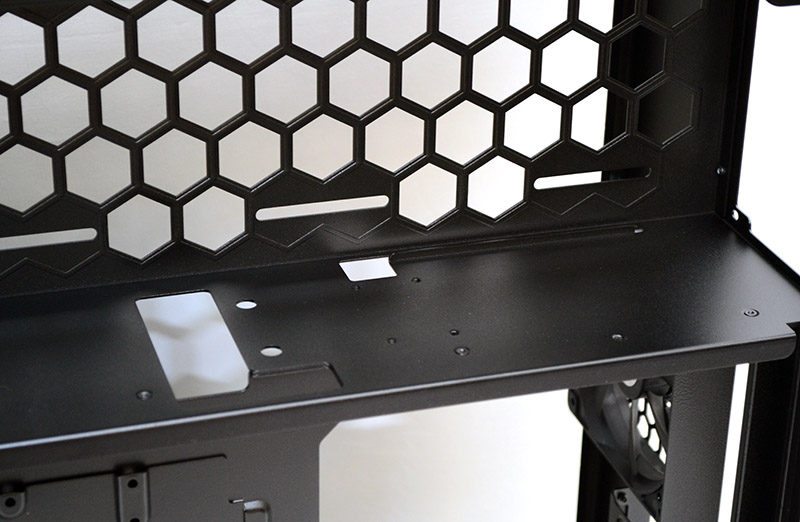
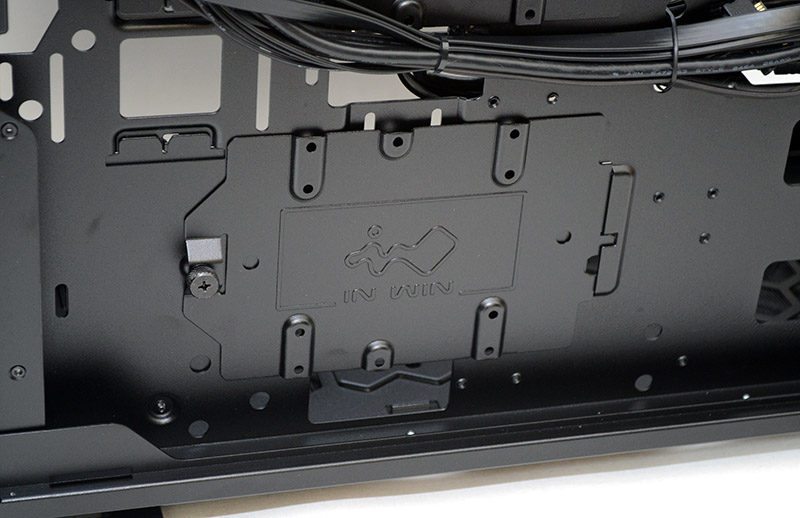
Here you’ll find one of the two 3.5″ drive mounts, fixed with a thumb screw, same as the 2.5″ drive mounts on the other side.
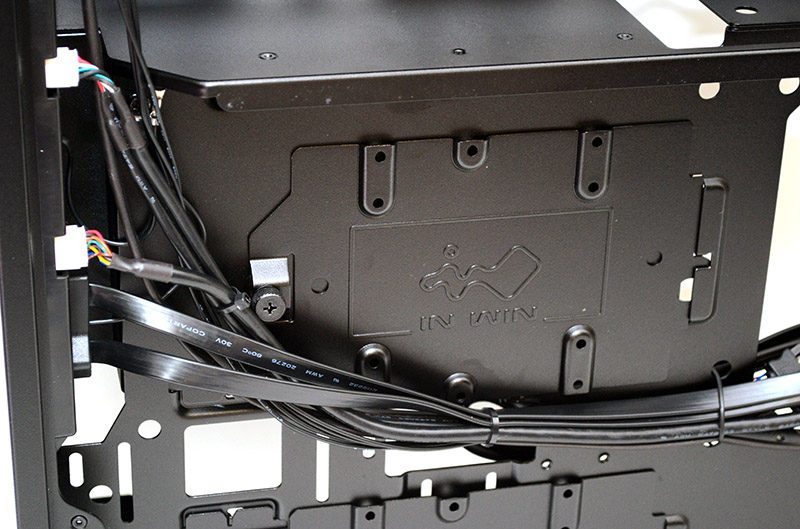
And another one of these mounts directly below it. There’s plenty of room for cable routing too, and the fact you can fit 3.5″ drives is a clear indication of this.
