InWin BR36 AIO Liquid CPU Cooler Review
Mike Sanders / 4 years ago
Installation
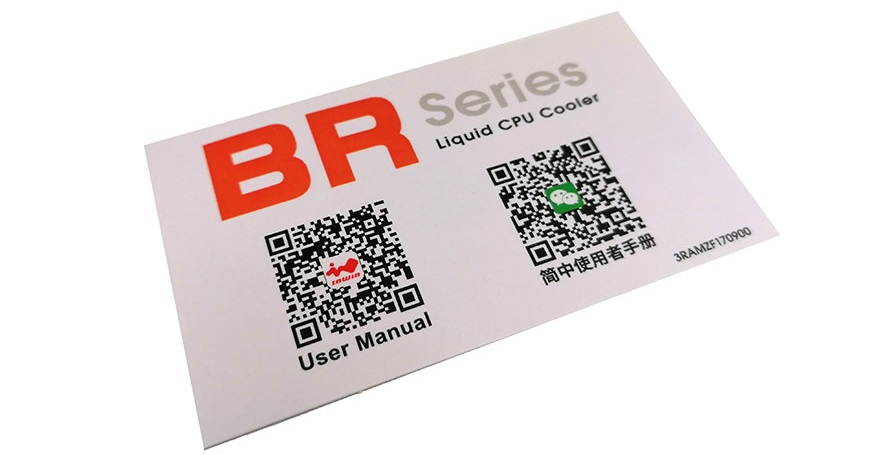
As noted earlier in this review, the lack of a physical manual is a huge letdown. While you can access it via a smartphone, having done so, I must admit that the instructions InWin have provided online are amazingly small. With no apparent zoom function either, I had to take my time to ensure I got all the right parts in the right place.

Fortunately, this is a process that InWin has made pretty straightforward. All of the key components for individual socket types are all placed within separate bags. For our particular socket on our test bench (1151), there are actually surprisingly few parts you need to install. The backplate can be configured for your motherboard via a straightforward twist dial, and the pump head attachments literally clip on either side. In terms of having this ready to install, presuming you have no difficulty with the manual, you’re looking at no longer than 10 minutes here.

Mounting
At least in regards to our particular socket type, the installation is surprisingly quite easy. We only say surprisingly as more often than not when a manufacturer says “easy” what they unusually mean is “easier than our last model”. With the mounting bracket in place on the motherboard, a healthy dollop of thermal compound and 4 simple thumb screws have you ready. In fact, presuming you have good hand strength, touching on a comment I made earlier in this review, I suppose a screwdriver isn’t actually technically required here. Albeit, I still used one just to put an extra little ‘nip’ onto the thumbscrews.
Once in place though, it sits well and solidly.

Hooking up the InWin BR36 is, as you might expect for a 360mm AIO, quite a challenge. It’s not that it’s difficult, but it can often be one of the most intimidating parts of larger AIO coolers with so many cables. Fortunately, while the online instructions were barely useful, the system itself is rather intuitive. One single SATA adaptor can power the entire ARGB for both the fans and lights, while it also comes with PWM connectors that go through the main motherboard hookup to ensure the fans run at what it deems to be an appropriate speed. A second SATA connector is also available, presuming you need or require the manual controller. Put simply, despite the relatively scary picture below, it’s actually a lot simpler and tidier than many alternative designs.

Overall Thoughts
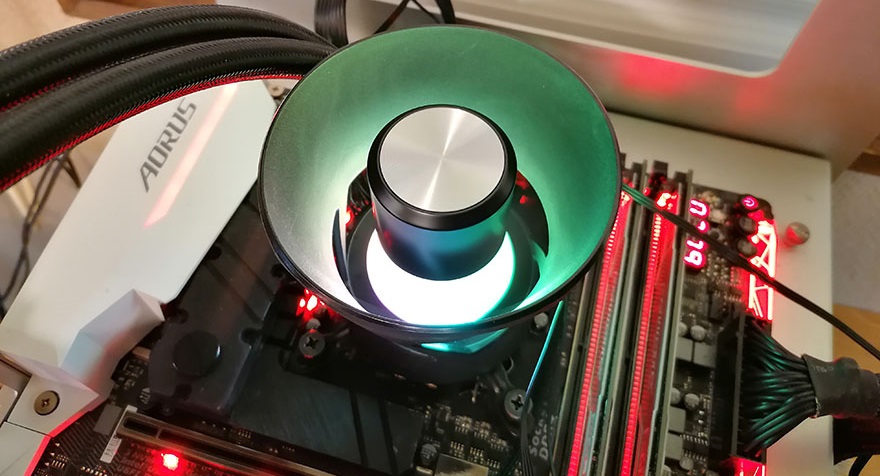
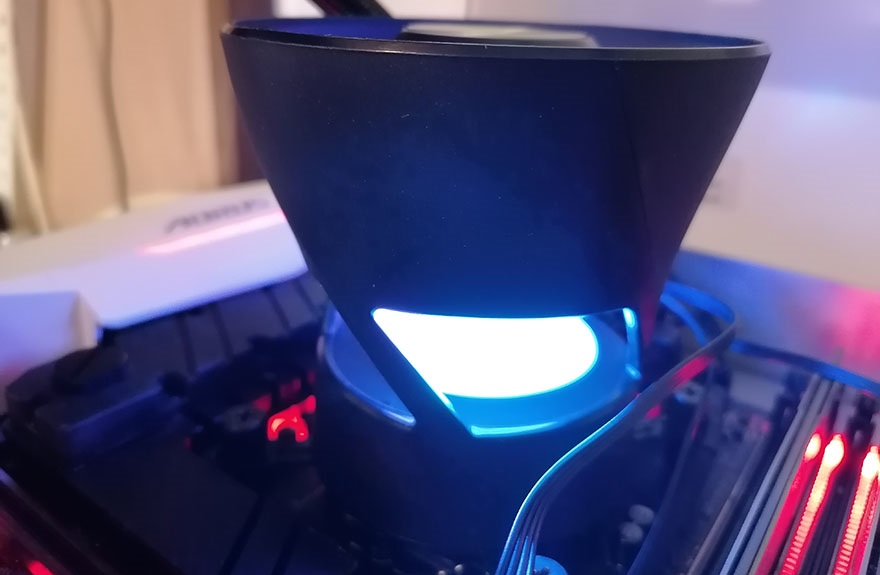
Once fully installed and turned on, the InWin BR36 looks, at least in my opinion, absolutely fantastic. The ARGB lighting effects are some of the brightest I have ever seen, and through the exceptionally easy to use controller, if you don’t have an ARGB compatible motherboard, you’ll have no trouble picking a pattern that suits your taste.

The water block and fan, despite its relatively large size, surprisingly doesn’t look unusual nor indeed particularly insulting on the eyes. While opinions on this may differ, I actually like it. Admittedly though, more from an aesthetic standpoint than anything to do with cooling the VRM.

Overall, for bringing something a bit different to the market and pulling it off with more than a little success, I might add, I really like the InWin BR36. A key factor in my final decision, however, will clearly be seen in our testing process. So, with it now strapped onto our system, let’s fire it up, get it nice and toasty, and see how cool and/or quiet this is!


