Kingston DCP1000 1.6TB PCIe NVMe SSD Review
Bohs Hansen / 6 years ago
A Closer Look
Before we get to the actual testing, let us have a look at all the details as well as under the hood of the DCP1000.
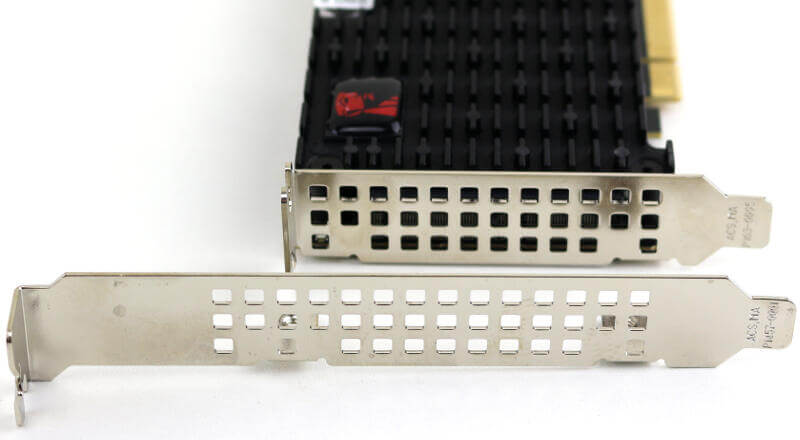
Expansion Slot Bracket
The first thing is external, the extra slot bracket included. The low-profile bracket is pre-attached, but the DCP1000 comes with a full-sized bracket too.
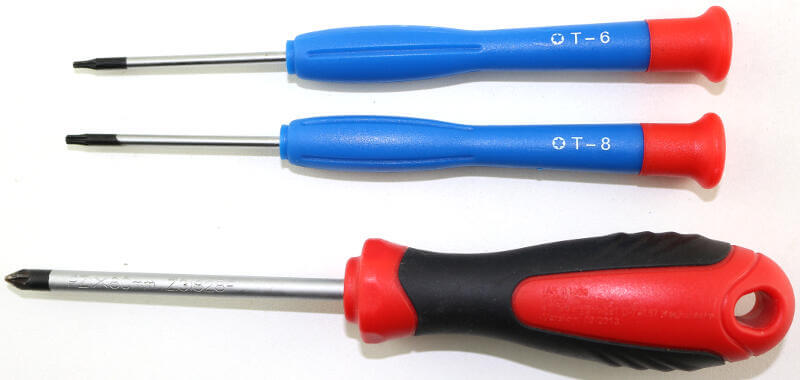
What Tools Do You Need?
You need a few tools to take the DCP1000 apart. A Torx-6 and Torx-8 as well as a normal Philips head screwdriver.
Removing the Cooling Plate
Removing the top cooling plate is easy enough and it reveals what’s inside.
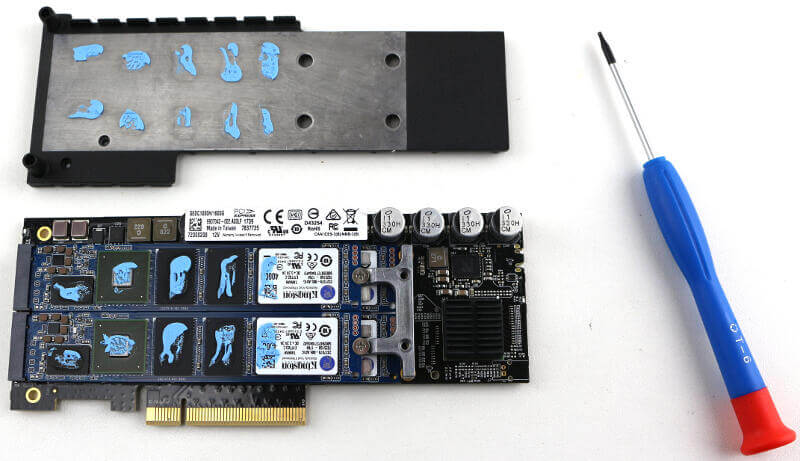
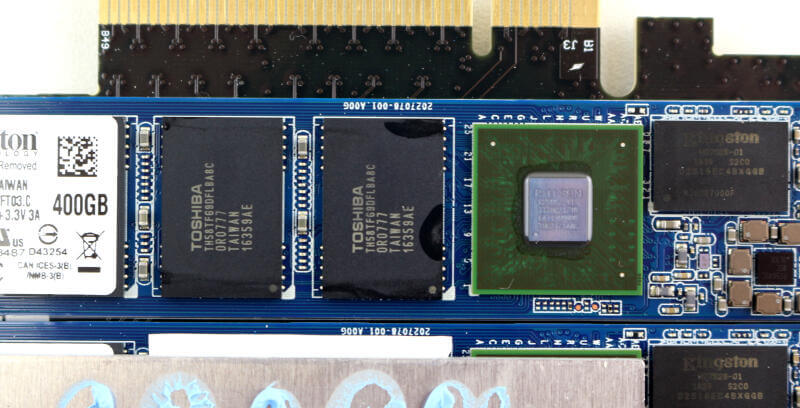
Close-Up on the Drives
Moving in a little closer, we see the four Kingston drives sitting on top of each other. The individual drives use a Phison PS5007-11 eight-channel quad-core controller. Each of the SSDs also contains eight Toshiba 15nm MLC NAND chips and a couple Kingston branded DRAM cache chips.
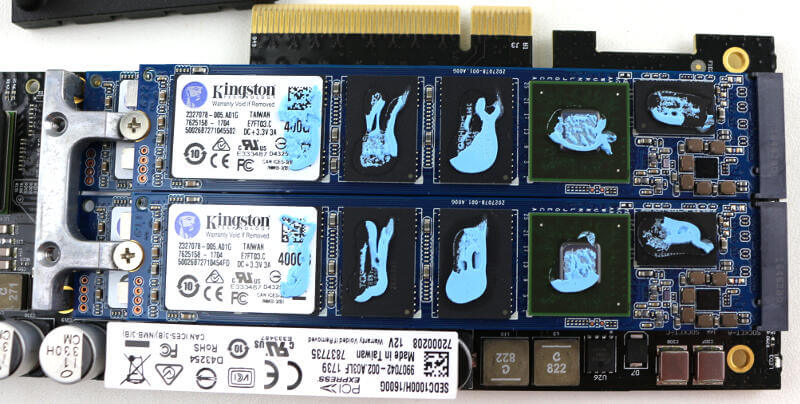
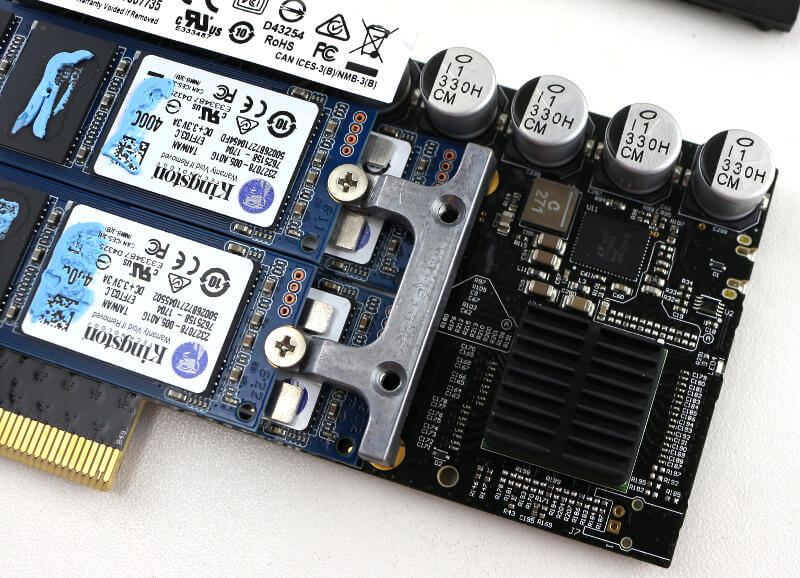
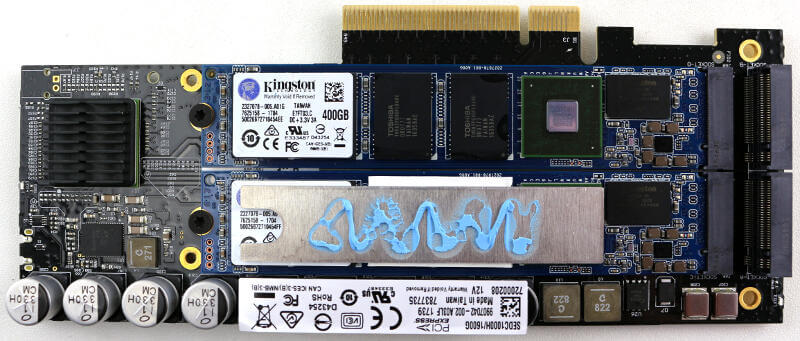
Drive Mount and Controller
The mounting system is a little different than what you’re used to. That is due to the layered setup. However, it works in the same way as any other M.2 system with a screw at the end to hold each drive down. In the bottom right corner of this photo, you can see the card’s controller with its own heatsink.
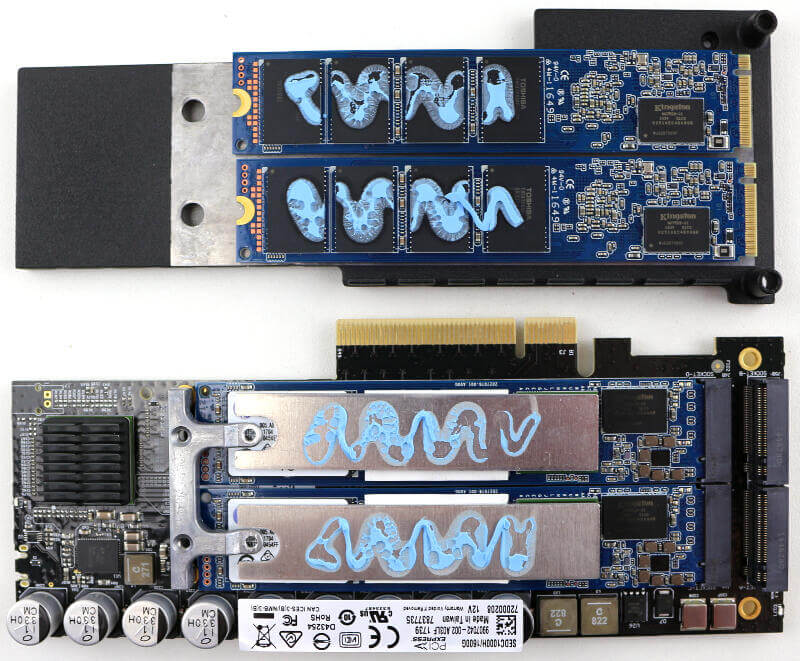
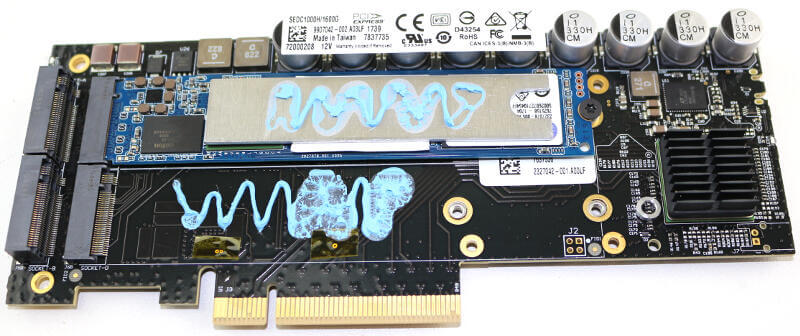
Removing the Top Two Drives
When we remove the top two drives, we get a look at the parts between the layers. A piece of metal and heat-transfer material is placed between them.
Close-Up on the Module Bottom
The bottom side of the M.2 modules isn’t very exciting. There’s just more of the same which was found on the top side. Four NAND chips and RAM chip.
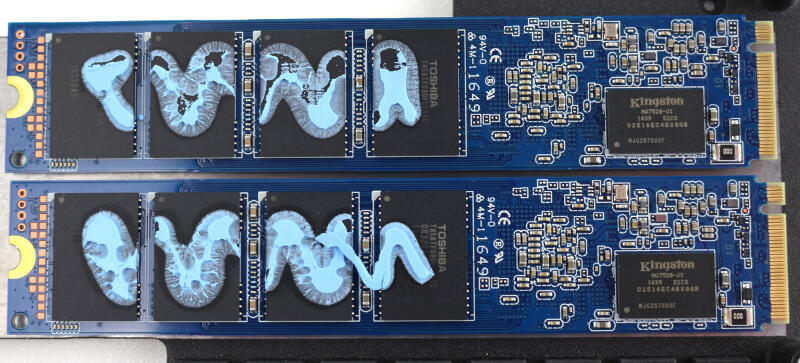
Module Close-Up
Moving in even closer to the module and we get a look at the chips and controller.
Cooling Connection for Bottom Drives
The two bottom drives are connected with adhesive pads instead of grease. That allows us to get a clean look at the modules too.
Removing the bottom modules also reveal that there’s thermal grease between them and the PCB itself.
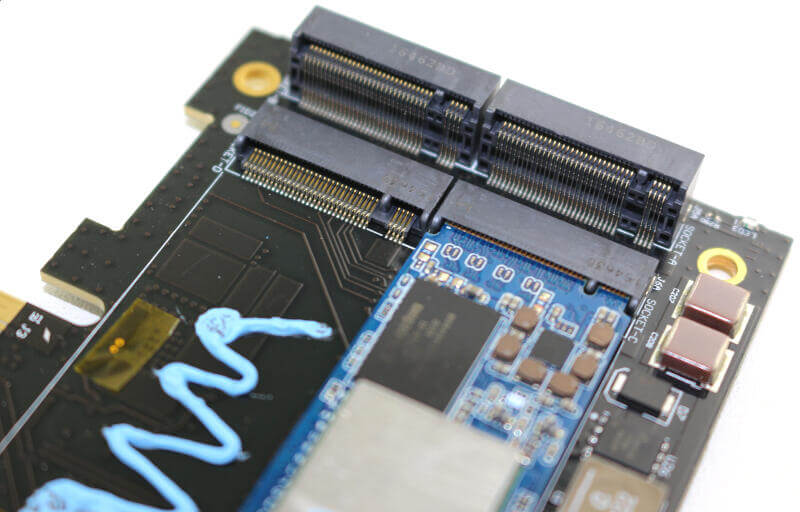
M.2 Connectors
There isn’t a lot to say about the M.2 connectors, they are default connectors.
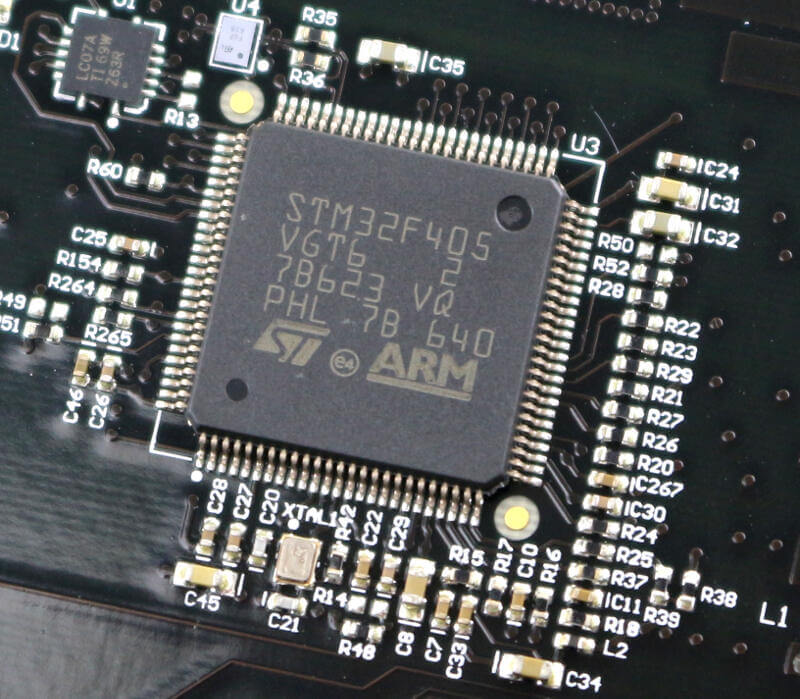
PCIe Controller
visible on the outside is the PCIe bridge controller.