Kolink Rocket Aluminium Mini-ITX Chassis Review
Peter Donnell / 6 years ago
Complete System
Installing a system in the Rocket wasn’t too difficult, but not without its hurdles either. It’s a small chassis, so it’s inherently a bit awkward as there’s little room to manoeuvre. However, a little patience goes a long way. The GPU install was the easy part, just slot it into the side like normal, and you’re good to go.
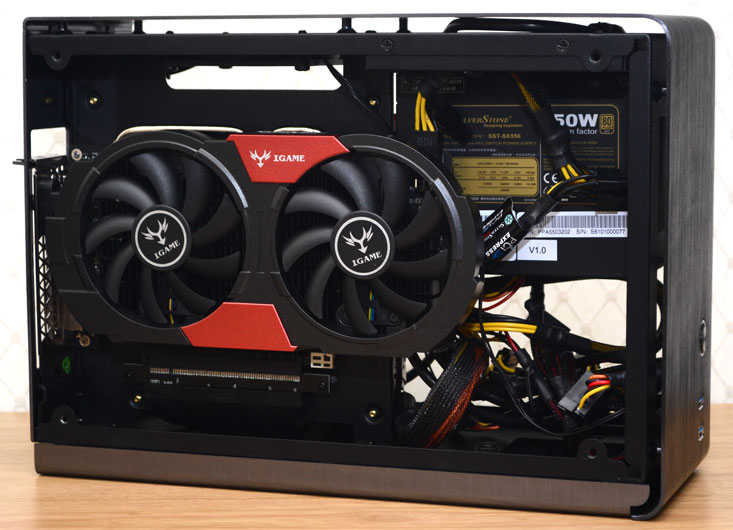
A dual slot GPU fits with ease, and there’s a few millimeter clearance from the side panel. You actually do want it closer to the side panel though, as that’s where the airflow is. Of course, that means the GPU fans can pull air right in from the side panel with ease.
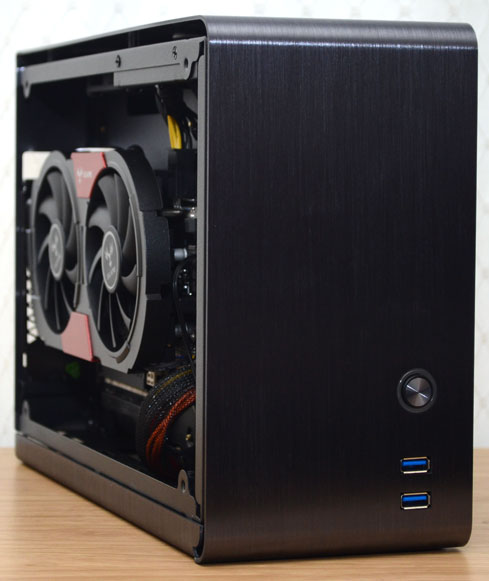
Cable Gore
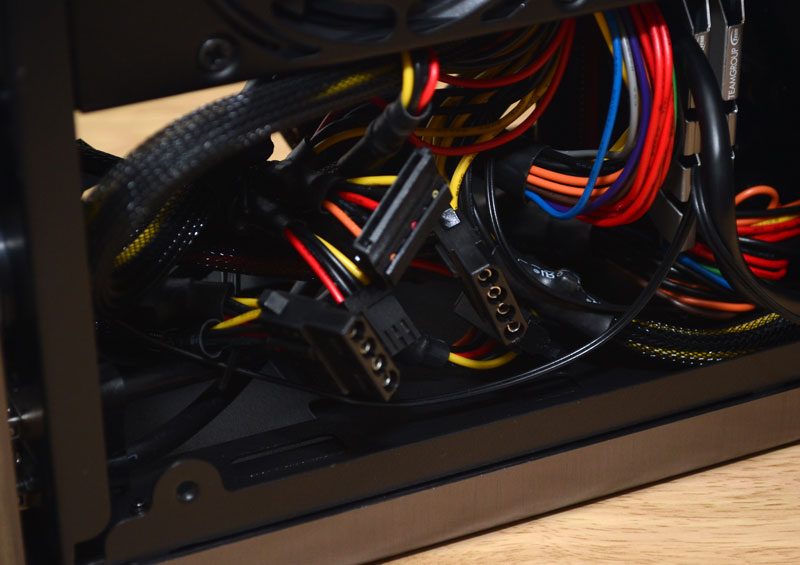
Around the other side, it looks a bit rough I know. However, most of that is due to the fact our PSU is hard-wired, not modular. Of course, with no windows on this chassis, who cares if the cables look a little scruffy. The PSU orientation can be changed to suit your build, but overall, it has plenty of airflow.
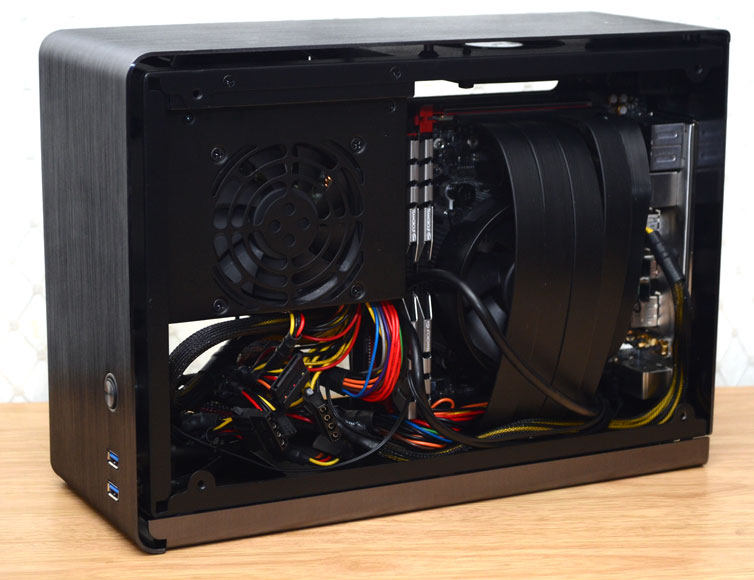
The extra room here works well for stuffing excess cables, it looks bad, but it’s honestly fine. Modular PSU cables will help a lot though.
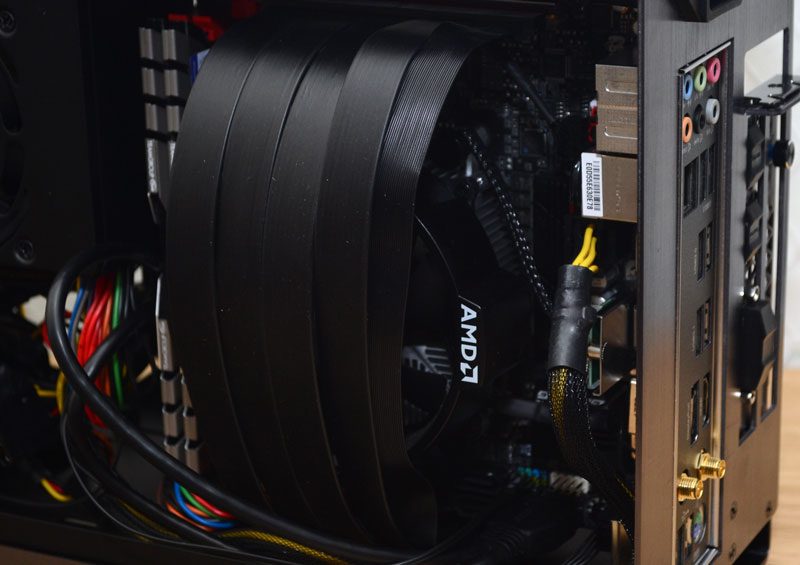
A low profile CPU cooler is a must, and while the PCIe cable does ark over, there’s honestly plenty of airflow around the cooler.
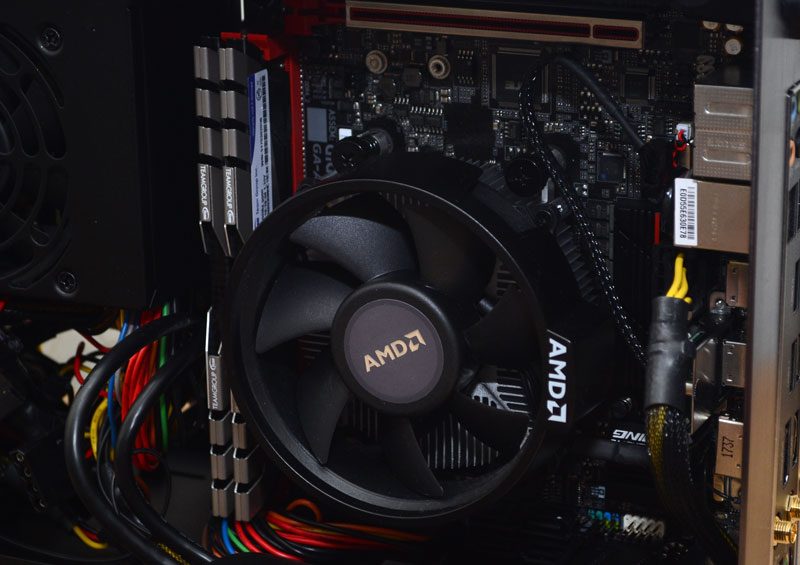
If I move the cable, you can see we’ve got the AMD stock cooler, which is just perfect for the job. Something like the Noctua L9x65 would work great too.
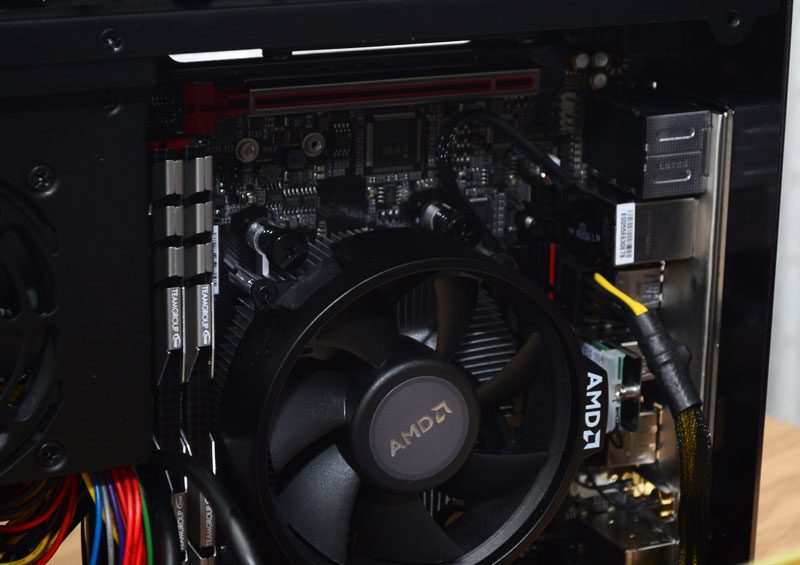
Airflow around the motherboard is good, and with the fan in the bottom, you’re unlikely to get any hotspots.
The Big Finale
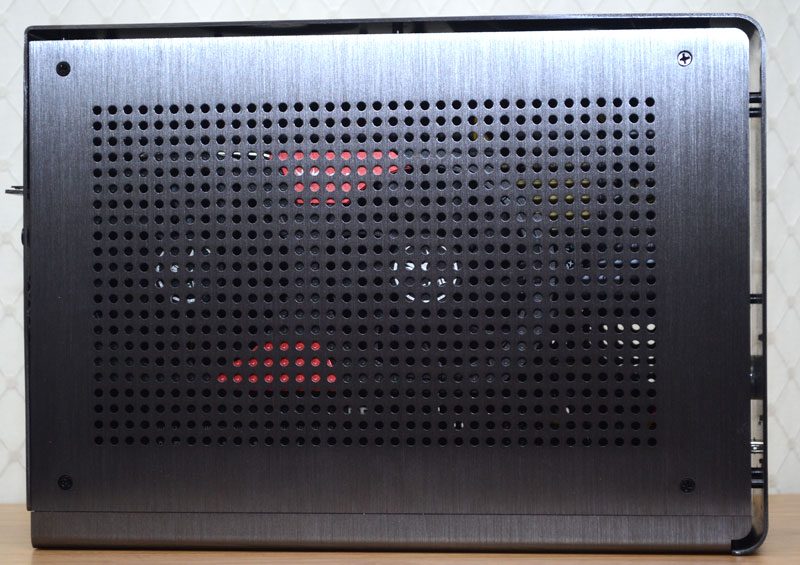
With all the panels back in place, we’re reminded that there’s a full panel of airflow holes on each side of the chassis.
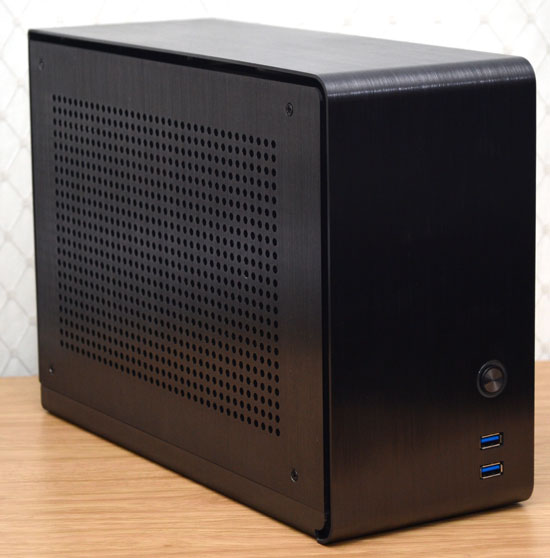
The only thing to remember is that these are not dust filtered. If the chassis is on top of your desk, it’s unlikely to get to dirty though. But just remember to open it up once in a while and blast some compressed air through it.
