Lian Li Lancool 215 Mid-Tower PC Case Review
Peter Donnell / 4 years ago
Interior
The side panel is removed via two thumbscrews at the back. They’re designed not to fall away either, so there’s no chance you’ll lose the screws. Another premium touch is the thick layer of padding, ensuring a clean and tight fit between the glass and the case, while also preventing vibrations between the two also.

The interior of the case is very clean, thanks to hidden HDD bays, as well as that massive PSU shroud hiding all the boring stuff. A bonus of that, is that the front airflow is unrestricted.
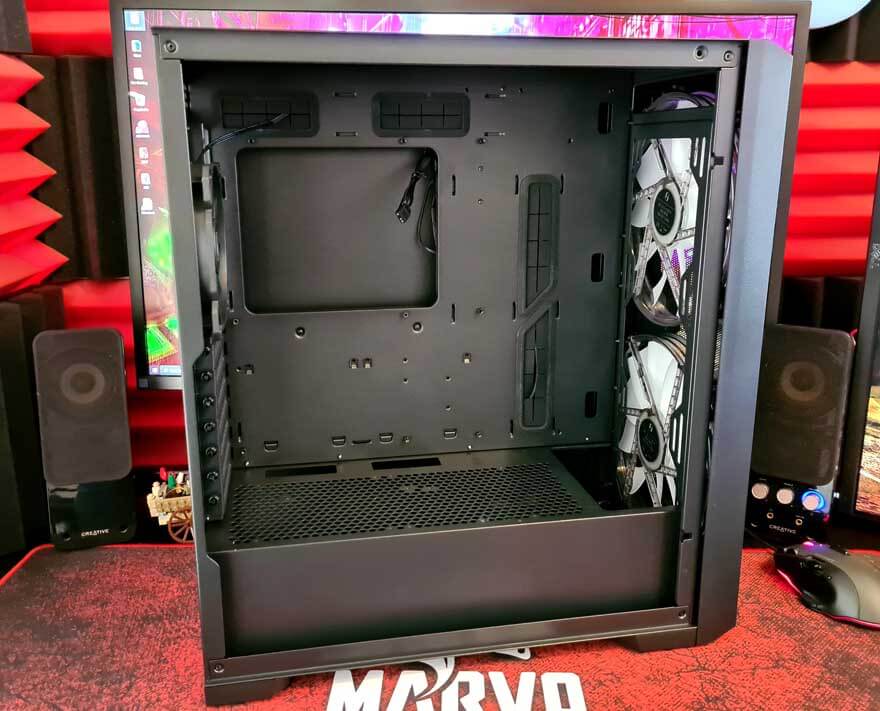
While the PSU shroud will hide the cables, and a few other bits, it’s also treated with loads of ventilation of its own, so there should be no compromise on airflow around the hardware you hide down there.

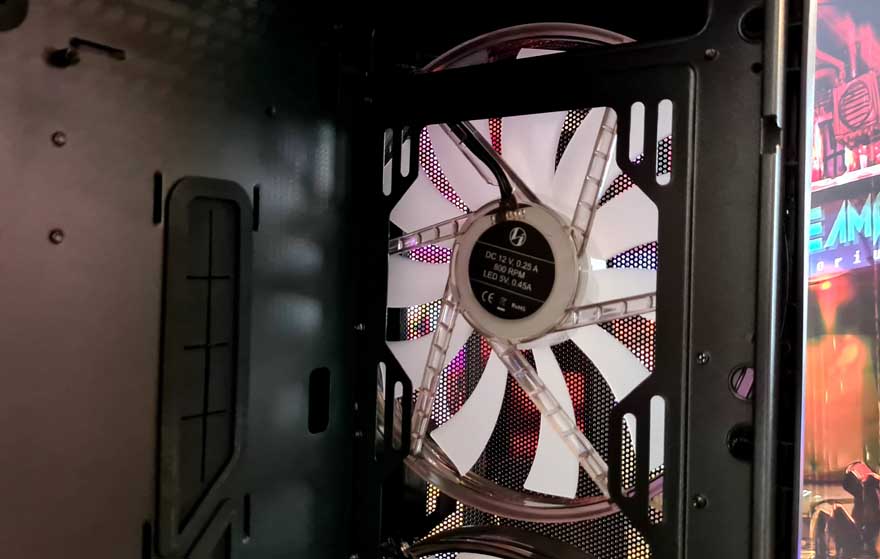
Speaking of airflow, the front fans are Lian Li’s own design. They’re both 12v 800 RPM fans, so pretty low-speed, and also very quiet too. However, because they’re so big, they’ll still move some serious air throughout the case.

You can remove them if you can, as the case does also support a range of 120mm and 140mm fans in the front. Alternatively, you can install radiators here too, you’ve got plenty of freedom either way.
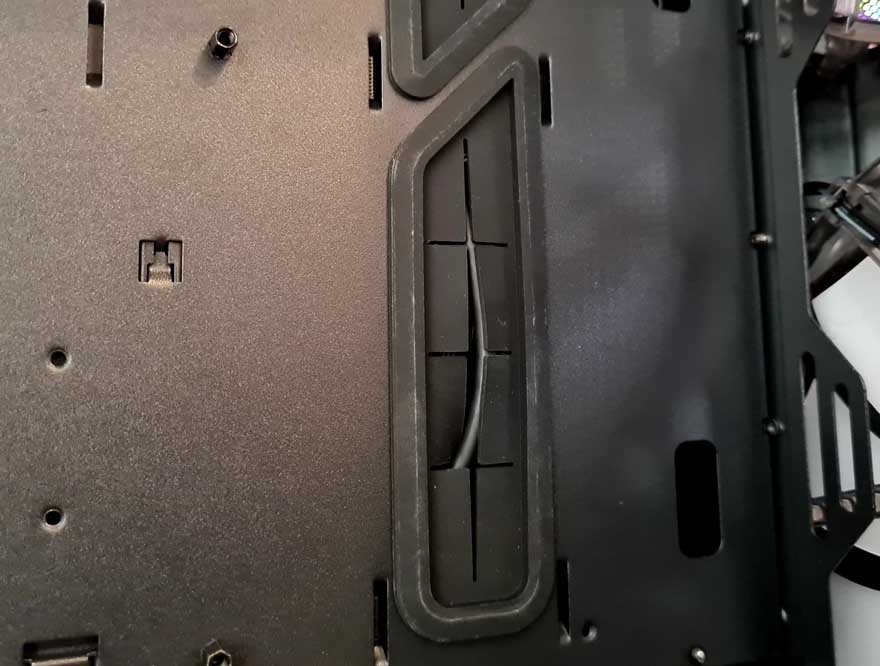
There are cable routing grommets flanking the motherboard mount, so it should be easy to get a great looking build.
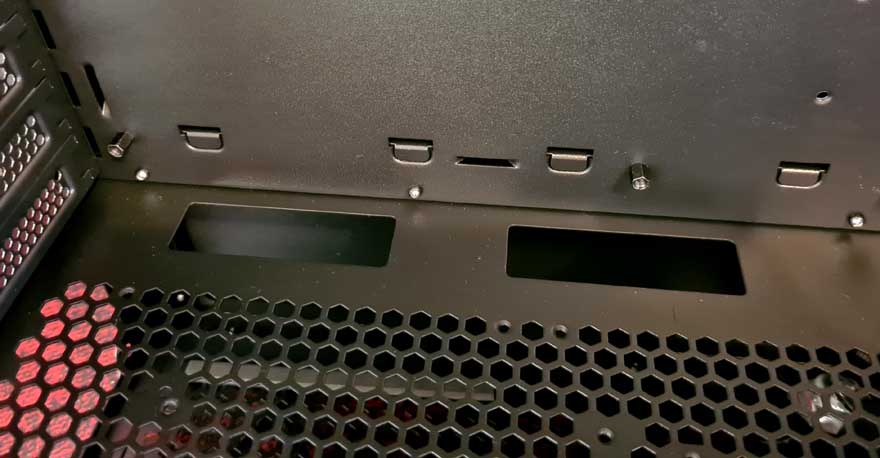
There are plenty of secondary routing holes too, such as these larger ones near the bottom of motherboard.
The expansion slots are equipped with larger thumbscrews. Plus, if you need to get a screwdriver to them, there is a small cut-away to the side of the frame, so you don’t have to go in at a weird angle.
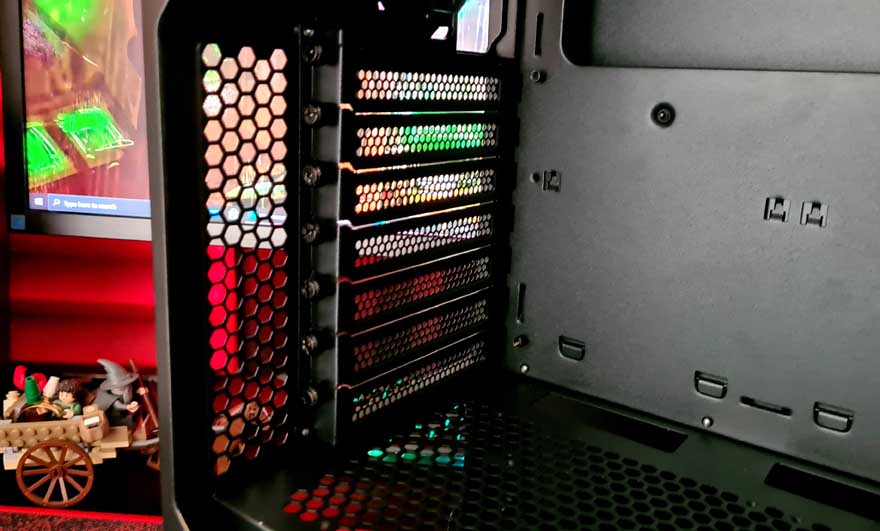
The rear fan is another Lian Li model, however, this 120mm fan is all black; no RGB for you here!

There’s decent clearance in the top for fans, although some radiator options could be limited, but some slim radiators should be just fine, including some AIO coolers.
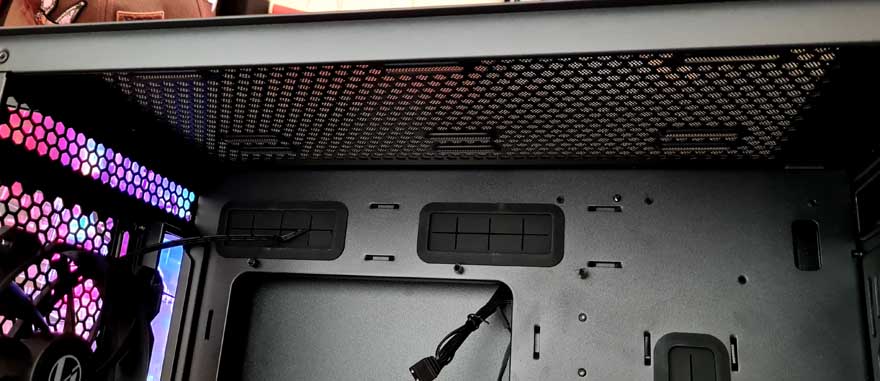
Behind the motherboard, there’s a tremendous amount of space. So even the laziest cable routing job should net pretty positive results. You’ll find a lot of room to cram spare cable here, plus even more space under the PSU shroud. Basically, you have no excuse for terribly cable routing on the other side.

Tucked behind the motherboard, you’ll find a pair of SSD brackets, handy!

Even more handy, a lovely fan and RGB control hub, which even has room for a few more fans to be connected, very handy indeed!

Below the shroud, a nice HDD bracket in the bottom, although this can be removed if you so desire.

You’ll notice that there is full airflow from the bottom of the case, and there’s a full length dust filter here too. If you did want to sneak some cooling hardware down here like pumps, there’s all the fitting space for that too, as well as the PSU at the back, obviously.


