Lian Li PC-V359 M-ATX Chassis Review
Peter Donnell / 10 years ago
Complete System
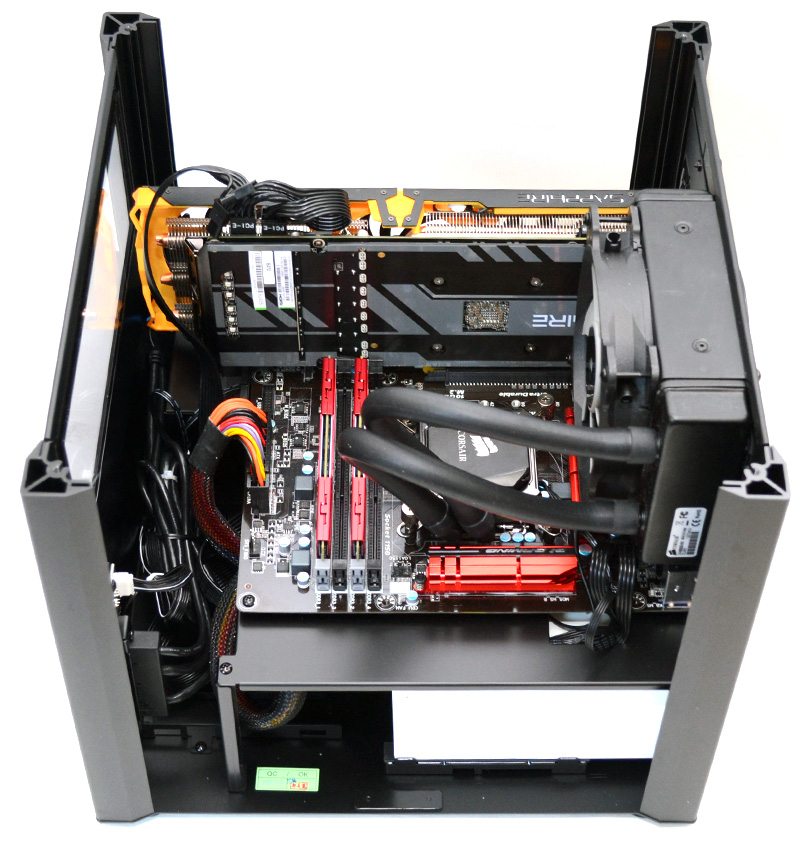
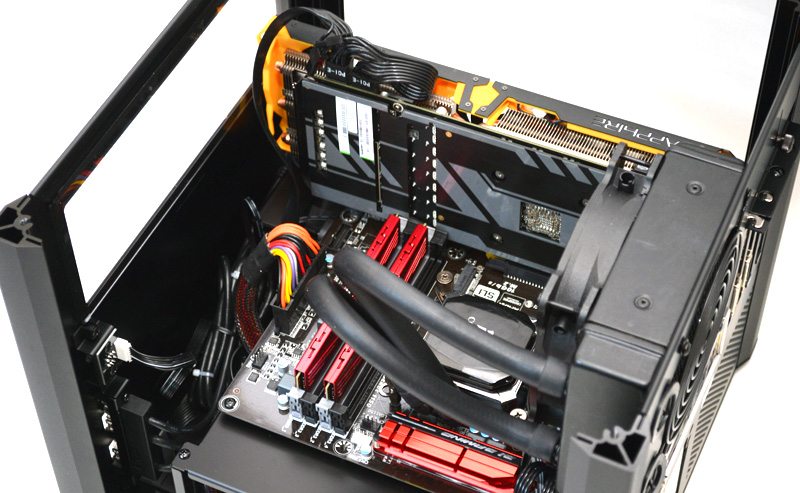
Total build time was just ten minutes, that’s right ten! Although keep in mind that I started with the side panels already removed, but even then you’re only adding another minute at the most. This chassis was incredibly easy to work with and with all the side panels removed it’s as easy as installing a motherboard on an open-air test bench.
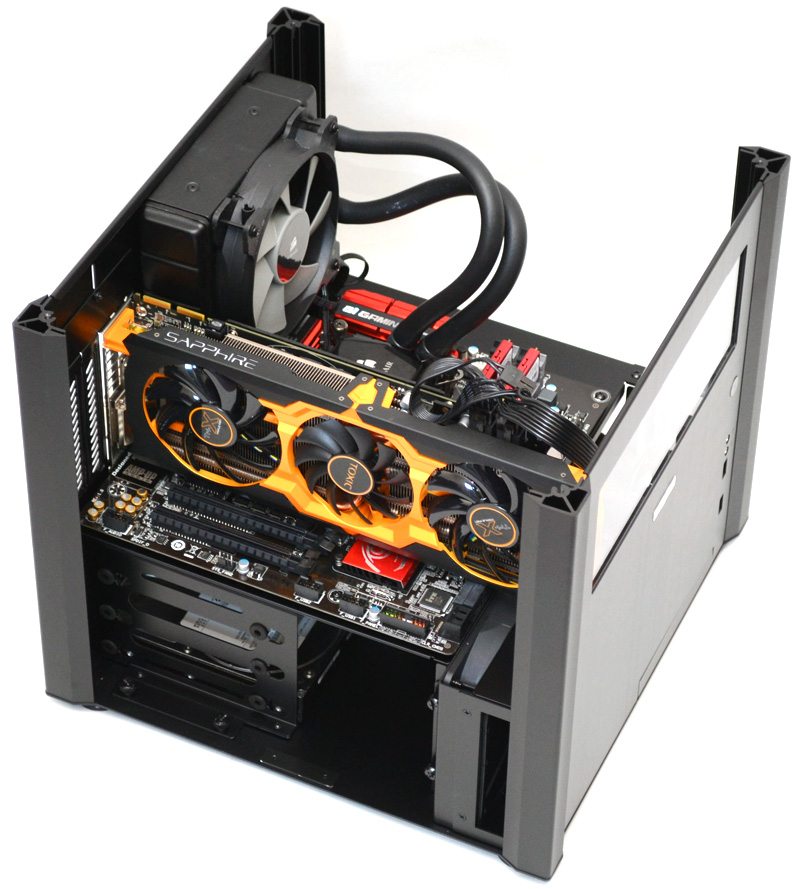
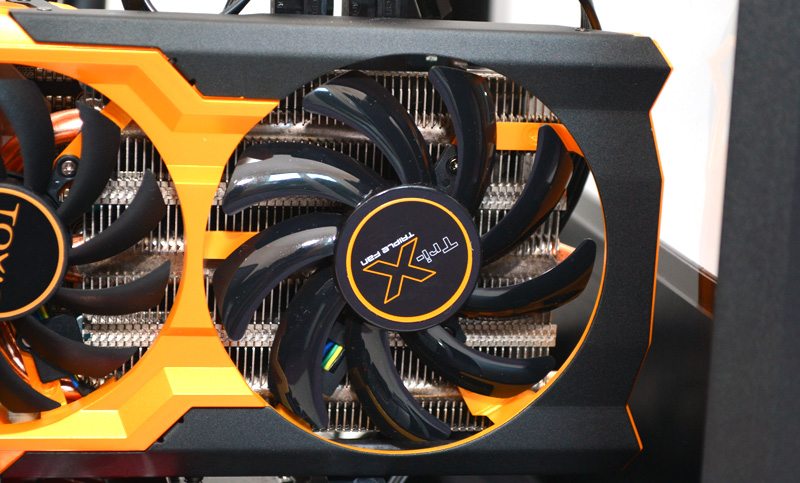
The Sapphire R9 270X fits in with ease and so long as you’re not using the left side panel fan mounts, you could easily install a multi GPU setup.
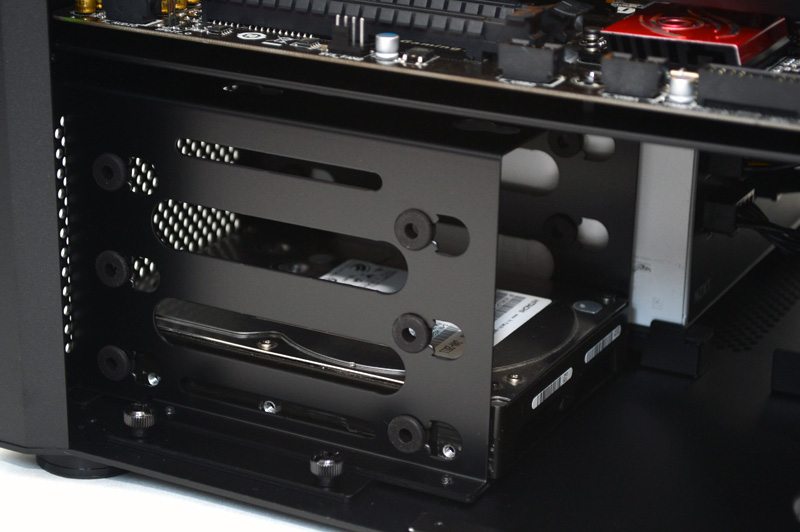
The hard drive bays are straight forward enough and our drives benefit from the anti-vibration rubber washers on each bay.
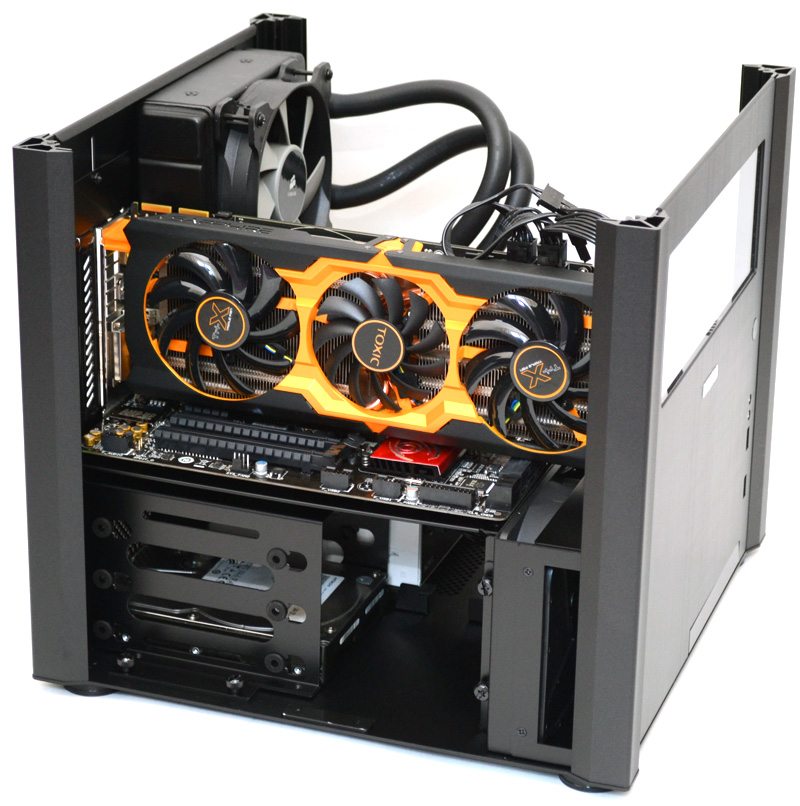
The Sapphire R9 270X is a long card and pushes up fairly close to the front panel; but it’s still nice to see a smaller chassis like this handling such a large graphics card.
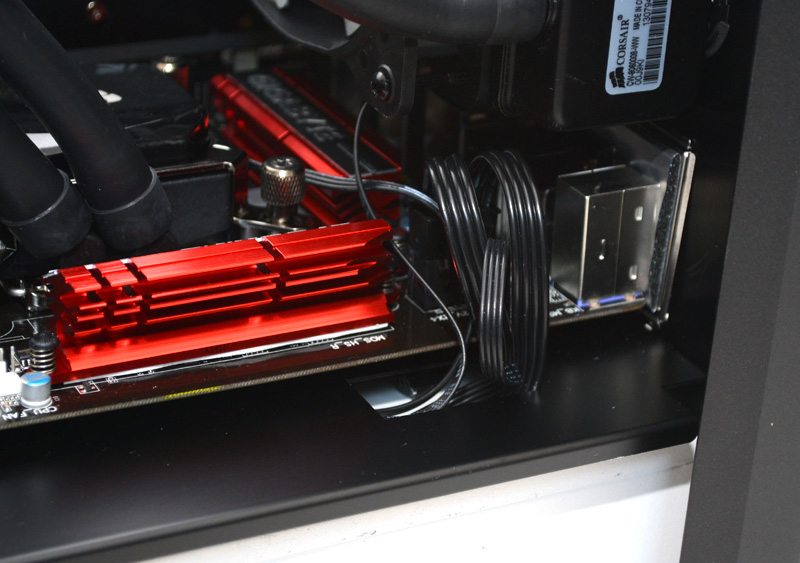
The small cable routing hole for the CPU power cables is a little shallow, so these cables need to be routed before you install the rest of the PSU or you won’t be able to pass the cables through.
There is a huge amount of space behind the PSU, perfect for storing excess cables and keeping the top section looking neat and tidy.
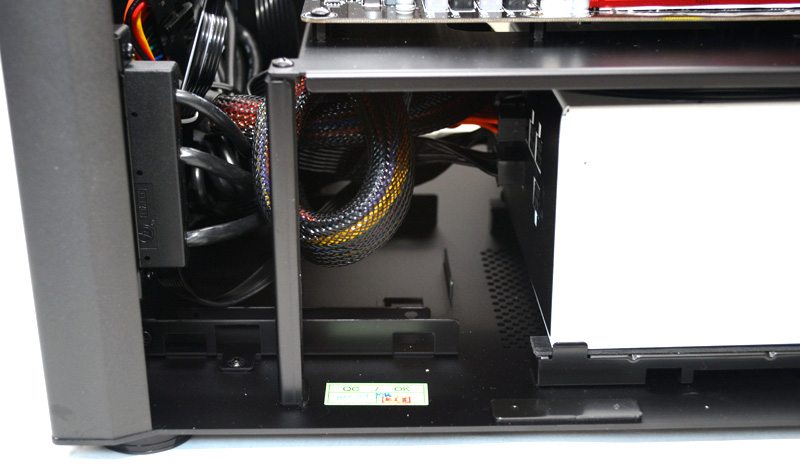
The cable routing may be messy behind the PSU, but the top section does look superb and that’s a big bonus given that we have two large viewing windows on this chassis.
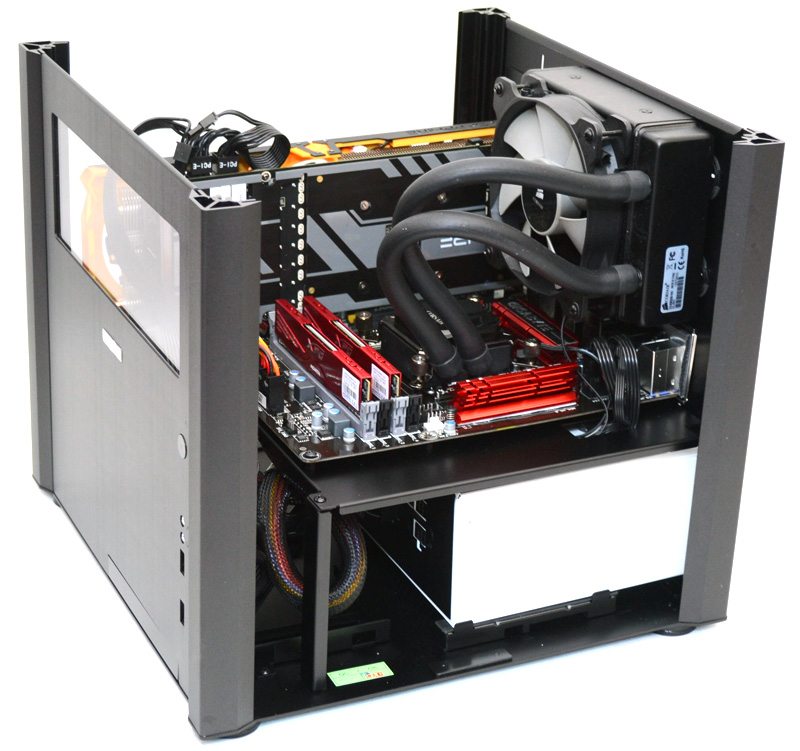
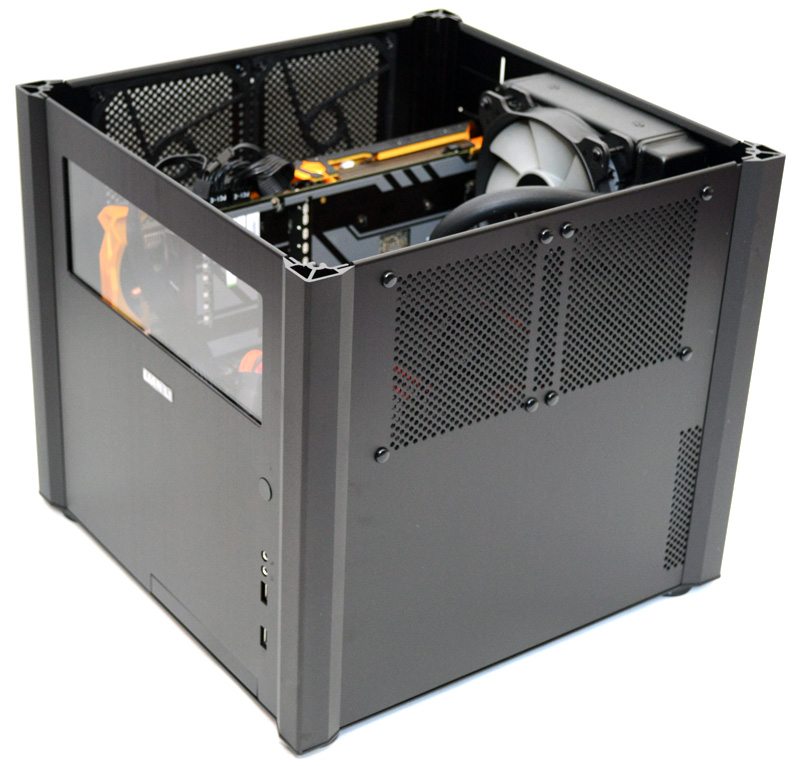
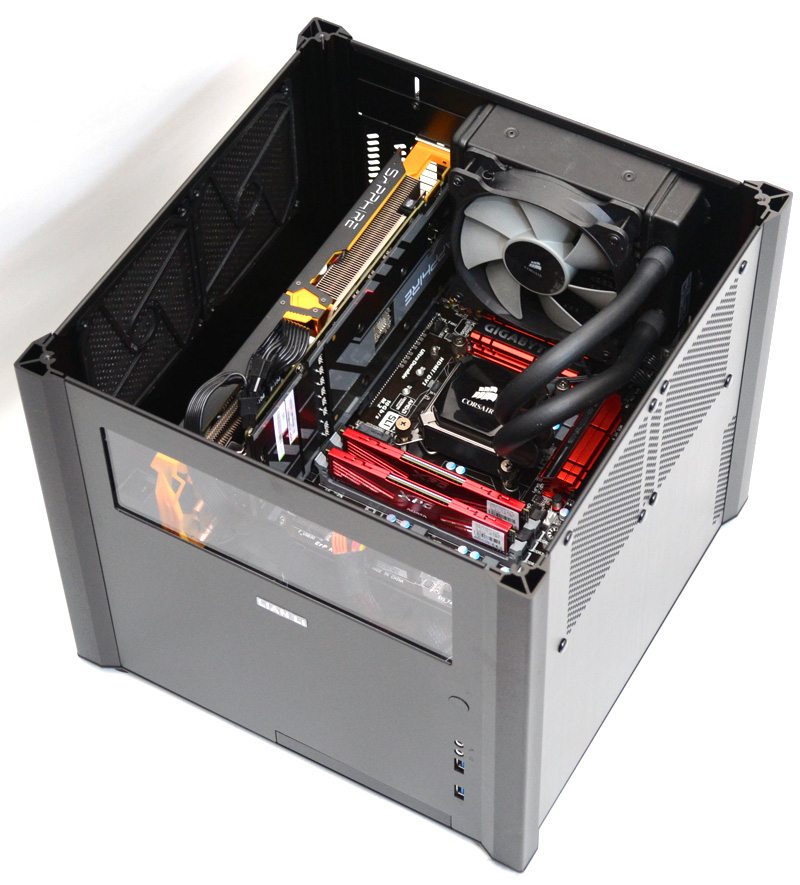
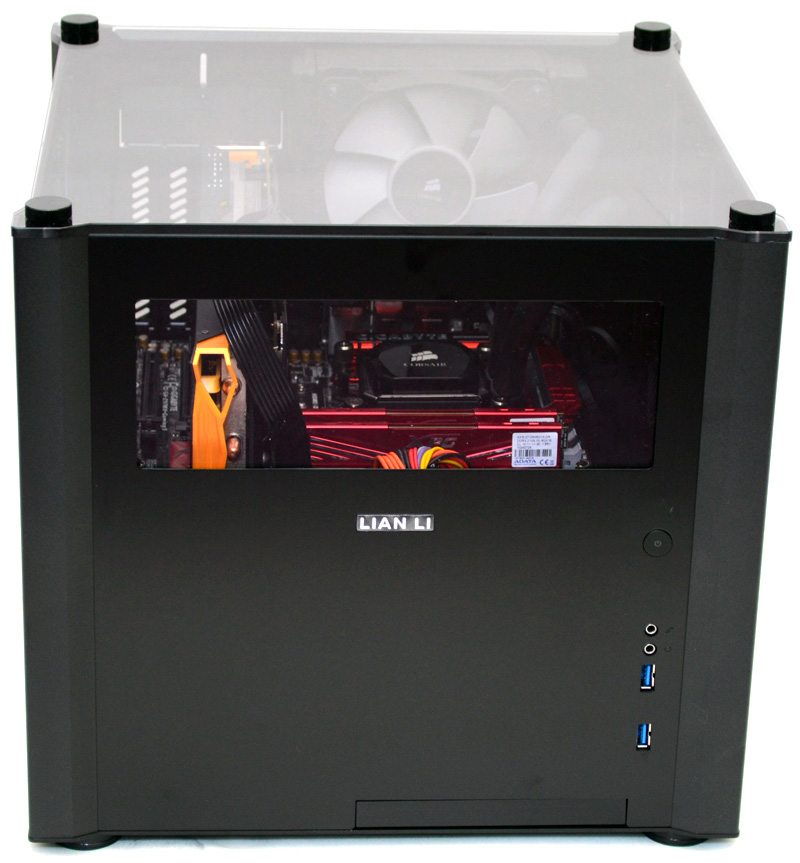
Now that we have all the panels back into place you can see that you still get a great view of the interior of the chassis; this would look great with some subtle under-lighting installed.
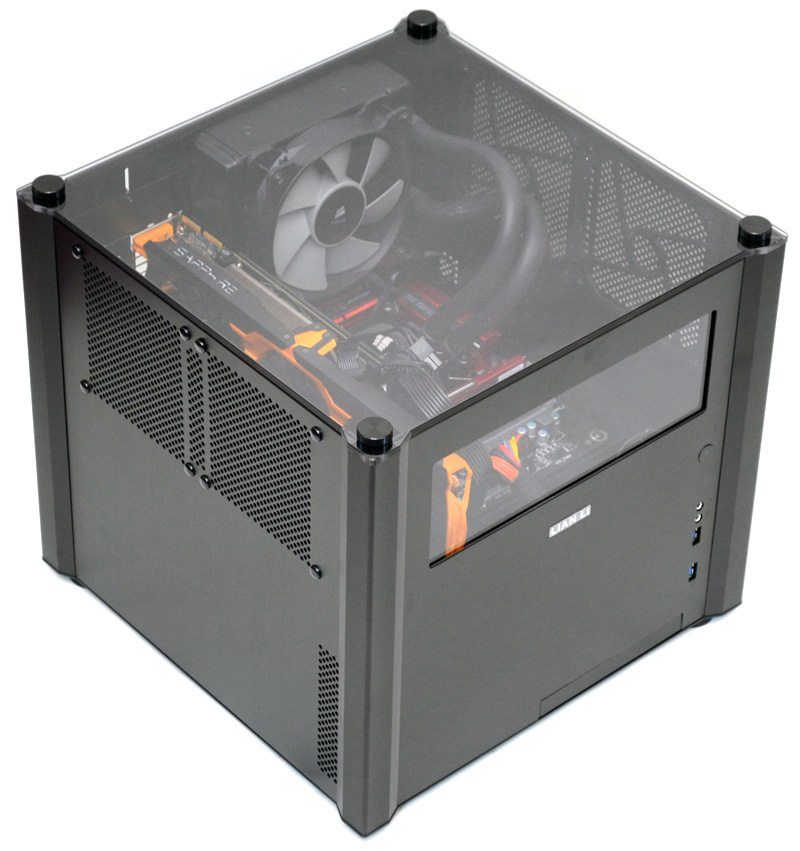
The front panel gives a nice view across the motherboard; picking nice looking/colour matched components may be essential to fulfilling the chassis’ full potential.
