Lian Li Q58 White Mini-ITX Case Review
Peter Donnell / 3 years ago
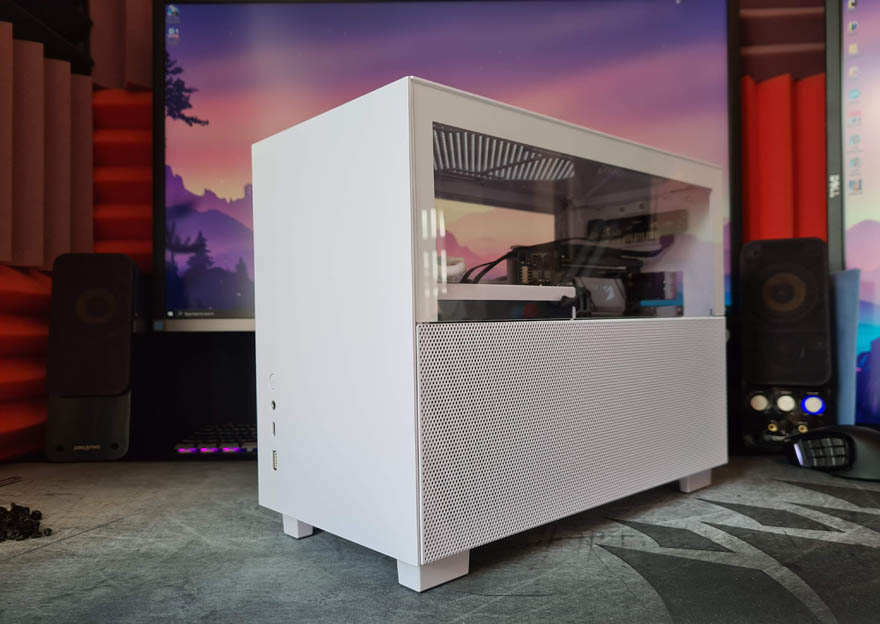
Lian Li has always been one of the best PC case designers and manufacturers in the world. They have a long history of iconic and innovative PC cases, going far back as their all-aluminium exposed metal designs that were usually more focused on servers and workstations to their modern steel and glass designs for modern PC gamers. Two years ago they released my current favourite Mini-ITX case, the TU150. Now they’re back with another innovative mini-ITX design in the Lian Li Q58. It was revealed earlier this year at the Lian Li 2021 Digital Expo, which was their replacement for the fact there were no in person trade shows, so if you missed the reveal, you can catch it below!
The compact case design may have you thinking it’s not very capable. However, it offers up 14.3 litres of space on the interior. It’ll take a mini-ITX motherboard, SFX, SFX-L or even an ATX PSU. There’s room for a 70mm tall CPU cooler, so obviously something low-profile is needed. However, it can support up to a 280mm radiator if you wanted to liquid cool with custom or an AIO. It’ll handle 2 x 120/140mm fans in the top and 2 x 120mm fans in the bottom. 3x 2.5” / 2x 3.5″ for all your storage needs. However, thanks to a riser cable design, you can get a massive GPU in here, up to 320mm long and a 61mm triple slot thickness, making this a serious contender for a high-end gaming PC build.
Exterior
First impressions go a long way, and wow, does this case make a great one! For starters, you can see I have the white version in the office, but there is a black model available too if you prefer.
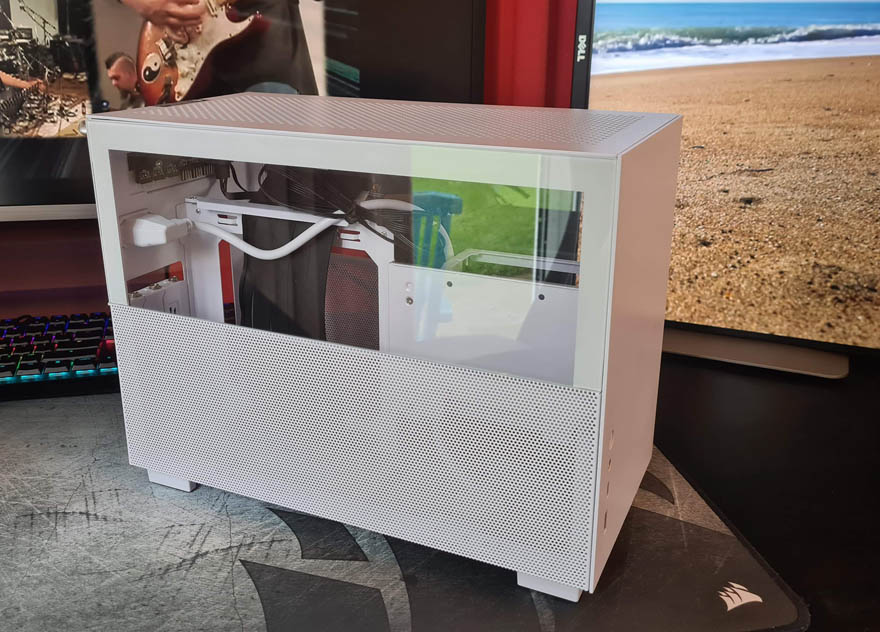
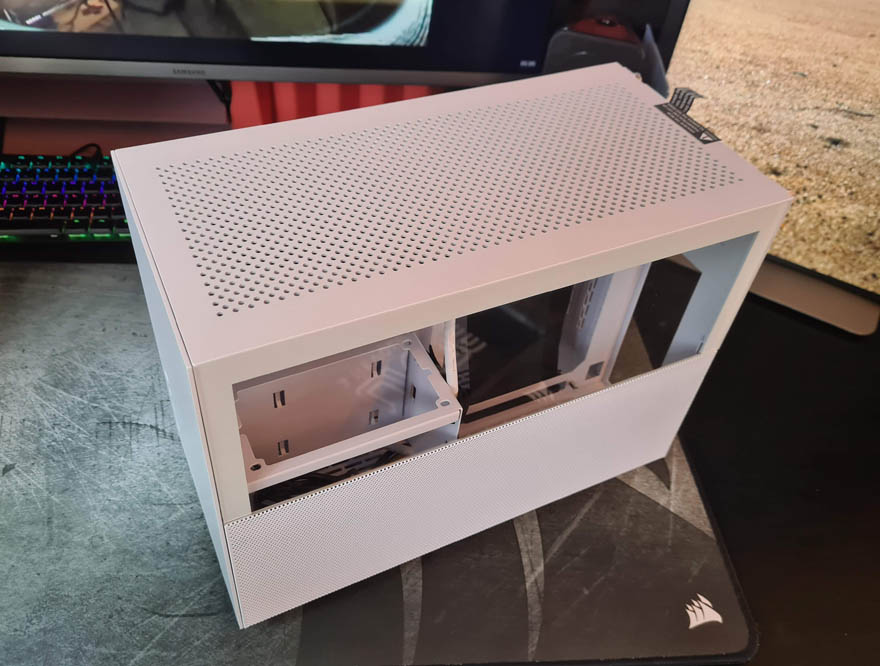
The side panel is split into two sections, with a large mesh ventilation section on the bottom, which will feed your GPU with air, and a tempered glass window at the top to show off some of your hardware.
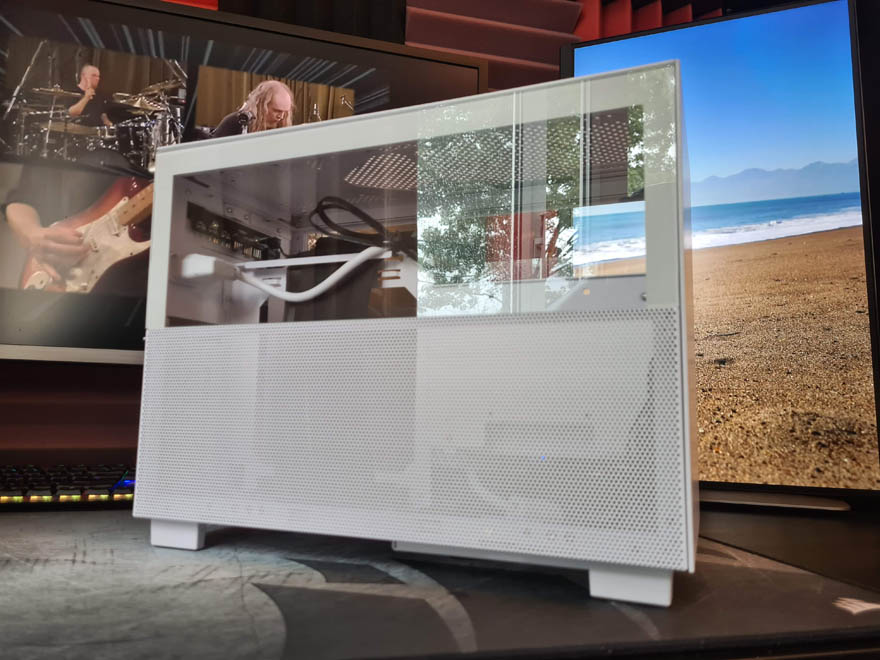
On the right, it’s pretty much the same deal, with another split panel design. However, on this site, you can see the PSU and the motherboard mounts.
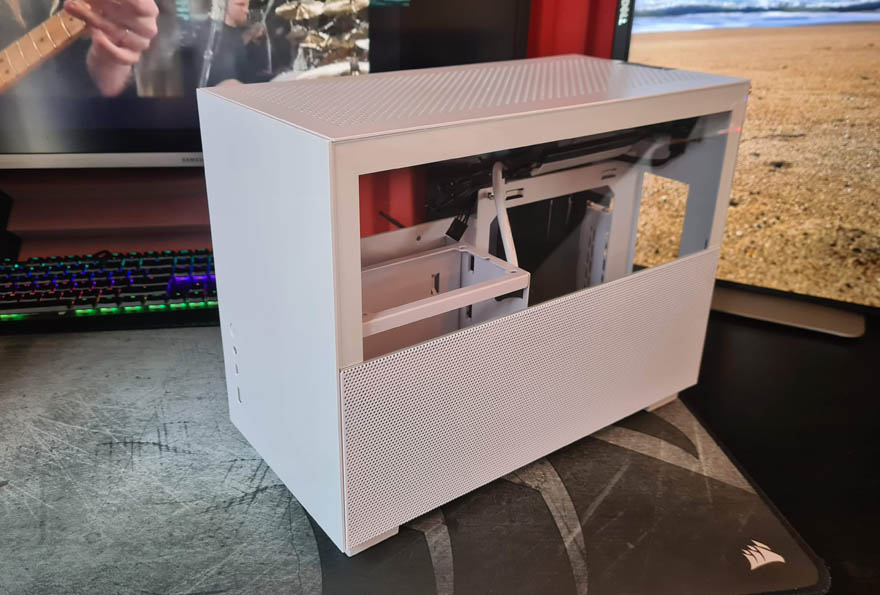
The front panel is very clean. Just a simple I/O panel with power, a combined 3.5mm jack, USB-C and USB 3 ports. There’s no ventilation, as this case takes air from the top and bottom mounts, as well as the side vents.
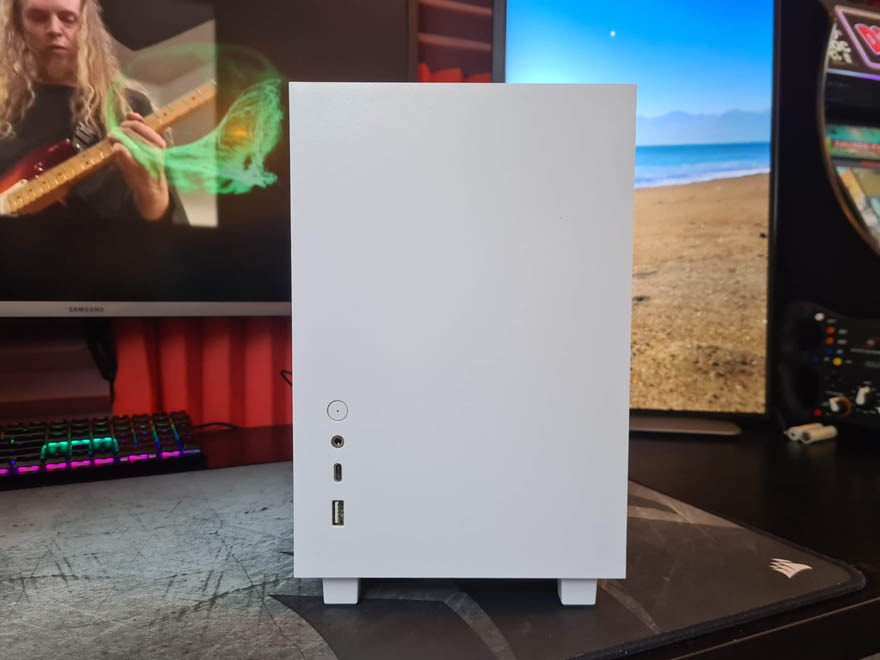
The case exterior is aluminium over a steel frame, so it’s very robust. Plus the paint job from Lian Li is excellent and compliments the excellent build quality well.
Around the back, you’ll find a PSU pass-through port, the motherboard I/O cut-out, and three expansion slots. However, since this is mini-ITX, keep in mind you only have one PCIe slot, so this is just for thicker gaming GPUs.
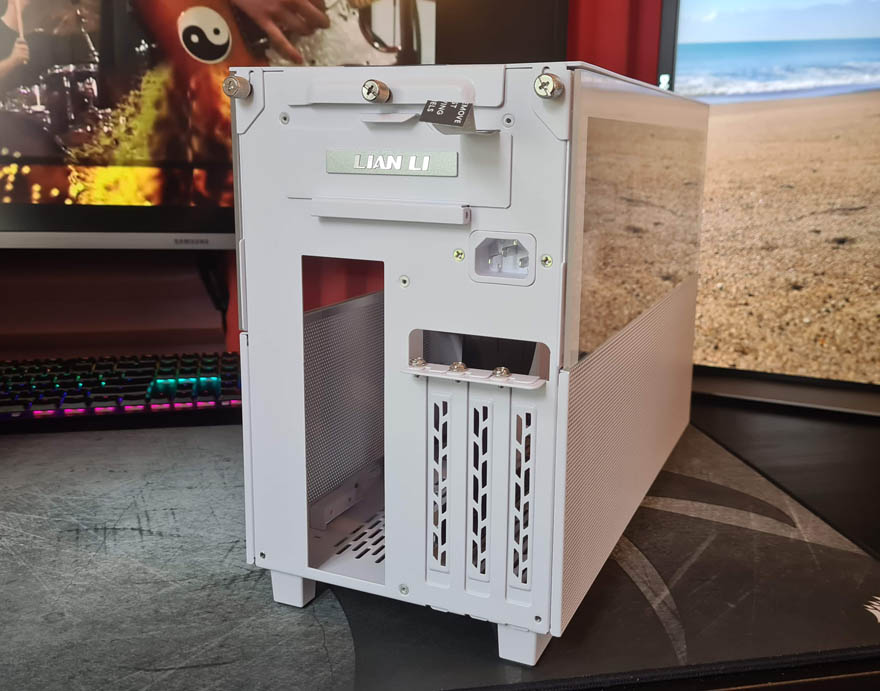
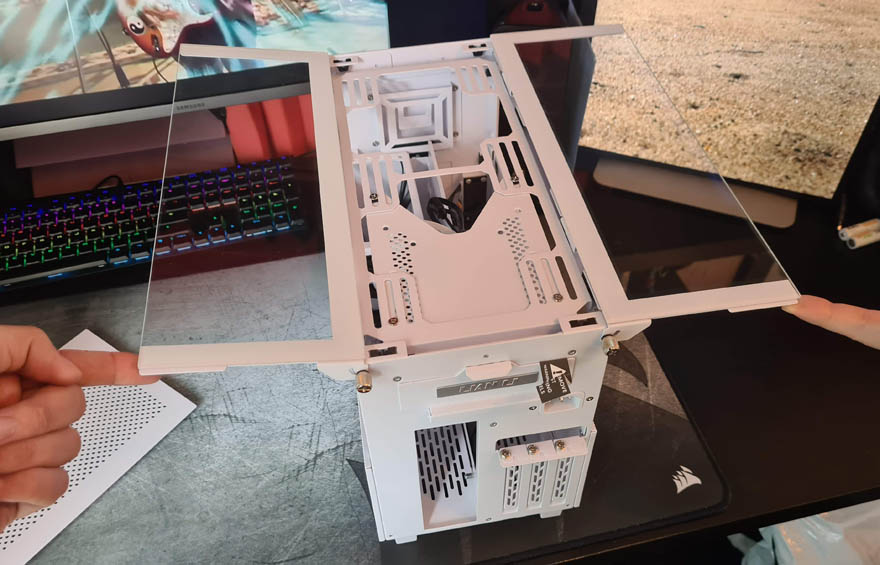
The top panel is held in place by the middle thumbscrew. However, these outer ones don’t fully tighten the windows in place. Instead, they’re a swing hinge, allowing you to open them out like a VW Bus window.
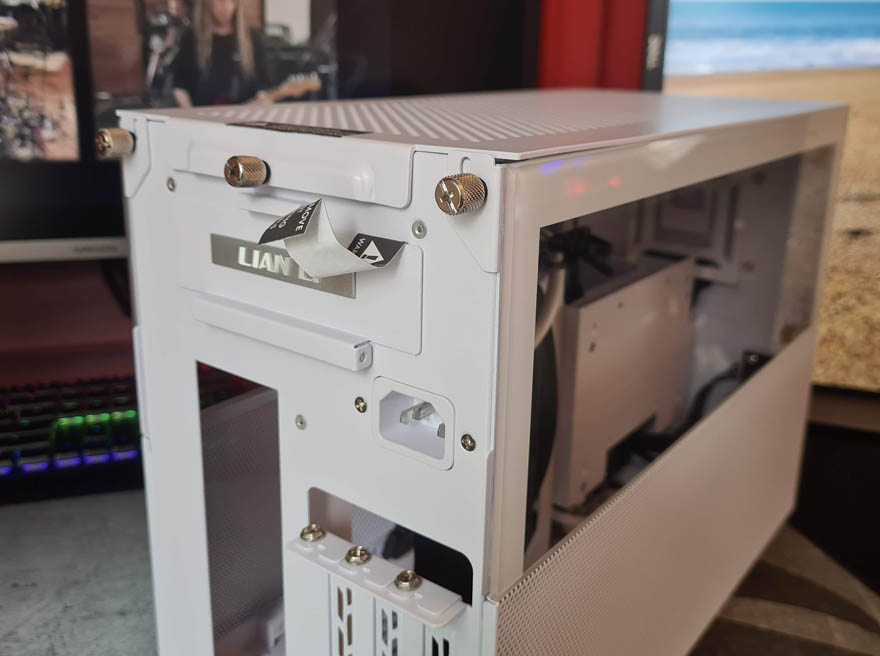
There’s a little tab so you can swing it open, which is pretty neat.
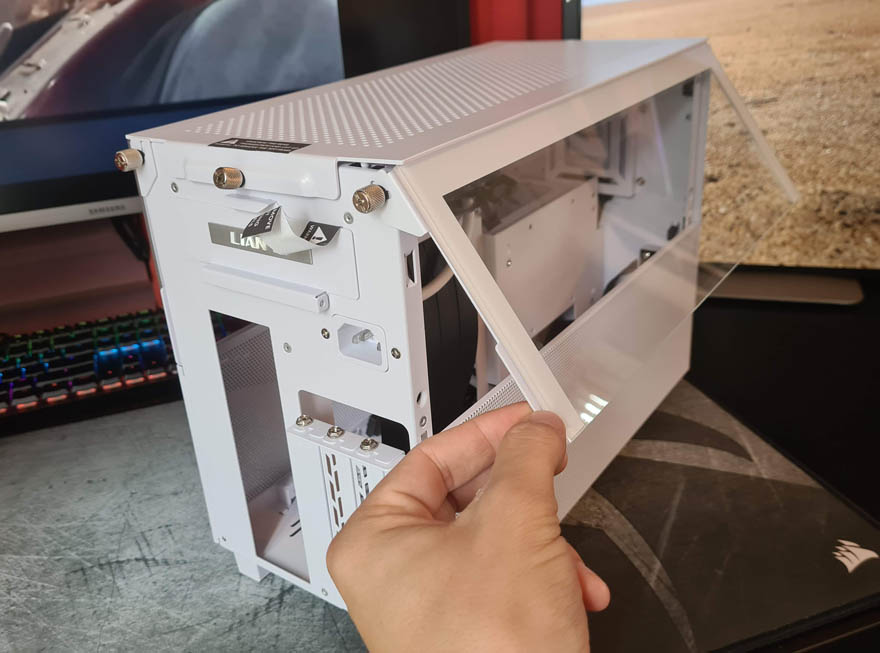
Remove the top cover screw.
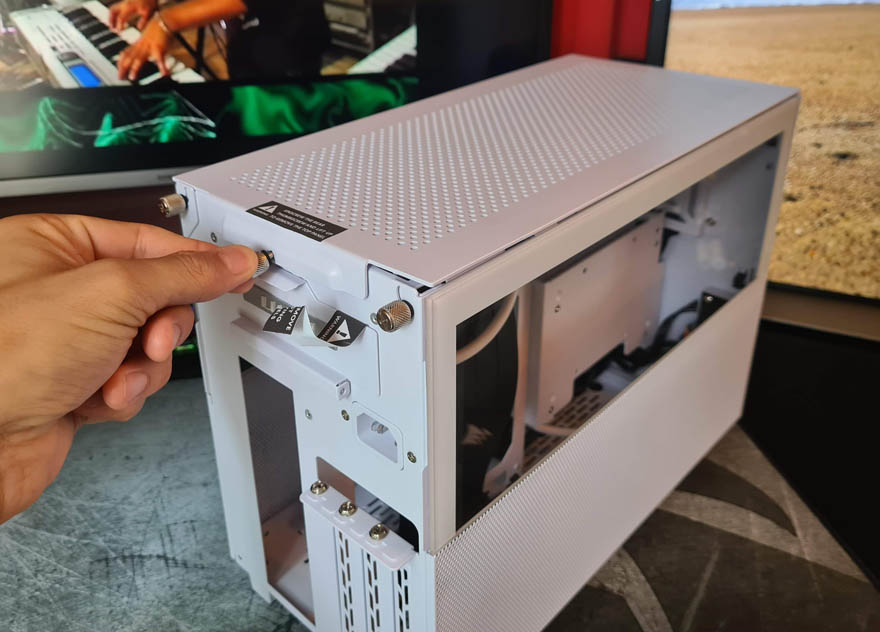
Lift that panel up.
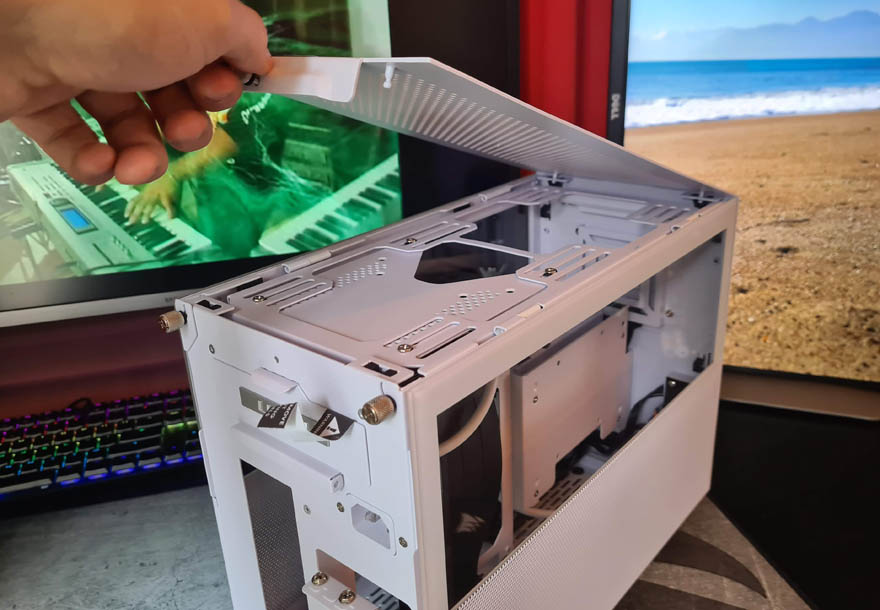
Now you’ll have access to the top fan/radiator mounts, but also the hinges to remove the glass should you need to.
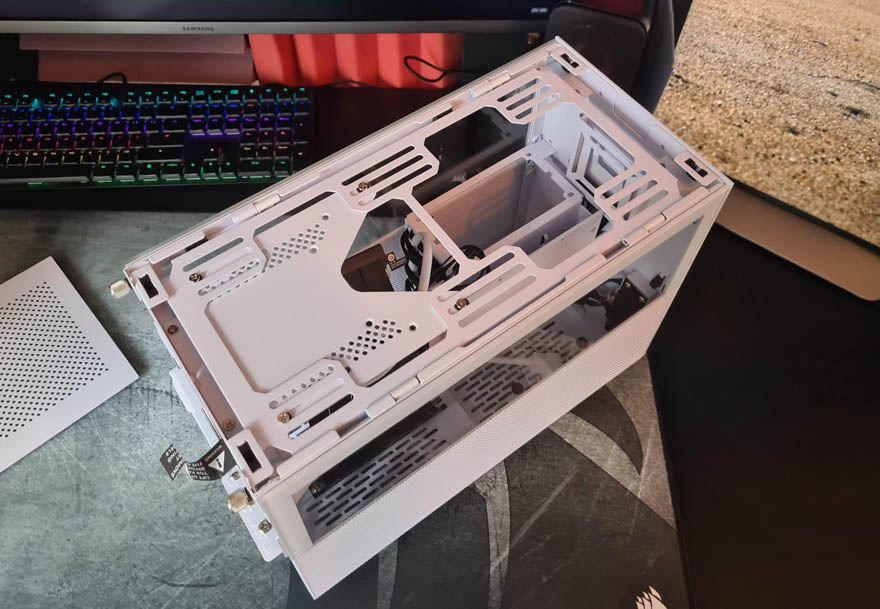
Pretty cool, right!?
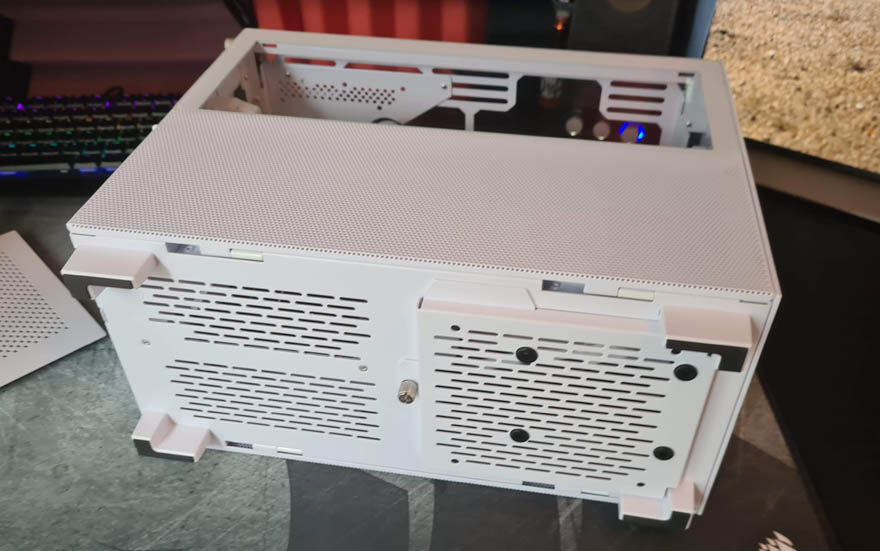
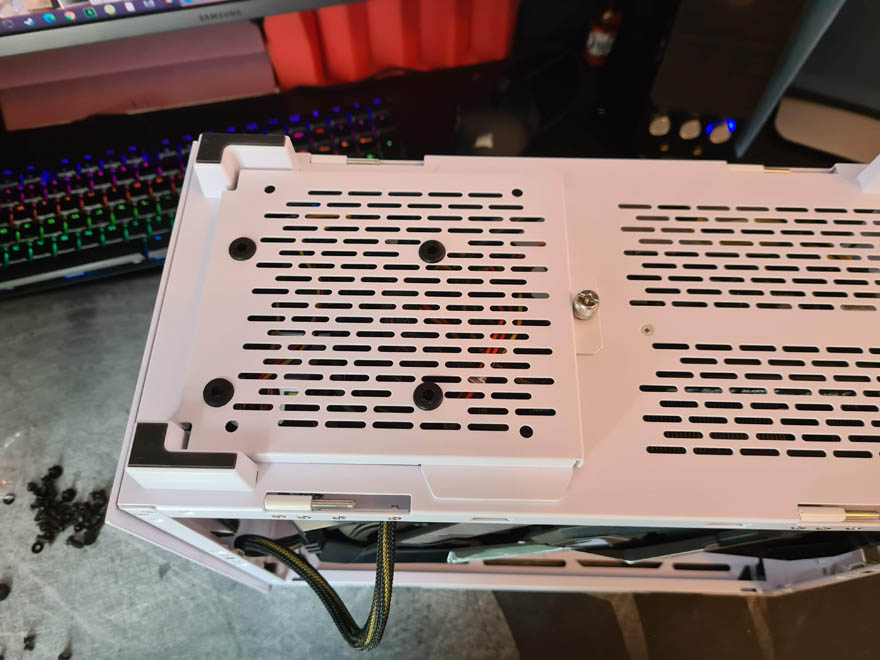
There’s plenty more ventilation on the underside, but you can also see some of the rubber grommets for the internal drive mounts. The panel is removable too, allowing you to slide hardware in from the bottom, easing the install process.
A Closer Look – Interior
Just like the glass at the top, the lower sections are on hinges too, so you simply fold them down to gain access. So far, I haven’t had to use a single tool to dismantle or access the case; it’s straightforward to work with.
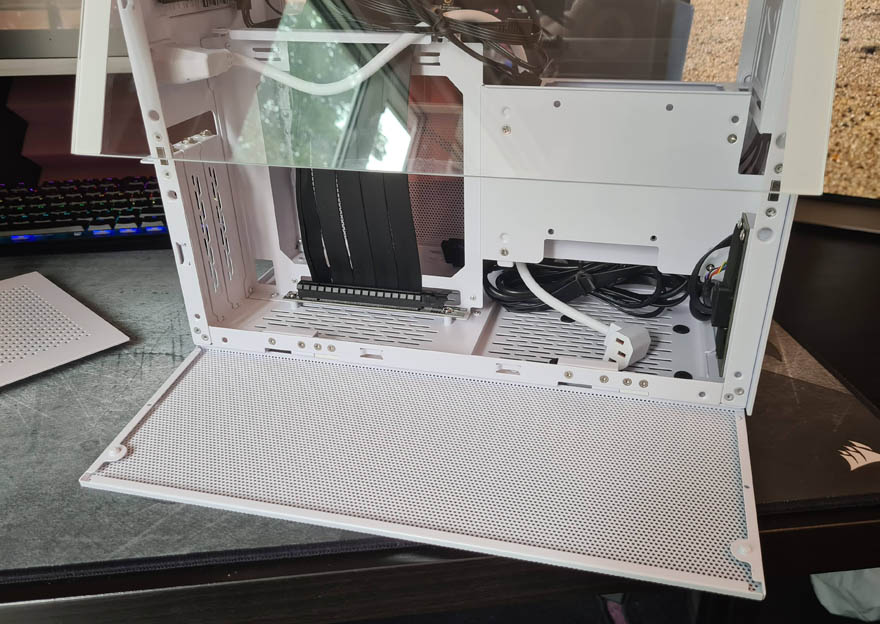
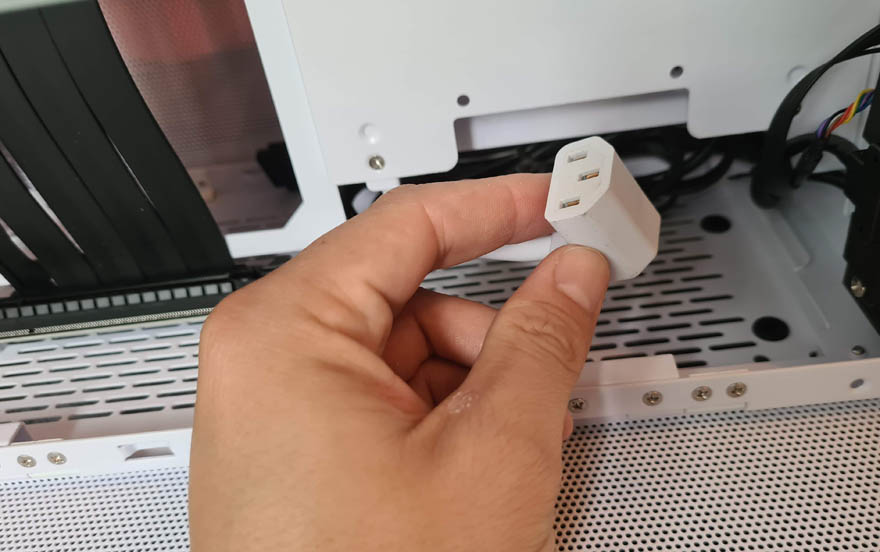
I like that the PSU cable is white, it’s a small detail that keeps the build looking tidy. Of course, the black case comes with a black cable.
The riser cable is pre-installed, which is a huge time saver.
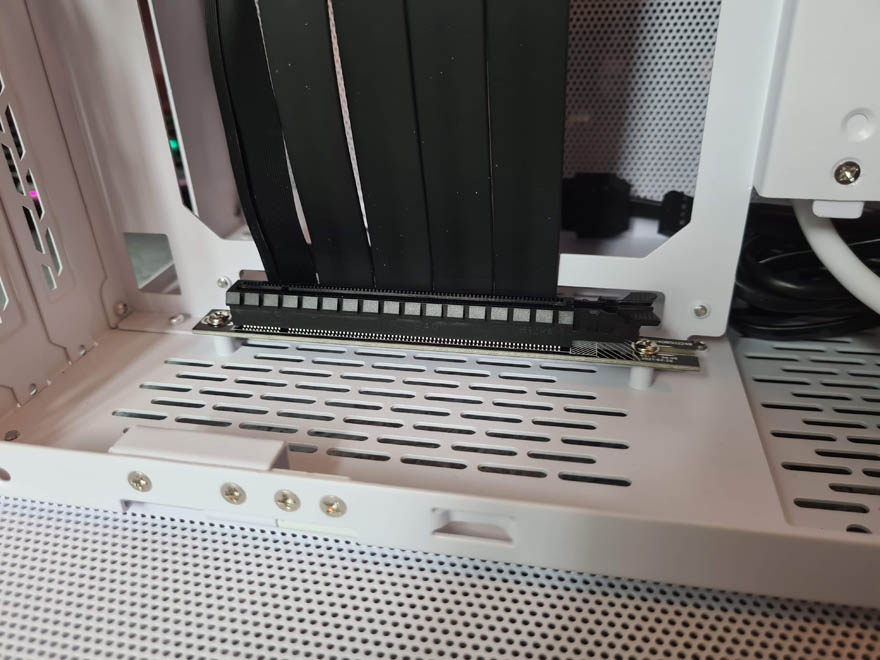
Of course, it’s the right size for the case too, so that saves the fuss of trying to find the right aftermarket one.
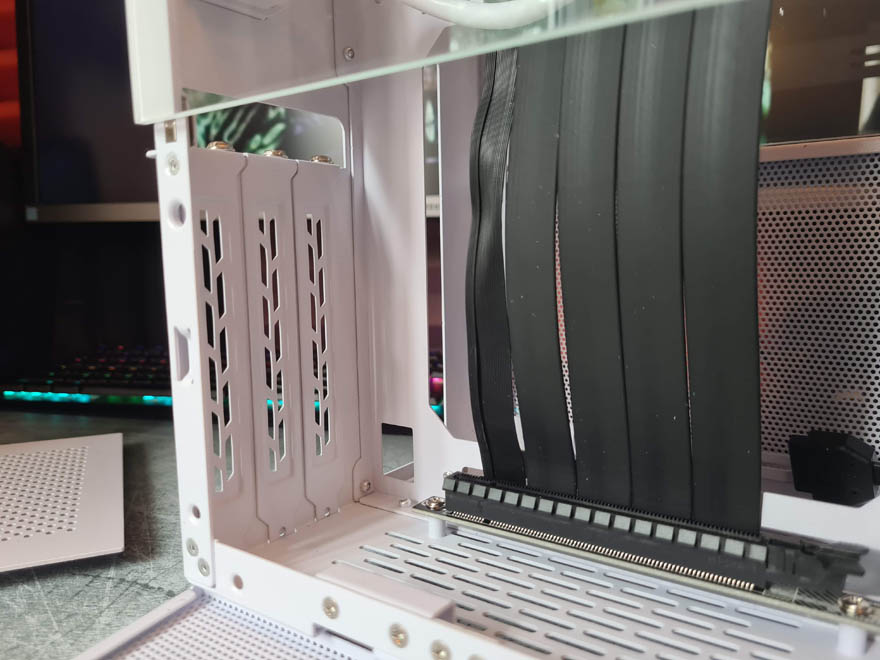
On this side, the motherboard standoffs are pre-installed, and most of the cables are pre-routed where you’ll need them too, so it really is ready to just drop your hardware in, which is excellent.
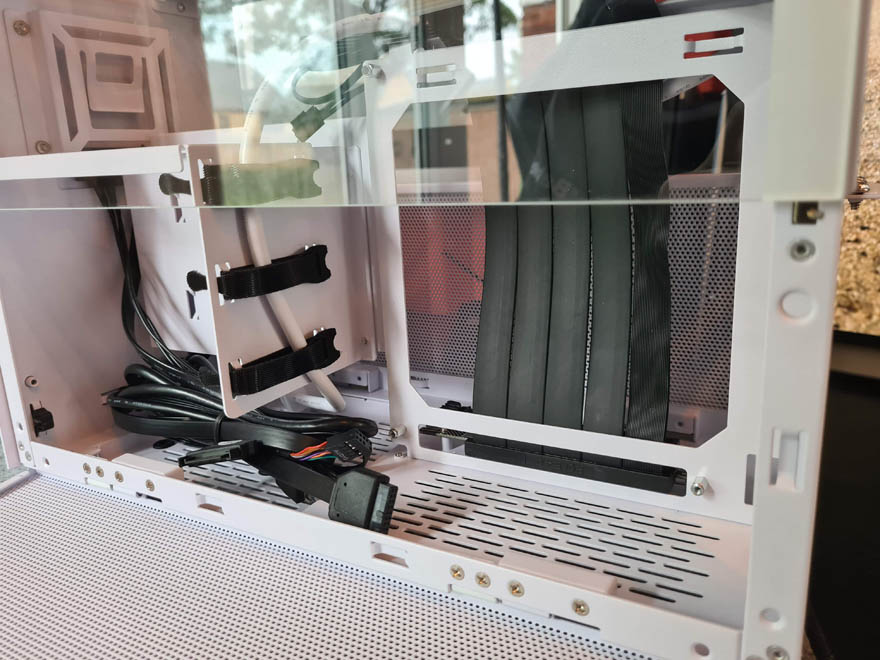
While that looks like overkill for one cable, you’ll also be able to strap down any motherboard and PSU cables here.
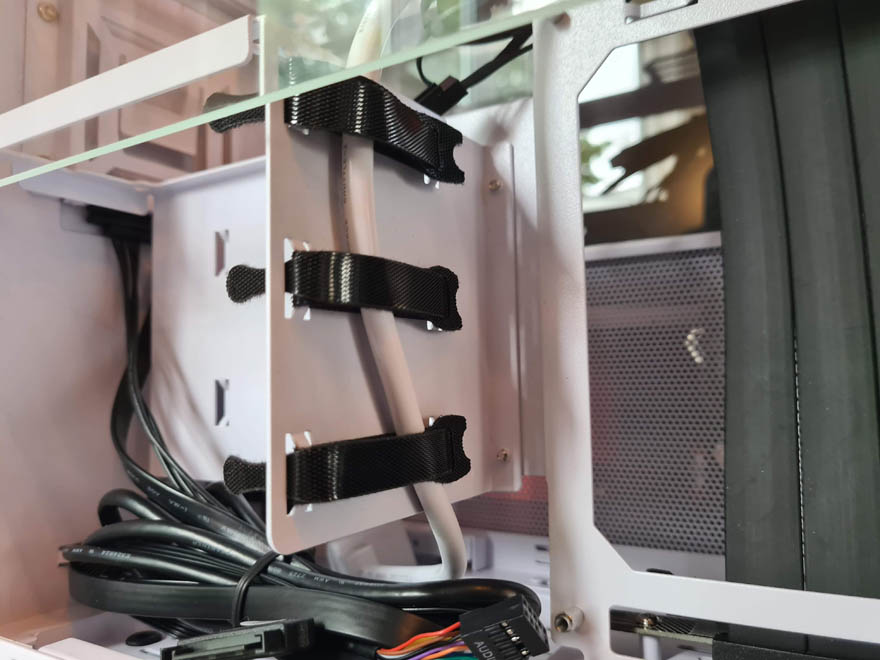
There’s a decent amount of space for the PSU too, and as you can see, there’s a little recess in the bottom of the case, giving it just a little more room too. Also, tucked into the front panel, there’s a removable bracket for drives there, and more mounts located in the lower section of the case.
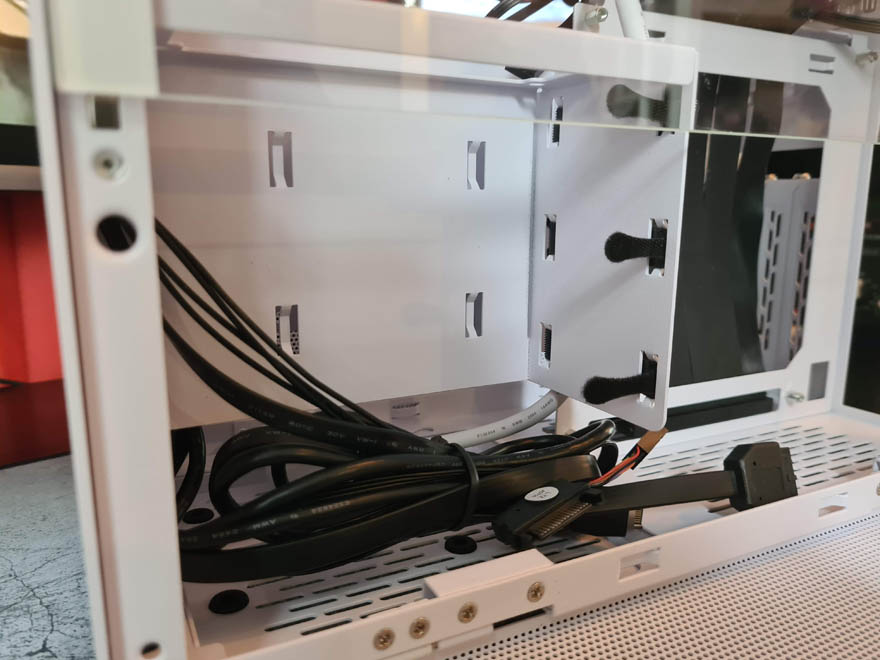
If you look closely, you can see there are SATA cables hard-wired too, which is awesome, as that’s not a spot I can get my fingers in.
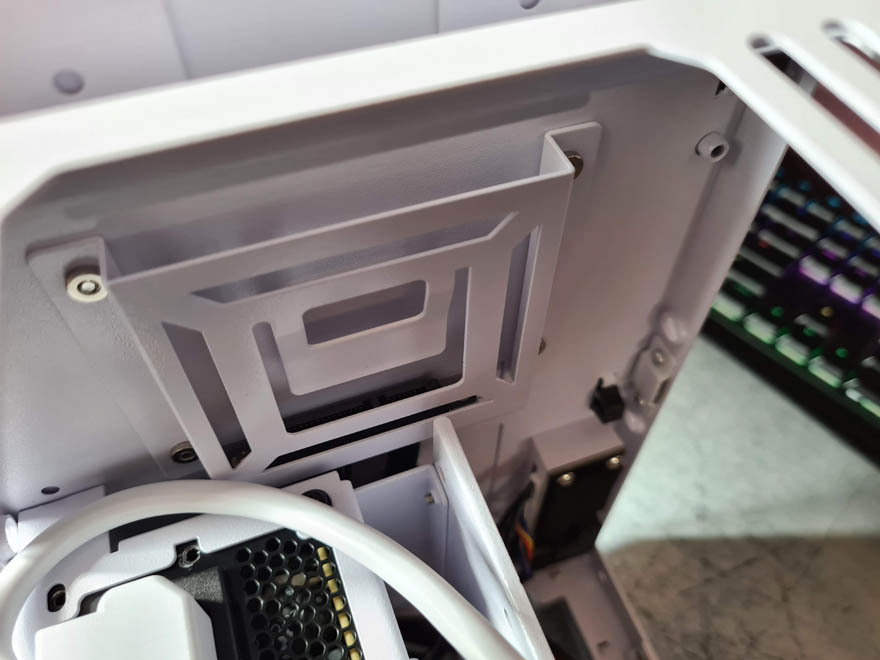
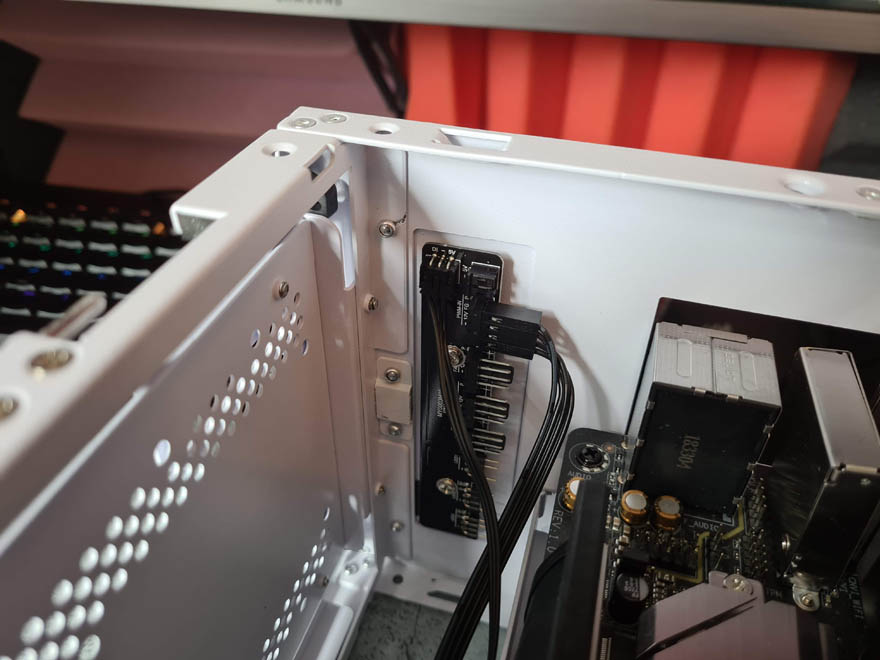
Speaking of thoughtful, which the case has no RGB or fans pre-installed, it’s got a built-in hub for both so you can keep your cable routing neat and tidy.
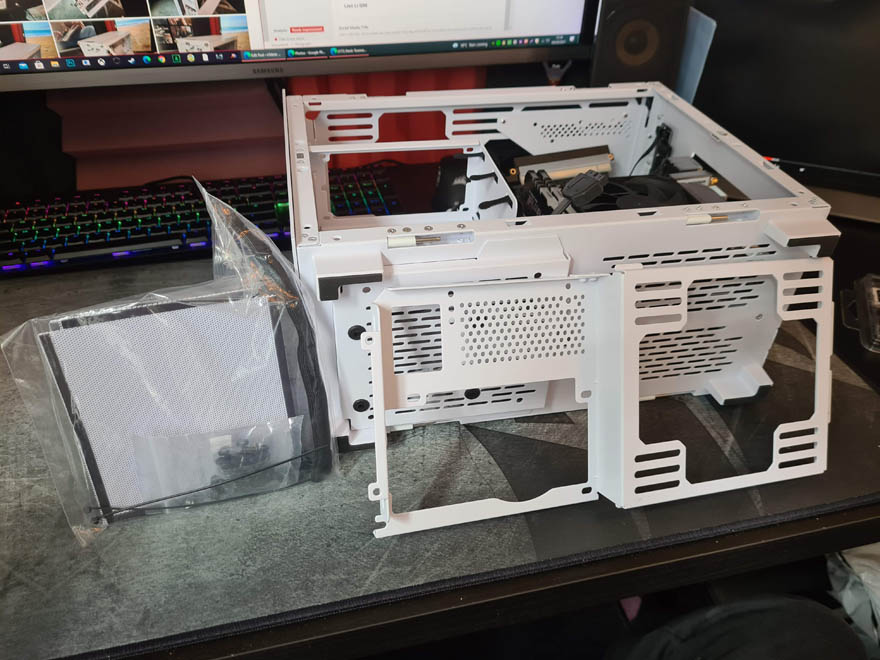
Plus, an alternative bottom panel offering different mounts, as well as its own dust filter, and all the screws you’ll ever need. Overall, it couldn’t be any more prepared for whatever you throw at it!
Complete System
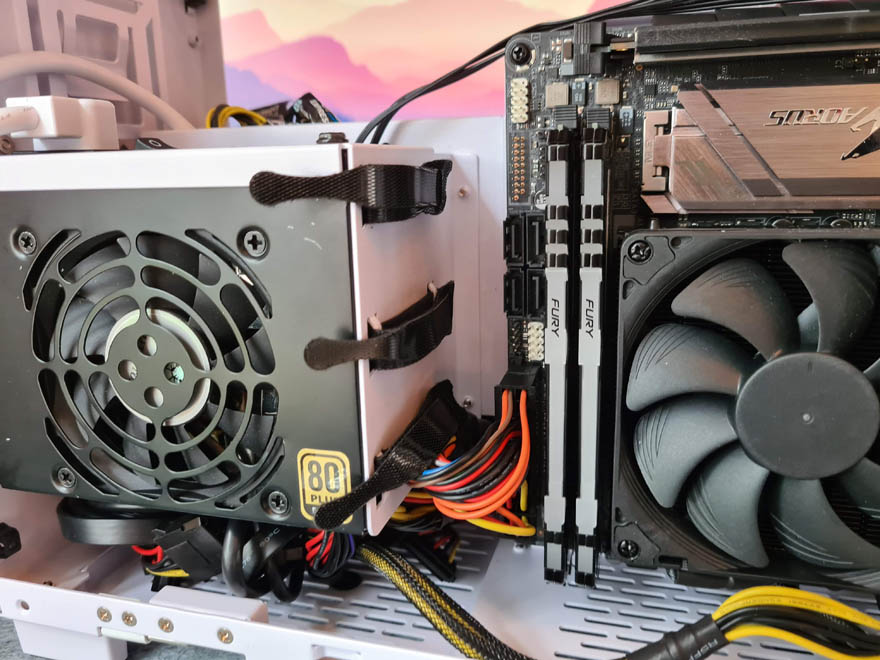
I did wonder where all my cables would go in this build, so I purposely (and lazily) left them a rats nest when I installed the PSU. It’s not modular, so all the cables are here. However, as you can (sort of) see, there’s actually a lot of room under my SFX PSU.
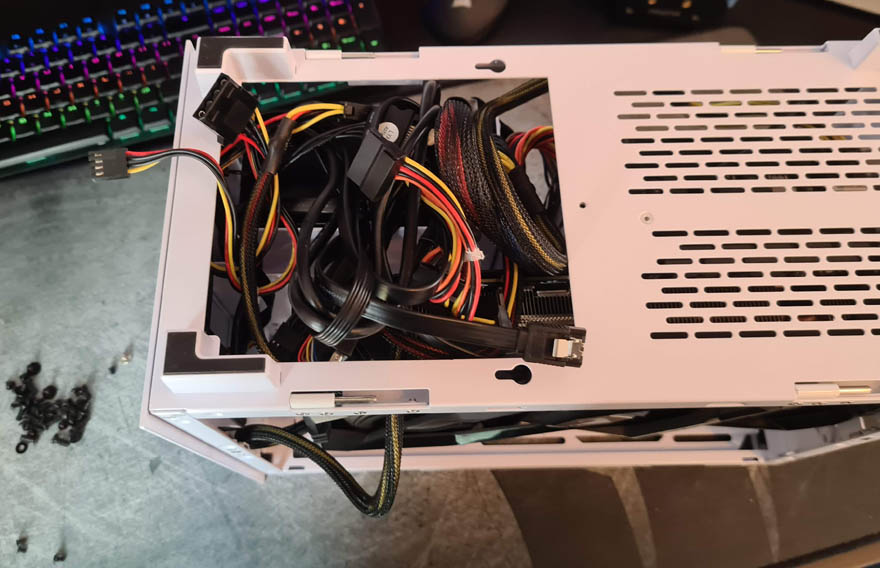
However, the bottom panel went on without issue, and really, you have a fantastic amount of hiding space for all this crap.
Flip the case back over, and you can see I’ve installed a really massive graphics card. It’s a 2.5 slot design and looks awesome in there. With the pre-installed riser, it was just a simple job of screwing the GPU into the rear bracket.
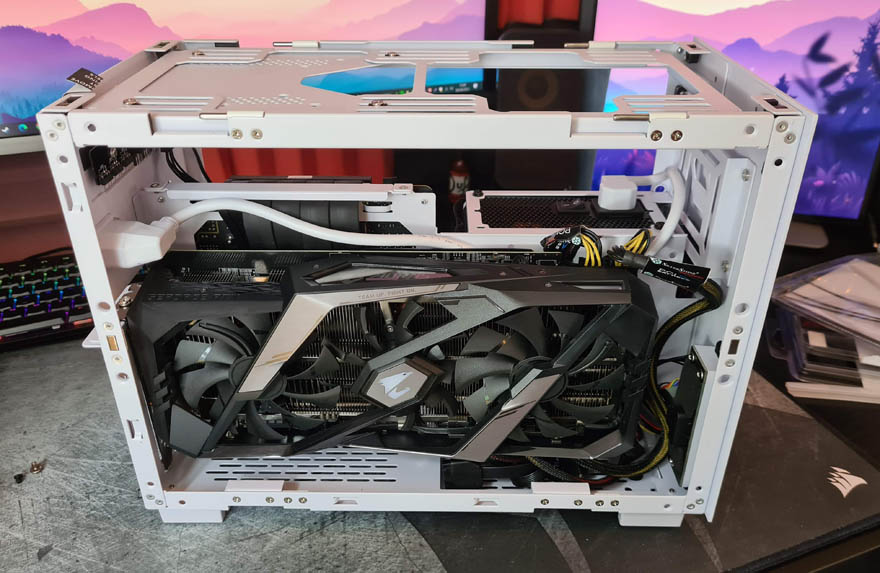
There’s a little bit of extra room down here, allowing for more cables to be routed out of sight.
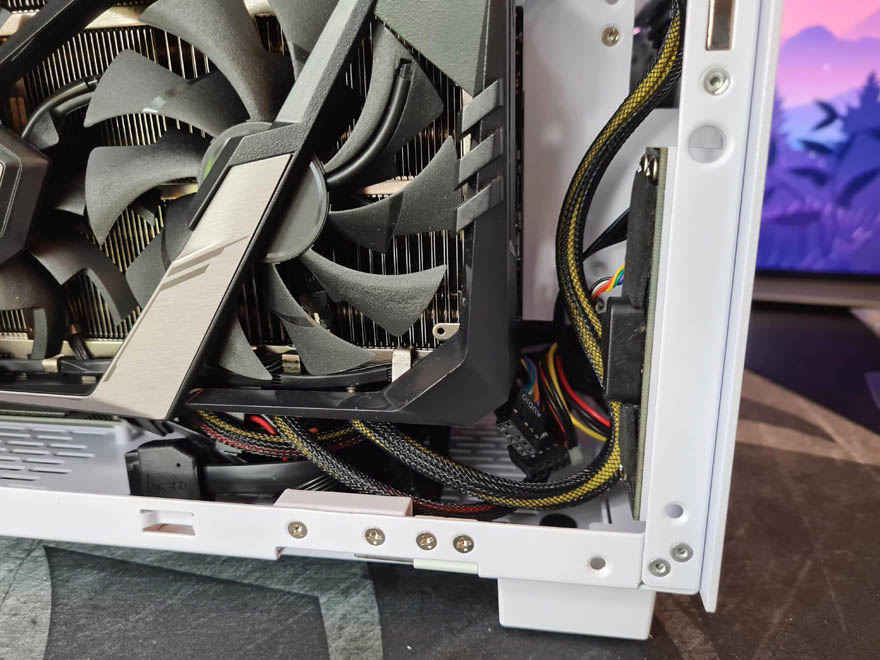
The riser cable sitting snug under the GPU.
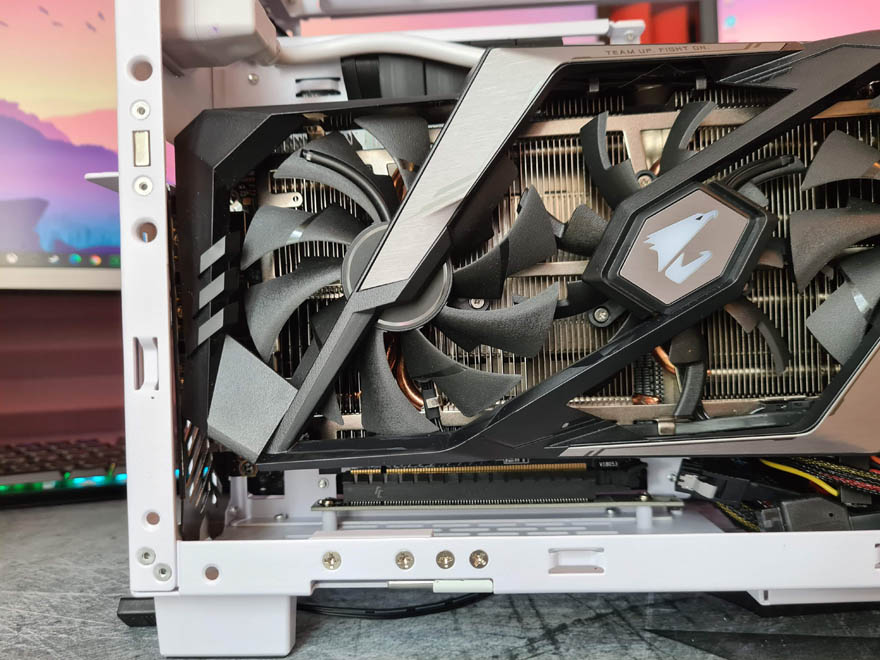
There’s a lot of space above it too, allowing more space in the top for a radiator or fans if you need them.
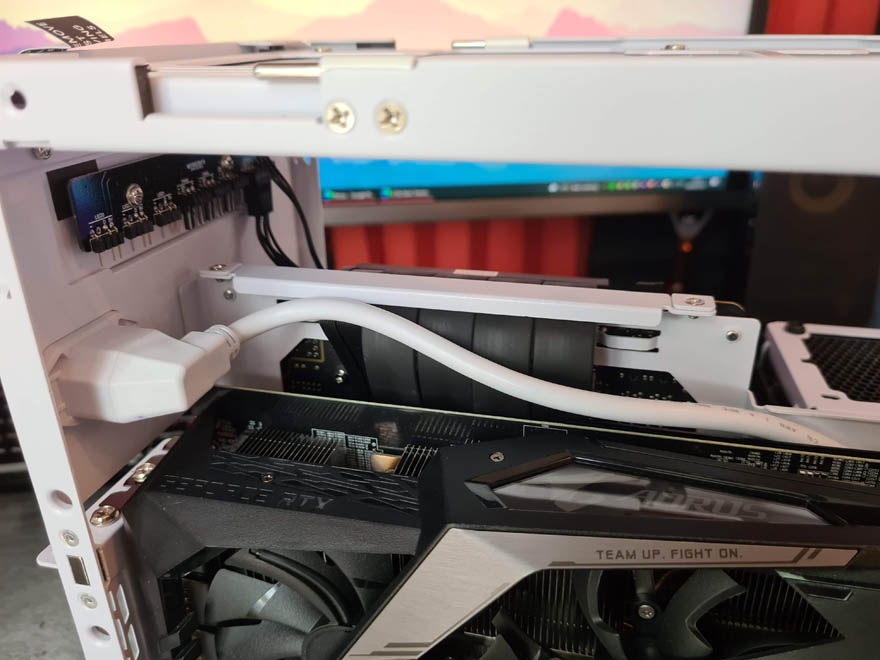
Despite being such a small case, there is WAY more space left over than I expected. That being said, I haven’t done many mini-ITX cases this last year, so maybe my judgement was off.
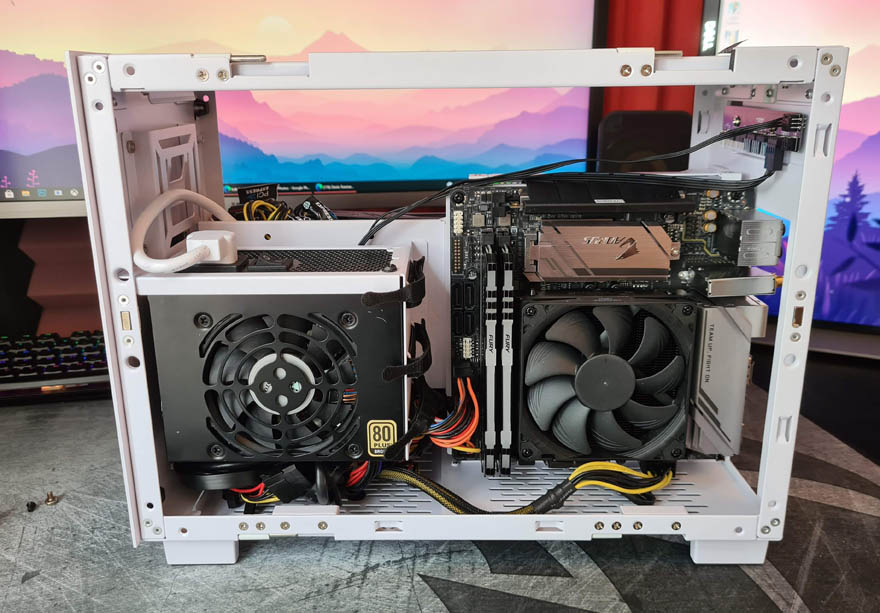
That’s the rat’s nest of cables from earlier. Once that side panel is on, you’ll never see it.
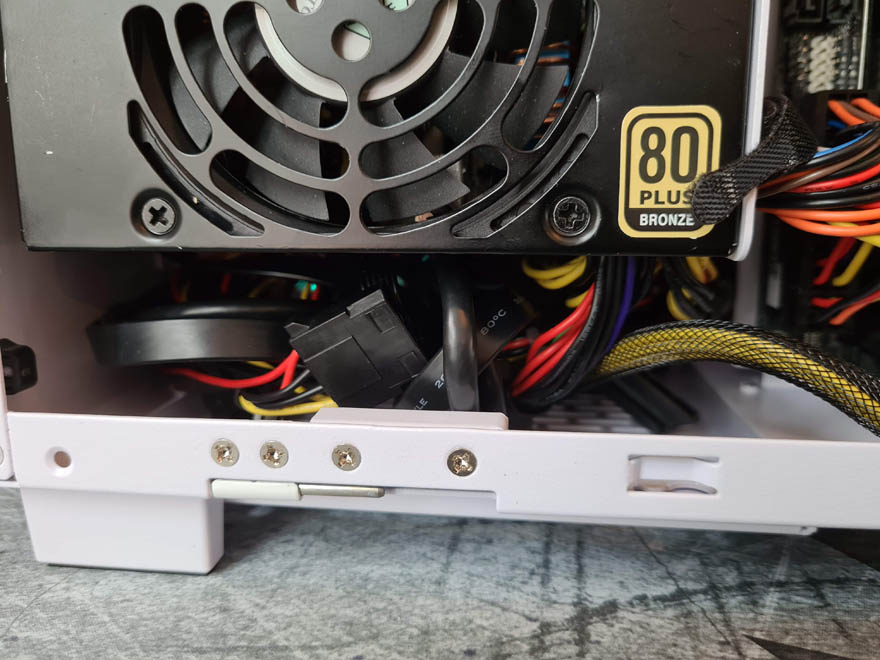
I didn’t need those cable ties at all, but keep in mind the case supports different orientations and hardware if you change the bottom panel for the alternative one. Furthermore, depending on how your motherboard is laid out, that can also change your cable routing requirements.
Pop the side panels back in place, and you can see the top half of the GPU, and it’ll be great to show off your RGB. Plus, the GPU can pull air in from the side panel ventilation.
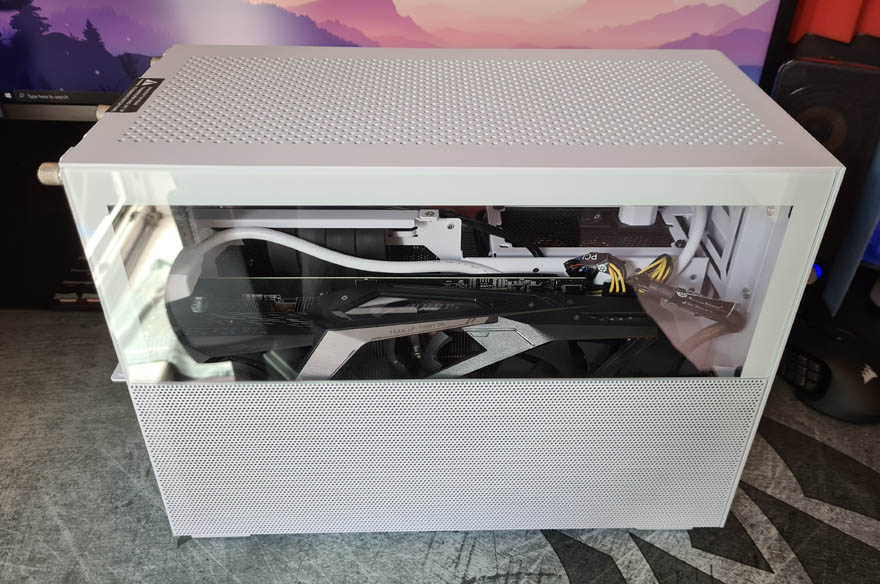
Everything is very clean looking from this side
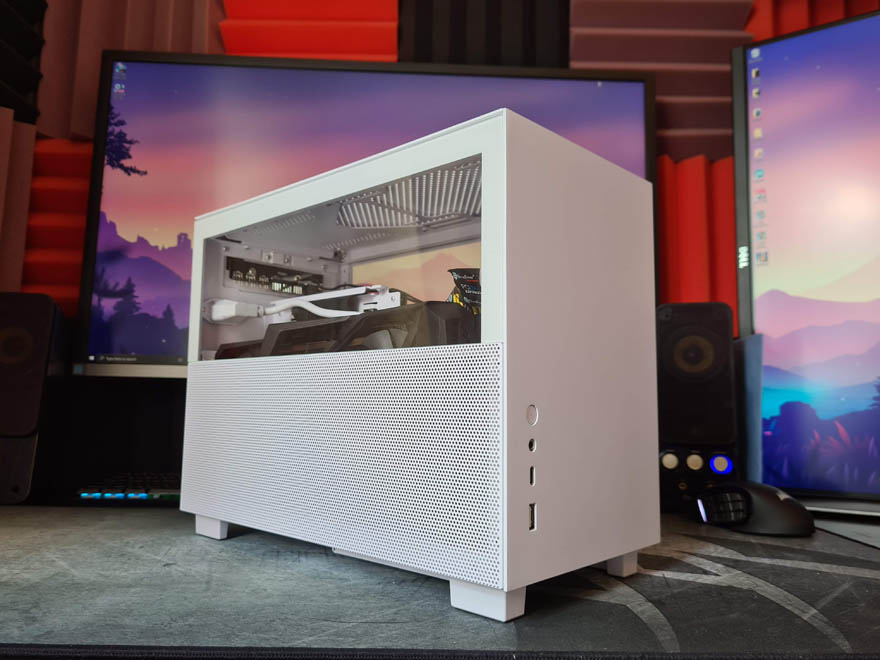
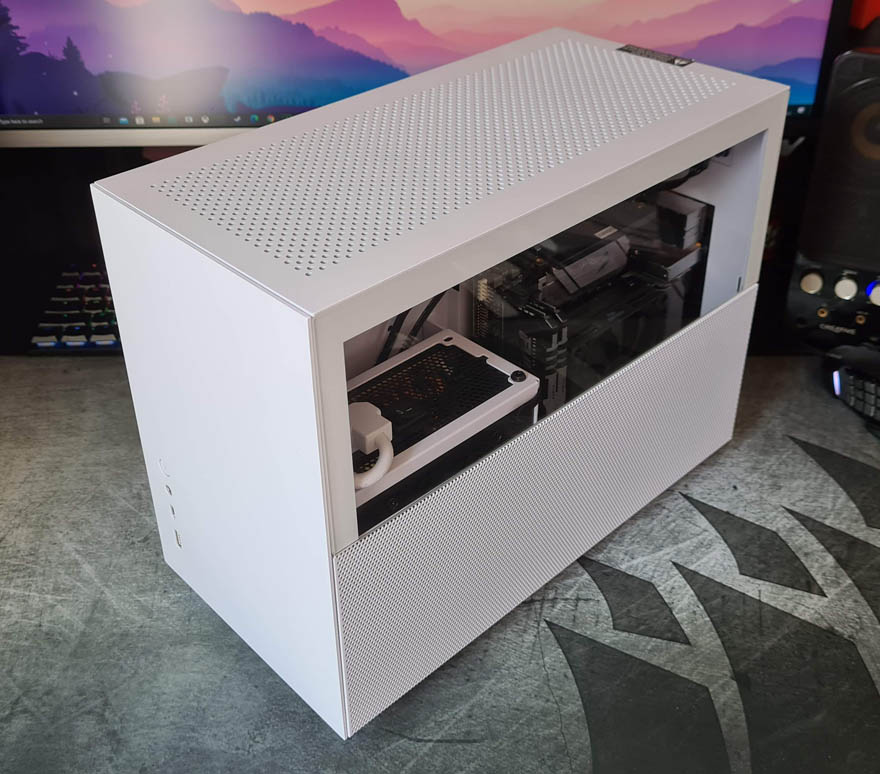
From the other side, you can see the bottom half of the motherboard (the motherboard is inverted in this build), while the PSU is largely hidden out of sight.

However, you can see it all lurking if you’re at the right angle. Furthermore, the PSU and the CPU cooler both can pull air directly through the filter on the side panel, while there’s going to be good passive heat exhaust out of the top of the case.
How Much Does it Cost?
The Lian Li Q58 pricing starts at $119.99 for the black PCIe 3.0 version, but for the white PCIe 4.0 version included in the review, pricing is $159.99. That means there are four versions of the case to watch out for, two in white, two in black, so be sure to order the correct version if you are using a PCIe 3.0 or 4.0 device on the riser cable. You can check for up to date stock and prices in the UK on Amazon here.
- Black Q58 with PCIe 3.0 – $119.99
- Black Q58 with PCIe 4.0 – $149.99
- White Q58 with PCIe 3.0 – $129.99
- White Q58 with PCIe 4.0 – $159.99
Overview
Lian Li is always pushing the limits with their designs, offering something unique or innovative, or at the very least, interesting. The Lian Li Q58 is certainly no exception, and while I’ve seen cases with a similar layout and form factor before, the split side panels with top and bottom hinges are really cool, giving you a way to access your system for general maintenance easily or to tinker with the hardware in whatever way you see fit.
Furthermore, the placement of the panels means that all the hardware that relies on airflow is pulling it from a filtered intake less than an inch away from their respective fans. So while the case has no fans of its own, it doesn’t really need them. That being said, if you really felt the need for fans or radiators, there’s a good range of options for installing them at the top of the case, where there’s ample room for them. Alternatively, the bottom panel be swapped to add support for additional cooling too.
The inclusion of the riser cable was a nice touch too. Even more so, as it’s fully pre-installed, rather than just chucked in the box. Lian Li has done a lot of little details that mean you can get on with putting in the fun stuff when it comes to build time. The hard-wired SSD mount in the front is a nice touch and makes cable management of that a lot easier. Of course, there’s the built-in fan and ARGB hub hiding in the top, the alternative bottom panel, filters, etc. Of course, you don’t get all this stuff for free, which is why this little case is $120. However, that’s pretty reasonable given the level of features and the quality of the design.
I must admit, the case was a little tricky to work with, but that’s mostly due to the smaller size. Cables have to take tighter turns, and routing them can be tricky. However, take your time, and you can get a pretty great looking build. At least there’s plenty of room under the PSU to hide extra cables. However, I must point out that after this build was completed, Lian Li shipped me a replacement I/O cable bundle for the front panel, which has a more compact internal design, allowing for up to 320mm GPU clearance, as the one included was an earlier design.
Should I Buy One?
It’s a pretty expensive case, but honestly, if you want something stylish and compact that can sit up on top of your desk rather than be shoved under it, it’s perfect for the job. While it does have some tempered glass, it’s clear the focus is more on dust filtered airflow around the hardware, so as stylish as it is, it’s actually a lot more practical and usable on a daily basis than some of the compact “show-off your hardware” boxes that are out there. Everything you need and more is included in the box too, so no matter what type of build you’re going for it’ll be a breeze. I’d happily buy one, but I’m pretty torn between this and the Lian Li TU-150.


