Mio MiVue 766 WIFI Smart Dashcam Review
Bohs Hansen / 6 years ago
A Closer Look at the Camera and its Accessories
Enough with the talk, let’s get into the physical details of the camera, accessories, and packaging.
Mio MiVue 766 WIFI Packaging
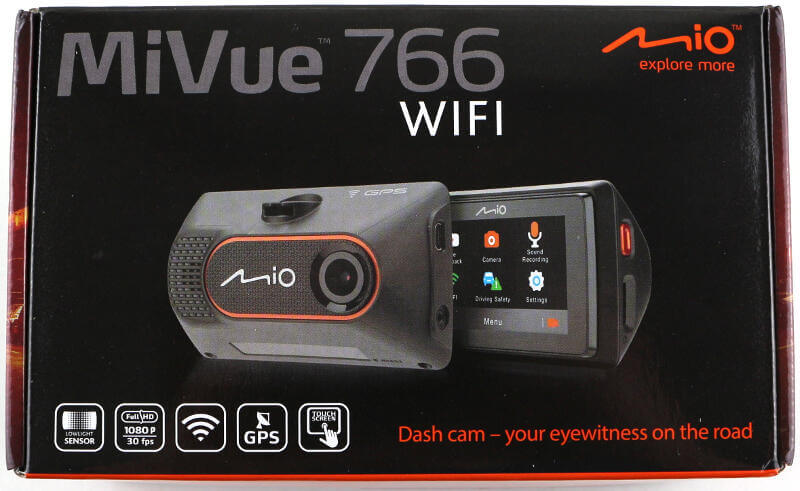
The Mio MiVue 766 WIFI comes in a full-colour printed box. The top has an image showcasing the camera from both sides as well as a list of feature highlights.
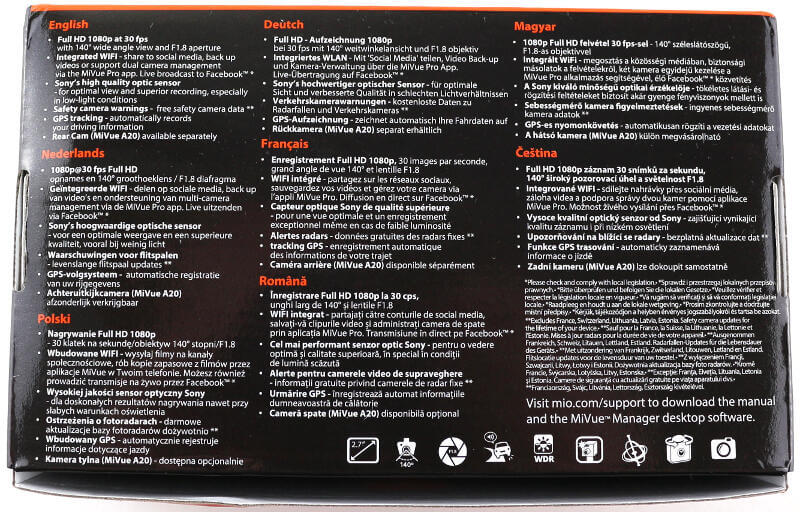
The bottom side has more details on the specifications, from recording quality to safety warnings.
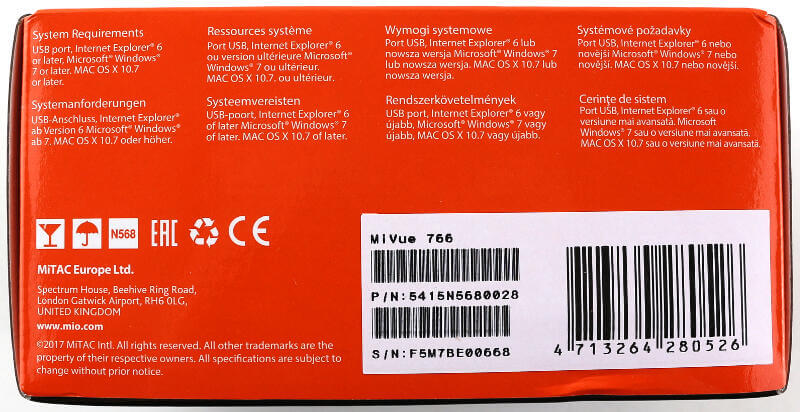
The system requirements for the companion software is printed on the bottom of the box.
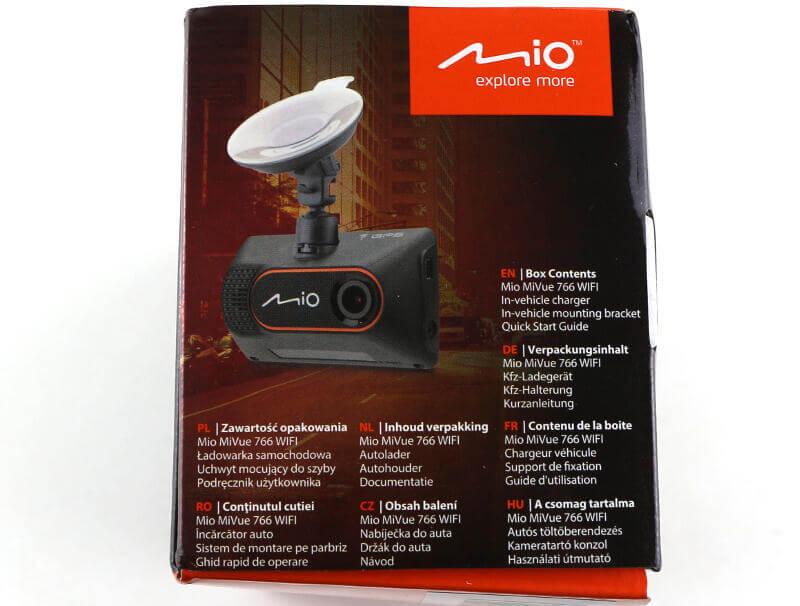
The sides also feature a bit of content such as a photo of the dashcam setup option and a list of what’s in the box.
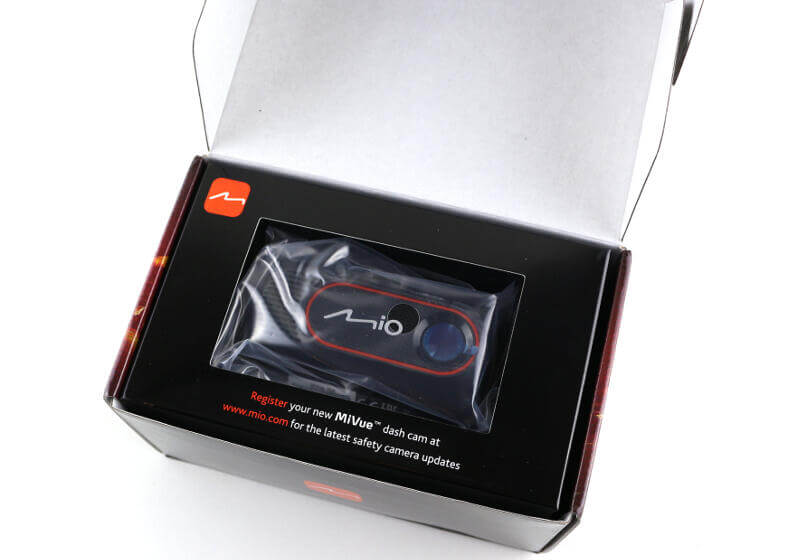
When you open the box, you’re presented with the camera right away. The inner packaging also reminds you of the benefits of a registration at Mio’s site.
What’s In The Box?
So, what’s in the box? Well, there is the MiVue 766 WIFI dashcam itself. The lens has a protective film cover which you need to remember to remove. But you can wait with that until you have it mounted.
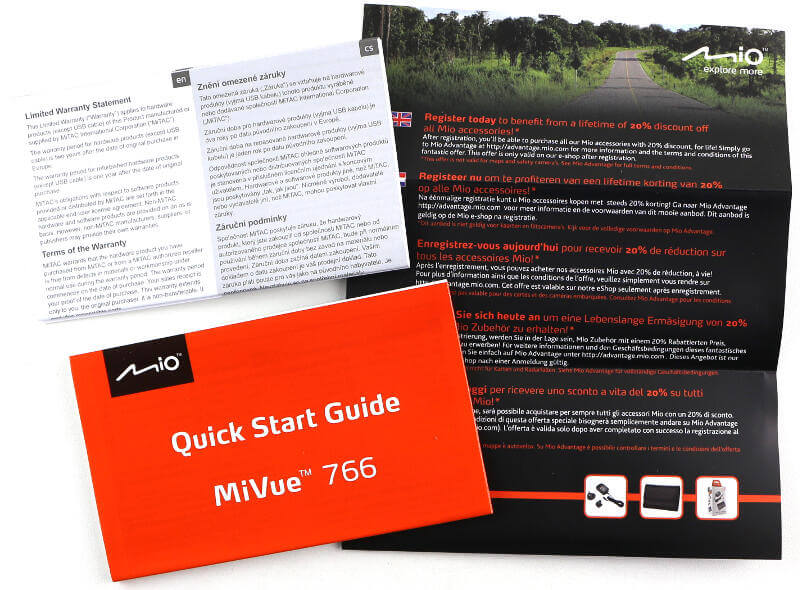
There are three notes included. A quick-start guide, a warranty statement, and a registration note. Registration of your dashcam will also give you a 20% lifetime discount on Mio MiVue accessories.
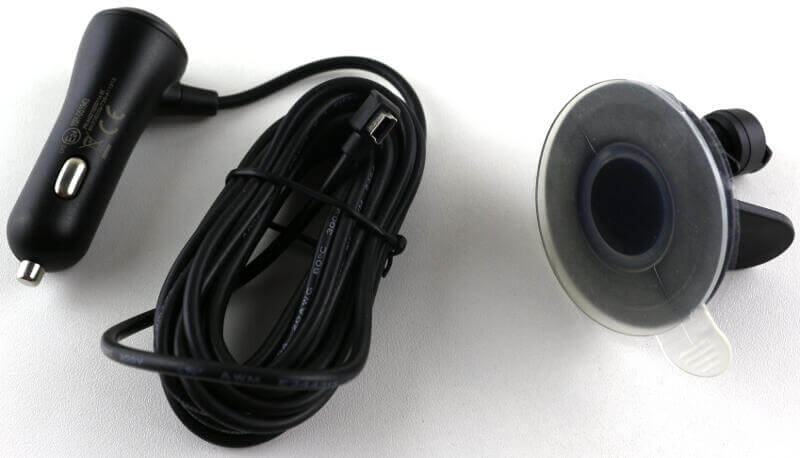
There aren’t a whole lot of accessories, as you don’t need them. There is a mounting bracket and a car charger with USB.
A Closer Look at the Details
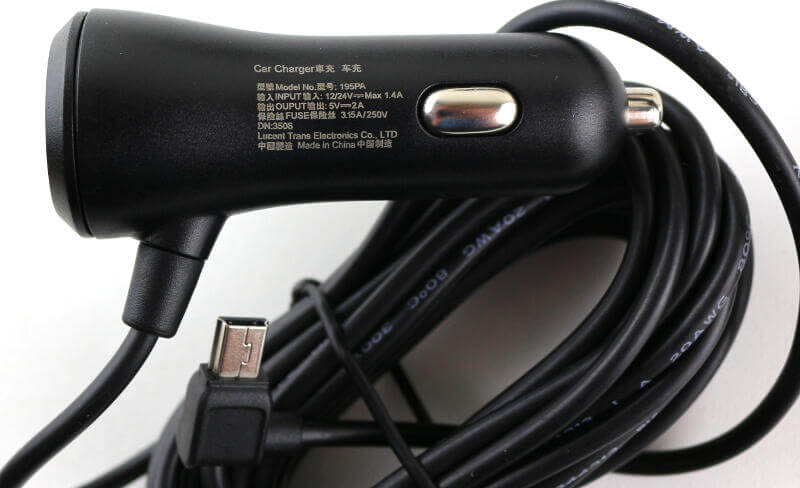
The 12V car charger has a max of 1.4A which allows it to deliver about 16 watts. The cable is sturdy and thick as well as quite long. Making a proper cable routing to the camera shouldn’t be a problem in most cars.
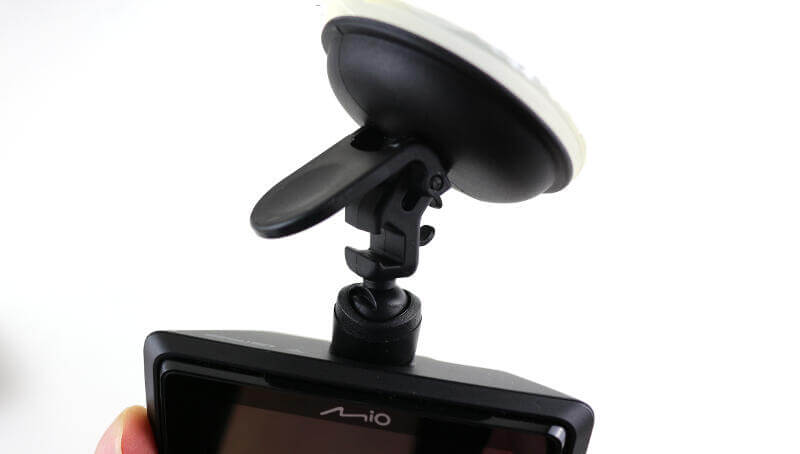
The mounting system works as we’ve seen on such systems for ages, through sucktion on the windscreen. It is a proven and effective method. The camera is removable from the mounting system without actually removing it from the screen. It allows you to take it down and put it in your glove compartment, for example. A useful thing to do if you’re parked in an area which you don’t trust.
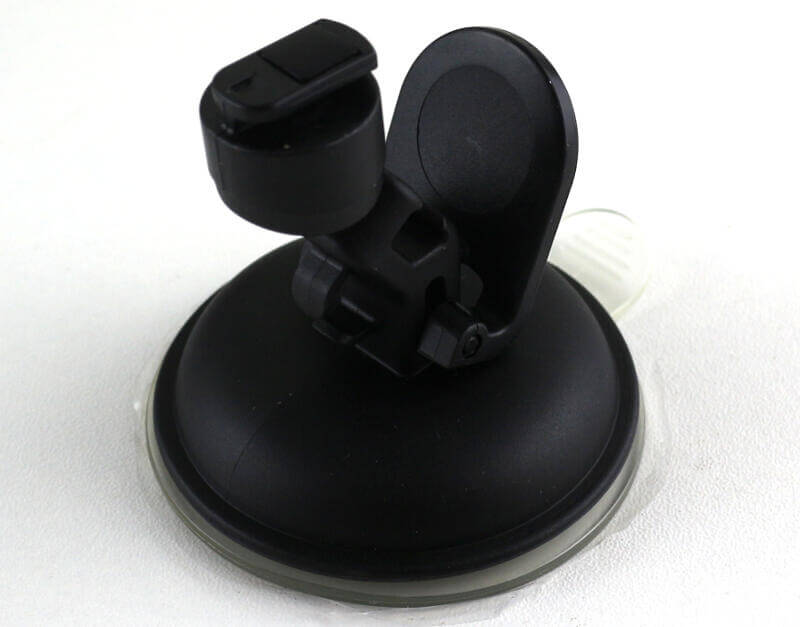
The mounting system has cable routing hooks which allow you to run the cable and make sure that it doesn’t dangle in front of the lens.
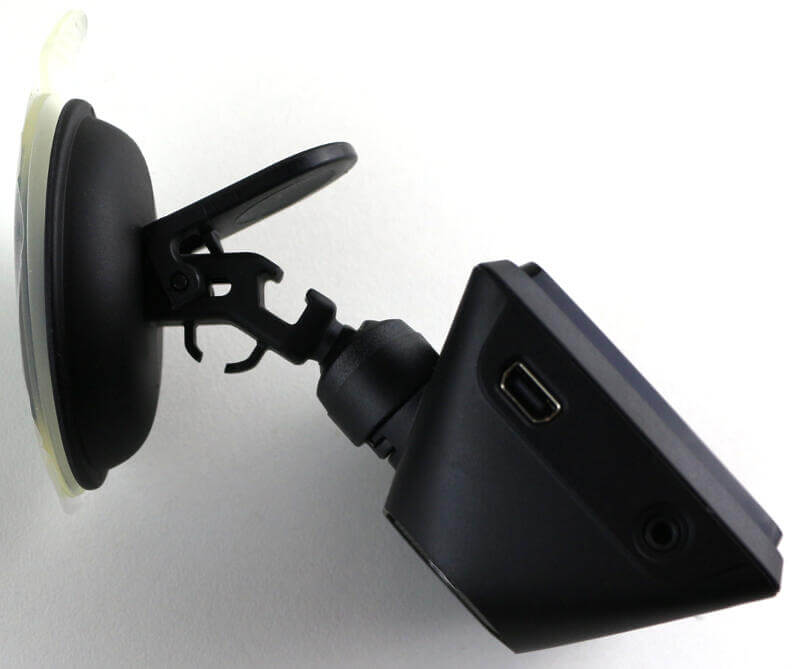
The camera is connected to the mount with a ball system. It allows you to rotate and angle the camera to the proper position.
Camera Details
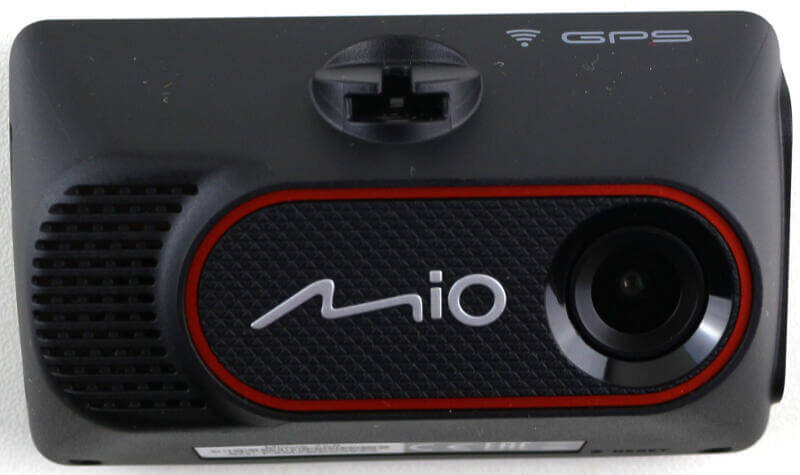
The camera itself doesn’t have a whole lot to show and explain. The use of a touchscreen allowed Mio to keep things simple.
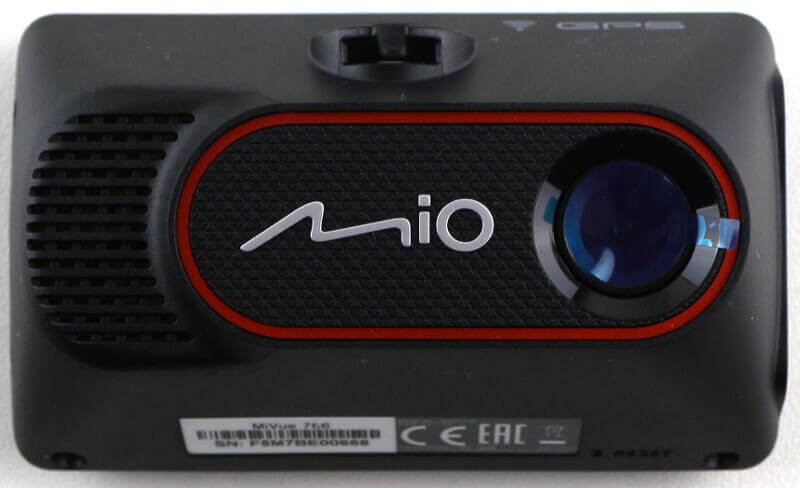
The front has the logo printed next to the lens, followed by a mesh for the speaker and microphone. We can also spot the mounting spot at the top.
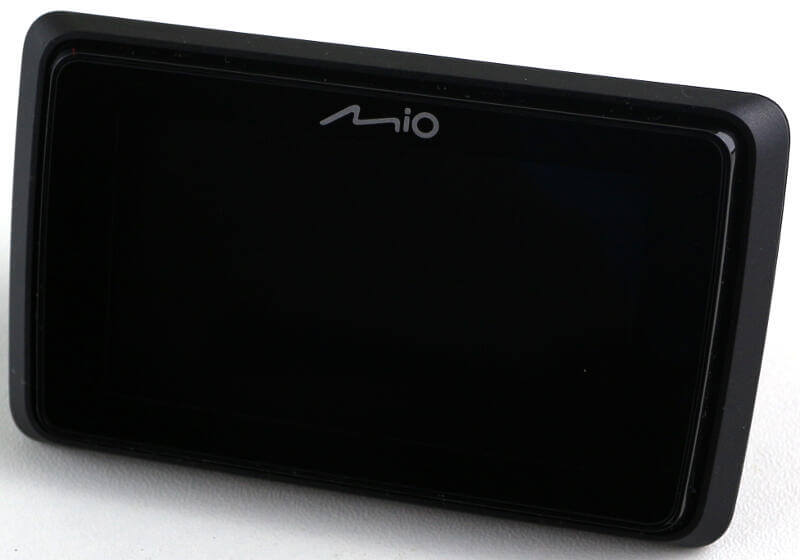
The only feature on the rear side is the 2.7″ touchscreen.
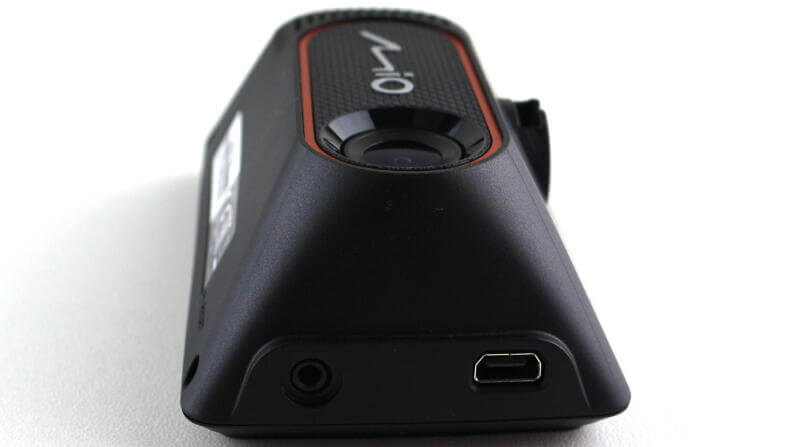
One side has a micro USB port for data and power as well as a headphone jack.
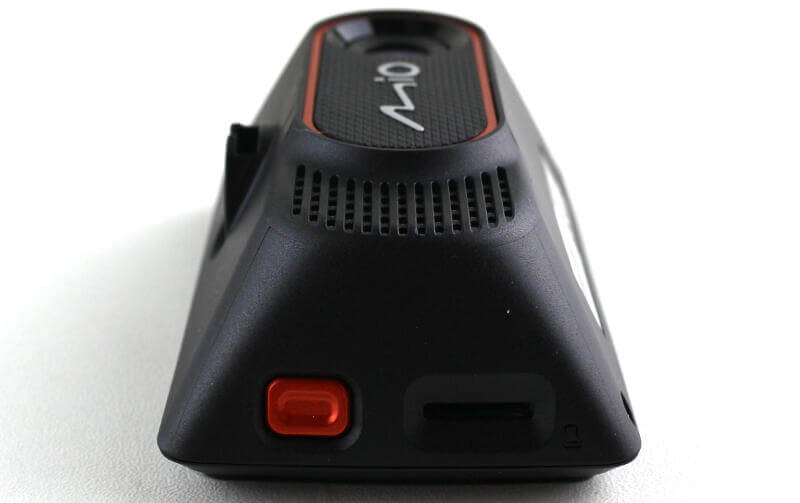
The other side has the only physical button next to the microSD card slot which can take up to 128GB.
Memory Card
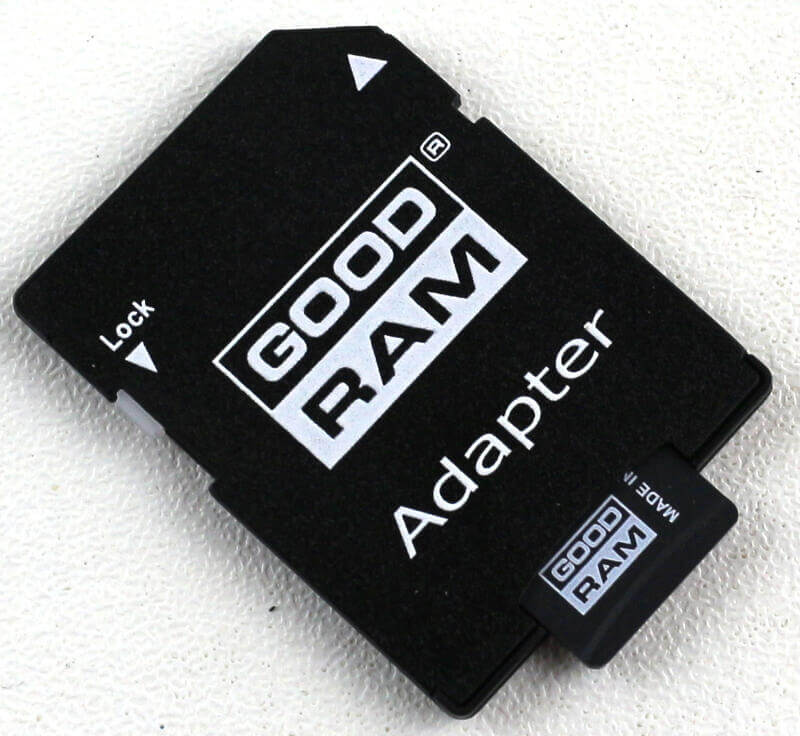
I got a memory card along with this camera, allowing me to use it with nothing extra. This was sent by the PR company and isn’t part of the product when you purchase it.
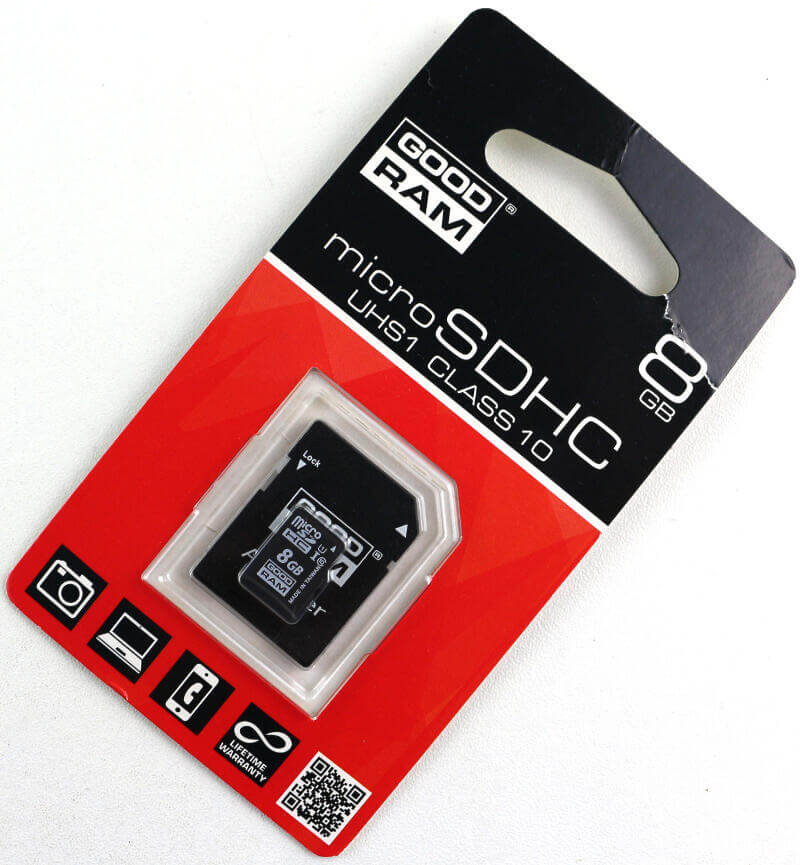
The included memory card is a GOODRAM micro SDHC card with UHS1 Class 10 speed rating. It holds 8GB data and comes with a full-size SD card adapter included.
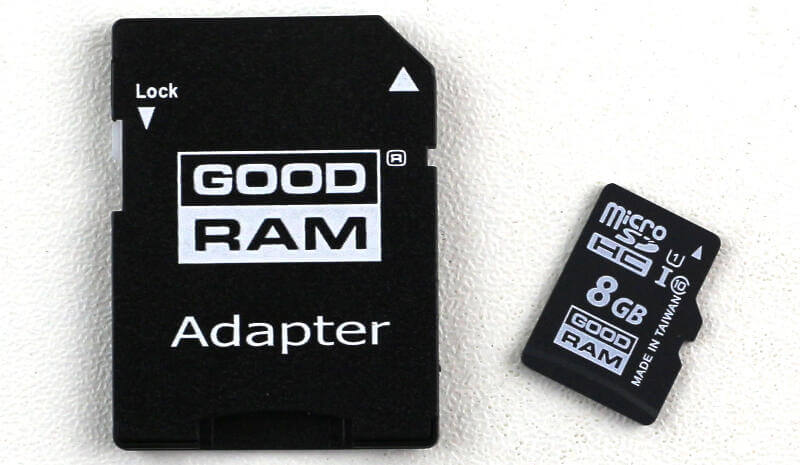
The little card is rated for up to 60MB/s reading and 10MB/s writing speed. It comes with a lifetime warranty and is available with up to 128GB capacity.
