MSI Core Frozr XL RGB CPU Cooler Review
Peter Donnell / 7 years ago
A Closer Look
A box of screws is rarely that interesting, however, this one really is. The components to mount this cooler are beautifully packaged in protective foam. Everything is laid out so you can easily see what you need, and store what you don’t. There’s even a tube of thermal paste in there that will last for multiple applications.

First impressions go a long way, and the Frozr makes a great one. It’s really unique in terms of design, and it’s clear a lot of attention has been paid to the aesthetics. The fans mount onto a shroud, which then clips over the cooling tower. In fact, it’s designed in such a way that you can’t even see more than a few inches of the cooling tower.

Torx Fans
This isn’t just a cover up the ugly part trick either. Having those sides closed up, and a cap on the top means that airflow has to pass through the fans, and not spill out and lose air pressure in the fin stack. That should mean less noise and better heat dissipation. Of course, it also looks seriously cool with that black and red shroud design, and it’s sure to be a visual complement to most high-end system builds.

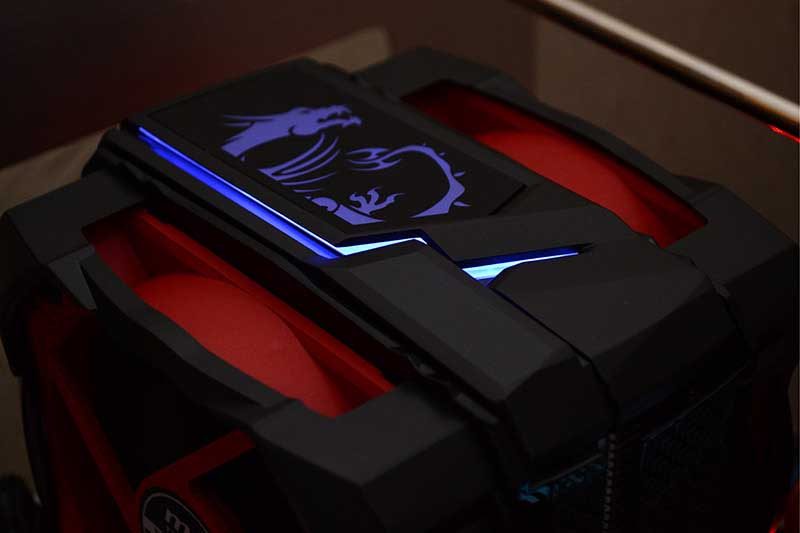
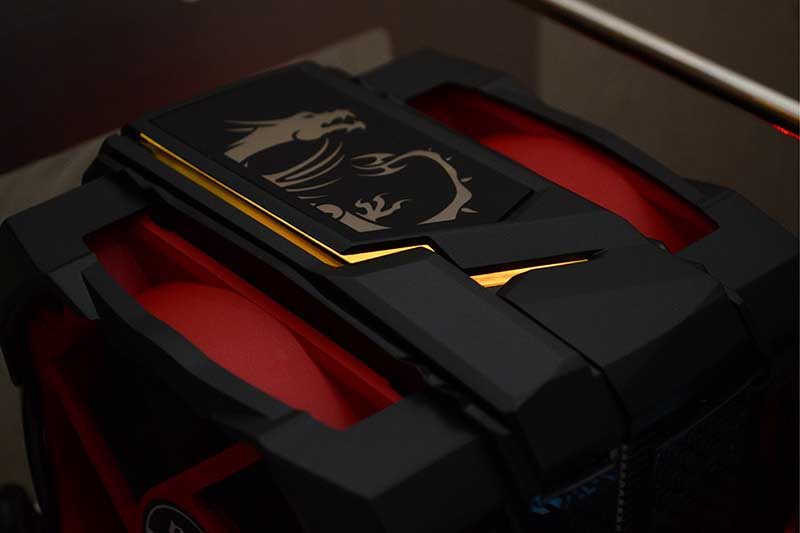
The top panel is very interesting, as it comes with that stunning dragon design on a carbon fibre effect background. The best part, is that logo is RGB backlit too, so while it looks great with the lights off, it should look even better with them on.

The included fans are very nice quality, and certainly look great too. They use a tool-free mounting system to hold them onto the tower, and can easily be removed for cleaning. If you want to remove the fans completely and install your own, simply use a screwdriver to remove the shrouds from the pre-installed fans.

Huge amount of heatpipes!
As I said before, this cooler packs a whopping 8 heat pipes, each measuring in at 6mm thick. That’s a freaking huge amount of heat pipe for a cooler of this size! As you can see, they’re absolutely rammed into that thick contact plate, giving full coverage of the block.

It certainly looks like it’s up to the job of delivering 250W TDP cooling performance. So, let’s hook it up and see what it can do!

Installed and RGB Lighting
Mounting the cooler is a breeze, thanks to the universal backplate, and simple thumb screw mounting kit. It only takes a few moments to install on any socket type. Remember, you’ll also need a spare USB 2.0 header on your motherboard for the RGB lighting though.

Once powered up, the cooler defaults to a colour cycle mode that looks gorgeous. However, with the Mystic Light downloadable software, you’ll be able to customise it much further.


